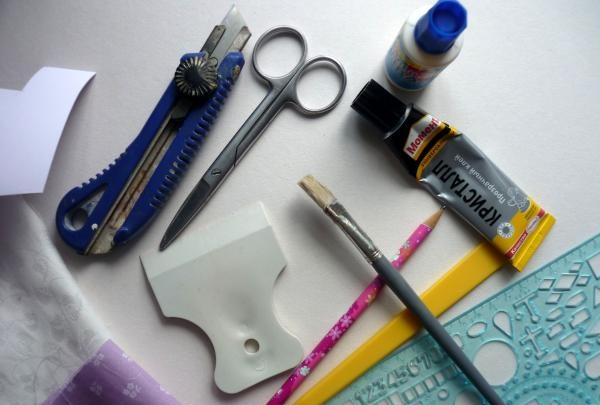
To make a photo frame, prepare thick cardboard (2-3 mm thick), PVA glue, a stationery knife, Moment glue, pencil, scissors, fabric of several shades (preferably cotton), white paper (preferably Whatman paper), ruler, stack (needed to level the surface ), decorative elements. If the cardboard is light and the fabric is light, then white paper will not be needed, if the cardboard is any color and the fabric is dark, then it will also not be needed.
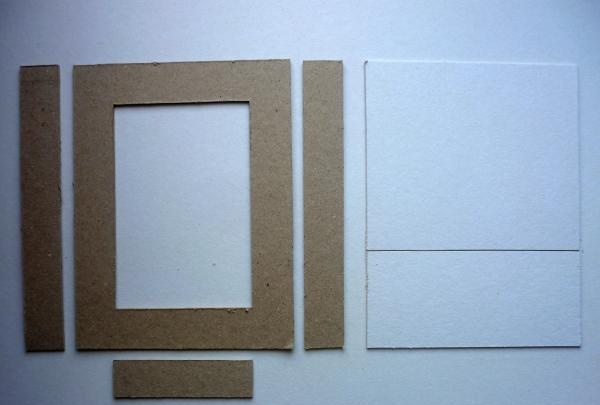
The first step is to cut out all the parts of the photo frame from cardboard. This frame has a size of 16x21 cm, for a photograph it is 10x15 cm. This means that the margins of the frame are 3 cm each. You need to cut a window 10x15 cm - this is the front side, cut out two parts measuring 16x21 cm. One part needs to be cut as in the photo - from this part A stand will be made (the lower part is 7 cm high).You also need to cut out 3 linings that will be between the front (front) and back parts: the width of each part is 2.8 cm, the length matches the size of the frame.
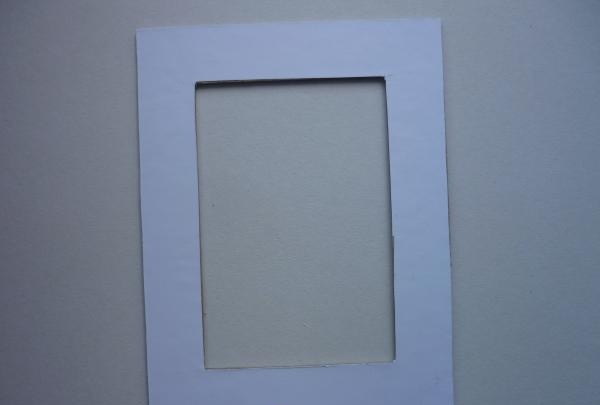
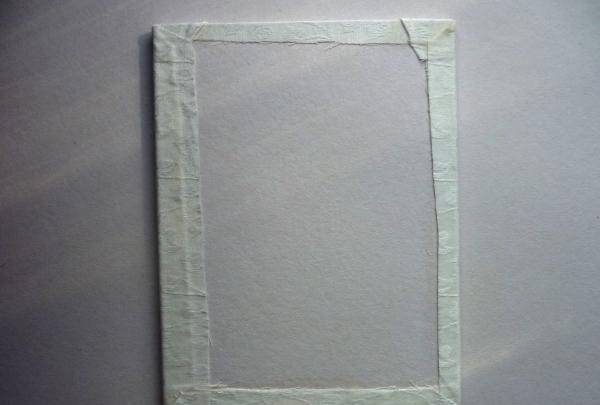
Apply a thin layer of PVA and stick white paper onto the front part, smoothing it with a stack so that there is a smooth surface.
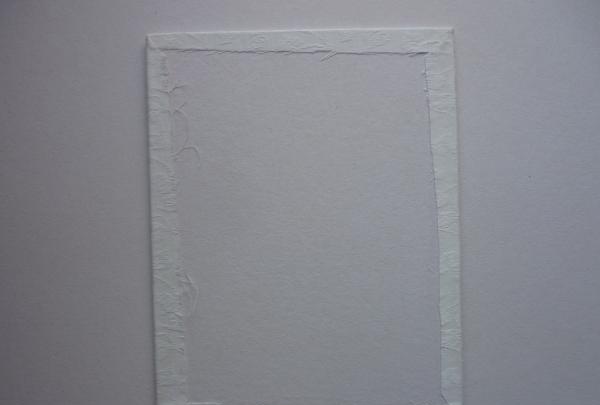
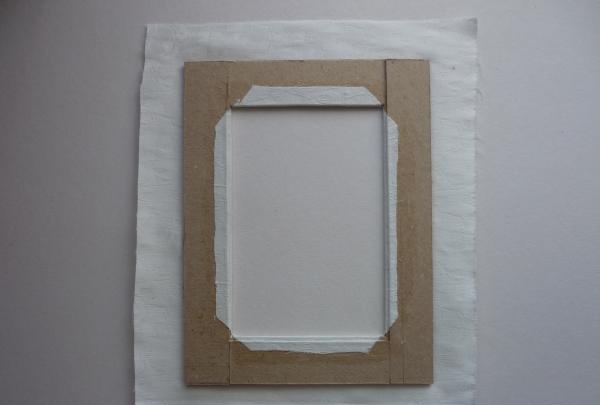
Glue the lining on the back side with glue, placing them along the edges of the frame. This way we leave room for photography.

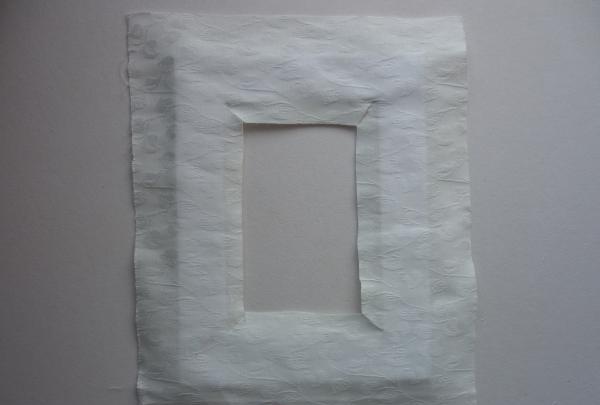
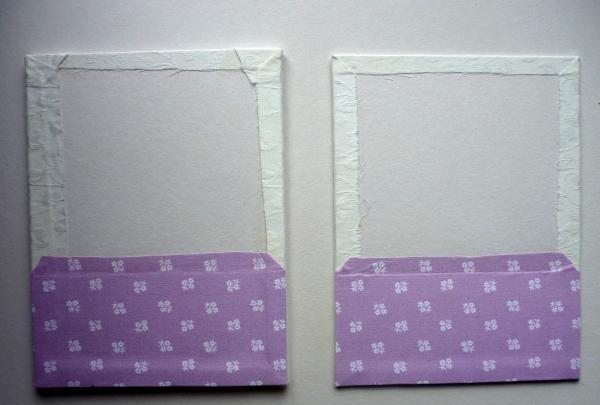
Take a whole 16x21 cm blank and cover it with fabric, carefully gluing the corners on the back side.
Cut the fabric to fit the frame and prepare the middle accordingly by making cuts in the corners.
First glue the PVA fabric to the entire base, then glue the free edges to the back of the frame, repeating all the bends.
Cut the fabric at the top of the frame along the inside edges of the linings, making 2mm indentations. Glue the central part.
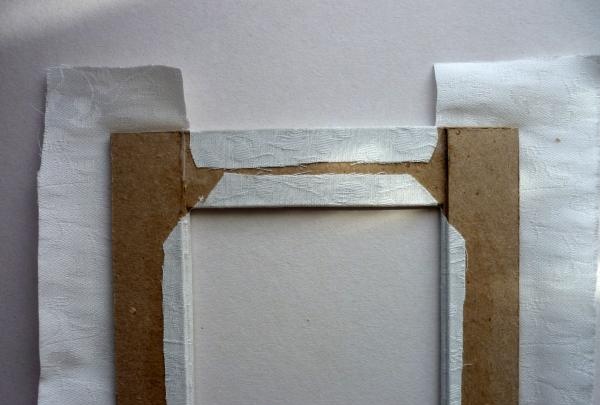
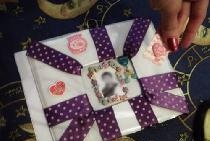
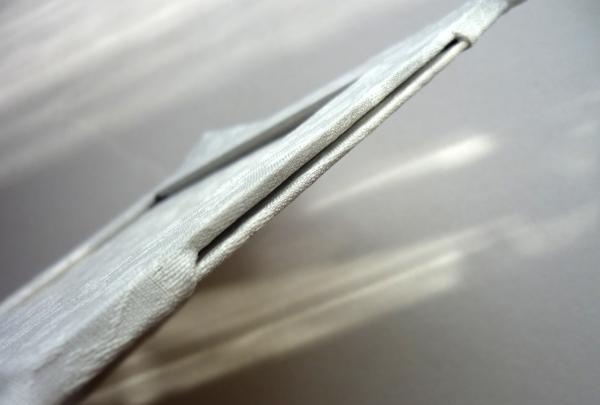
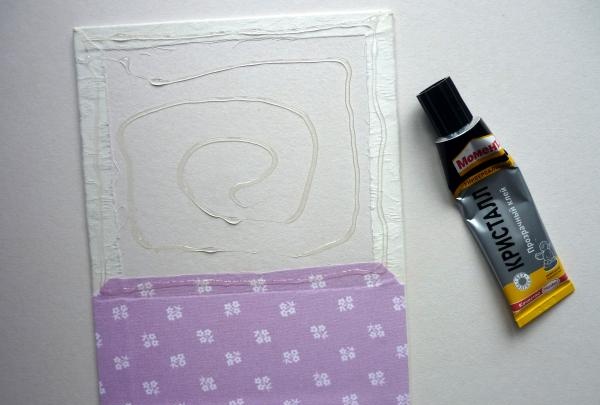
Glue the blank onto the Moment, which is covered with fabric (the fabric inside the frame is the back wall). Seal the free edges around the perimeter. The cut edges are folded inwards away from the photo area and sealed. The top part where the photo is inserted should look like this.
This is what the reverse side of the first part of the frame looks like.
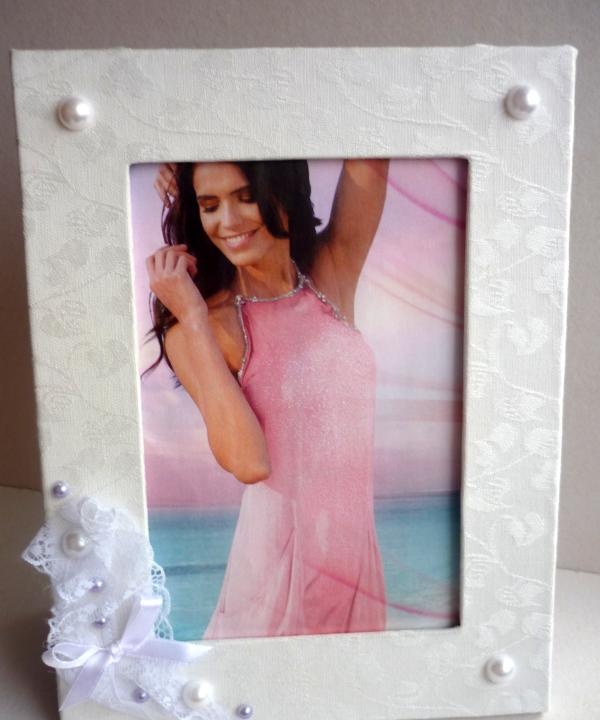
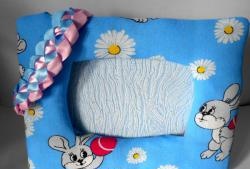
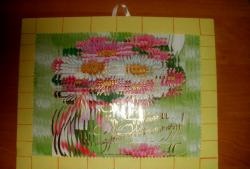
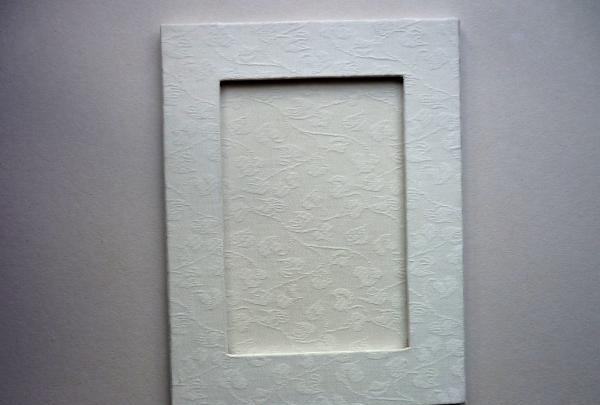
This is what the front side of the frame looks like.
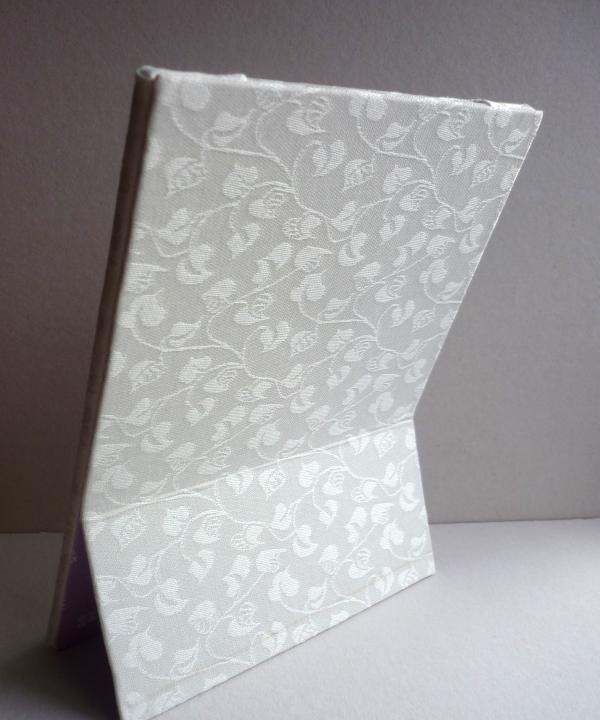
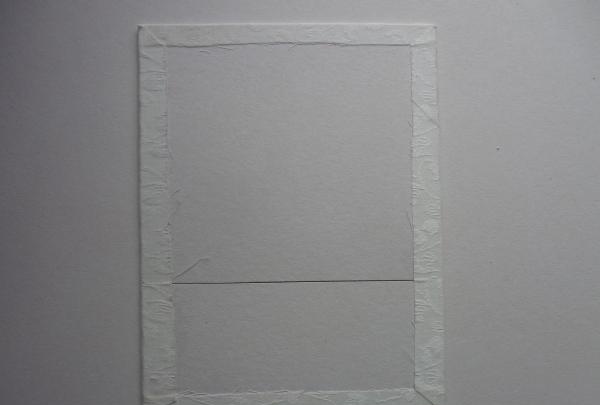
Prepare the second part of the frame, which will be the stand and divided into two different parts. Cover it with cloth.
Place the two pieces glued side down. Make 2 blanks of white paper according to the size of the lower part, cover with fabric, without gluing the upper part - leave a tail.
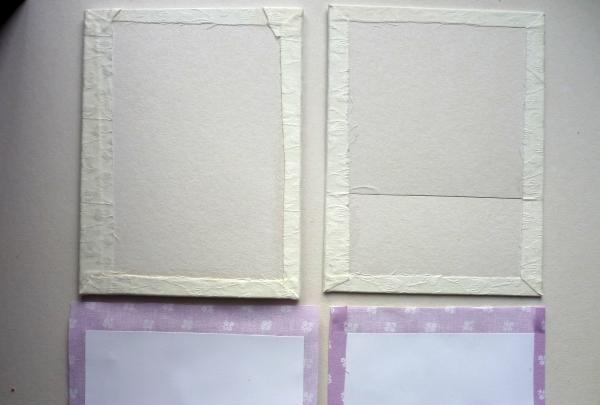
Glue it together with the tail to both parts of the frame.
Glue the two parts of the frame with Moment glue with the “ugly” sides facing each other (the short parts were glued to them at the bottom of the frame).Place under a press for a while to secure both parts of the frame well.
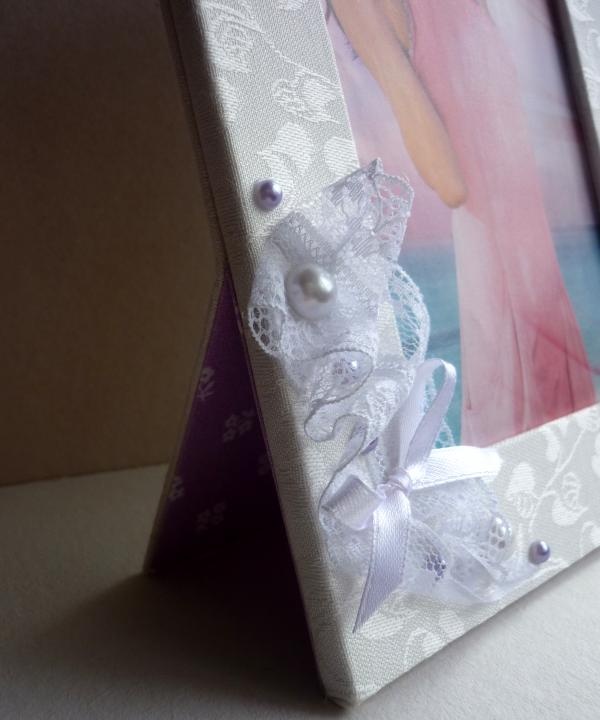
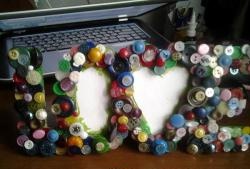
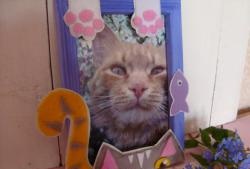
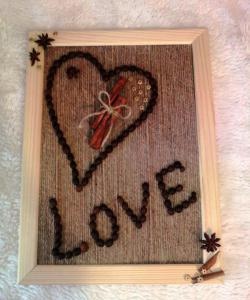
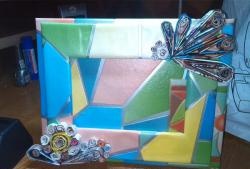
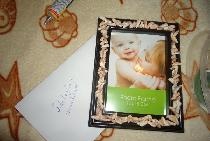
Decorate the frame as you wish

Let the glue dry and you can safely decorate your interior with a frame!