![How to cover a kitchen cabinet with self-adhesive](https://i.washerhouse.com/images/18/2153-kak-obkleit-kuhonnyy-shkaf-samokleyascheysya.jpg)
I received an old kitchen wall cabinet as a gift. Its frame was quite decent and it would be hard to throw it away furniture It was a pity, and I wanted to save money on buying new kitchen furniture, which we didn’t have. Then I decided to restore this cabinet using regular self-adhesive film.
![furniture handles that have lost their appearance](https://i.washerhouse.com/images/18/2154-poteryavshie-vid-mebelnye-ruchki.jpg)
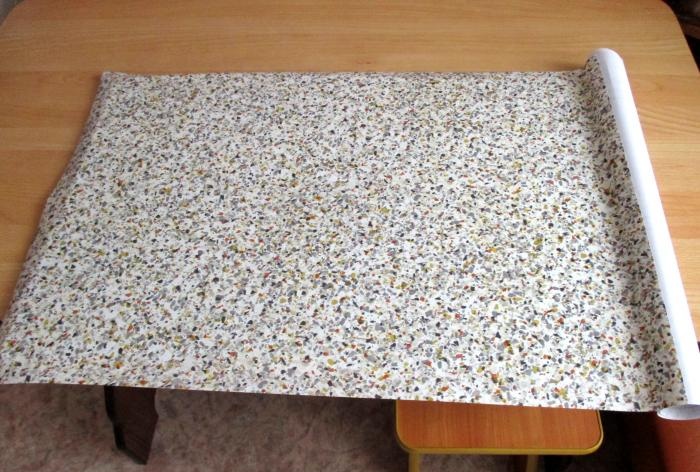
There were a lot of colors in the store, and the price for such a film was low. I purchased two meters of film 45 centimeters wide.
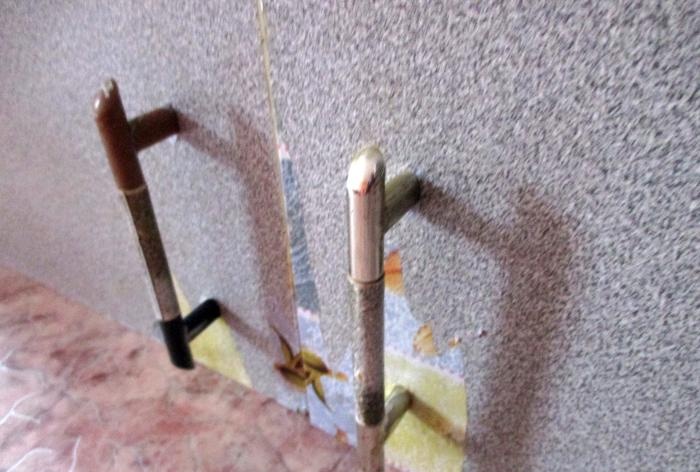
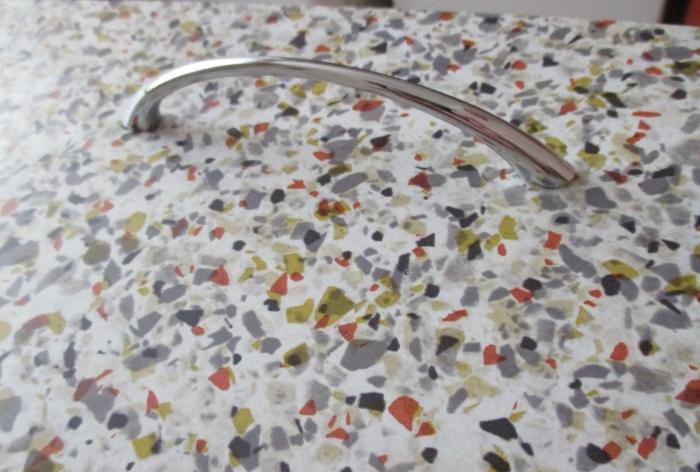
First, I unscrewed the old, out-of-shape furniture handles.
![furniture handles that have lost their appearance](https://i.washerhouse.com/images/18/2155-poteryavshie-vid-mebelnye-ruchki.jpg)
![unscrew](https://i.washerhouse.com/images/18/2156-otkrutit.jpg)
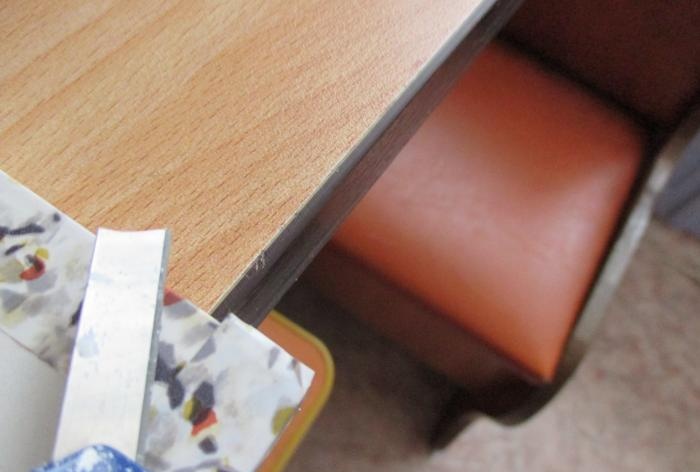
Since the cabinet had already been covered with film, we had to remove it. It can be removed quite simply, but leaves behind an unsightly sticky layer that must also be removed. I removed this layer using regular cleaning powder and an abrasive sponge. I can say that I had to scrub thoroughly, but I still cleaned the closet.
![How to cover a kitchen cabinet with self-adhesive](https://i.washerhouse.com/images/18/2157-kak-obkleit-kuhonnyy-shkaf-samokleyascheysya.jpg)
![How to cover a kitchen cabinet with self-adhesive](https://i.washerhouse.com/images/18/2158-kak-obkleit-kuhonnyy-shkaf-samokleyascheysya.jpg)
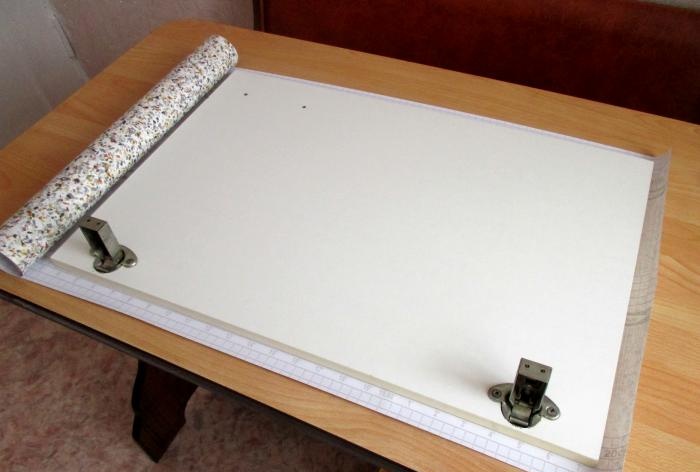
The doors must also be unscrewed to make it easier to glue them over.
![How to cover a kitchen cabinet with self-adhesive](https://i.washerhouse.com/images/18/2159-kak-obkleit-kuhonnyy-shkaf-samokleyascheysya.jpg)
Next, you need to measure the length and width of the film for covering the door. We take the length and width of the film with a margin of 3 centimeters.
![How to cover a kitchen cabinet with self-adhesive](https://i.washerhouse.com/images/18/2160-kak-obkleit-kuhonnyy-shkaf-samokleyascheysya.jpg)
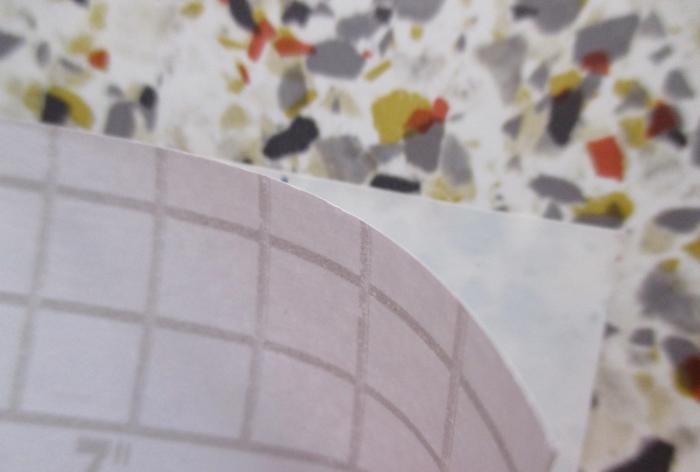
Then we separate the edge of the film from its base and carefully apply it to the top or bottom of the door from the front side (see the photo below how this is done). Please note that it is very important to separate only the edge of the film, and not all at once.
![How to cover a kitchen cabinet with self-adhesive](https://i.washerhouse.com/images/18/2161-kak-obkleit-kuhonnyy-shkaf-samokleyascheysya.jpg)
![How to cover a kitchen cabinet with self-adhesive](https://i.washerhouse.com/images/18/2162-kak-obkleit-kuhonnyy-shkaf-samokleyascheysya.jpg)
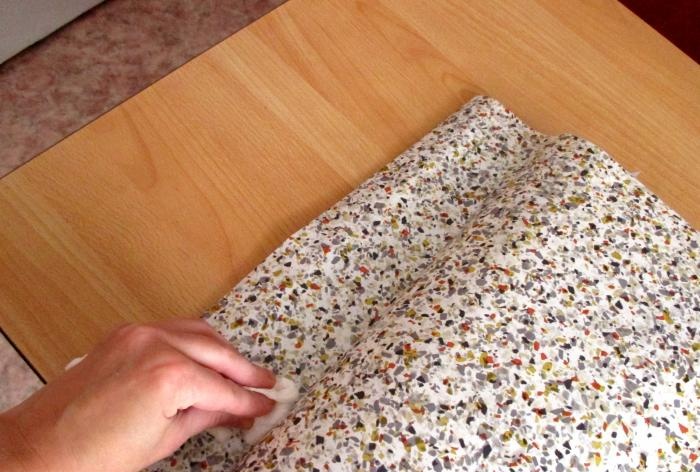
Now we take a piece of soft fabric and, smoothing the film with it, glue it to the door. With our right hand we slowly pull the base of the film, which is located below, and with our left we constantly smooth the front side. Thus, the film will stick very smoothly without bubbles or bends.
![How to cover a kitchen cabinet with self-adhesive](https://i.washerhouse.com/images/18/2163-kak-obkleit-kuhonnyy-shkaf-samokleyascheysya.jpg)
![adhesive tape](https://i.washerhouse.com/images/18/2164-samokleyuschayasya-plenka.jpg)
When the front part of the door is pasted over, turn the door over backwards.
![tape the door](https://i.washerhouse.com/images/18/2165-obkleivaem-dvercu.jpg)
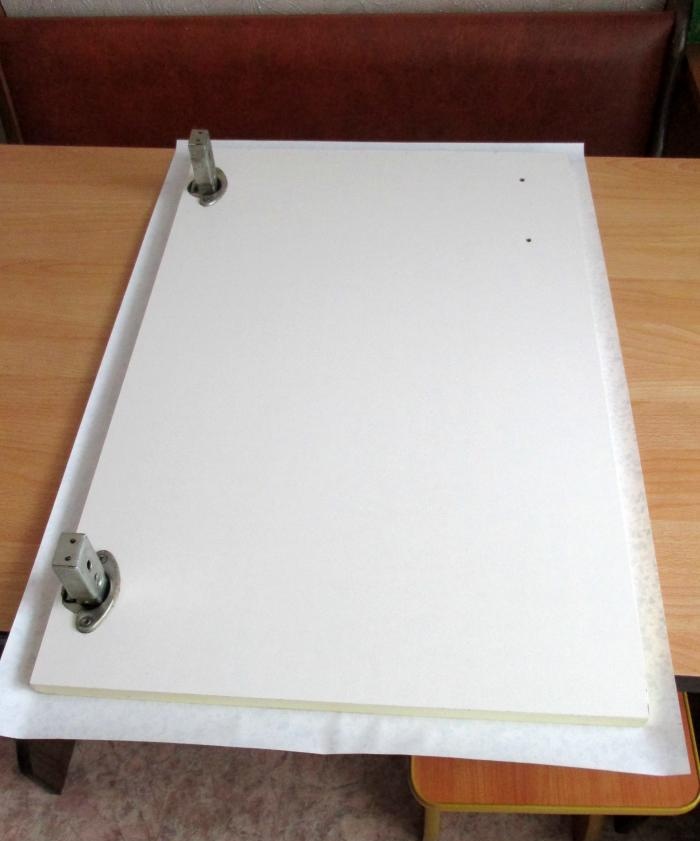
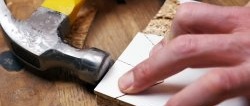
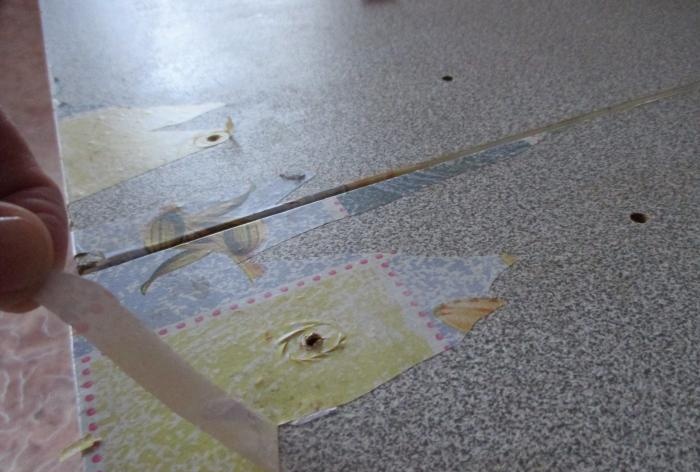
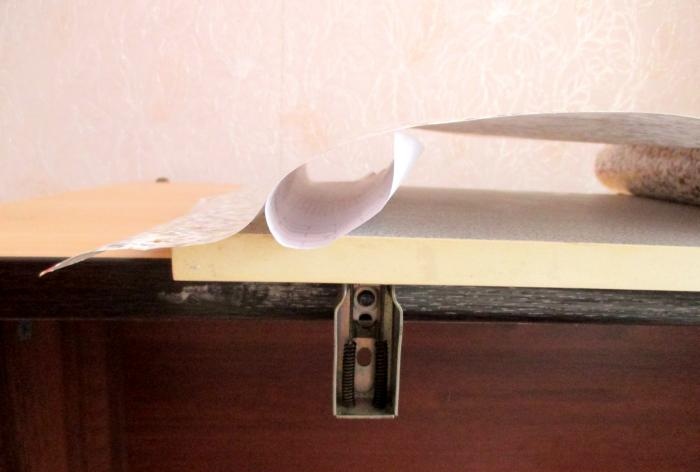
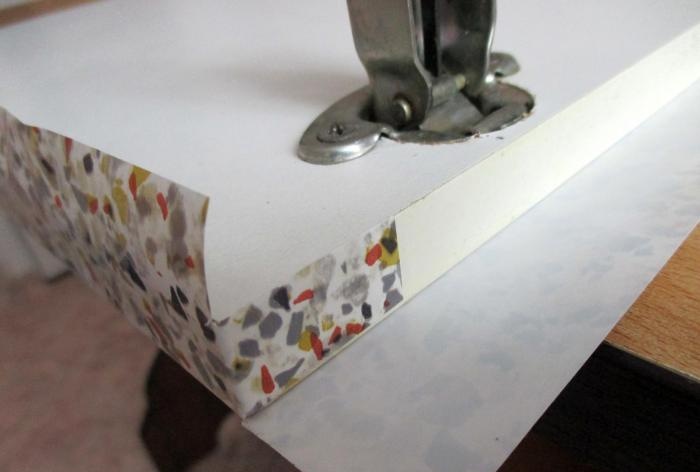
Let's start gluing the end parts of the door. To do this, first glue the film to the lower (or upper) end (see photo).
![tape the door](https://i.washerhouse.com/images/18/2166-obkleivaem-dvercu.jpg)
Next, we make a cut on the side in the same way as shown in the photo, and wrap the cut piece, gluing it.
![side cut](https://i.washerhouse.com/images/18/2167-nadrez-sboku.jpg)
![bend it](https://i.washerhouse.com/images/18/2168-zagibaem.jpg)
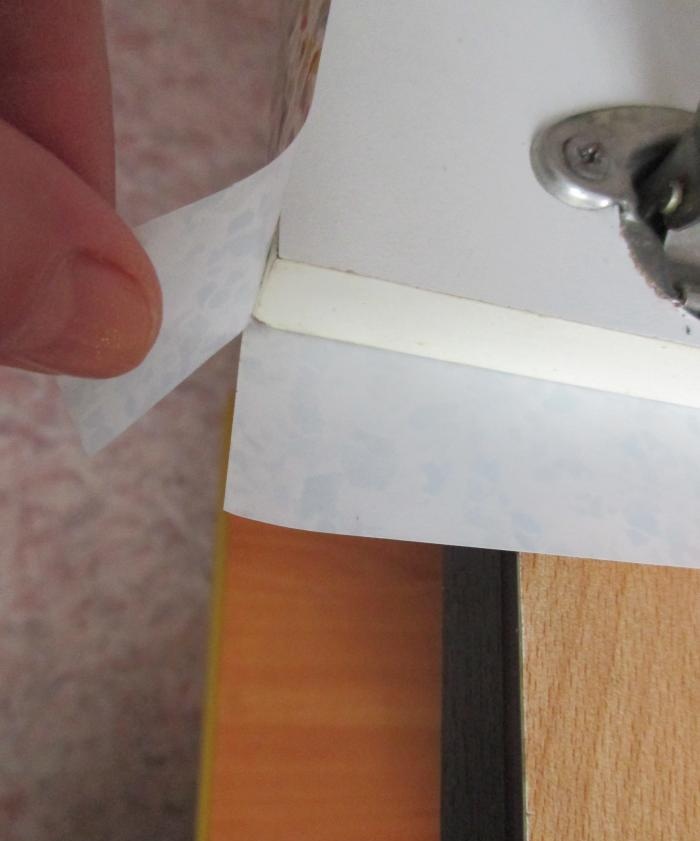
We cut off the part that sharpens on top using a simple stationery knife.
![glue and bend](https://i.washerhouse.com/images/18/2169-prikleivaem-i-zagibaem.jpg)
We bend the remaining sharp edge and glue it to the inside of the door. Then we process the corner on the other side in the same way. We also glue the end on the opposite side.
![Fold the remaining sharpening edge](https://i.washerhouse.com/images/18/2170-podgibaem-ostavshiysya-tochaschiy-kray.jpg)
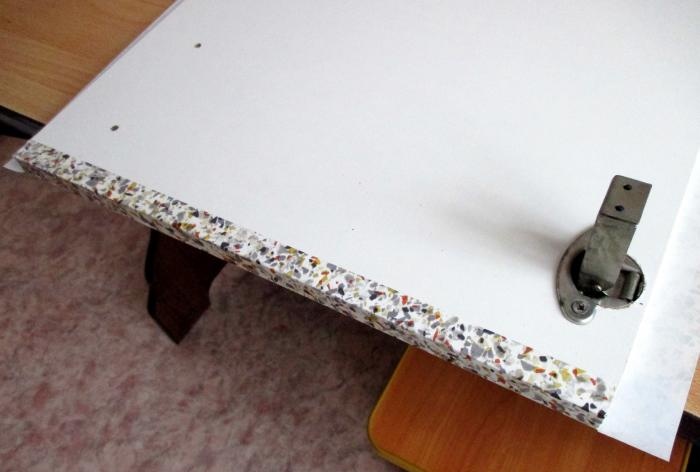
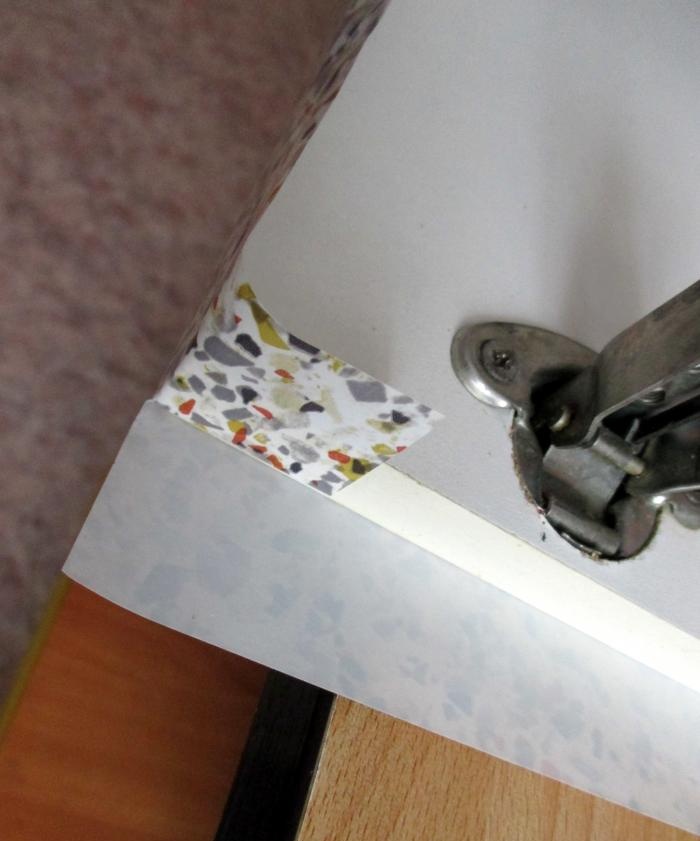
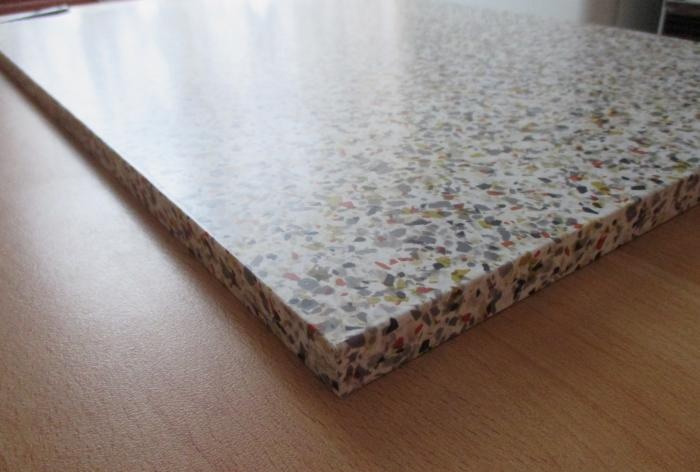
We bend the edge of the film along the long end of the door and glue it.
![Fold the remaining sharpening edge](https://i.washerhouse.com/images/18/2171-podgibaem-ostavshiysya-tochaschiy-kray.jpg)
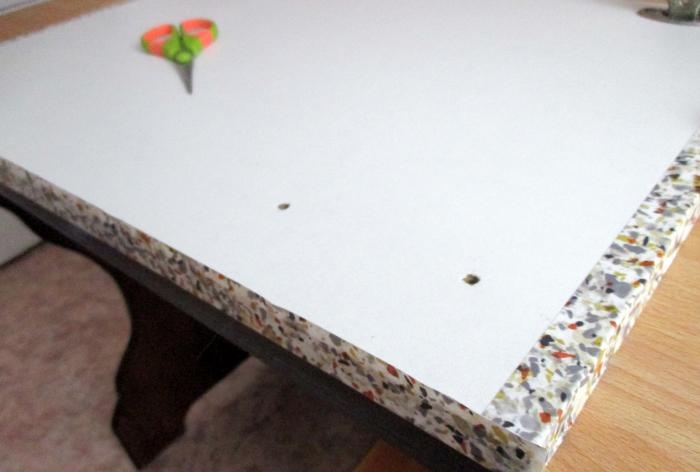
We trim the protruding edges with a stationery knife or regular scissors.
![cut with a utility knife](https://i.washerhouse.com/images/18/2172-podrezaem-kancelyarskim-nozhom.jpg)
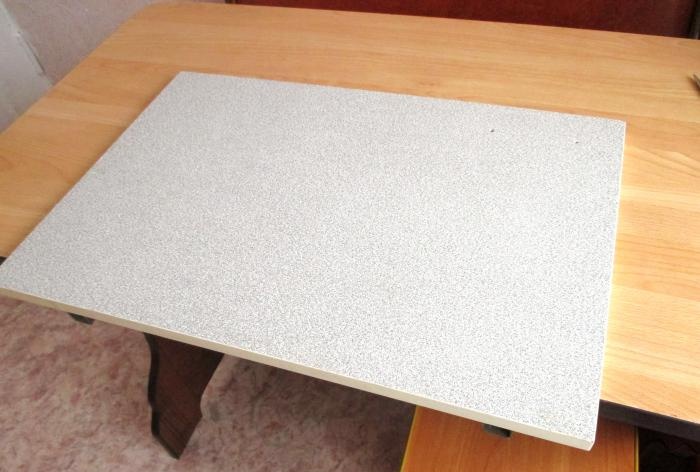
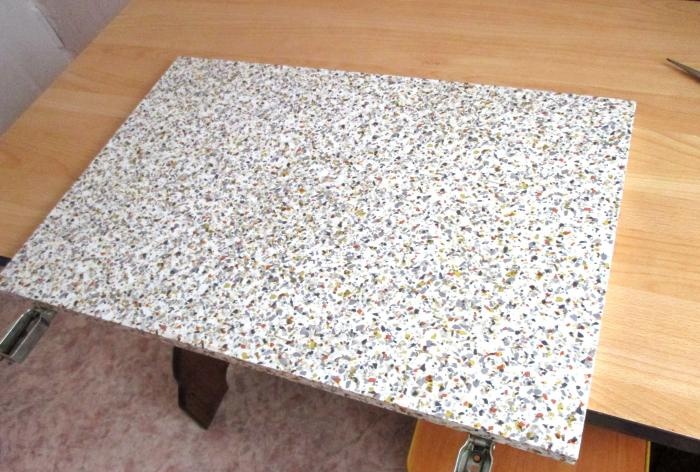
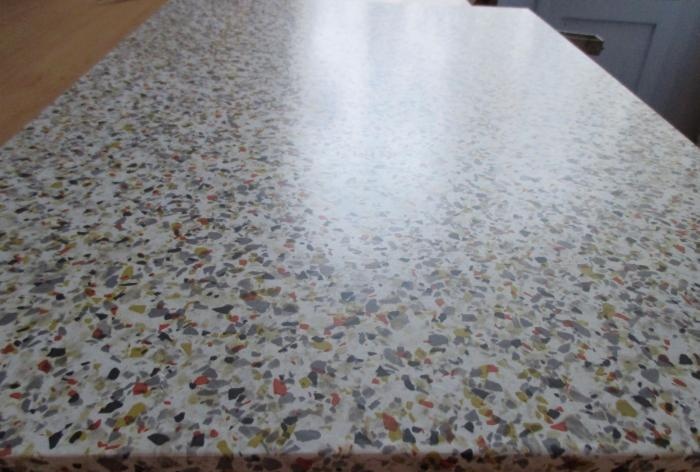
The door is ready! Look how carefully the film is glued in the manner described above.
![How to cover a kitchen cabinet with self-adhesive](https://i.washerhouse.com/images/18/2173-kak-obkleit-kuhonnyy-shkaf-samokleyascheysya.jpg)
![How to cover a kitchen cabinet with self-adhesive](https://i.washerhouse.com/images/18/2174-kak-obkleit-kuhonnyy-shkaf-samokleyascheysya.jpg)
![How to cover a kitchen cabinet with self-adhesive](https://i.washerhouse.com/images/18/2175-kak-obkleit-kuhonnyy-shkaf-samokleyascheysya.jpg)
We screw in new furniture handles.
![How to cover a kitchen cabinet with self-adhesive](https://i.washerhouse.com/images/18/2176-kak-obkleit-kuhonnyy-shkaf-samokleyascheysya.jpg)
![How to cover a kitchen cabinet with self-adhesive](https://i.washerhouse.com/images/18/2177-kak-obkleit-kuhonnyy-shkaf-samokleyascheysya.jpg)
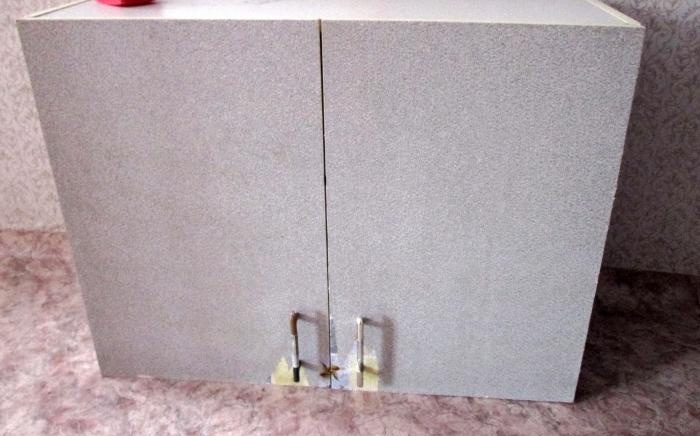
And here is the finished cabinet. If desired, you can paste over the end of the cabinet itself.
![How to cover a kitchen cabinet with self-adhesive](https://i.washerhouse.com/images/18/2178-kak-obkleit-kuhonnyy-shkaf-samokleyascheysya.jpg)
Good luck!