-Thick cardboard
-Cutter and scissors
-Wallpaper
-Magazine (Glamour or Oops)
-Glue (preferably “Master”), ruler, pencil (marker), thin tape
-Free time.
The frame options will depend on the size of the photo you choose. I have a standard photo 15x10cm.
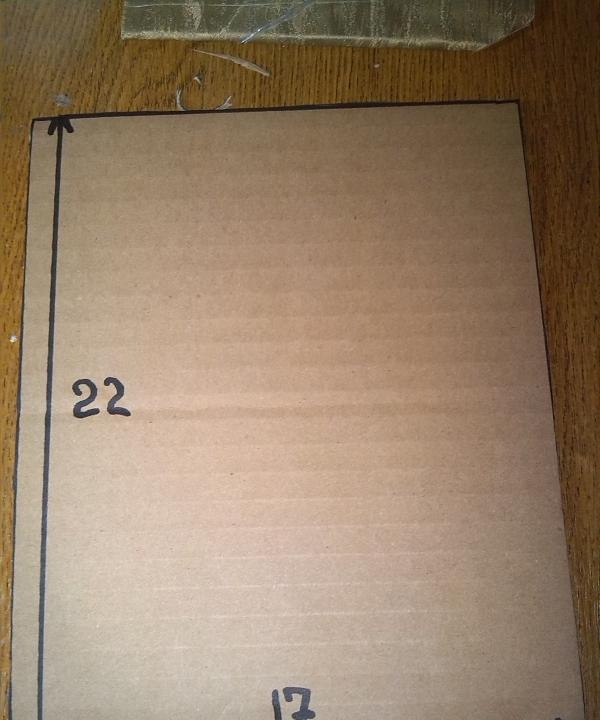
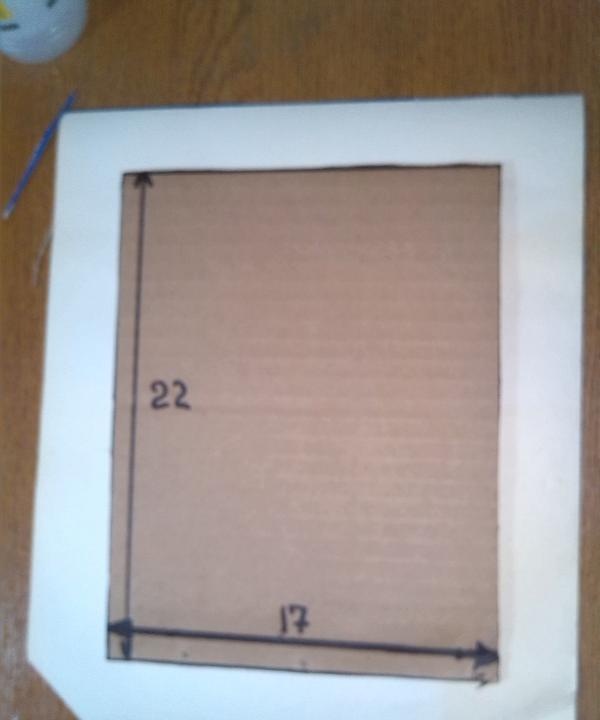
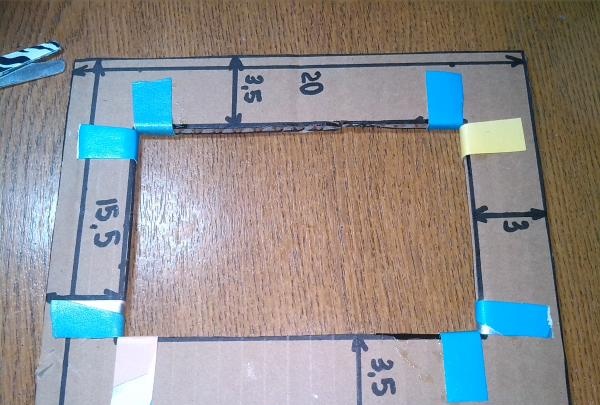
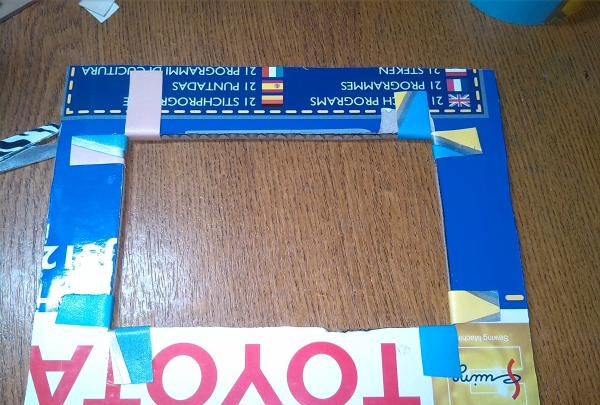
Let's start with the back of the frame. Cut out a rectangle measuring 22x17cm from cardboard.
Then we take the wallpaper and paste it on one side so that there is a reserve for the second.
This is what we get.
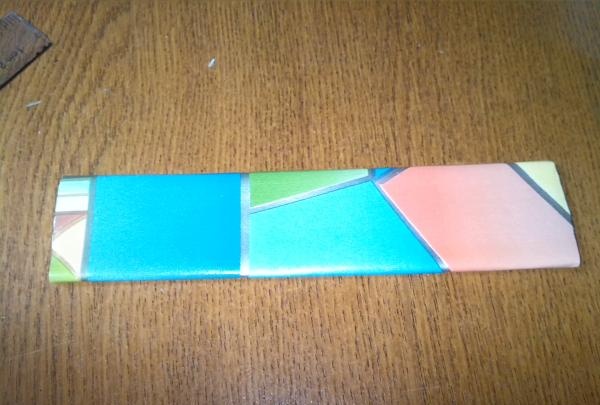
Now we need to make a stand. We transform a piece of cardboard into a rectangle measuring 20x4cm and cover it with wallpaper on all sides. The stand is ready.
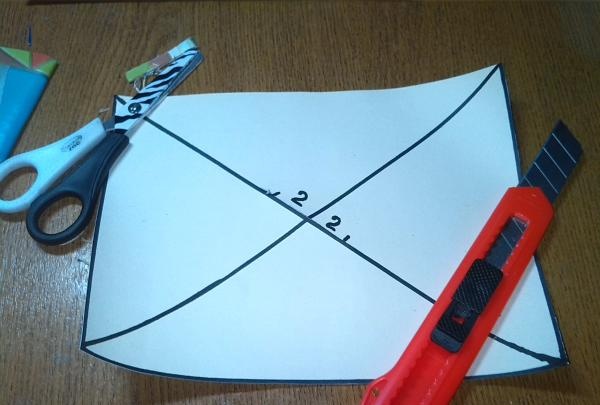
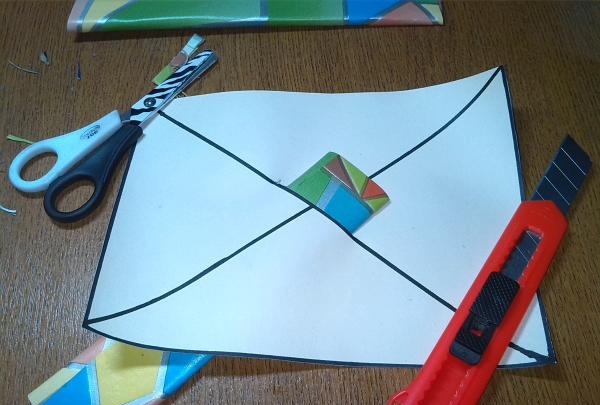
All that remains is to glue it to the back of the frame. Cut out a 20x15 cm rectangle from the wallpaper and draw diagonals on the white side. Next, make a 4 cm long cut in the center.
We insert the stand into it and coat it all together with glue, after which we carefully glue it together.
The back is completely ready. We put it under the press.
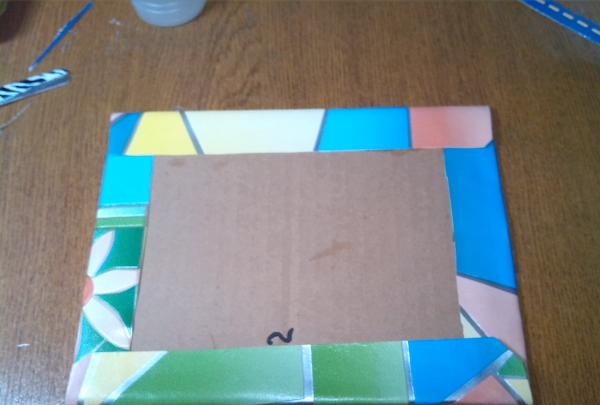
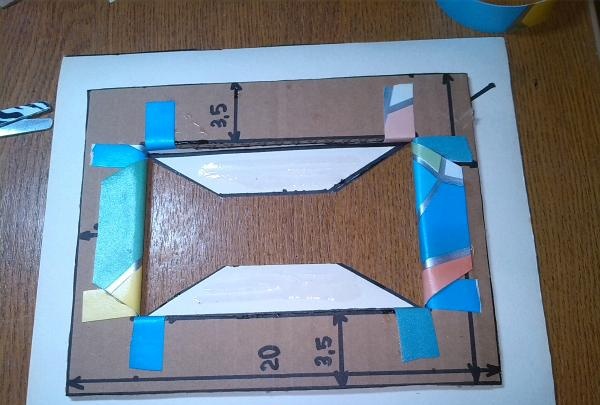
Let's move on to the front of the frame. We cut out a rectangle using the dimensions indicated in the photo as a basis, and then get rid of the shaded area.
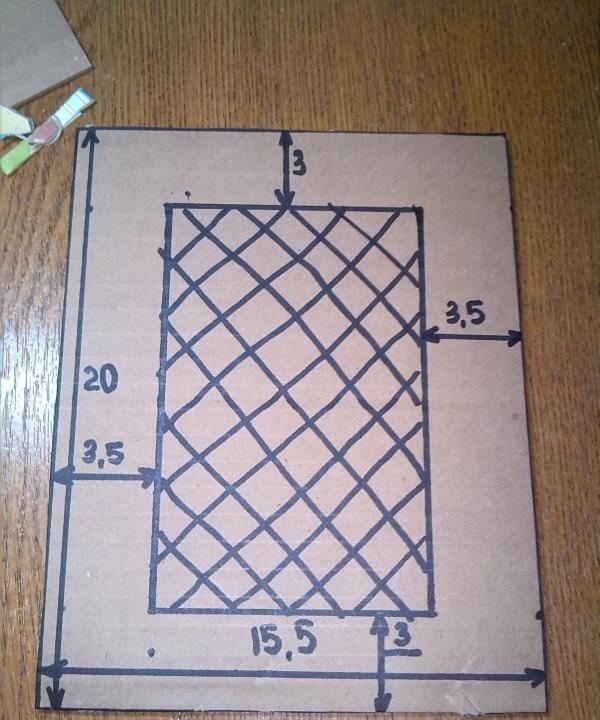
We cut out a rectangle measuring 24x21cm from the wallpaper, apply the front part to it so that the indentation from all sides is the same, carefully draw the center and diagonals.
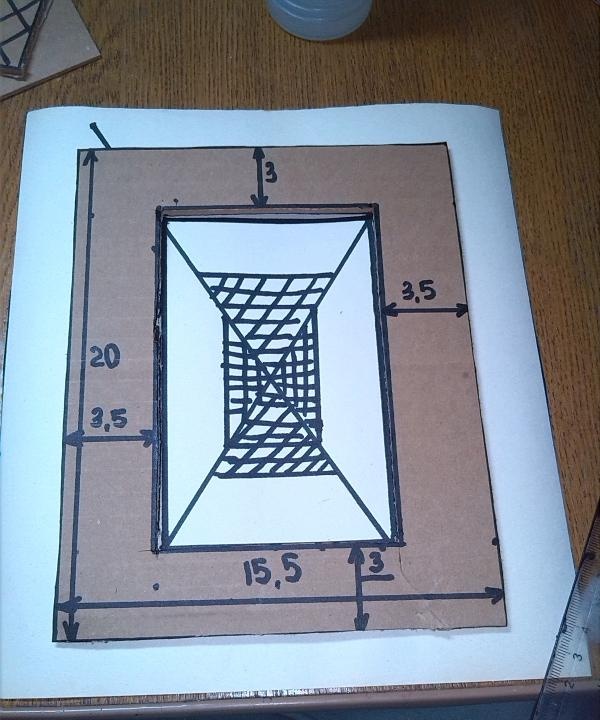
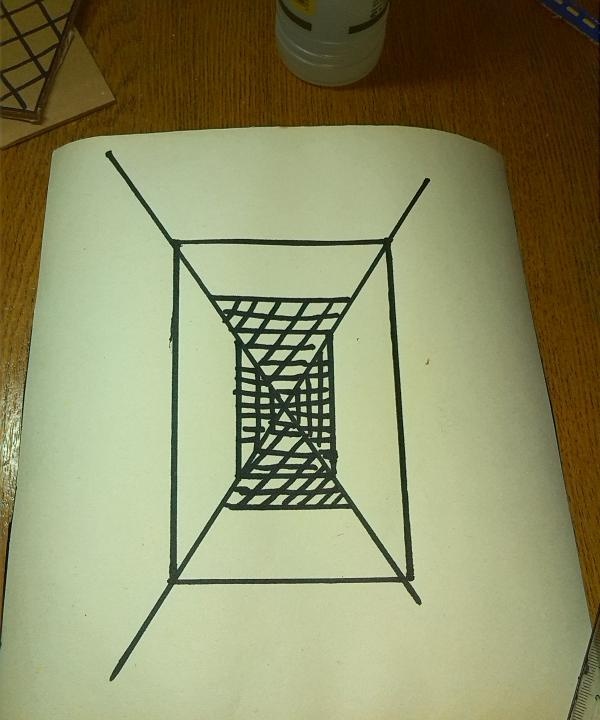
We cut out the shaded part, and cut its diagonals to the very corners.

Before completing the frame, you must carefully glue the inner corners with glue.
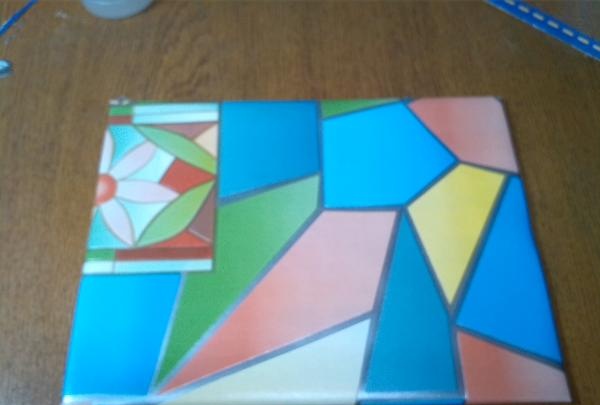
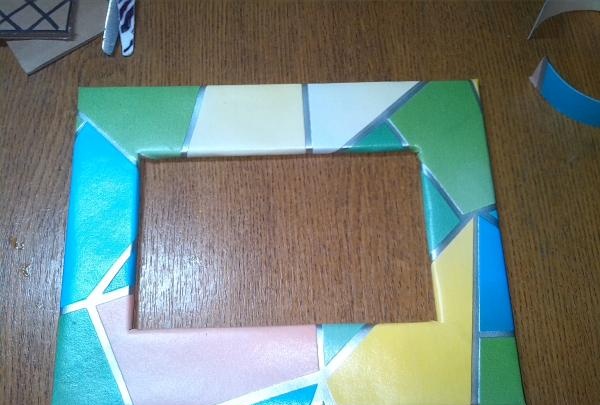
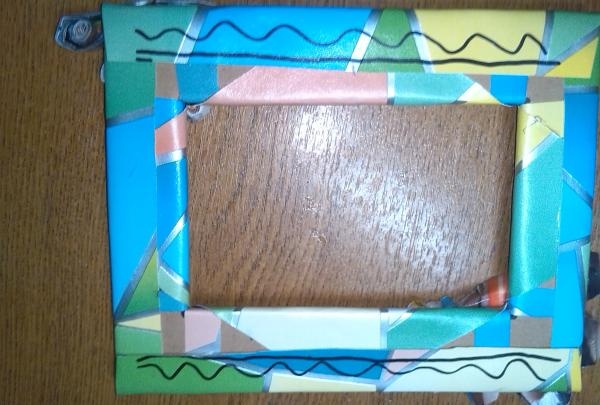
Now you can paste over all sides of the frame. The front part is ready.
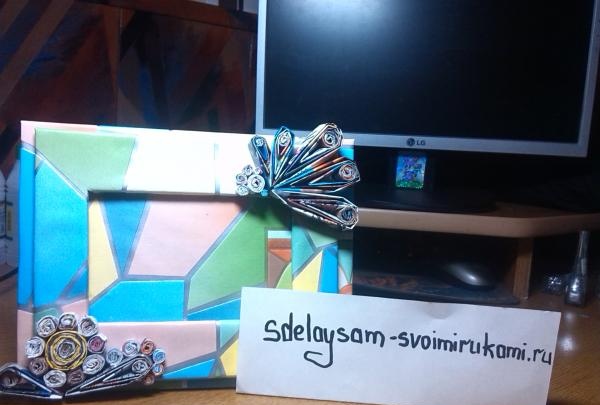
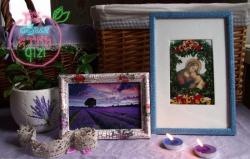
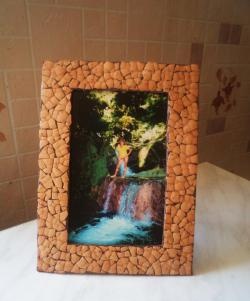
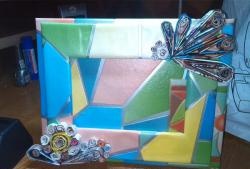
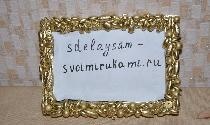
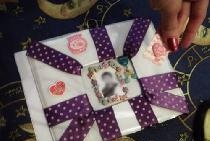
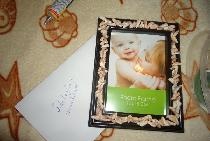
Decor photo frames.
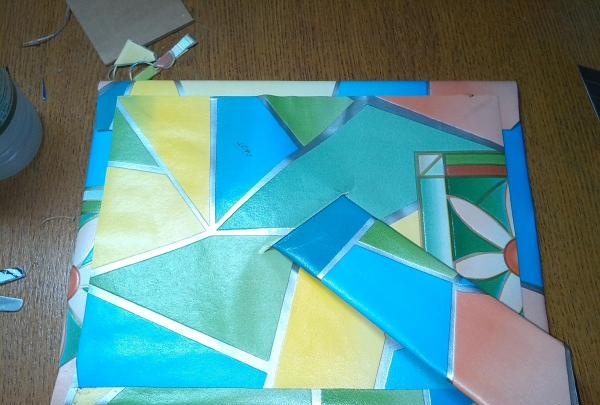
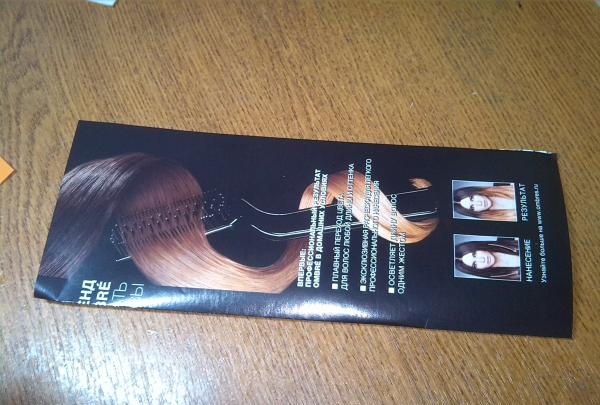
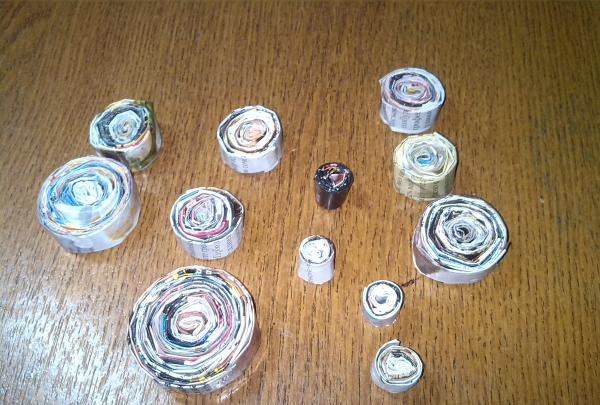
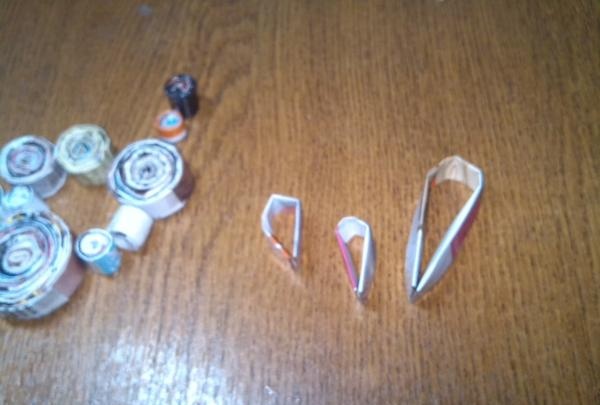
Depending on how you want to decorate the frame, tear out the magazine pages.
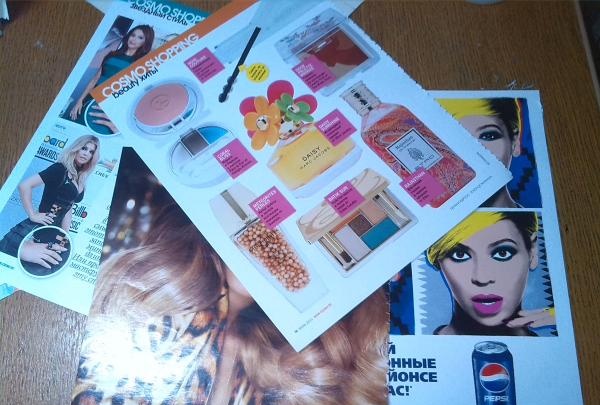
We fold all the pages in half twice.
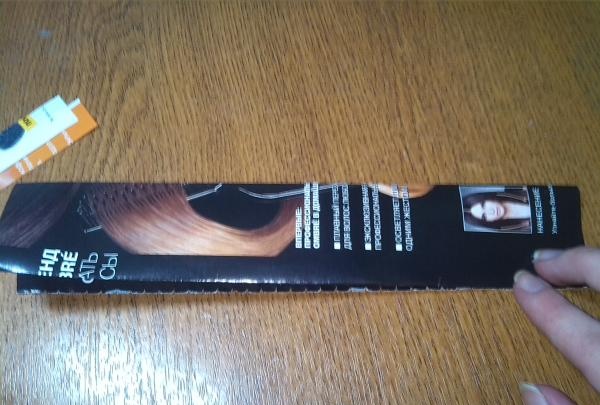
Then cut along the bend line.
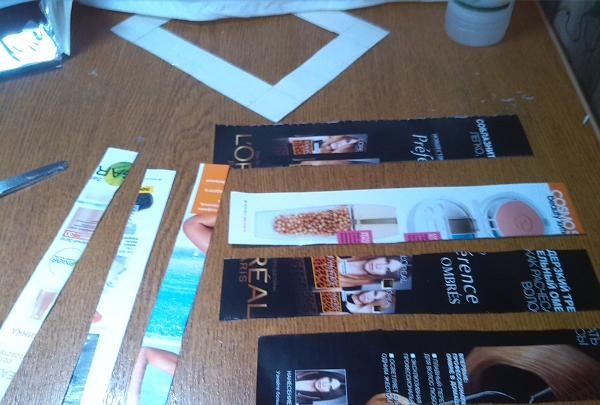
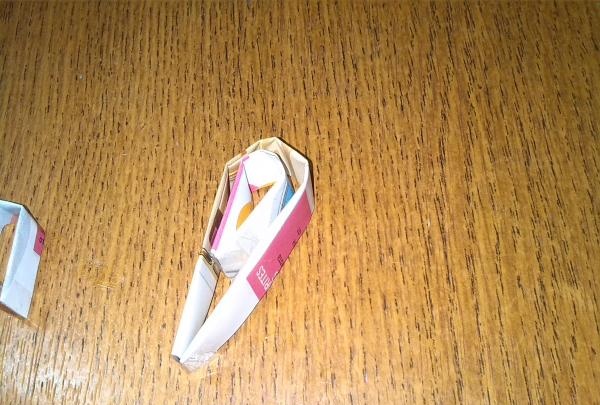
We fold each strip again into quarters (.
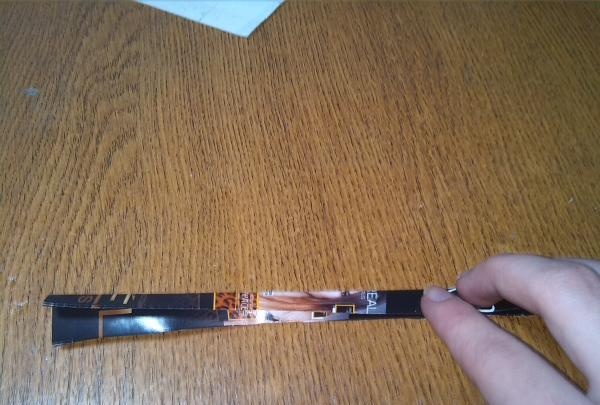
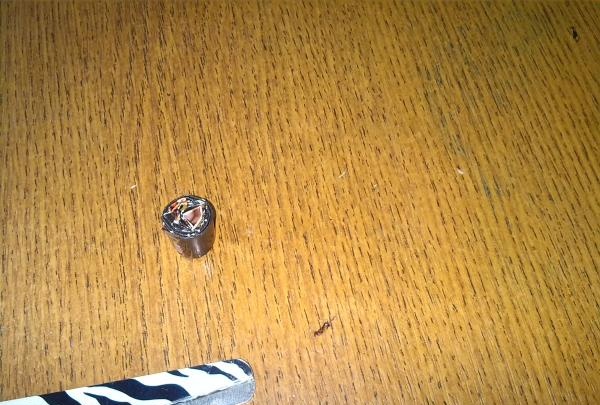
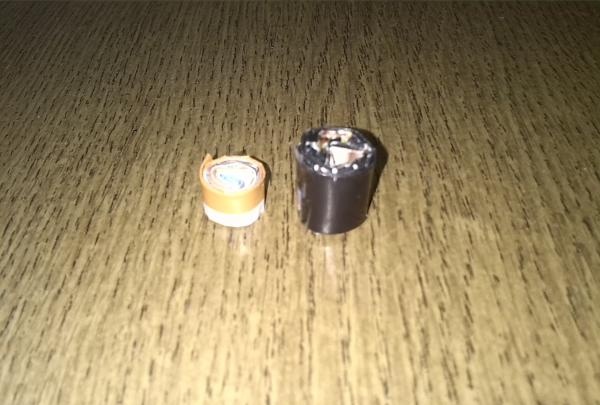
We twist them into tight rolls, and then secure the end with tape so that they do not unwind.
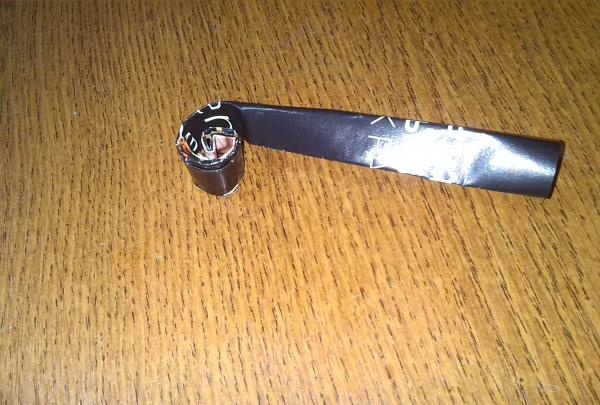
During the process, you can adjust the height of the handlebars. It all depends on how wide the stripes are.
Ready-made strips can also be designed in the form of a leaf.
After all the elements are made, glue them to the front of the frame using any pattern that comes to mind. Next, all that remains is to glue the front of our frame to the back of it. Apply glue to only 2 parallel sides that are longer. This condition must be met, otherwise inserting the photo will be problematic (marked shading).
Finally, we put the frame under the press, and the next day we admire the result of our labors.