To make it we take the following materials:
- a piece of thick foam.
- satin ribbon 1 cm wide, bright green, 3.5 meters long.
- pins with round heads.
- wire.
- medical plaster on a roll.
- scissors.
- toothpicks.
- scraps of white, pink and green foamiran.
- “Moment” glue.
- a piece of green foil.
- yellow half beads.
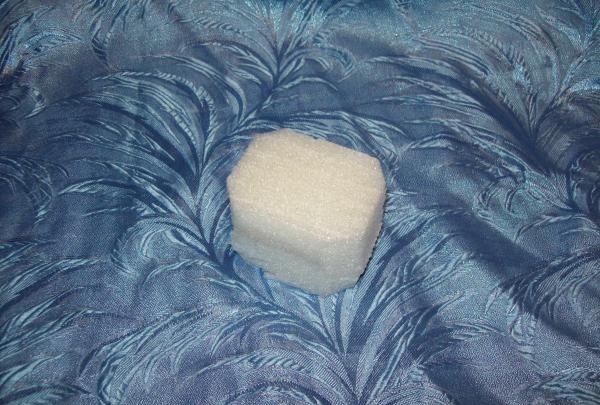
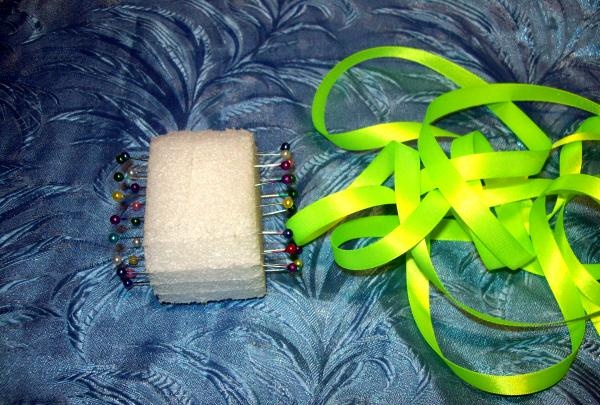
And let's start working with polystyrene foam. Cut out a cube with sides 7 x 4 cm and a height of 5 cm. Round the corners.
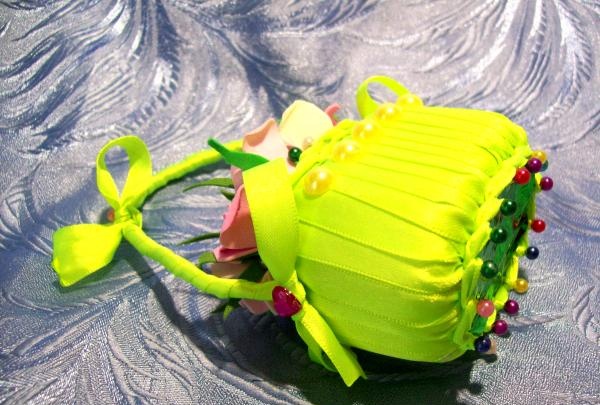
Having retreated 0.5 cm from the edge, we stick pins with heads along the entire perimeter at a distance of 1 cm from each other. I got 16 pieces.
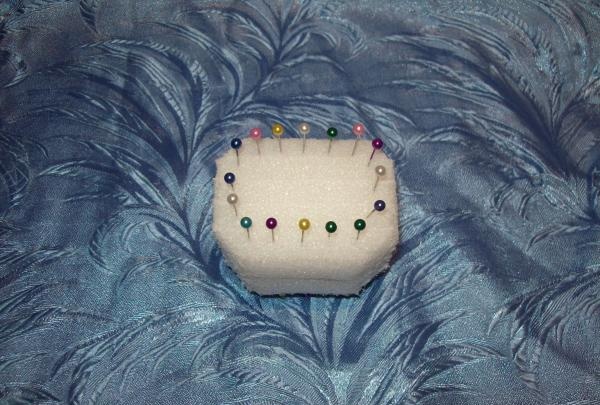
But the same row of pins is also needed on the opposite side of the workpiece.

Now we take the selected tape 1 cm long and 3.5 meters long. We secure the edge of the tape to one of the middles of the circles of pins. We bend the ribbon around the pin and stretch it to the parallel bottom needle. We also circle it with tape and go up, again turn it around the needle and go down to another pin. So we move around the entire circle, taking in turn the top, then the bottom.
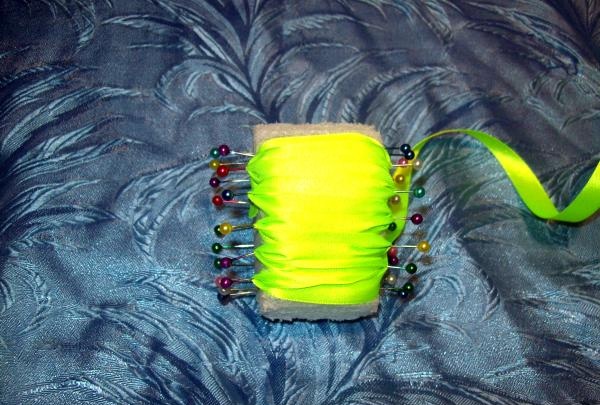
When you reach the beginning of the first fastening, the movement of the tape needs to be changed.
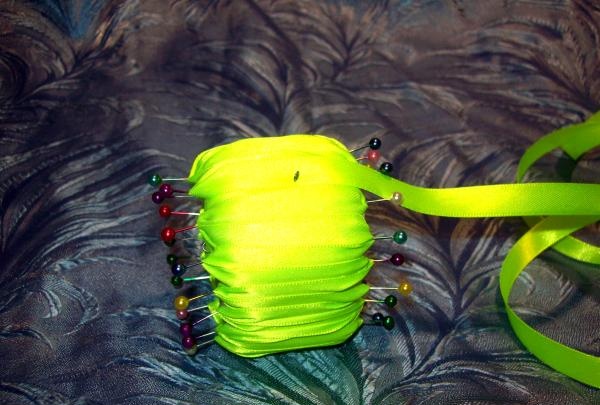
Now the ribbon will move along the needles of only the top row. We circle the first pin with tape and move on to the second, moving along the entire row. Having reached the first needle, we repeat another row and when two rows are ready, we lower the ribbon down to the next circle of pins.
And on the bottom circle, one row of twists will be enough.
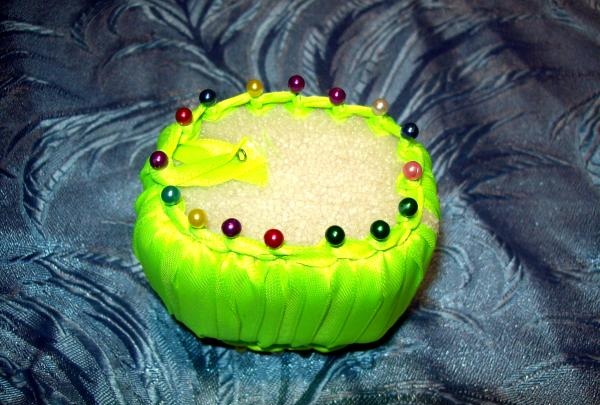
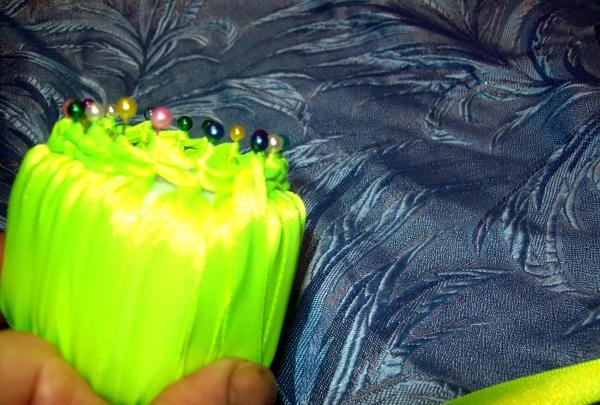
Now you should straighten all the pins, pressing them tightly to the base. And the middle, on which the edges of the tape are fixed, needs to be covered by gluing a form of green foil. This will be the bottom of the basket.

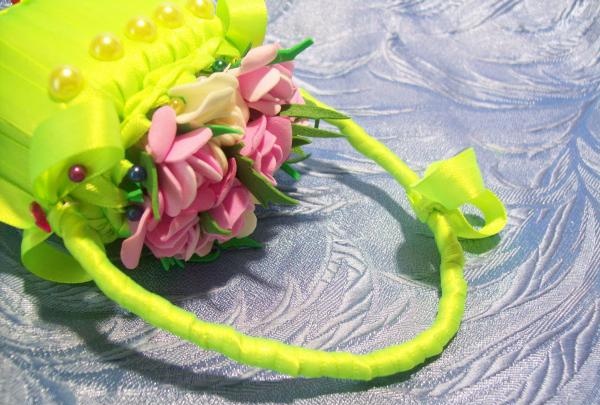
The ribbon base is ready. Now we will pierce the foam with wire parallel to the top edge, retreating 1 cm down. We bend the wire into the shape of a handle, and simply twist the free ends.
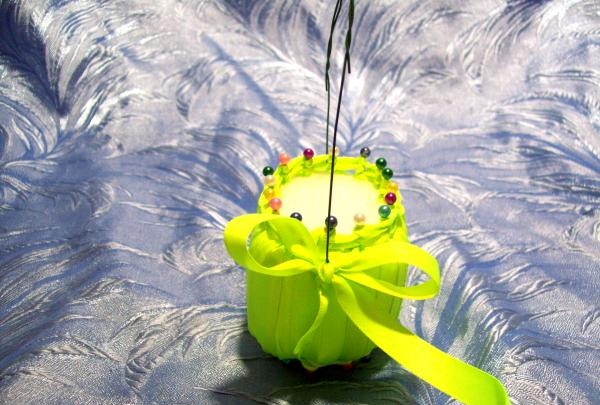
On one side of this handle we attach a ribbon and tie a bow.
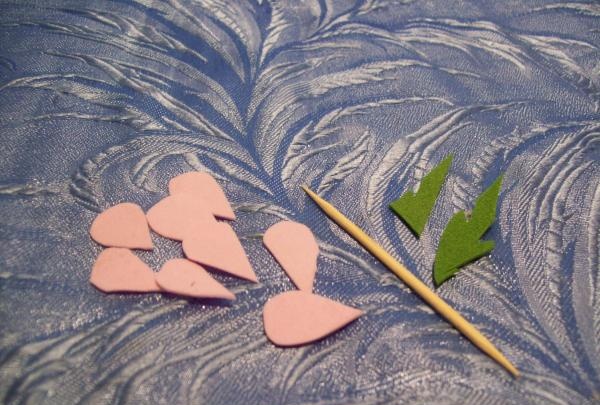
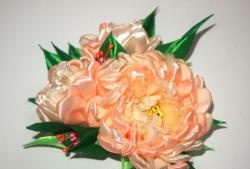
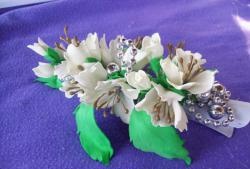
Let's leave this basket like this for now. Let's start making flowers. From scraps of pink and white plastic suede, cut out petals in the shape of droplets 1.5-2 cm high. There will be 13 flowers. And for one we take 7-8 petals, 2 free-form leaves made of green suede and a toothpick.
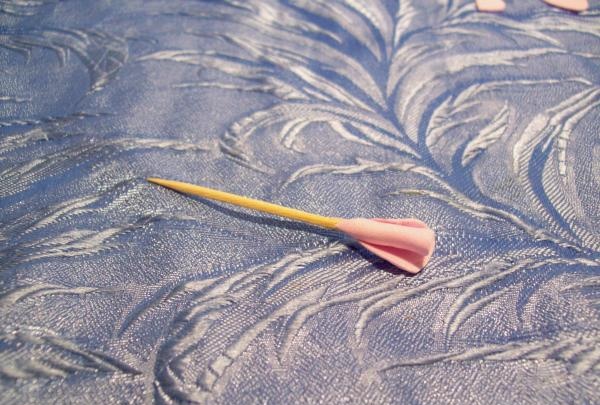
Glue the first two petals tightly pressed to the base.
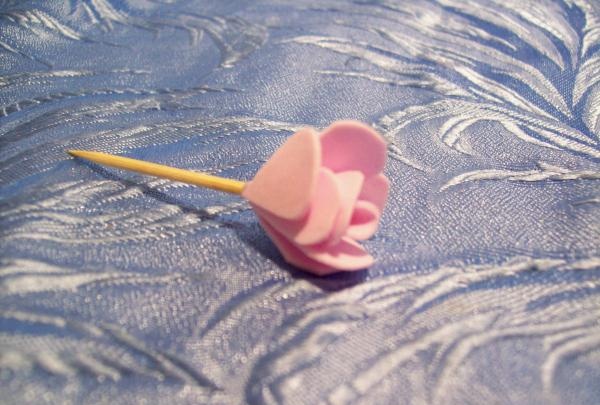
And we also fix all the other petals with “Moment” glue in a circle, lubricating only the bottom of the workpiece.
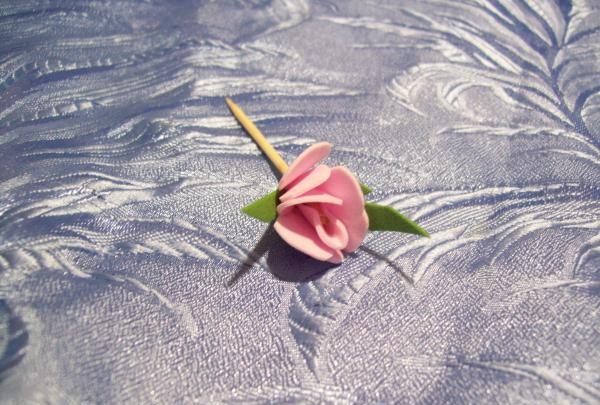
When the flower is collected, add two green leaves.
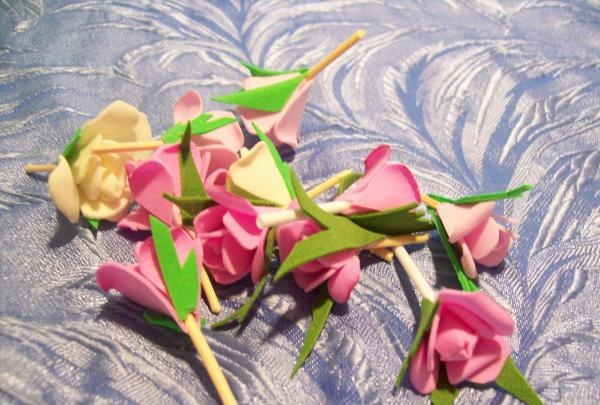
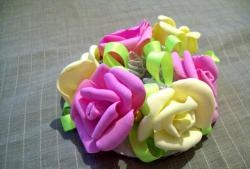
Now the flowers are all ready. You can break off sharp edges. It's up to you.
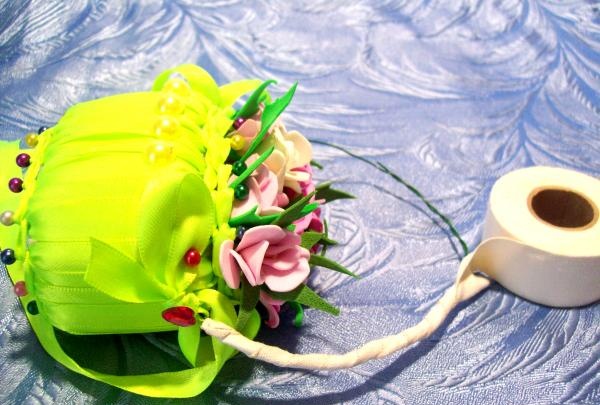
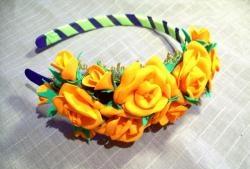
We return to our basket and plant all the flowers, simply sticking them into the foam. Basket full of flowers. Let's get to the handle. We wrap the entire wire with medical plaster.
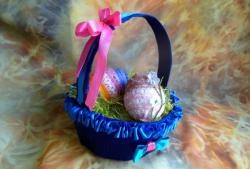
Then, using ribbon, starting from the bow, scroll along the patch from the top, pressing well. The handle is ready, but we attach a small bow to the side.
We decorate two wide sides with yellow half-beads and a heart.

We secure the bows along the edges of the handle with pins.
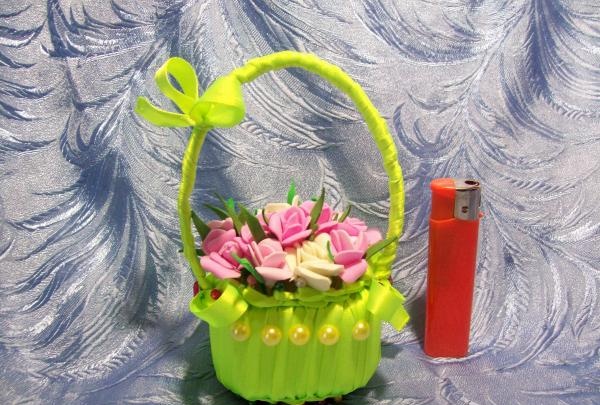
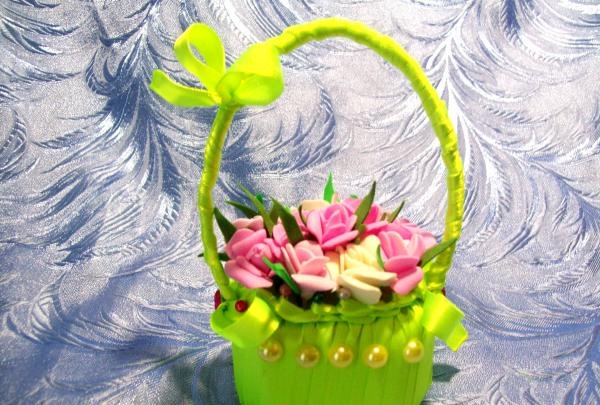
At this point the work is completed, the souvenir basket is completed.
Good luck to all!