To prepare this rose we will need the following materials:
- foamiran of bright orange and green color.
- lighter.
- dry red bed.
- wet wipes.
- scissors.
- scrunchy.
- foil.
- glue gun.
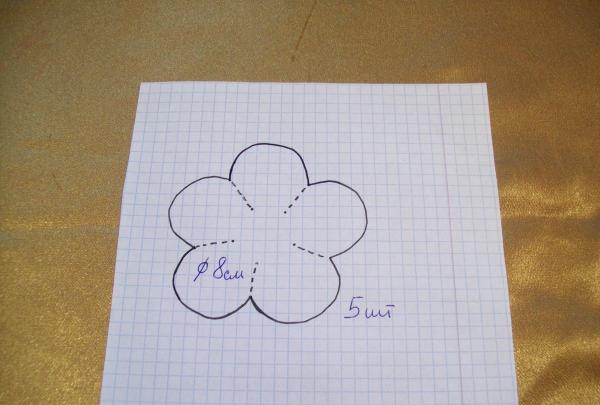
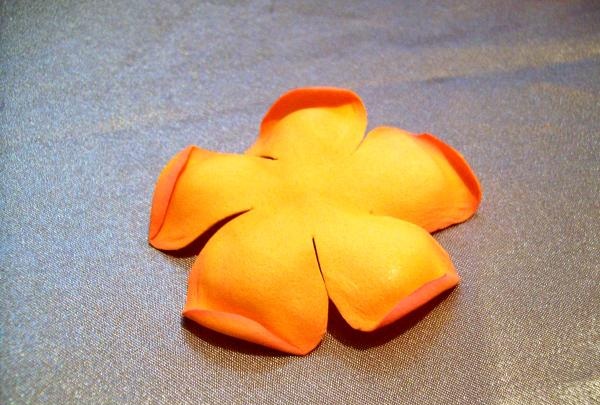
But first, we make templates for future flower petals. The diameter of the circle is 8 cm, we divide it into 5 rounded petals. We get a place for further cutting. And you will need only 5 such blanks.
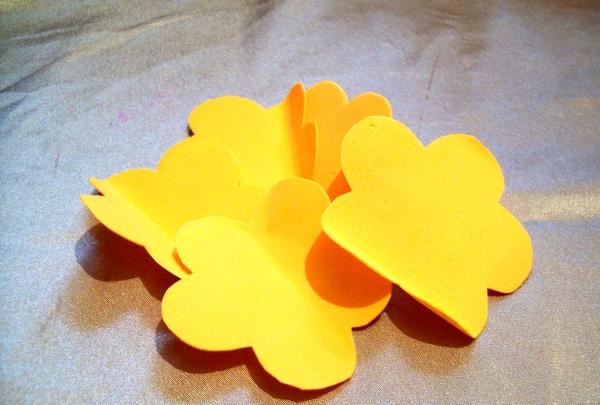
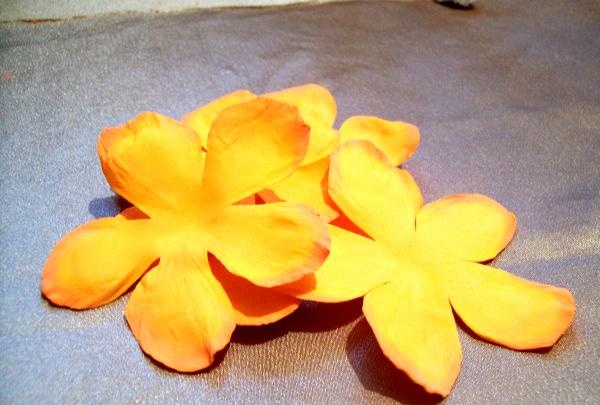
We cut out 5 of these blanks from orange foamiran.
We take a dry bed and a damp cloth, which we first wipe over the paint and then along the edge of the petal.
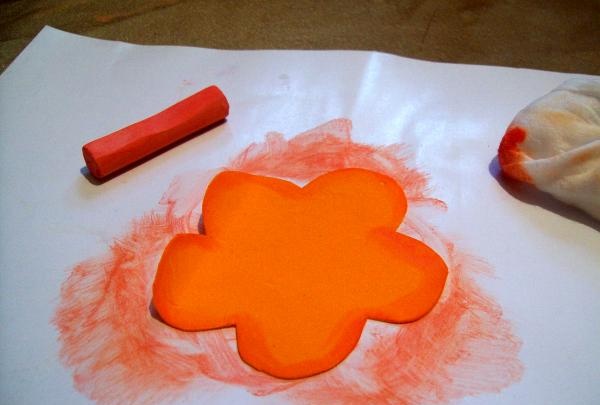
And we paint all these blanks on both sides.
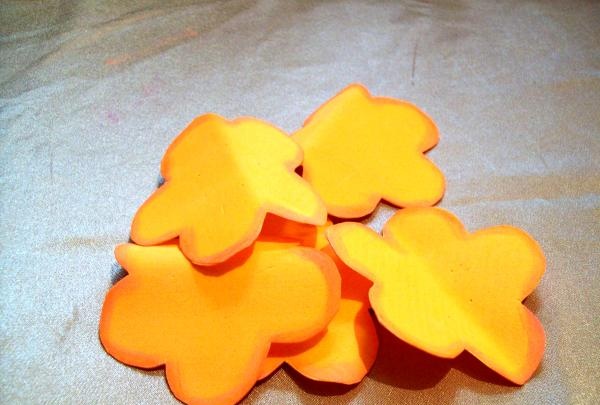
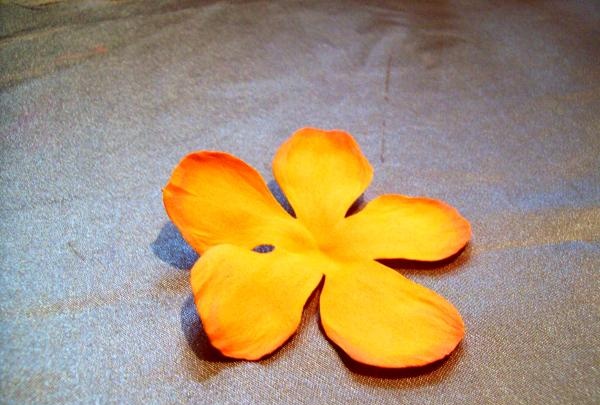
Now we make the cuts that were marked on the sketch, we cut the corners of the petals deep into the corners.

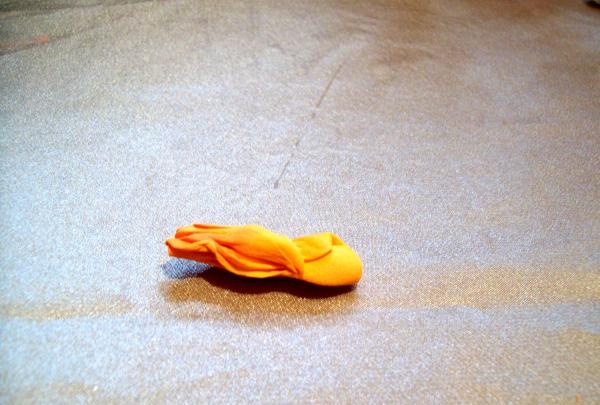
Now that all the blanks have dried, we begin to thin them out, making them thinner. First we add petals to petals, we get one.
And rub it well with your fingers, twisting them together.
Then we carefully straighten it and give it its original appearance.
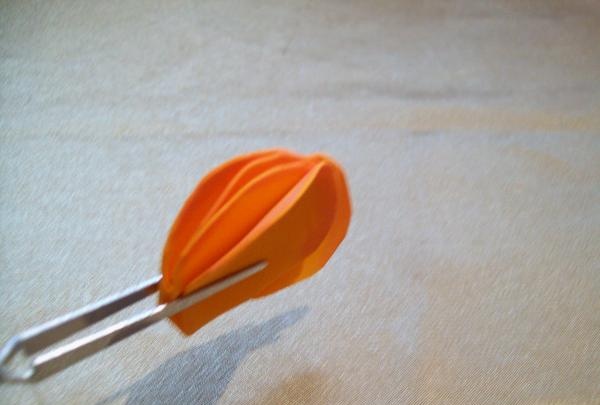
Then we take a lighter and use it to heat the suede, making folds along the edges of the petals.And we give this new shape to all 5 blanks.
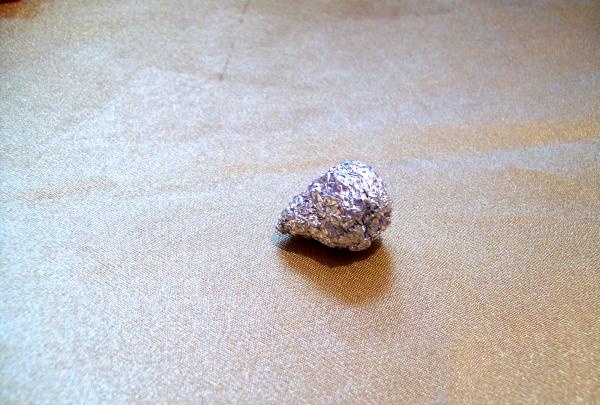
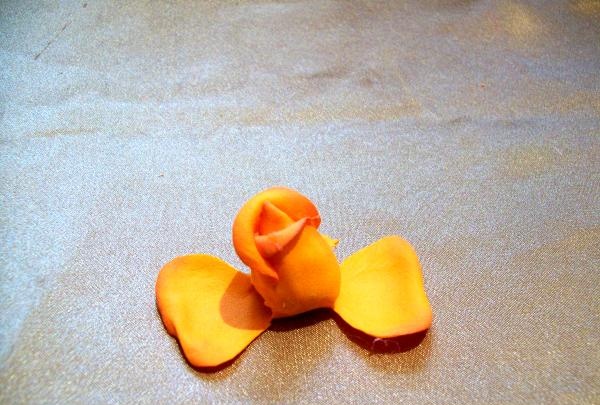
And now we begin assembling the rose. But for the middle we twist 10x10 cm foil into a droplet no higher than 2 cm.
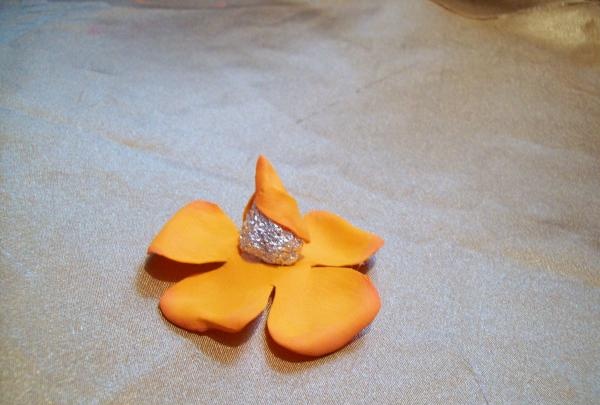
From the first blank with five petals we will glue a rosebud. We use a glue gun. Glue a drop of foil in the center of the petals. We take the first of them and glue them tightly pressed to the droplet.
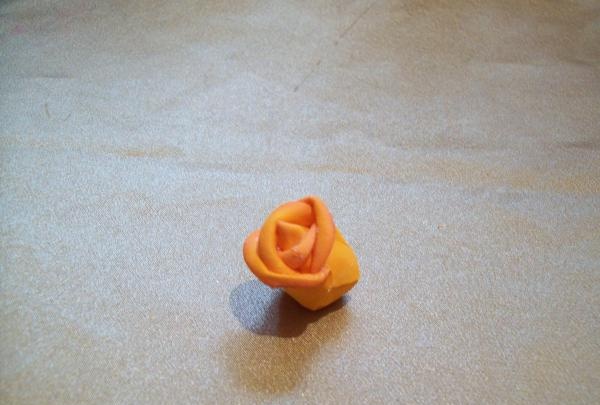
Now we take the petal, one at a time, and also glue it tightly, smearing the bottom, middle and almost the entire top of the petal with glue.
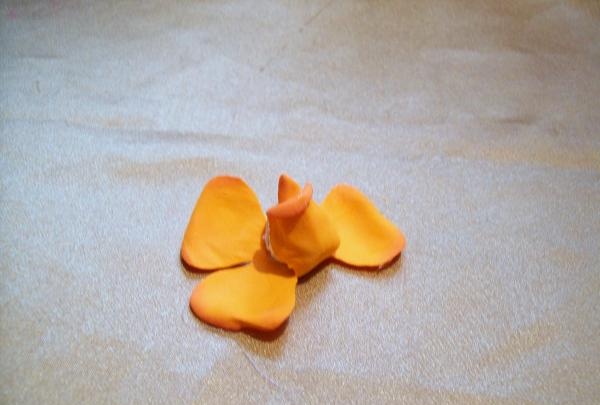
We take it again through one petal and glue it in the same way.
We glue the entire first row alternately.

We begin to secure the second row of petals in the same way.
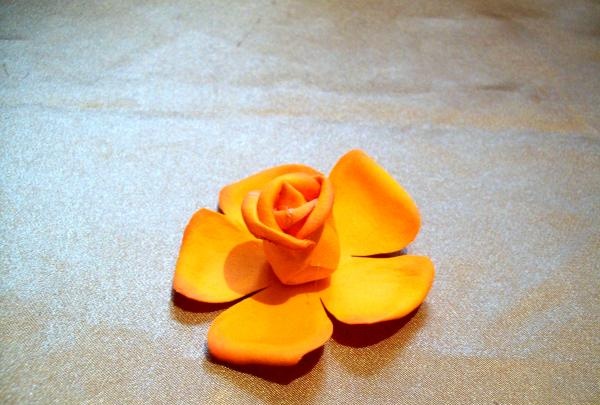
We will glue the third row in the same way, but we apply glue only to the bottom and a little to the middle.
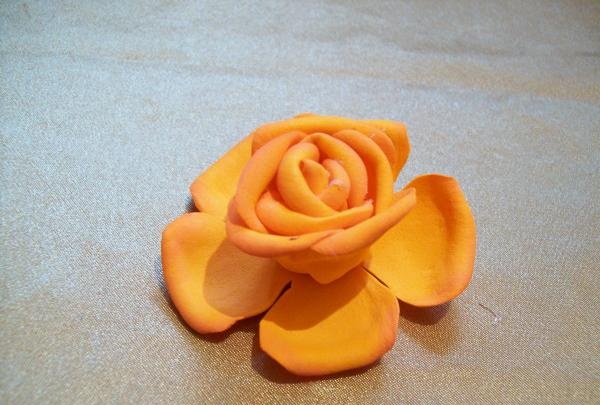
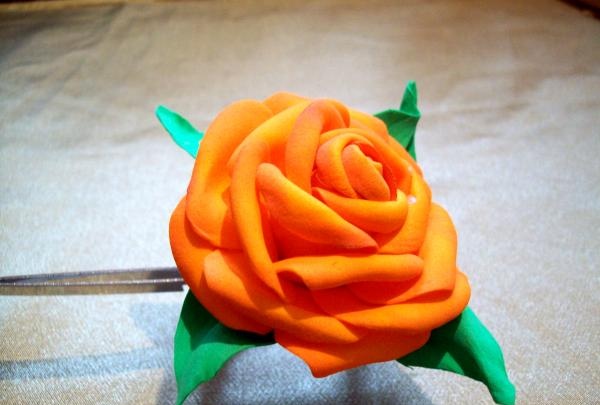
The fourth row also differs in the location of the glue. It will only be applied to the lower part of the petals. And in the fifth row, when we glue it in the middle, we try to glue only the bottom itself, very close to the middle.
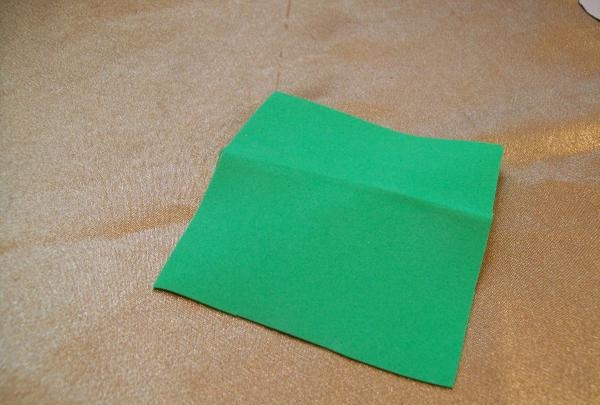
The flower is ready, let's start making the backing. We cut out a square measuring 7x7 cm from green plastic suede.
We cut out randomly, starting from the corners with a blank of 4 leaves.
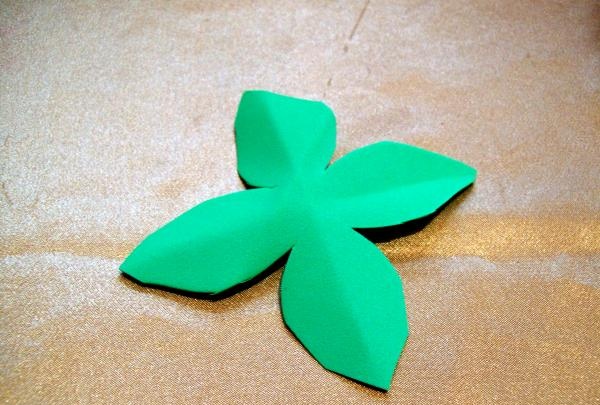
We also process it by twisting the fingers.

Gently straighten it, pressing a little in the middle, making a depression.

And turning the rose upside down, we fix our backing with glue, and glue a hair elastic on top.
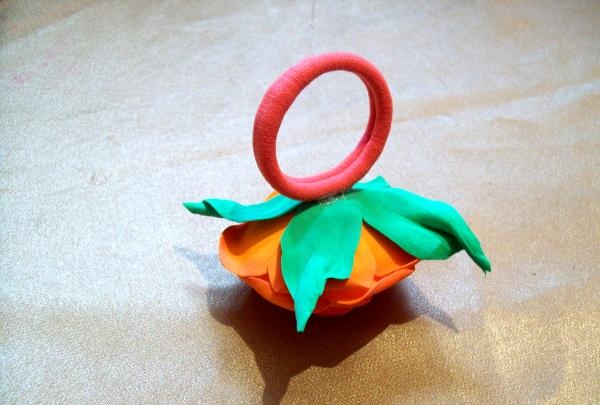
But to cover the gluing points, you can glue a strip of suede to the elastic on top.
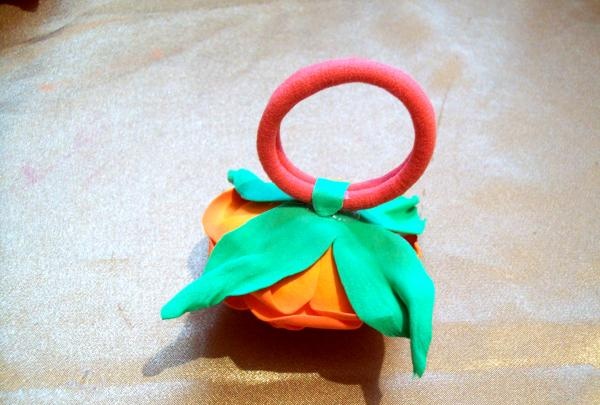
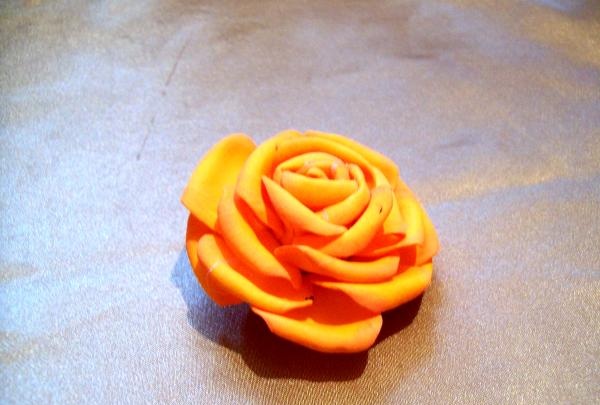
That's all. Our decoration – the hair band is ready.

Good luck to all.