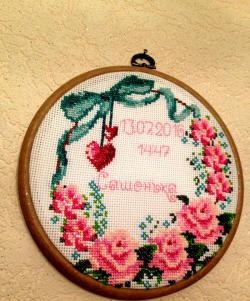
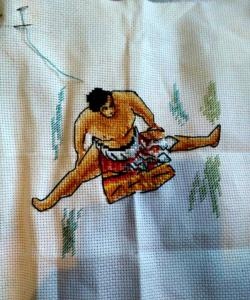
For these pillows you will need:
-embroidery 25*25 cm,
-small remnants of various cotton fabrics,
- synthetic winterizer 45*45cm,
-zipper length 45cm.
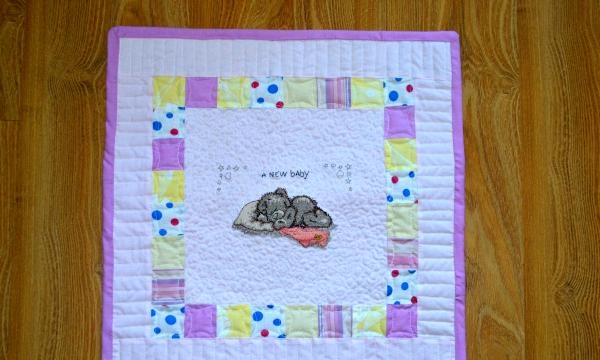
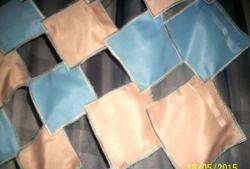
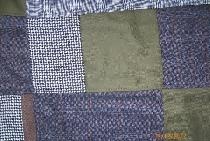
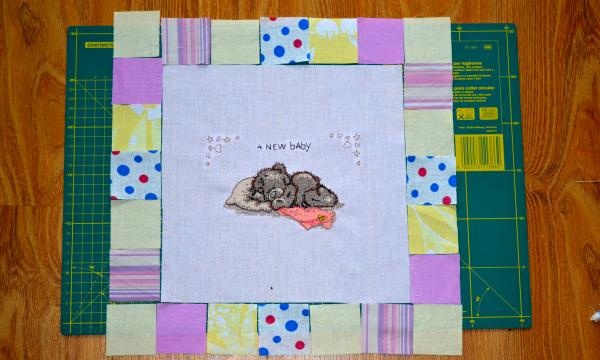
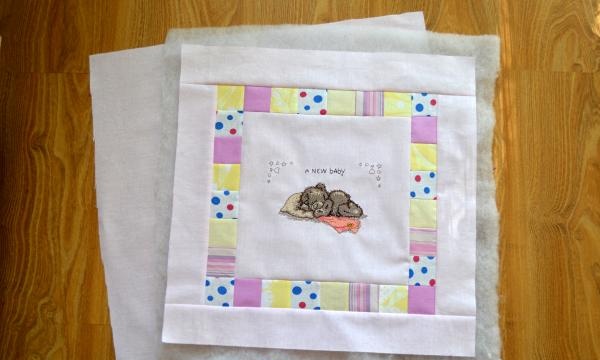
The first step is to thoroughly iron all the fabrics and embroidery. Cut out 5*5cm squares from multi-colored scraps. And we lay it out around the embroidery as we like, in any order. We shuffle several times to get the result to suit your taste.
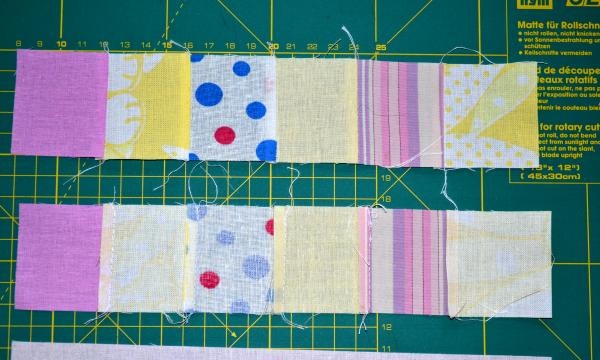
We take the 6 lower and 6 upper squares and sew them together with a caterpillar stitch. We sew one by one. Smooth it thoroughly from the face and back. You need to iron it with a hot iron without steam! When ironing, pull the iron in one direction. There is no need to fidget here and there, otherwise the sewn part will become deformed.
We sew the “caterpillars” to the top and bottom edges of the embroidery. Smooth it thoroughly from the face and back.
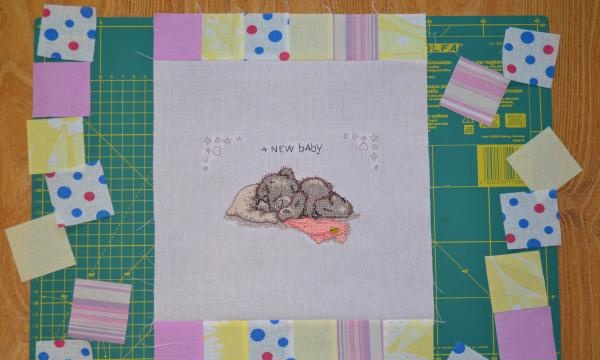
We sew “caterpillars” from 8 squares on the left side and on the right. Iron it thoroughly and sew it to the embroidery. I would like to note that ironing after each sewing step is very important! Make sure that the seam allowances on the inside face the same direction! Then the shreds will be smooth and neat.
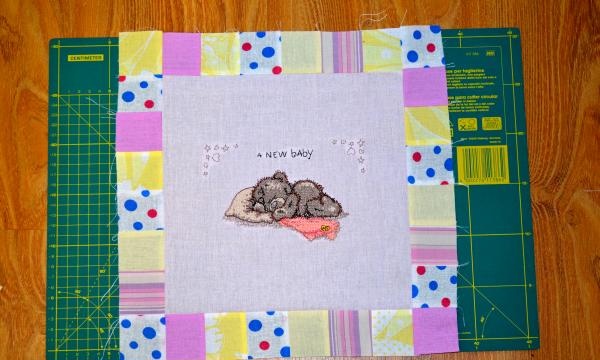
We cut out two strips 7*32 cm and sew them to the “caterpillars” to the left and right of the embroidery. Iron the seams.
We cut out two strips 7*42 cm and sew them on top and bottom of the embroidery. We iron everything again.
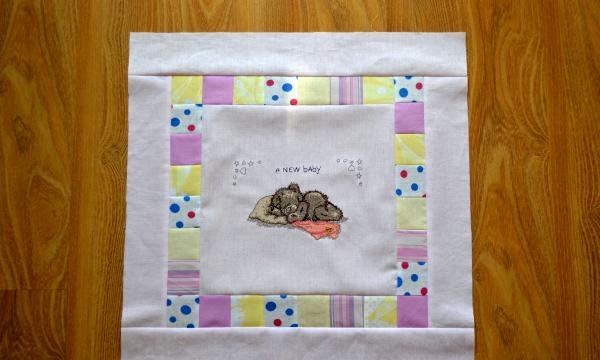
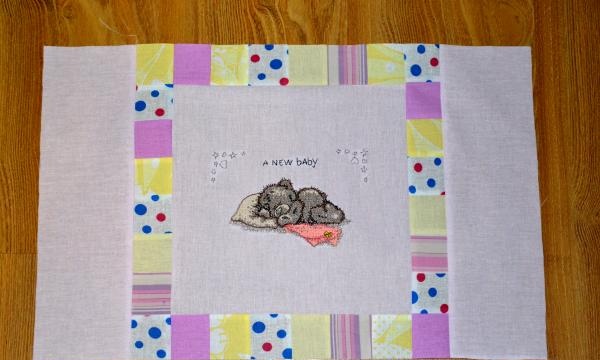
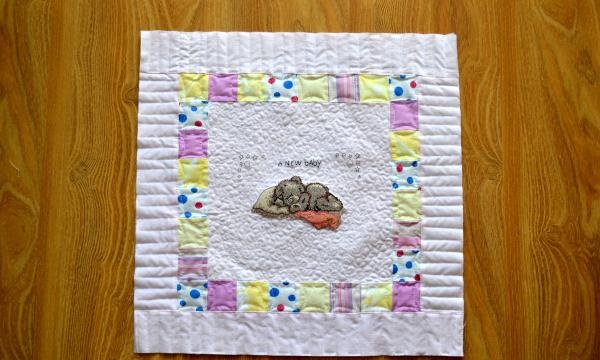
We take a padding polyester and a piece of any fabric measuring 45*45 cm. And we form a three-layer sandwich, pin it all over the field with pins to hold it together and quilt it. You can quilt with straight lines along the joints of the seams, or you can use different patterns, as in the photo. After stitching, trim off the protruding padding polyester and the bottom fabric. Trim, focusing on the front side, the one with embroidery. We got a front blank with dimensions 40*40 cm.
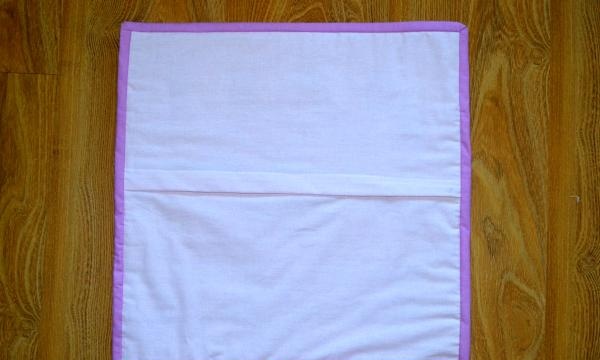
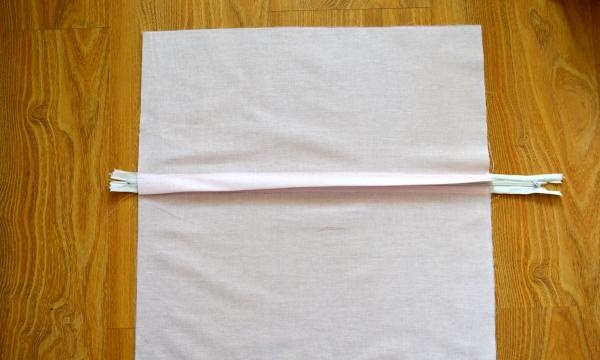
Let's start with the back of the pillowcase. We cut out two 40*25 cm flaps from the fabric. Sew a zipper on the sides 45 cm long.
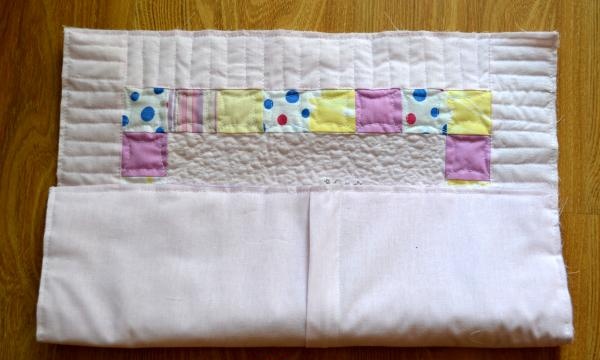
Connect the face and the back of the pillowcase. To do this, we put these blanks together back to back and lay a stitch along the face along the perimeter.
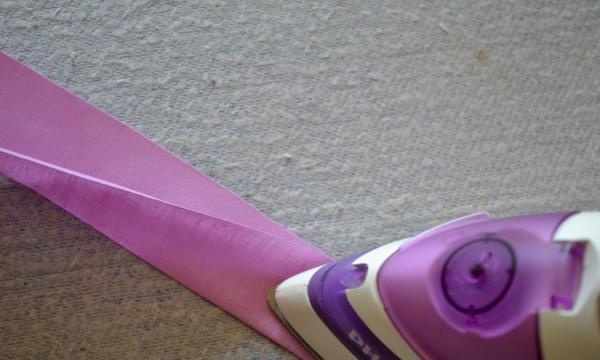
Preparing the binding for the edging. We cut out a strip with dimensions 6*165cm. If there is no such long cut. Then you can connect several short strips.
We fold the resulting long strip lengthwise and iron it with an iron.

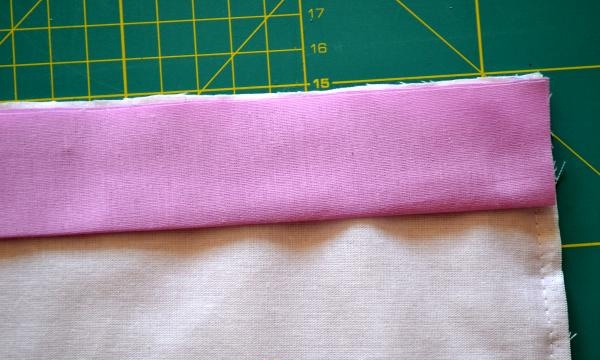
We sew the resulting binding to the wrong side of the pillowcase. To do this, we align the sections to the sections and sew them to the width of the foot. We form the corners.
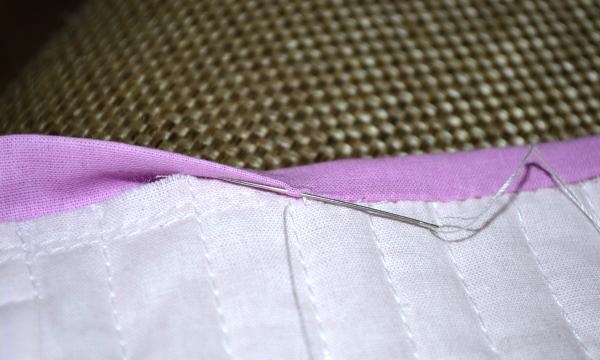
We turn the trim over the face and pin it to the pillowcase, paying special attention to the corners!
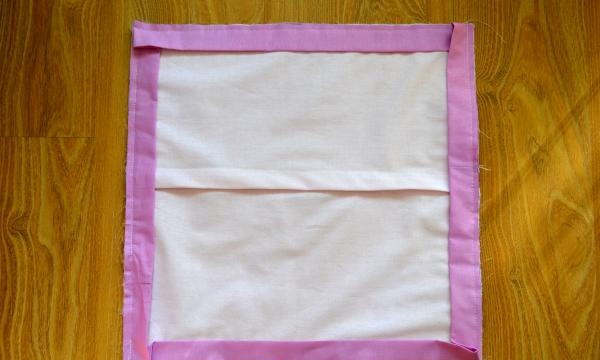
We sew the binding by hand to the front of the pillowcase.It is better to use a hidden seam.
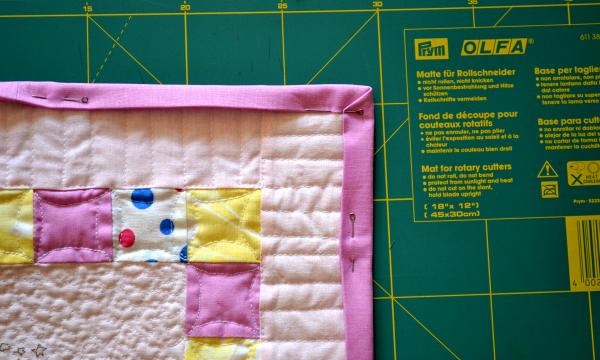
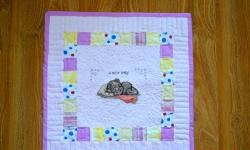
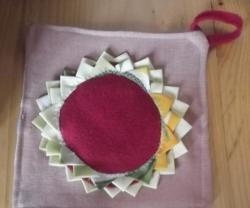
This is the pillowcase we get as a result. The face is a patchwork technique with embroidery, the back is plain with a zipper. This pillowcase will serve as an excellent decoration for a nursery.