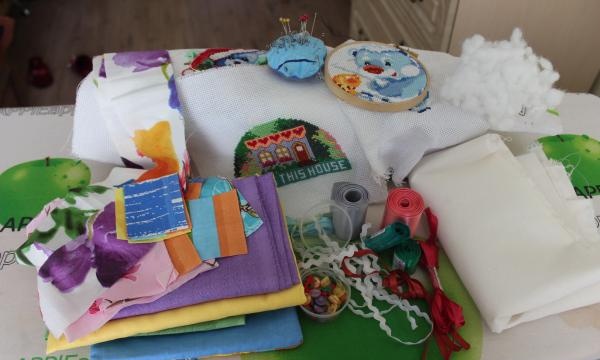
We will need:
- Scraps of fabric/fabric/embroidered fabric.
- Dublerin (for product strength).
Fillers:
- insulation (for potholders).
- holofiber / cotton wool (for pillows).
- Bias tape (can be made from fabric or purchased ready-made).
For decoration: satin ribbon, ribbon.
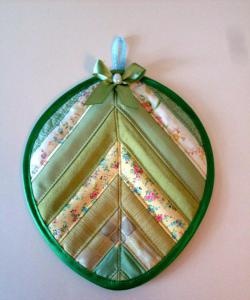
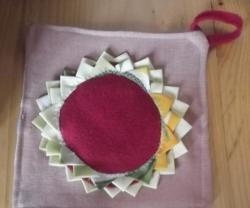
Making potholders:
Step 1: Prepare 4 square pieces of fabric measuring 10x10. One of these squares can be cut out from embroidery, placing the design in the center. We also cut out an 18×18 square from dublerin, fabric and insulation.
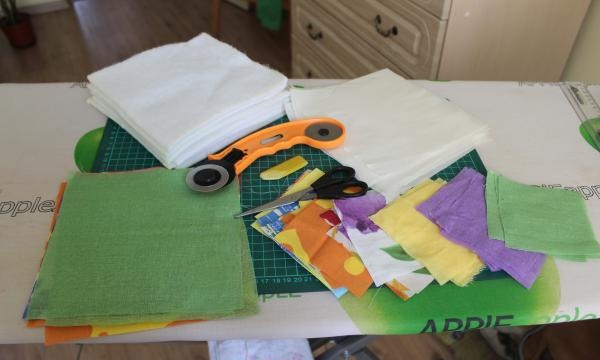
Step 2: Lay out 10×10 scraps, combining colors and choosing the best option.
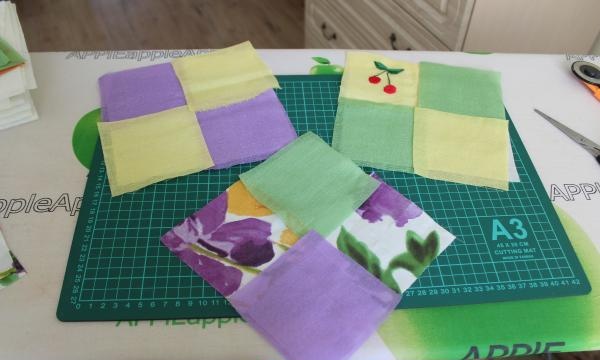
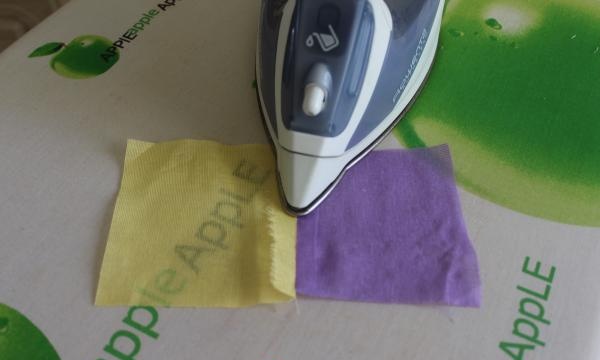
Step 3: Sew 2 squares together in pairs.
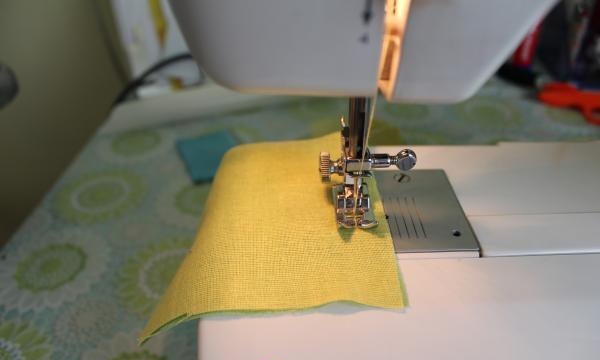
To make the finished product look neat, iron the seams.
Then we grind together the 2 resulting rectangles and get one large square - the “cover” of the potholder.

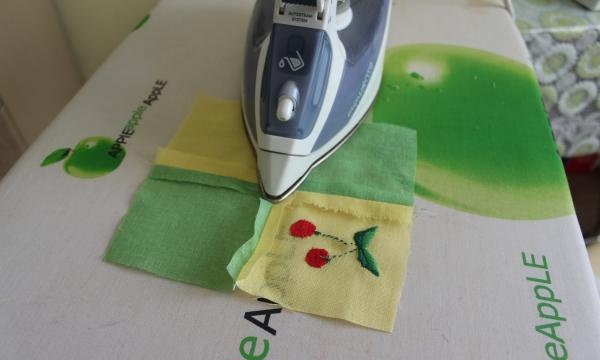
We also iron the seam.
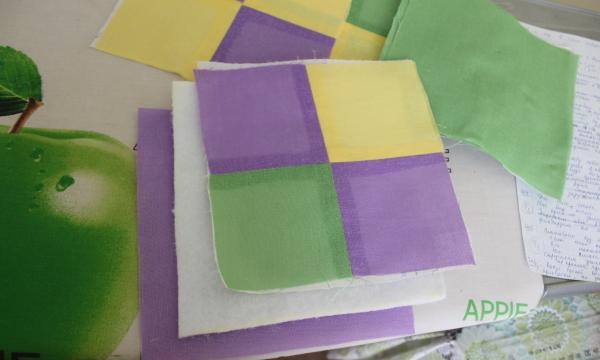
Step 4: To ensure that the product does not lose its appearance after washing and lasts longer, you need to use dublerin: use an iron to fix a square of dublerin on the wrong side of the cover.

Step 5: We layer the future tack:
1 layer – fabric 18×18
2nd layer – insulation 18×18
3rd layer – cover
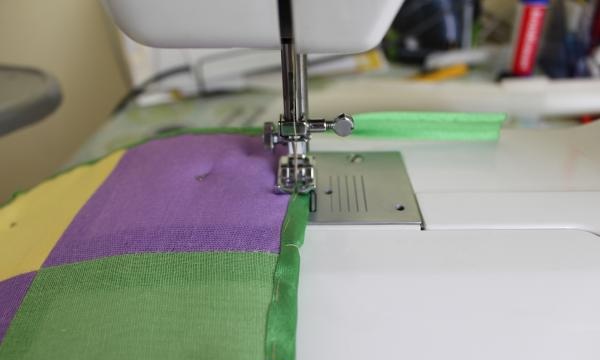
Use scissors to slightly round the corners.
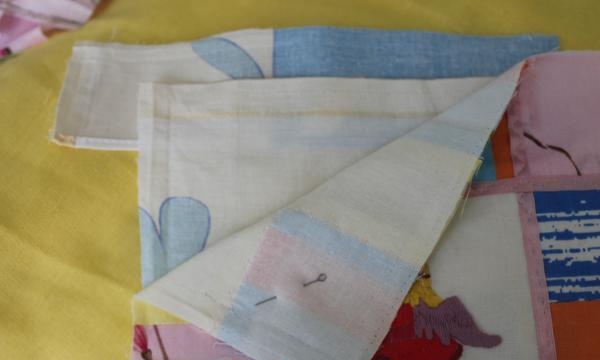
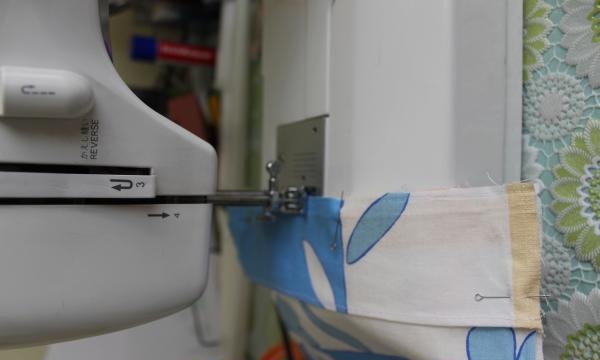
Step 6: We sew the edges with bias tape, not forgetting the allowance for the hanger.
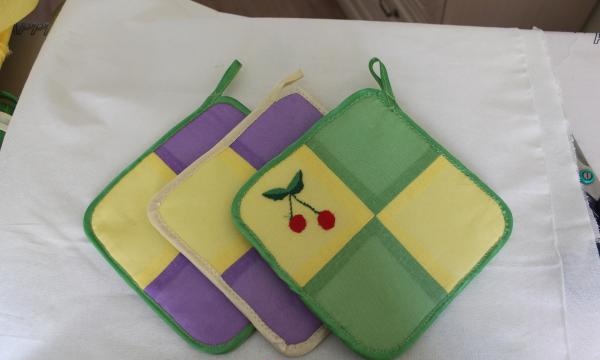
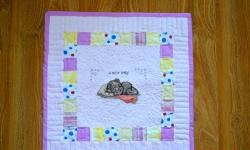
Ready product.
Making pillows:
Pillows are sewn similarly to potholders. In this case, you can sew the base of the pillow, stuffed with halofiber, and the pillowcase-cover separately. Then washing and ironing the product will not cause difficulties.
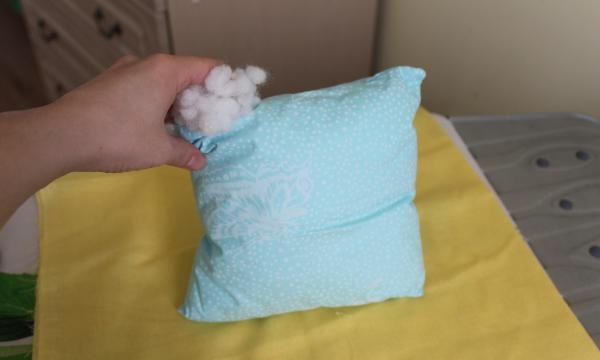
Step 1: For the base, cut out a 20×38 rectangle and holofiber. Fold the rectangle in half, right side to right side. We sew along the edge, leaving a section of 7-10 cm unsewn. Turn it right side out, stuff it with holofiber and sew it
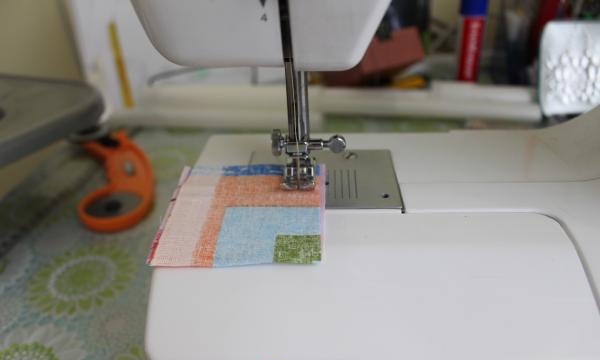
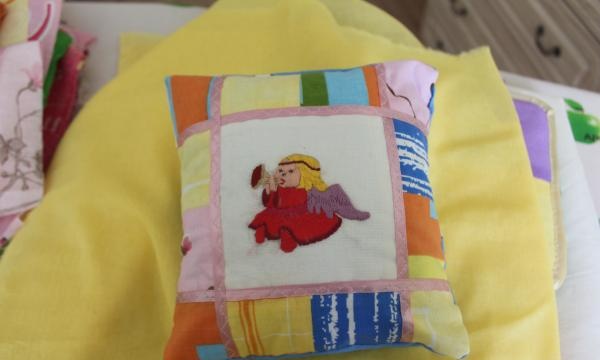
Step 2: For the cover, cut out 12 squares measuring 7x7, a square for the front (with a pattern or embroidery) 12x12, a square for the back 20x20, a rectangle 6x20.
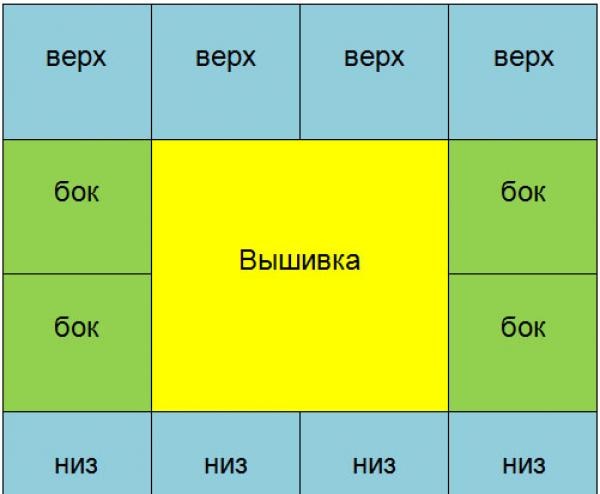
We sew together the top 4 squares, the bottom 4 squares, then 2 side squares in the middle.
Iron the seams and assemble the pattern of the front part. If desired, you can decorate the resulting canvas with a satin ribbon or ribbon.
Step 4: Assembling the pillowcase. Place the 20×20 square and front piece, back to back. To the right side of the back piece, we attach a 6×20 strip from the top, wrong side to right side.
Step 5: Sew the pillowcase along the very edge.
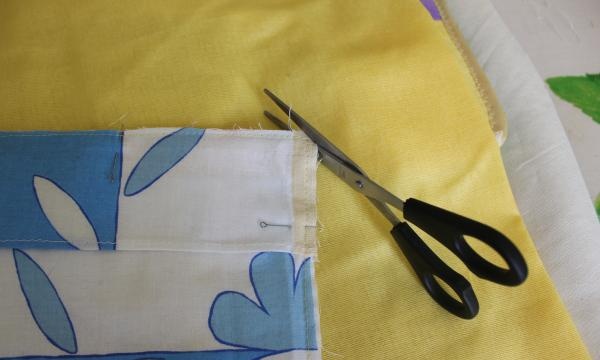
Cut off the corners.

Step 6: Carefully turn it inside out and stitch at a distance of 0.5-0.7 cm from the edge.
We put the resulting pillowcase cover on the base.