Before cutting out the parts of the potholder, you need to do two things: firstly, decate all the fabrics, that is, iron them thoroughly with steam, and secondly, use paper or cardboard to make a pattern for the potholder in the form of a sheet from a tree. Its size and shape can be arbitrary.
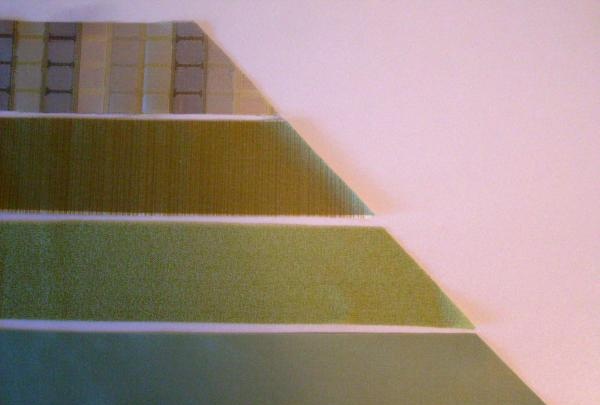
From the prepared pieces of fabric, it is necessary to cut out strips 4 cm wide and of arbitrary length; one end cut of each strip should be cut at 45 degrees. This is required by the design and specifics of the tack assembly.

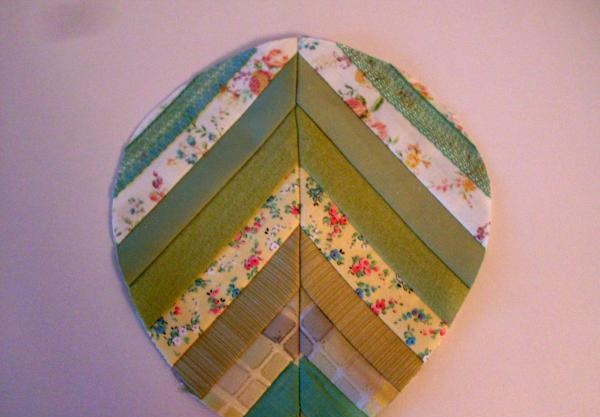
The cut strips should be sewn together with a 1 cm wide seam, starting assembly from the corners, as shown in the photo.
Periodically, you should apply the tack pattern to the fabric being sewn and check whether it is already included or not.
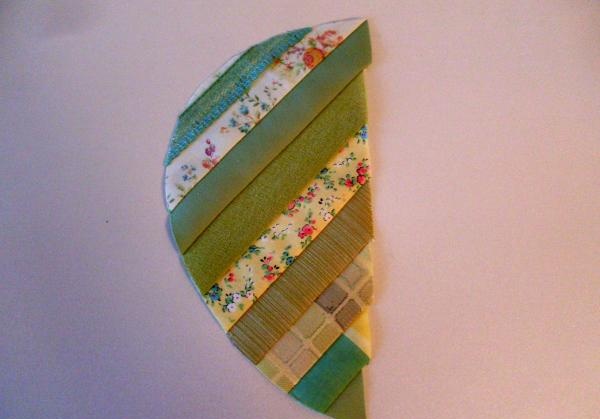
The assembled fabric should be carefully ironed, directing the seam allowances in one direction. Using the pattern, you should outline and cut out the part in the form of half a sheet. Similarly, you need to assemble the other half.
The tack halves should be sewn together with a 1 cm wide seam. The seam allowances should be ironed.
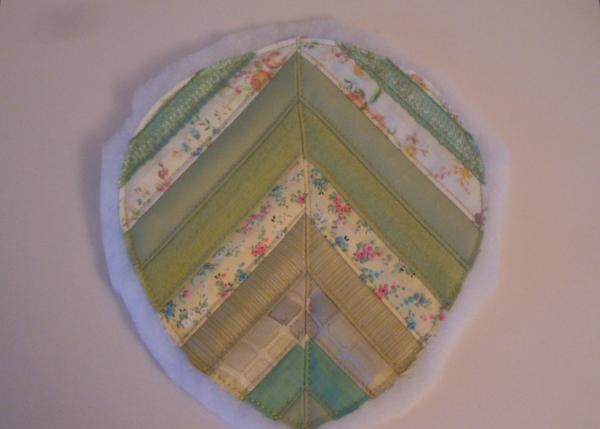
After this, the front part of the potholder should be quilted using padding polyester. For convenience, you can start pinning the part onto the padding polyester using safety pins, then lay finishing stitches along each seam of the part and along the perimeter, and then remove the pins.
Excess padding polyester should be trimmed.
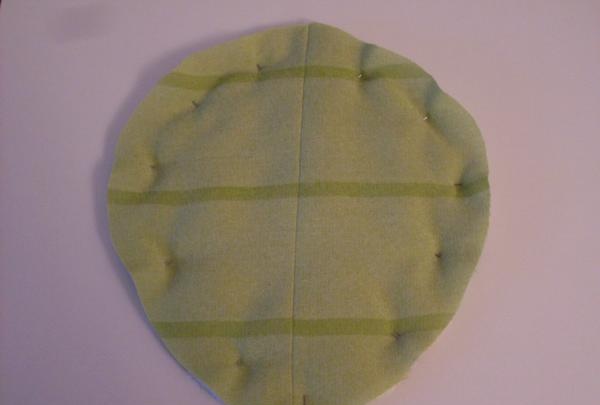
From the existing scraps you need to cut out the wrong side of the potholder. You can make it whole, cut into two parts, or exactly the same as the front side - it all depends on the desire and capabilities of the needlewoman.
The front and back sides of the potholder should be pinned together using pins.
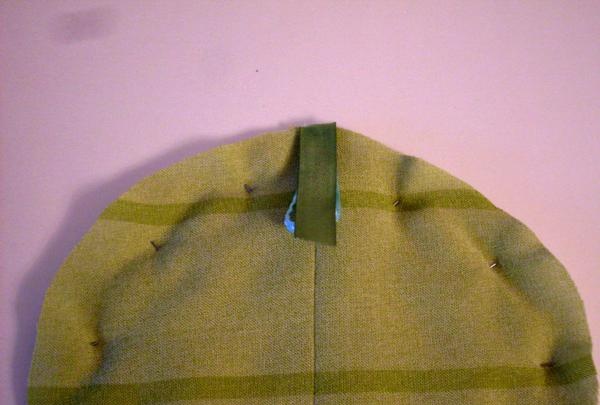
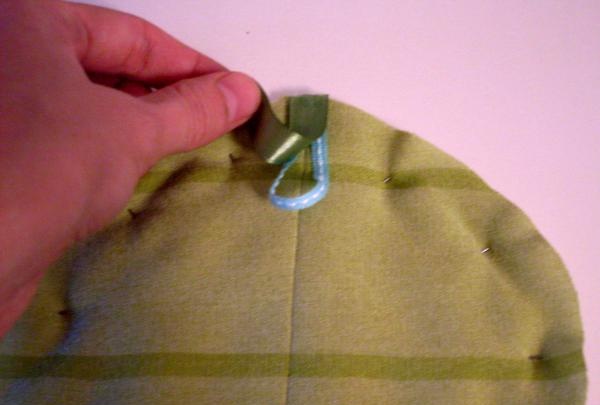
At the top of the potholder you should hand sew or glue a loop for hanging and a small piece of tape to neatly finish the ends of the bias tape.

The outer edge of the potholder should be edged with bias tape. First, you need to stitch it from the wrong side, placing a stitch in the groove of the binding.
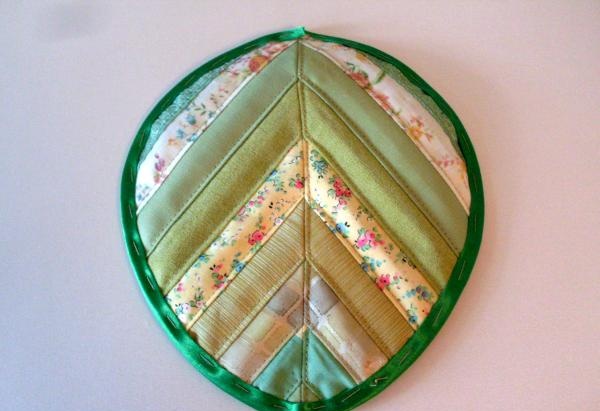
Then the bias tape needs to be wrapped on the front side of the product and basted with hand stitches.
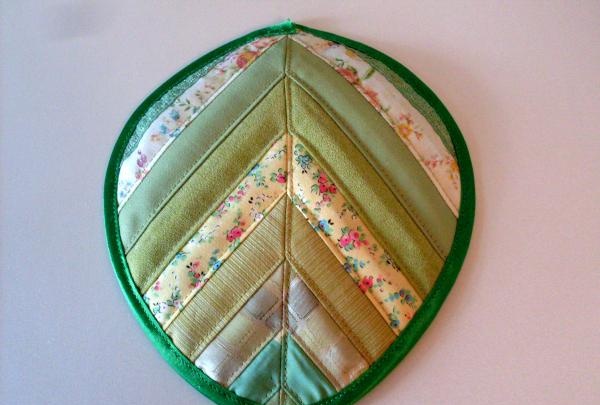
After this, you can put a finishing stitch along the edge of the binding and remove the basting.
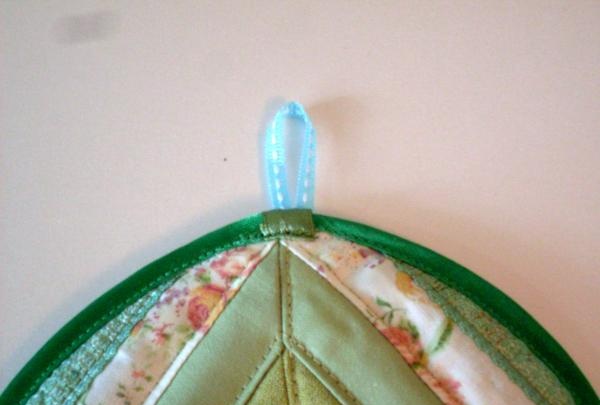
The joints of the bias tape must be closed by folding a piece of tape to the front side and stitching it.
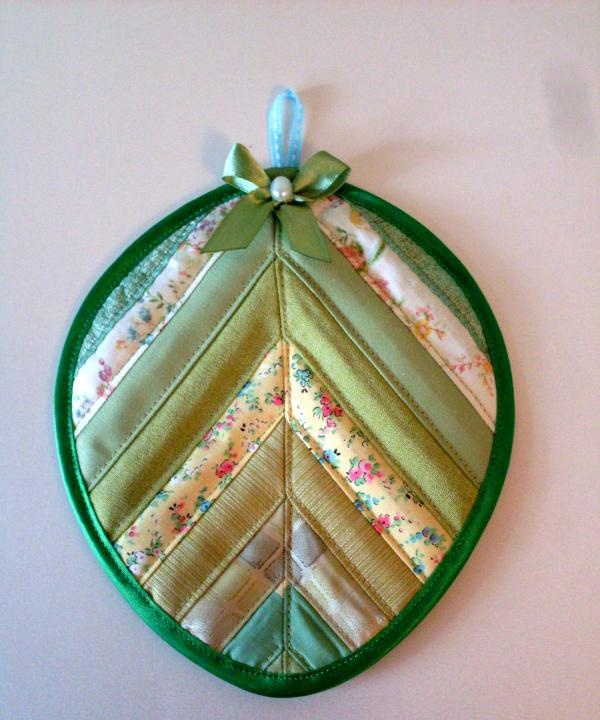
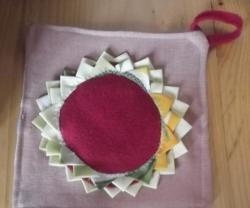
The finished potholder should be ironed if necessary.As decoration for it, you can use a small bow and a bead tied from a ribbon. The potholder is ready!