So, to get the job done you will need:
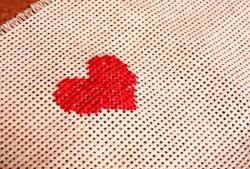
1. Canva. You can choose any size and color of the canvas. The main rule is that the smaller the cells, the neater it will look. embroidery and more design will fit in a limited area. It is better to select the color of the canvas in accordance with the planned design.
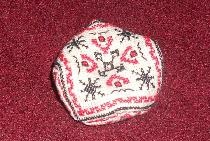
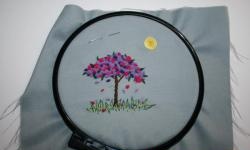
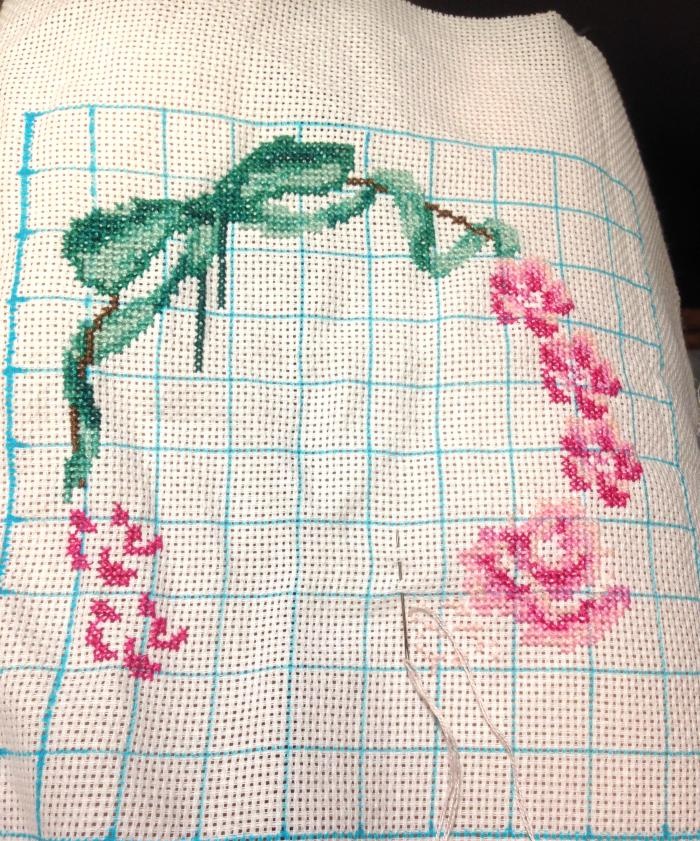
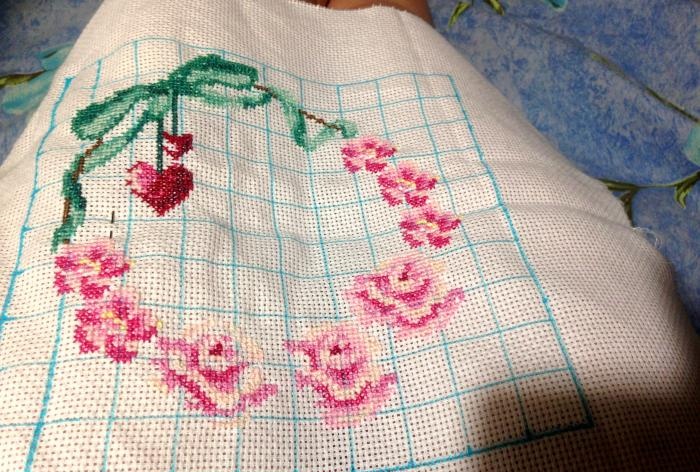
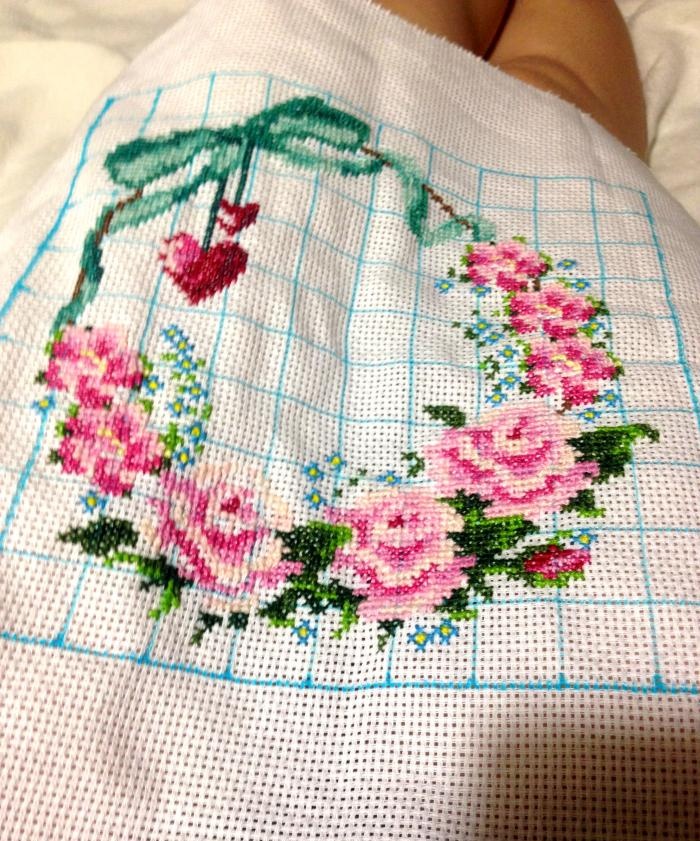
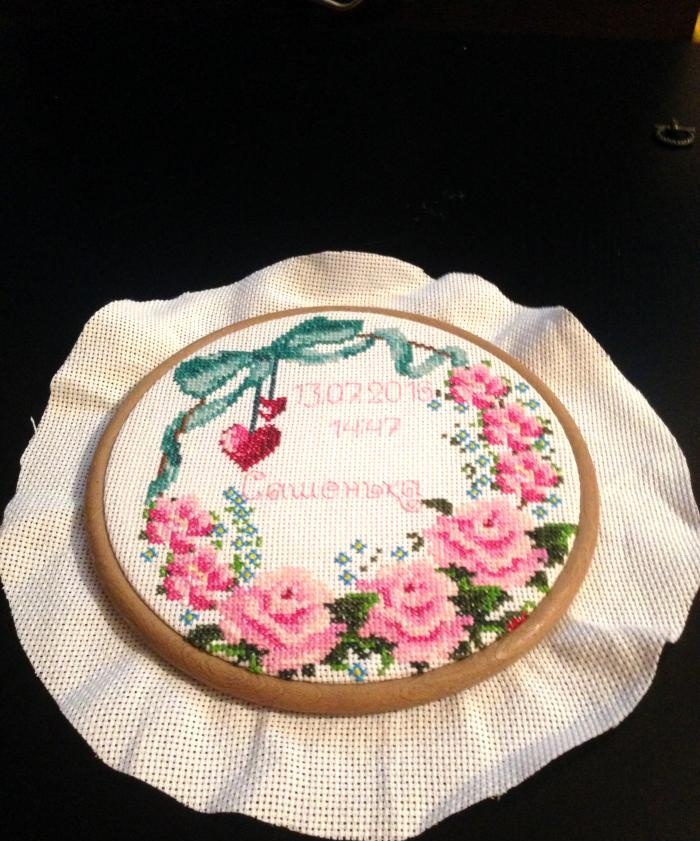
2. Pattern for embroidery. You can now find a huge number of patterns on the Internet, choose the one that suits the chosen theme. In this case, the gift is intended for a newborn girl, so the design was chosen with pink flowers and a turquoise bow. There is space left in the middle for an inscription.
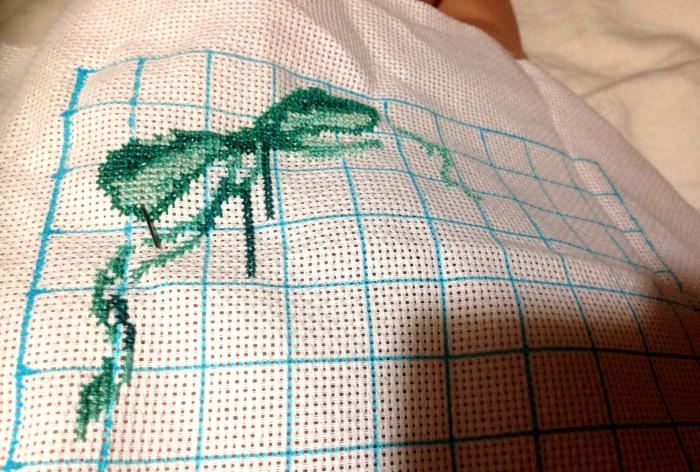
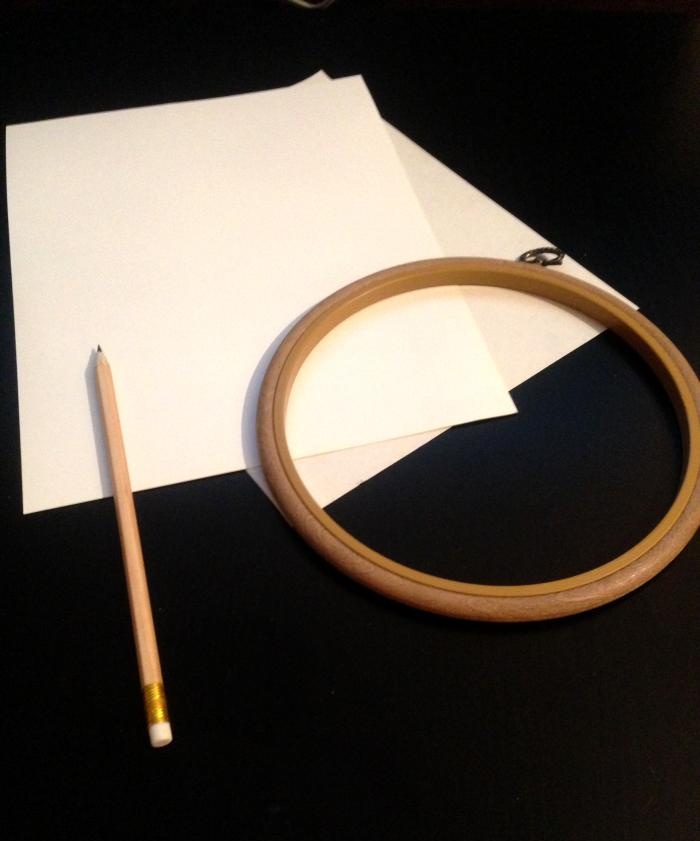
3. Hoop. It is important to choose a hoop based on the size of the canvas and the chosen pattern. It is necessary to correlate the number of cells on the diagram and on the canvas and determine the size of the future embroidery.To make this easier, you can draw the canvas into 10*10 squares using a special water-soluble fabric marker. Also consider the shape of the drawing. Hoops can be purchased in various shapes and sizes, such as round, square or oval.
4. Embroidery threads. Threads can be used of any quality and from any brand. The main thing is that they are all from the same series and do not differ in structure. You need to choose colors in accordance with the scheme. Most often, it indicates not only the name of the colors and the quantity required for the job, but also recommendations for choosing a manufacturer, indicating the article numbers.
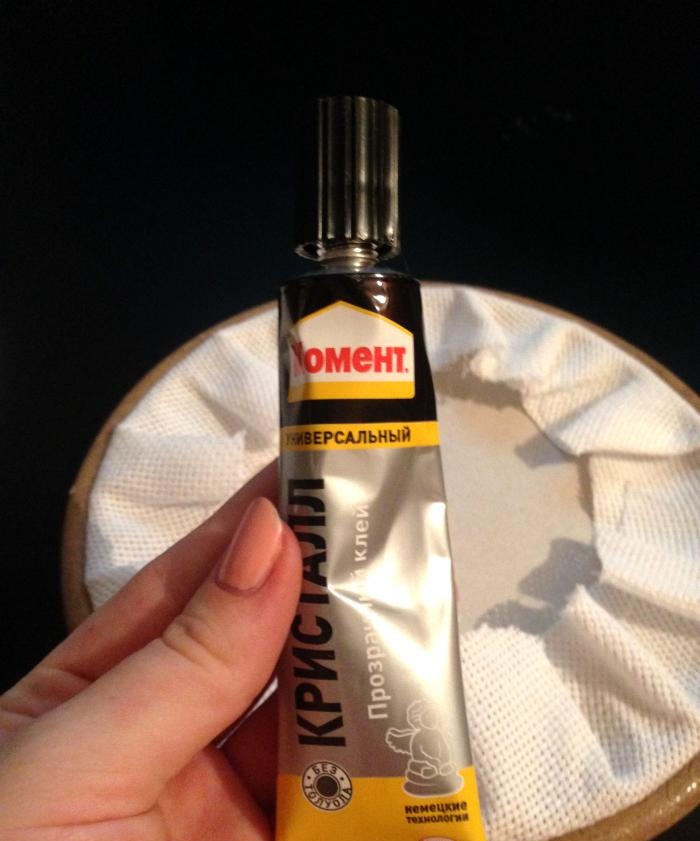
5. Auxiliary materials: cardboard matching the color of the canvas, pencil, Moment glue - necessary for designing the work.
The first step is to cut out a piece of canvas of the required size with an indentation of 5 centimeters or more to make it convenient to design. You can work with canvas both in a purchased hoop and without it.
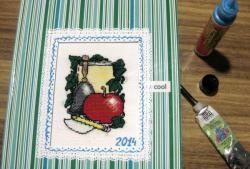
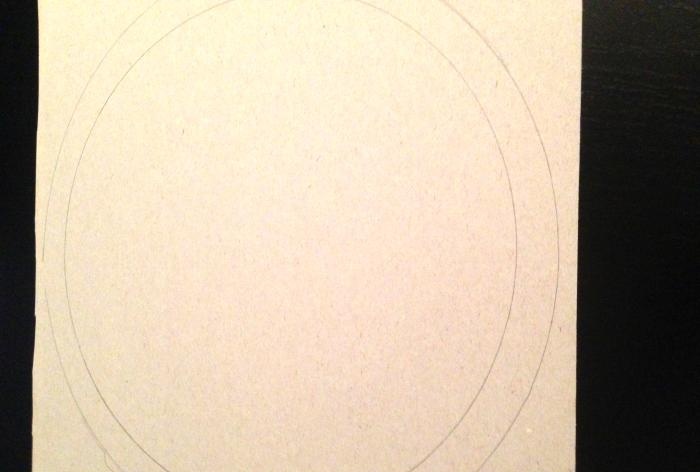
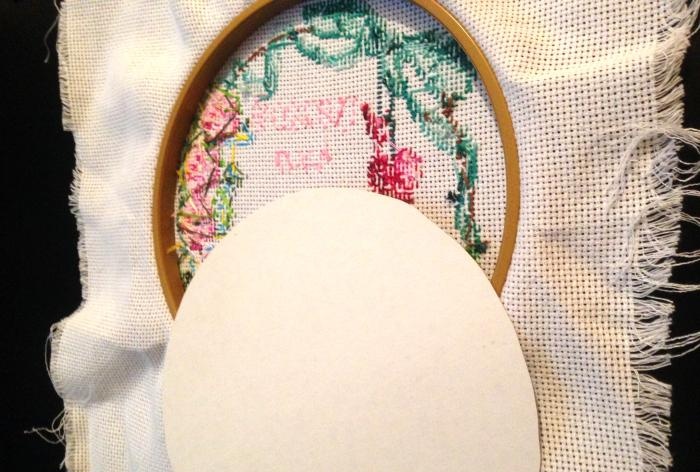
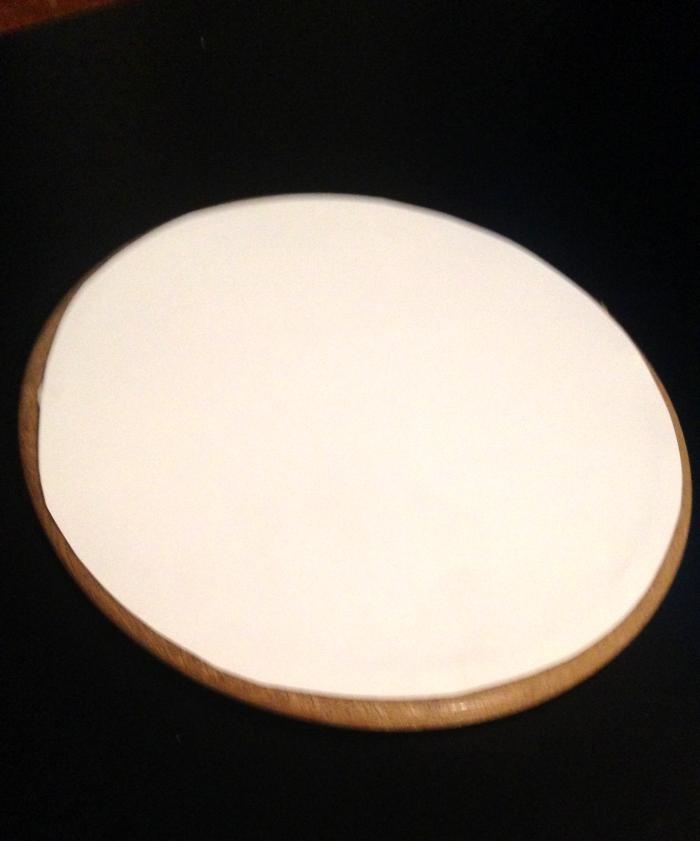
After the embroidery is transferred to the canvas, it must be washed to remove dirt or marker applied. While the embroidery is drying, you can start decorating it. First you need to cut out 2 circles from cardboard. The size of the first should correspond to the inner diameter of the hoop, the size of the second should correspond to the outer diameter.
The dried embroidery should be carefully ironed through 2 layers of stamp or thin fabric, and then pulled onto the hoop.

The smaller cardboard circle needs to be inserted on the back side of the embroidery.
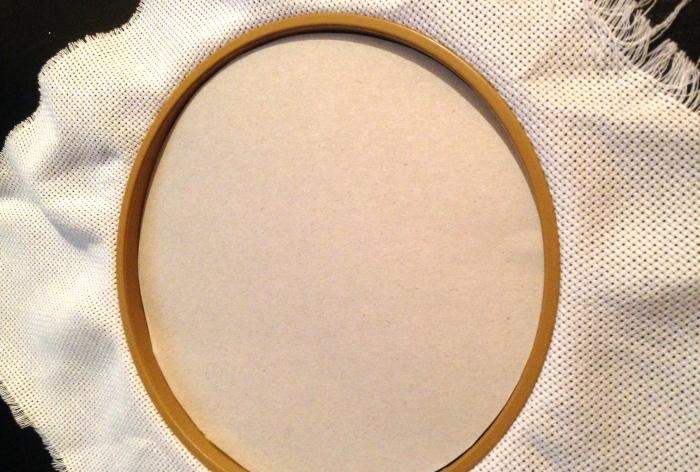
It will give the fabric density and allow the pattern to look brighter.
The edges of the embroidery need to be gathered at the back and attached to the cardboard with glue.
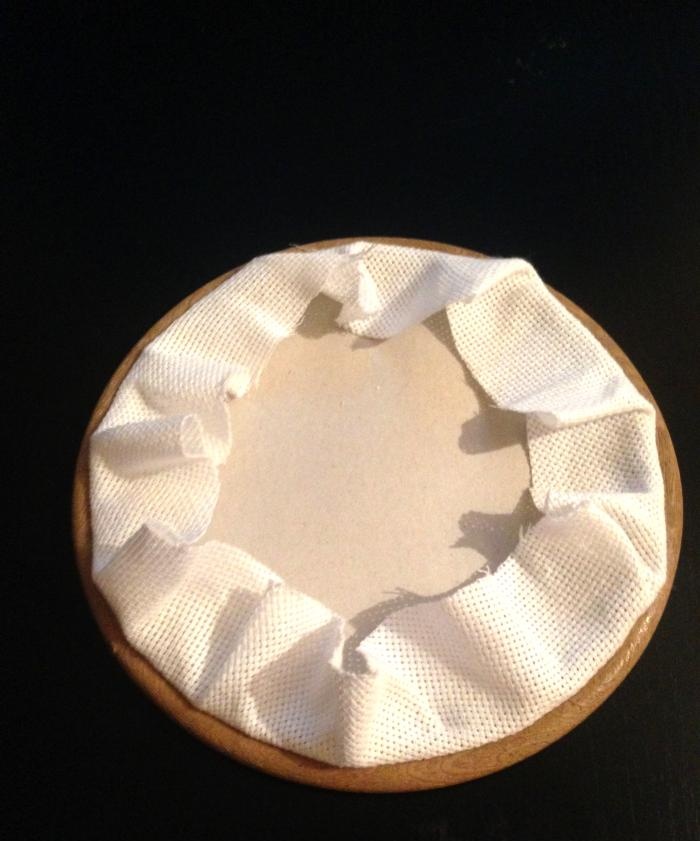
The second piece of cardboard will serve to hide these edges.
This method of decorating embroidery will save time and money - it is much cheaper than decorating it in a framing workshop, and it will take no more than 15 minutes.
[center]
Creative success!