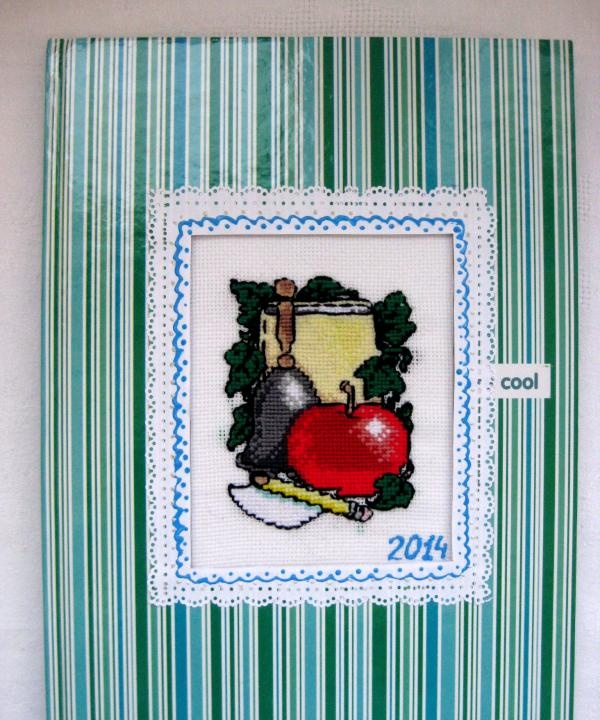
A creative person always tries to add a little originality to any present. How can you turn an ordinary notebook for culinary notes into a gift? All you need is some cross stitch skills and some inspiration! The method described below is quite simple and anyone can cope with it with a little effort and a good mood.
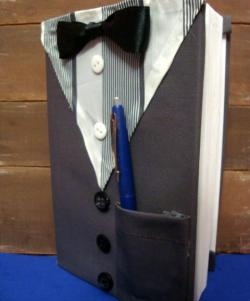
A notebook with embroidery will be an excellent gift for any occasion and even for no reason. The essence of the work is that the embroidered picture is placed in a cut-out window on the front of the notebook. This is another option for how embroidery a cross can decorate any thing.

Tools and materials:
• Embroidery needle
• Hoop
• Scissors
• Floss threads 20 colors, canvas
• Stationery knife
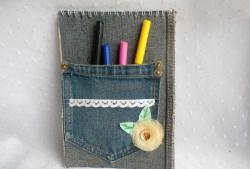
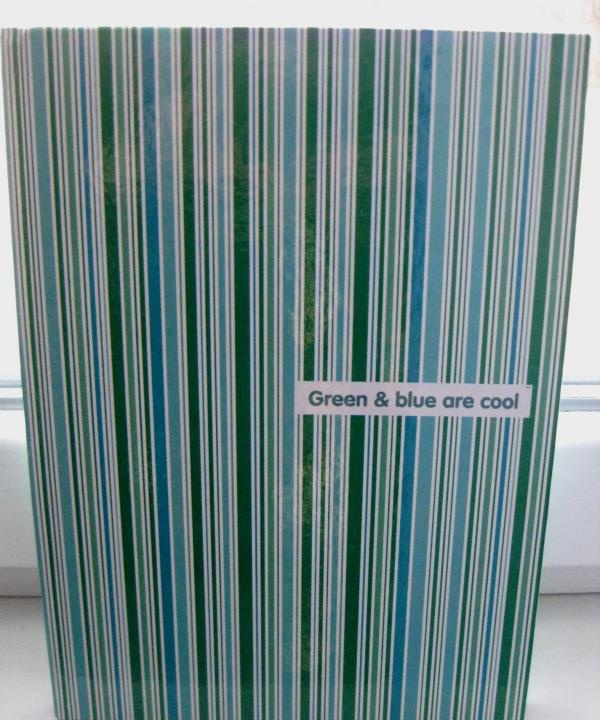
• A notepad of a suitable size with a thick cover
• Outlines for drawing,
• Shaped hole punch
• White paper
• Double-sided tape
Operating procedure.
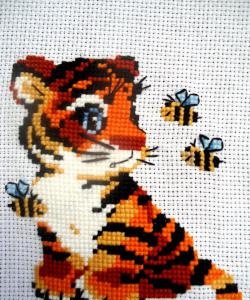
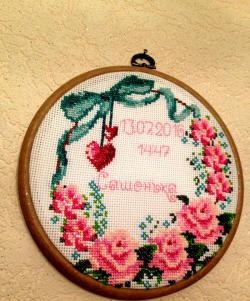
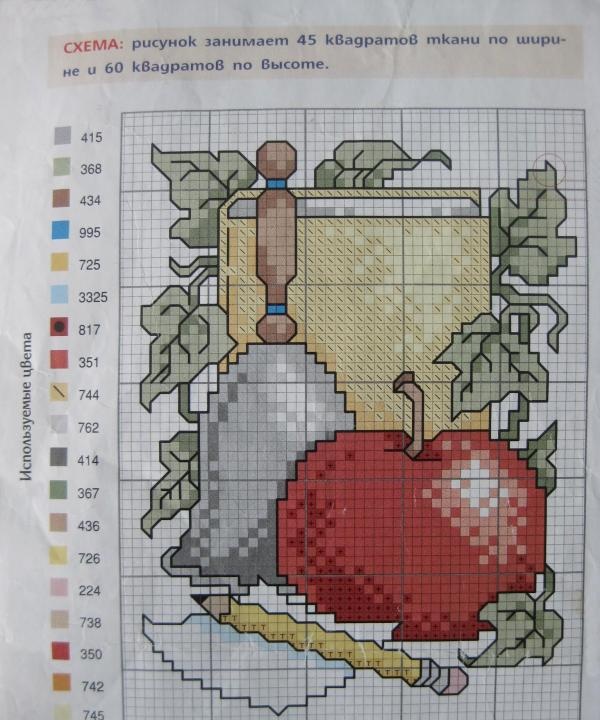
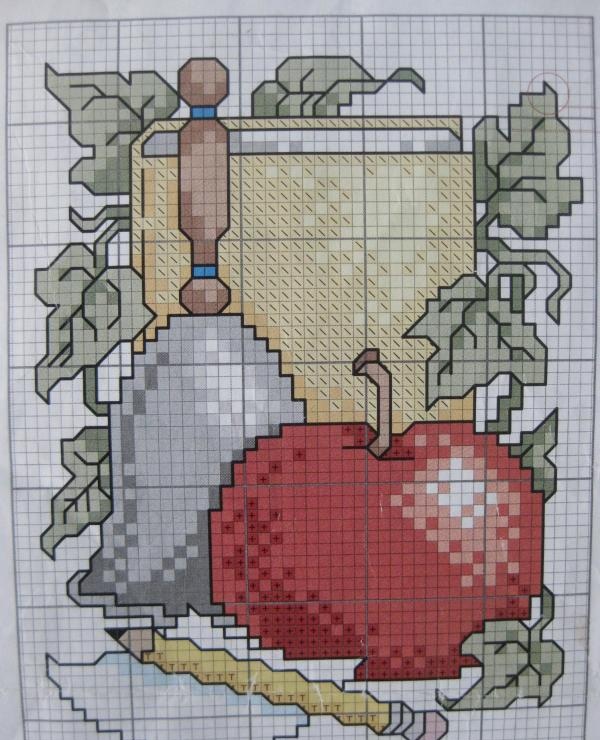
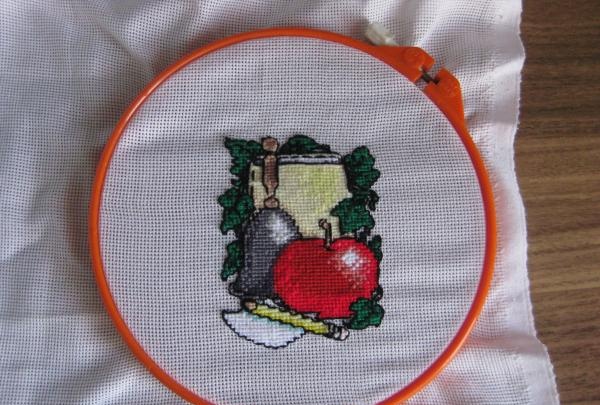
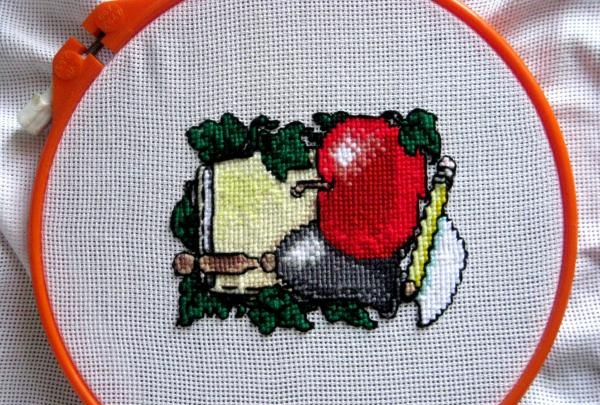
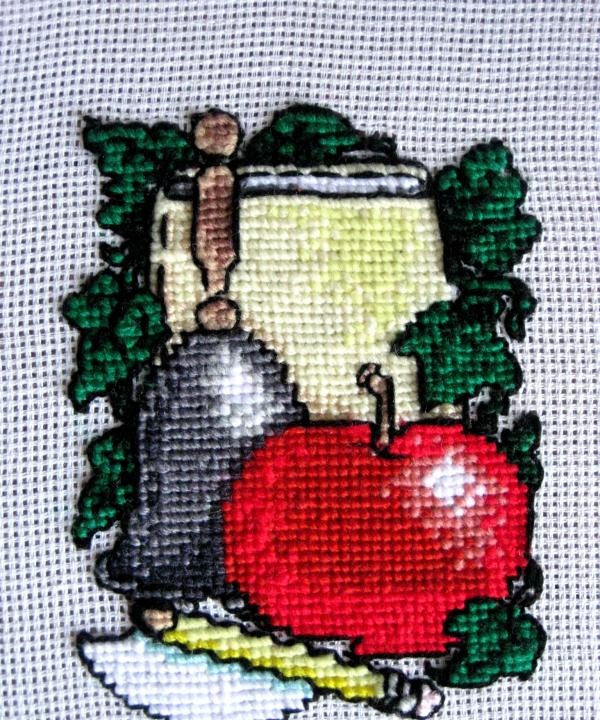
1. Cross stitch the pattern according to the pattern.
2. Use a thread in two folds; you can fasten the end of the thread to the front part by passing the needle under the three crosses.
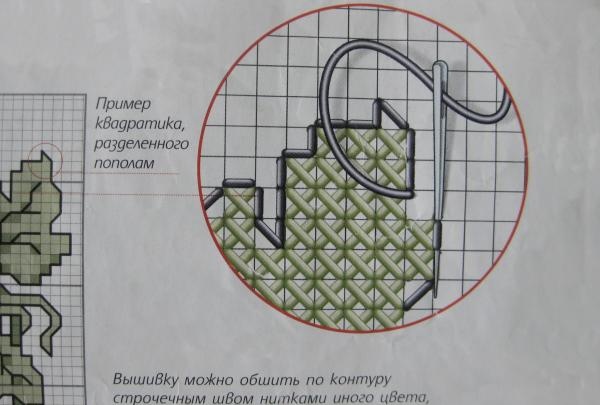
3. When the cross stitch is completed, it is necessary to sew around the contours of the embroidered design using a stitch stitch.Depending on the pattern, the stitches may be placed in different directions. To mark a clear outline, it is best to use black thread.
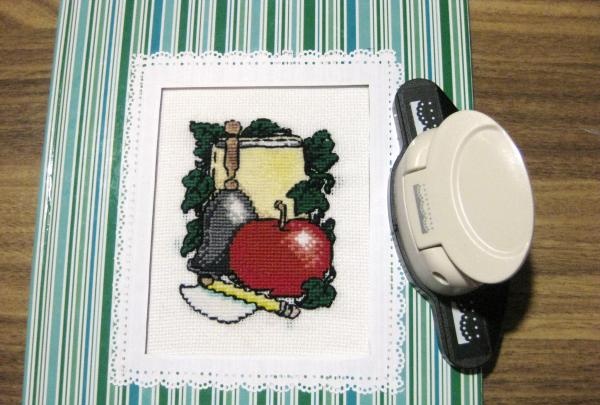
4. Carefully cut out the finished embroidery with an allowance of 3 centimeters around the entire perimeter.
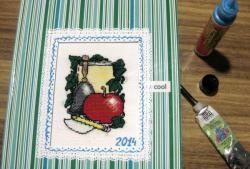
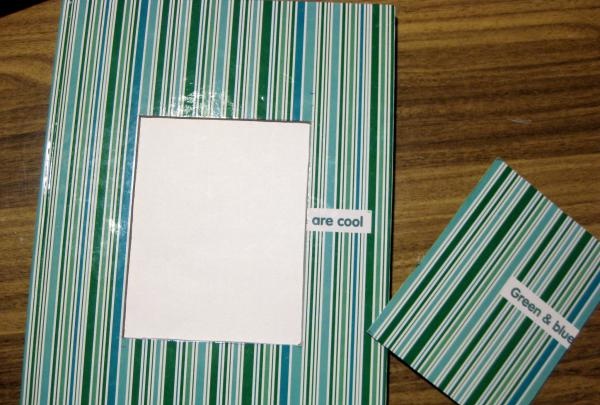
5. On the front of the notebook, using a stationery knife, cut out a rectangle of such a size that the embroidered picture will fit. Mark the size of the rectangle in advance with a pencil.
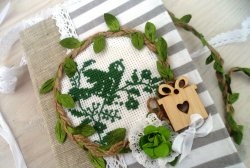
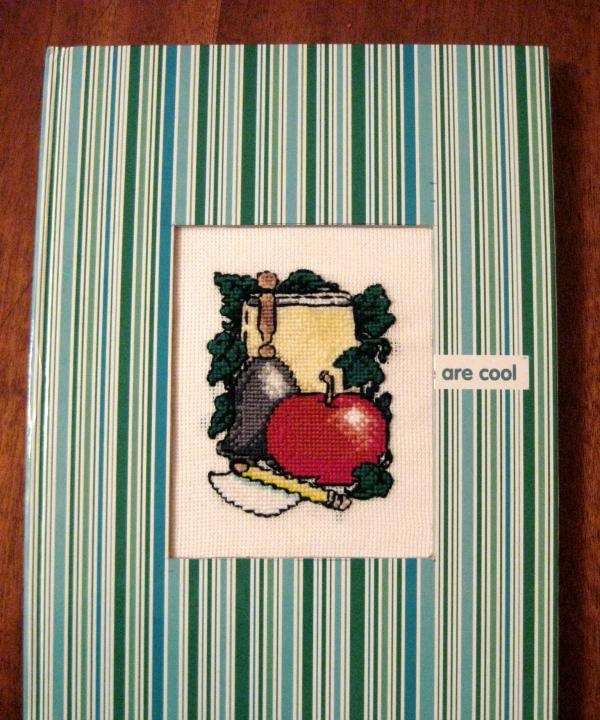
6. Using double-sided tape, fix the embroidery in the cut-out window and glue it tightly.
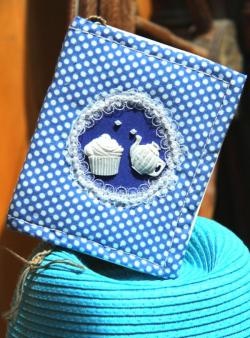
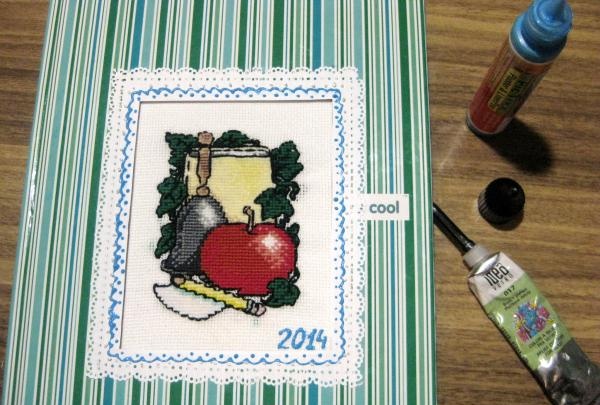
7. Now decorate the resulting frame. To do this, cut out a rectangle from white paper that matches the size of the frame. Use a border punch to cut out patterns around the edges. Attach to notepad using double-sided tape.
8. Decorate the openwork frame with outlines of blue and white.
9. The notebook for culinary notes is ready!
In the same way, you can design albums with photographs or make an original cover for a book. Be creative and let inspiration never leave you. After all, everything made with your own hands brings love and joy, and your loved ones will certainly appreciate it!