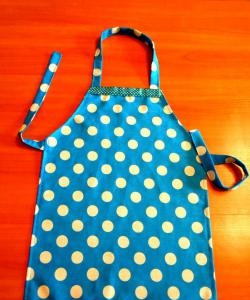
To sew a children's apron we need:
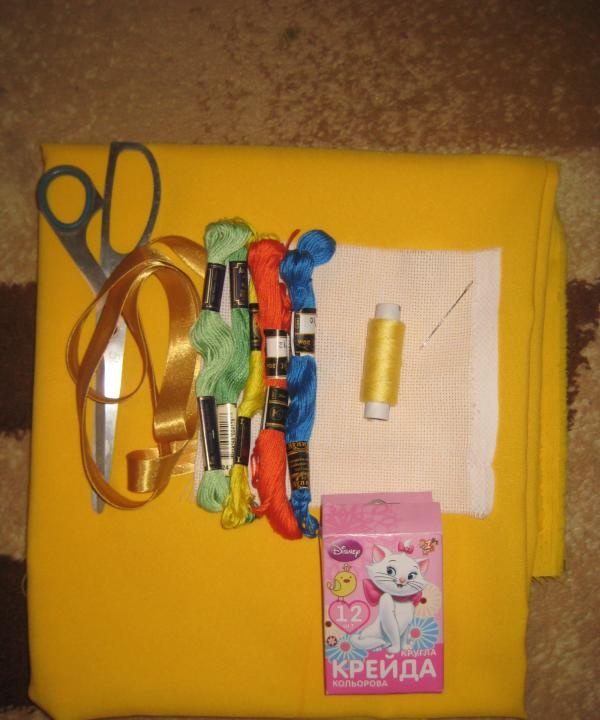
• A piece of fabric measuring 50×50;
• Colored chalk or pen;
• Satin bias tape – 4 meters;
• Scissors;
• Canvas;
• Matching floss in different colors;
• Thread and needle;
• Pins.
1. First, you need to take the child’s measurements with a centimeter tape. Since this product is intended for a little girl of three years old, the length of the apron will be 42 centimeters. If desired, you can make the length “mini”. This size is designed for growth, so the apron slightly covers the knees.
2. Now we create a pattern on paper or newspaper based on the measurements taken. Cut it out and apply it to the fabric. Then we trace the outline of the pattern with chalk.
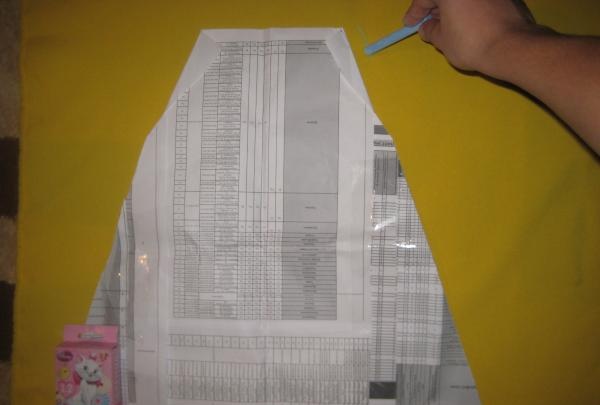
You should not leave allowances, since the apron will be trimmed along the entire contour with satin trim. The color of the thread should match the satin bias tape, because all the seams on it will be clearly visible.
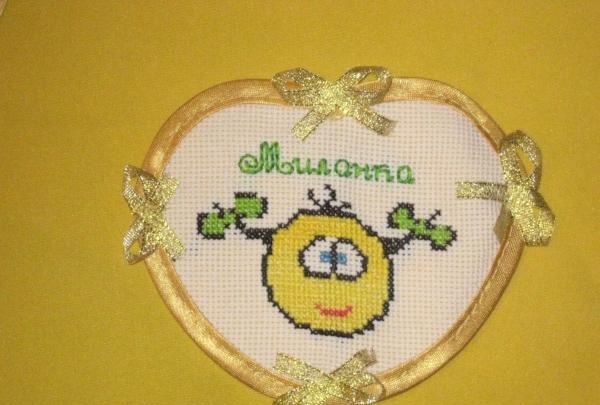
3. Together with the apron blank, we cut out a pocket in the shape of an apple or a heart.

4. Before work, the bias satin ribbon should be folded in half and ironed for further ease of use.

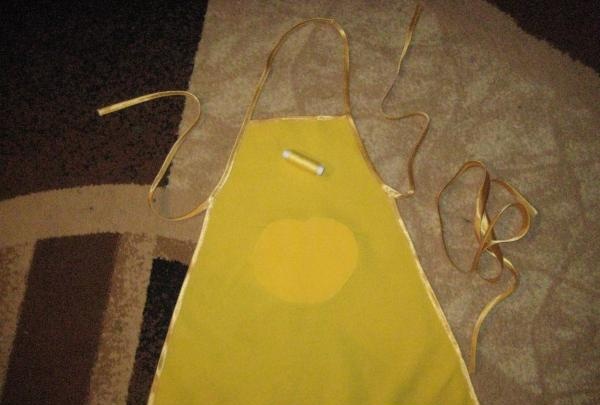
Now we sew the trim along the edges of the future apron.

It is advisable to process it with an edge seam.
5. The top of the apron and the ties are sewn from satin trim for practicality.
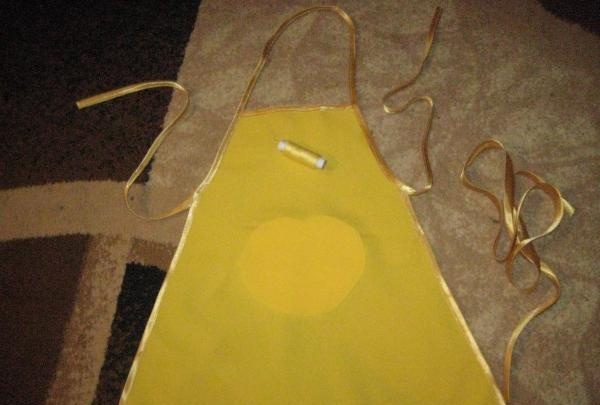
Thus, we completely trim all the edges of the apron.
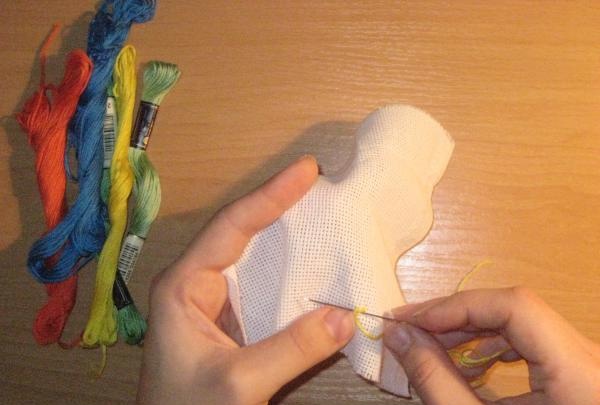
6. Now we start decorating the patch pocket. First, we select an embroidery pattern to match the size of the pocket. In my case, it's a happy smiley face.
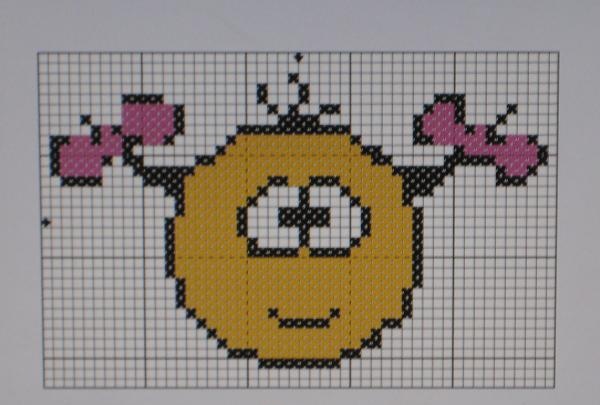
Using canvas, floss and a needle, we create a fun design.
You can add the name of the child for whom this item is being sewn to the image.
7. Then we sew the canvas with the finished pattern onto the fabric blank and trim the edges of the pocket with satin trim. Then we sew the pocket to the apron and decorate it with small bows.
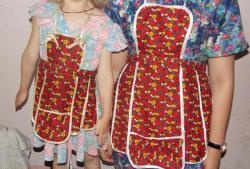
8. That's it, the children's apron is ready.
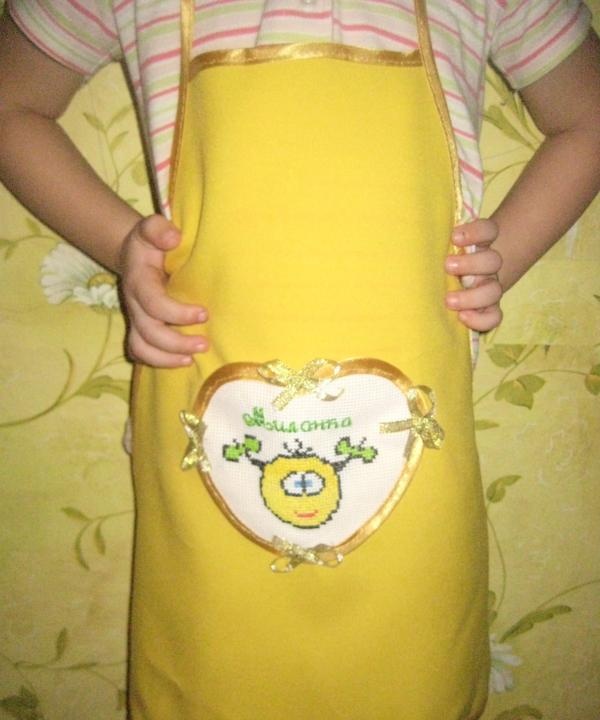
Enjoy your time in the kitchen with your child.