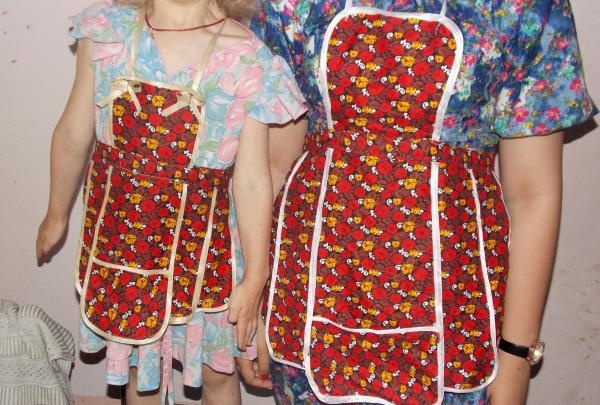
It’s very easy to sew two identical aprons for mother and daughter with your own hands. This is both interesting and fun, and the result will undoubtedly please the housewives. The unusual, but very beautiful version of the apron presented in the master class may initially frighten novice seamstresses, but with desire and patience, sewing is quite simple.
For manufacturing you will need the following materials:
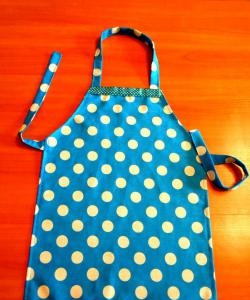
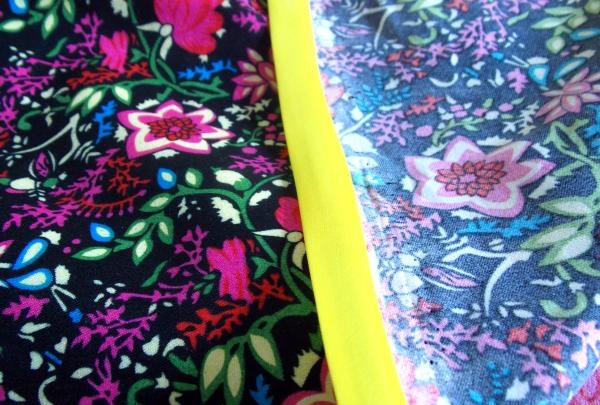
• Fabric – half a meter is enough. You can choose a dense, water-repellent one, any one at the discretion of the housewife. In the master class - dark-colored satin with a small pattern.Non-staining print, light and pleasant to the touch for a child;
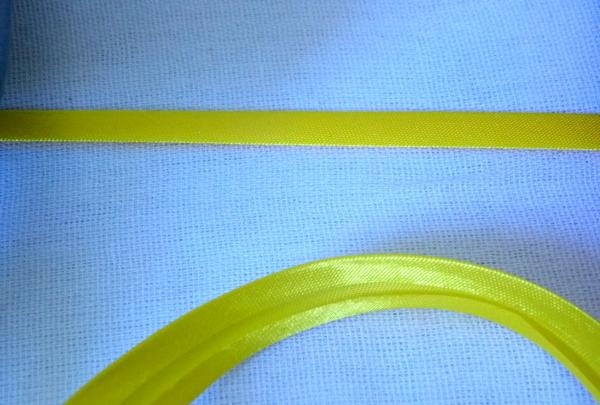
• Bias tape – 5 meters for an adult apron, 3-4 meters for a children’s apron;
• Scissors;
• Sewing machine;
• Threads to match the fabric.

Additionally, an iron is used for ironing the binding, paper for the pattern (can be directly on the fabric), chalk or soap for applying the pattern to the fabric piece, and a ruler.
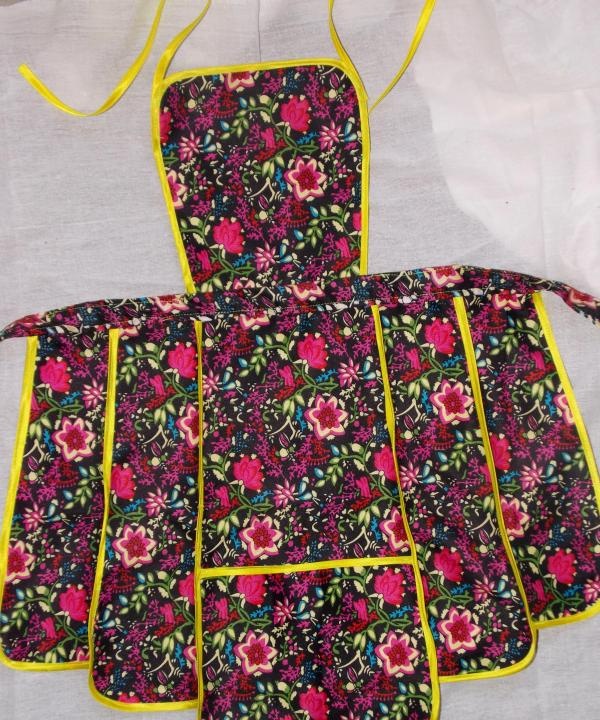
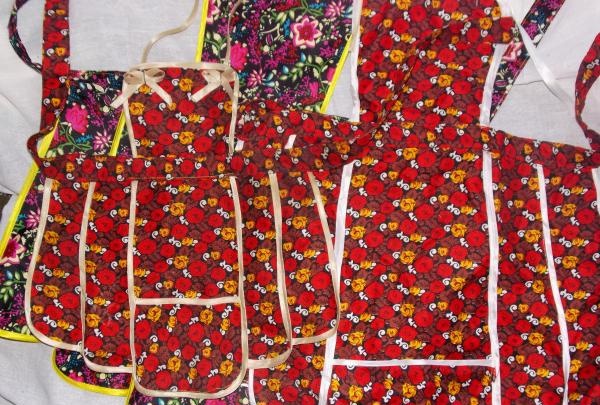
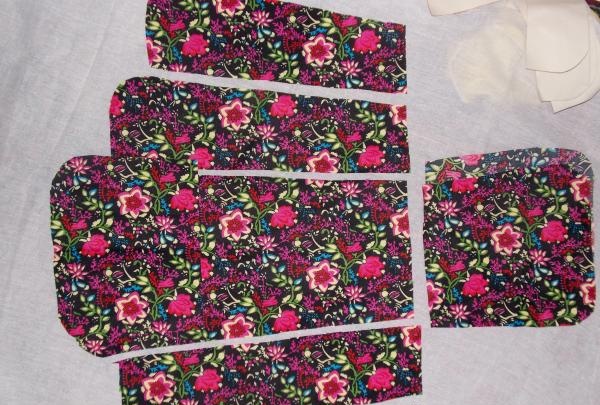
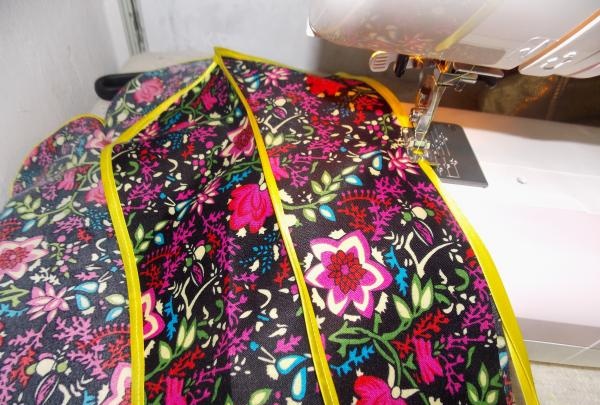
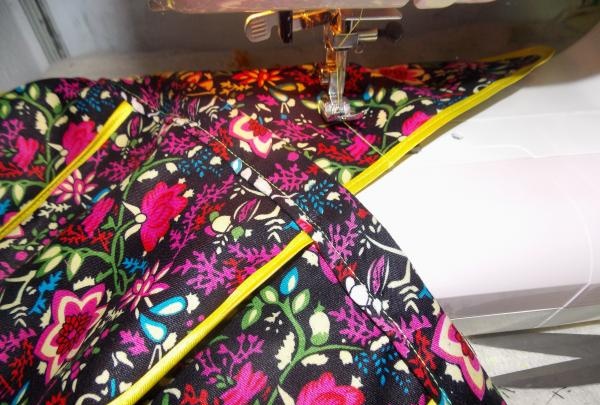
The “Chamomile” apron consists of separate wedges connected to each other by an edge seam using edging tape.
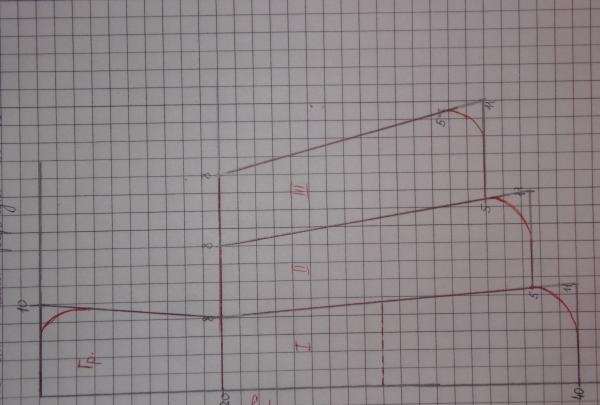
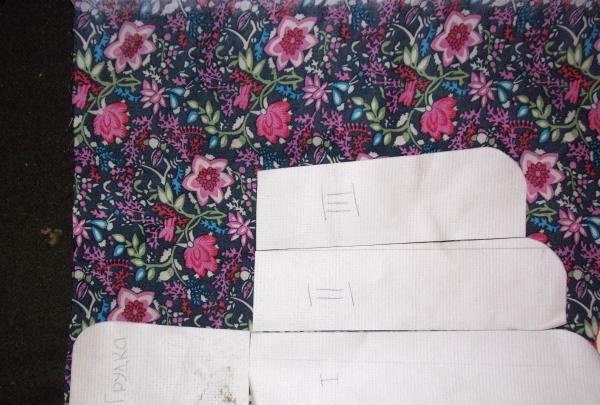
The following measurements are required for construction (large size/small size):
• Breast width – 20 cm/13 cm;
• Breast length – 20 cm/13 cm;
• Length from waist to apron – 40 cm/26 cm.
The photo shows a pattern diagram. Breast, 3 wedges 8 cm/6 cm wide at the top, 11 cm/8 cm wide at the bottom.
Apron assembly sequence:
1. Draw an apron pattern according to the given dimensions;
2. Cut the pattern into pieces, lay it out on the fabric and cut it without seam allowances. Cut on the fabric folded inwards, so that the breast and the first wedge are on the fold.
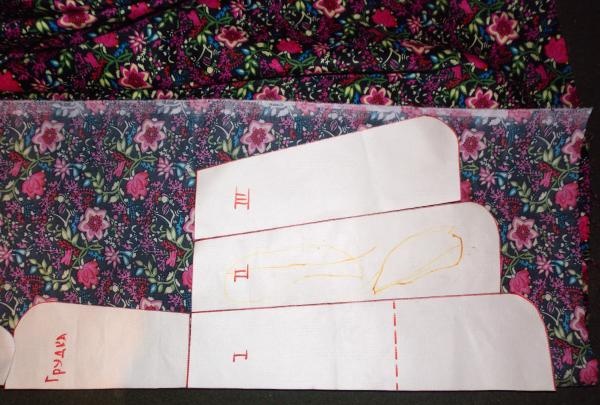
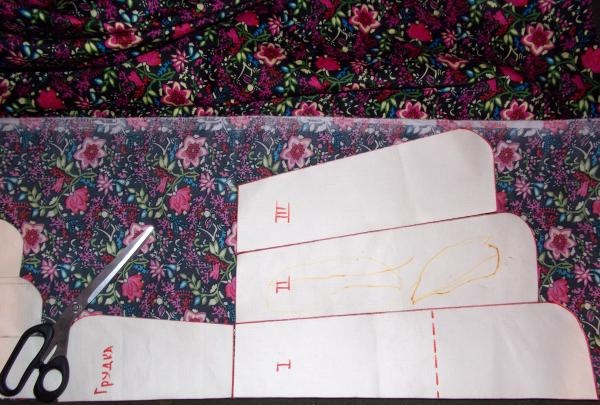
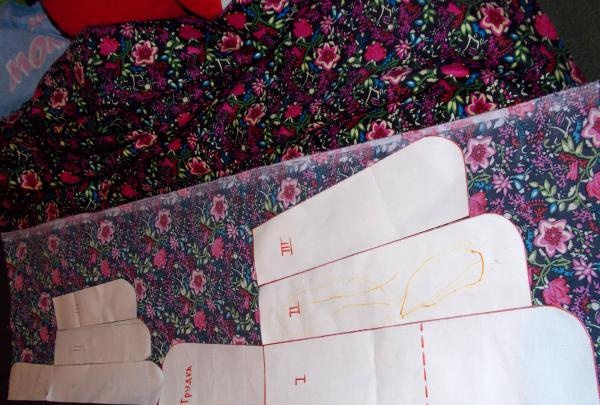
To make the breast hold up better, cut it double. If desired, the pocket for the first wedge is also cut separately.

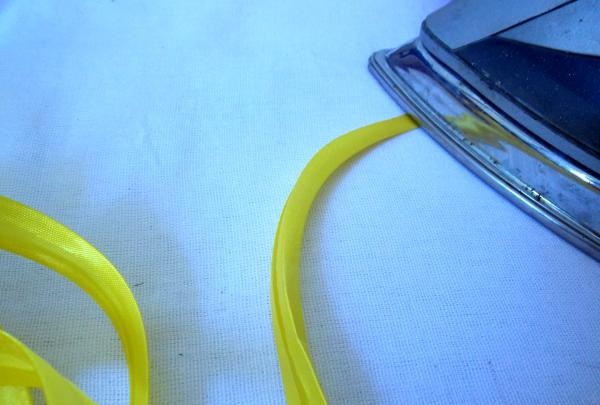
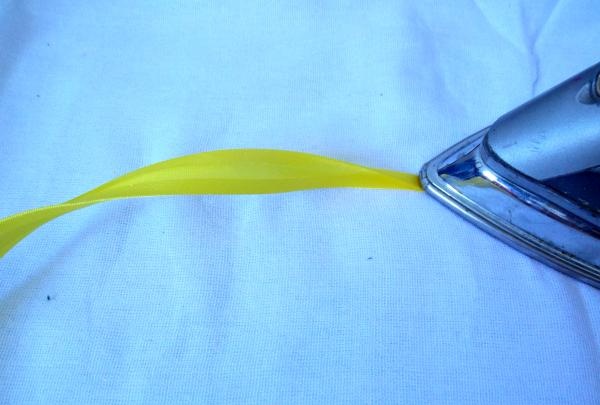
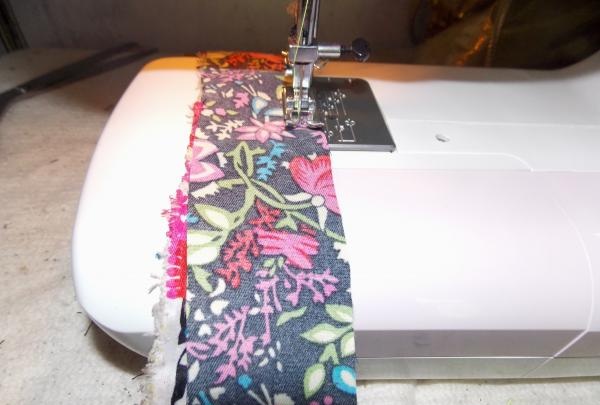
The bias tape should be ironed, folded in half along its entire length. This is the edging.
Sewing:
1. Prepare the breast by edging it along the outer edges (except for the waist line);

2. Finish the third wedge along the outer cut with edging;
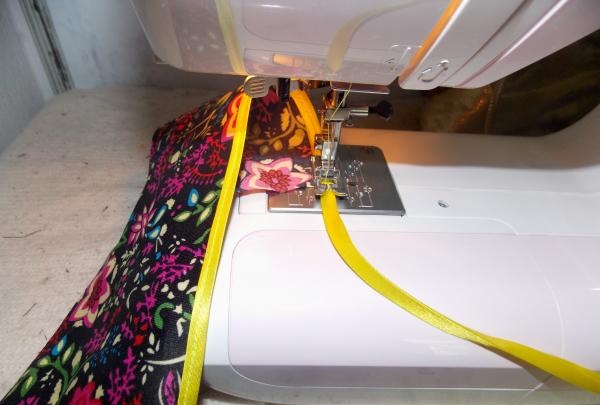
3. Connect the third and second wedges and edge together;
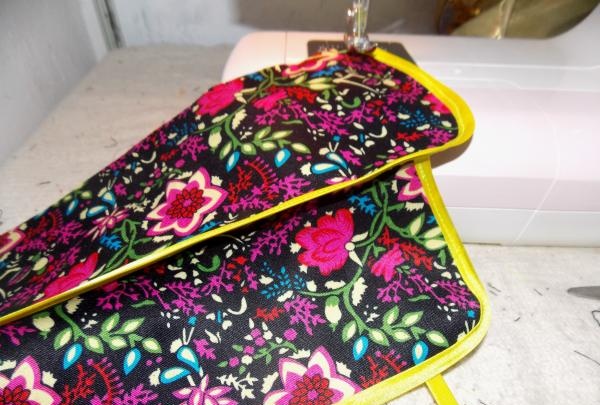
4. If there is a pocket on the first (central) wedge, you need to edge the top cut - the entrance to the pocket;
5. On the left and right, connect the central wedge with the second wedge using an edging;
6. Cut out the apron belt – width 5 cm, length from 1 m. 20cm. Belts 2 parts;
7. Sew the belt to the bottom of the apron. Turn out the ends of the belt, iron the edges and sew a finishing stitch along the entire belt, while at the same time inserting the breast of the apron at the top.
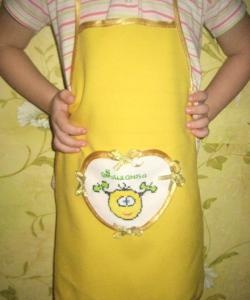
8. Sew the top straps to the chest of the apron. Can be made from double stitched edging tape. Bows, applique, ribbons - optional.

It is not difficult to devote a little time to introduce your child to work, and the result of such attention will be surprisingly pleasant.