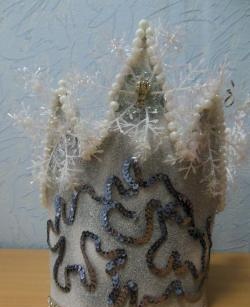
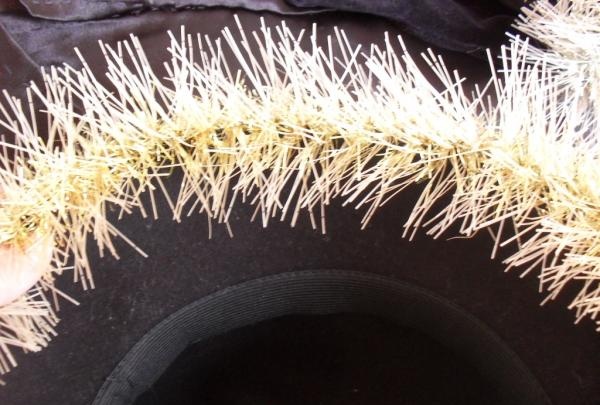
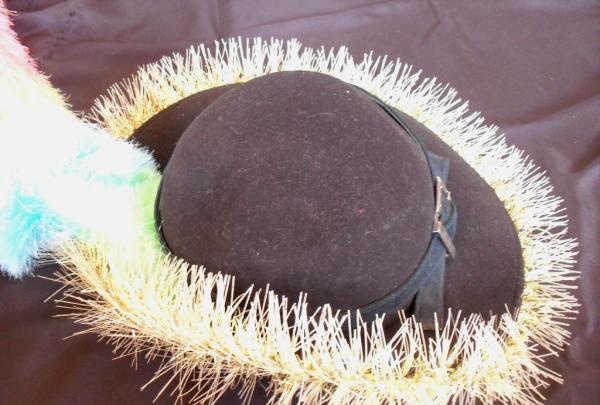
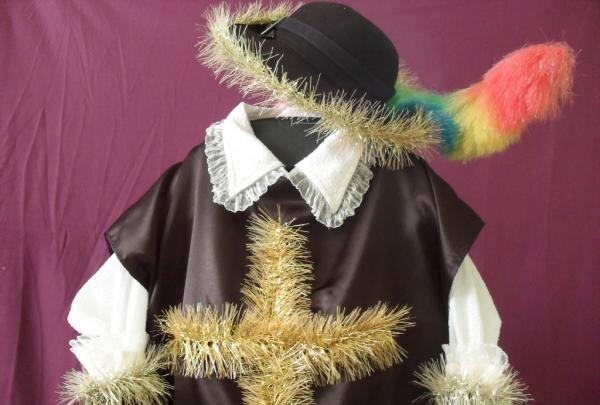
Hat.
We decorate the edge of the hat with a garland. Wide brims make it possible to give the hat a real musketeer look. If you don’t have a hat, take a “recipe” for making one from paper on the Internet. It's very simple.
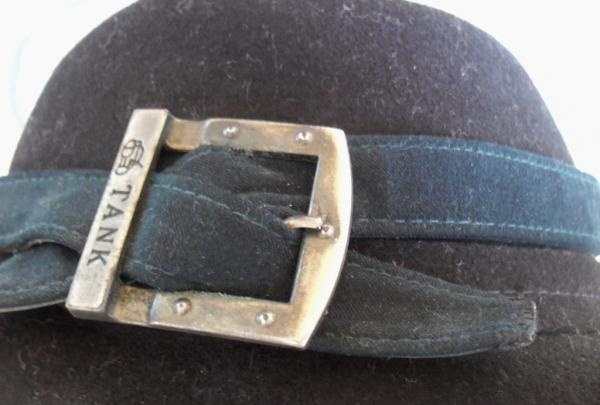
We attach a buckle to it.
We attach the pen.
My version uses a Duster dust brush as a pen. An analogue could be colored paper wound onto wire and finely trimmed along the edges.
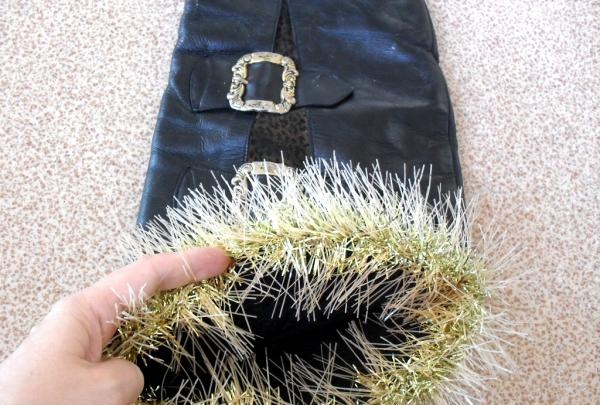
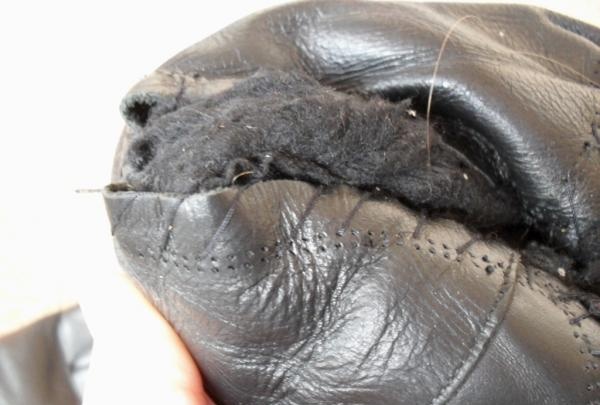
Accessories.
We mercilessly cut off the tops of old boots. It is desirable that these are boots and with buckles. We decorate the top of the boot with a garland.We bend the bottom so that the cut is not visible.

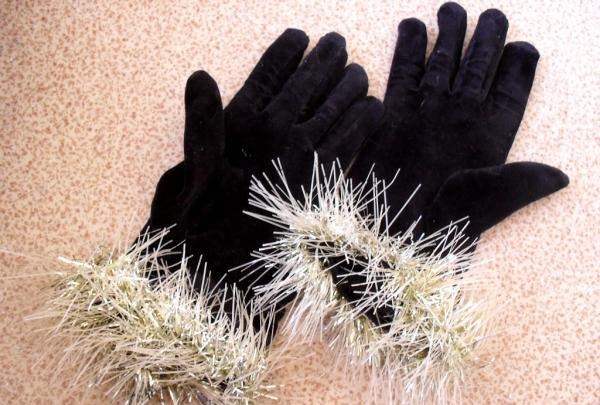
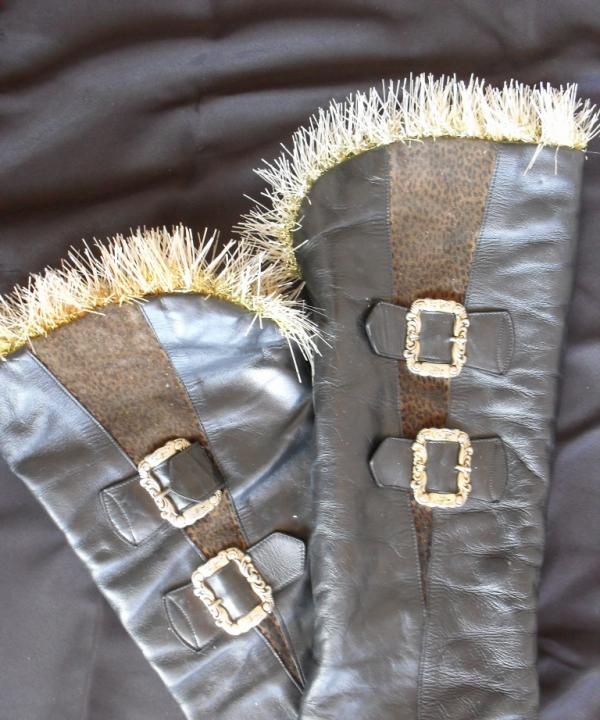
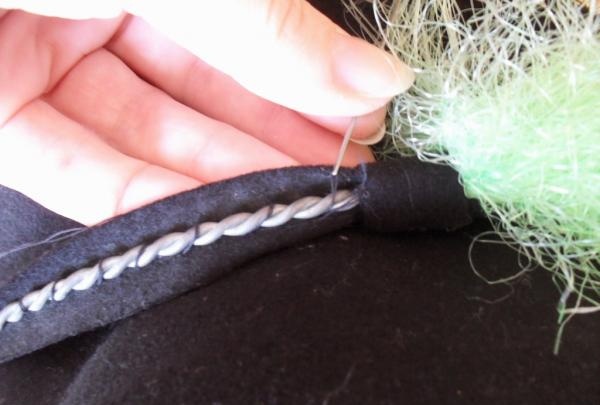
We attach a garland to old gloves.
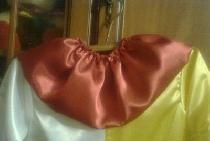
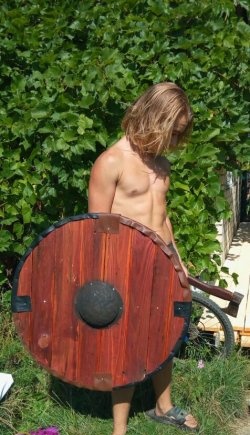
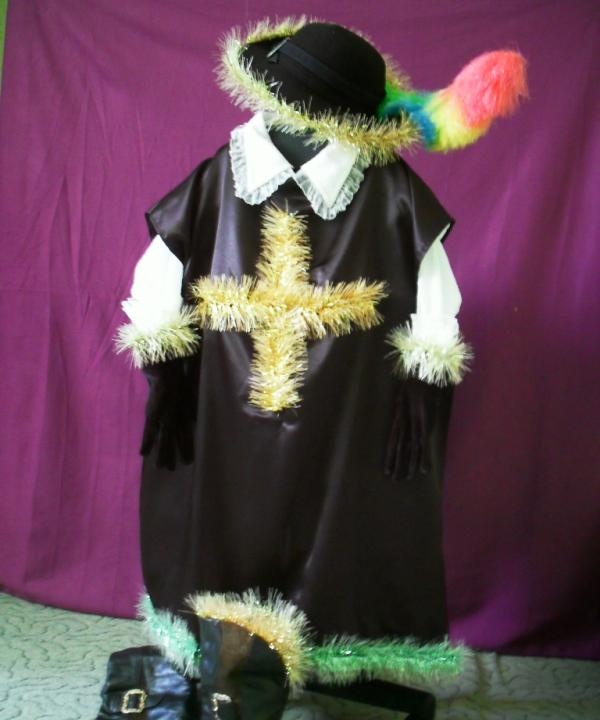
Cloak.
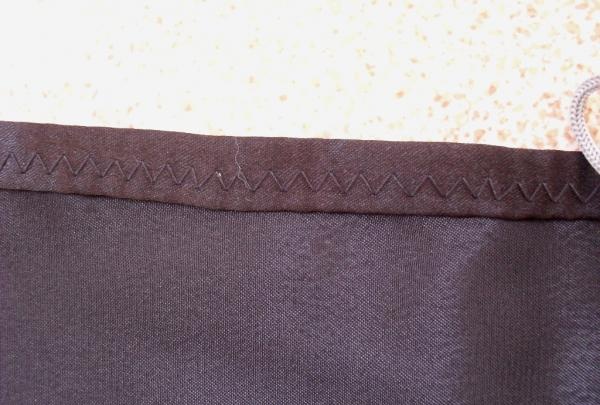
This is the most difficult part of the costume. We take a plain fabric of blue, red or black. Fold in half and cut out identical rectangles. These are the front and back parts of the cloak. We sew the edges of the fabric rectangle on all sides with an internal bend (to avoid fraying and unraveling of the fabric).
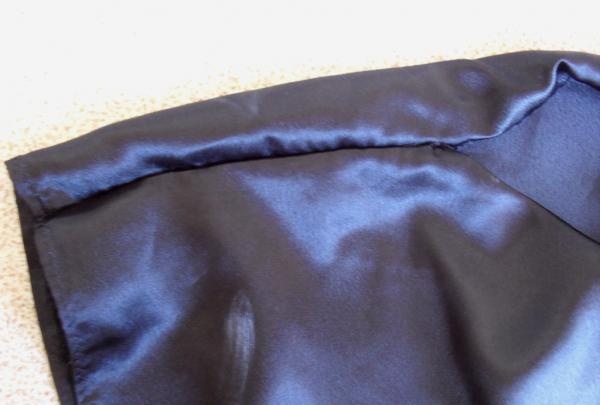
We sheathe the second fabric rectangle in the same way. Sew the shoulders together, leaving enough opening for the head.
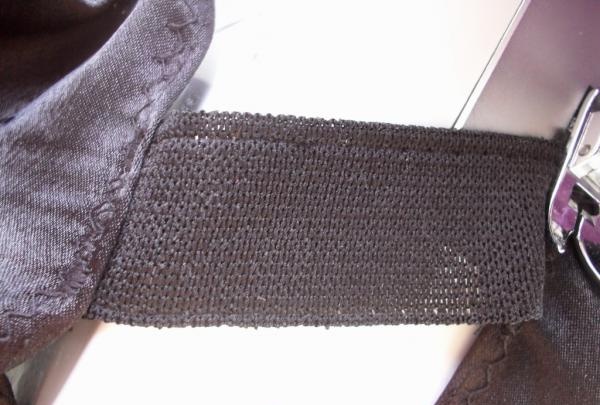
We sew pieces of elastic into both sides of the raincoat at the child’s chest level (we attach each of them to rectangles 1 and 2 with an overcast stitch). The elastic is necessary to limit the movement of the raincoat around the body.
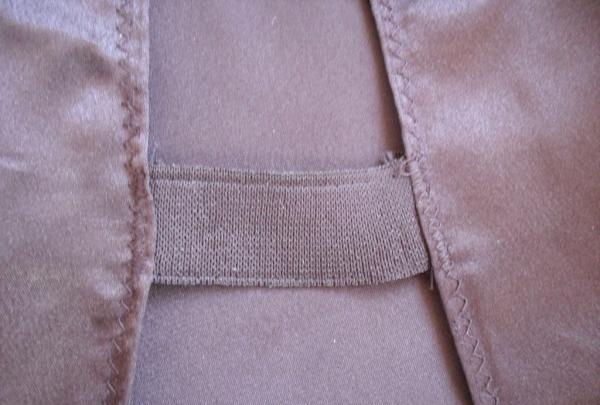
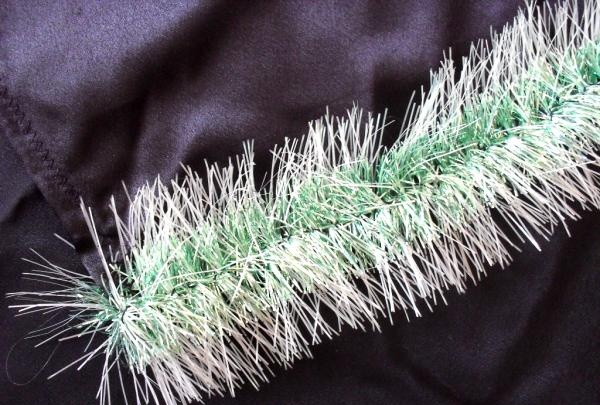
We mask the edges of both rectangles with a garland.
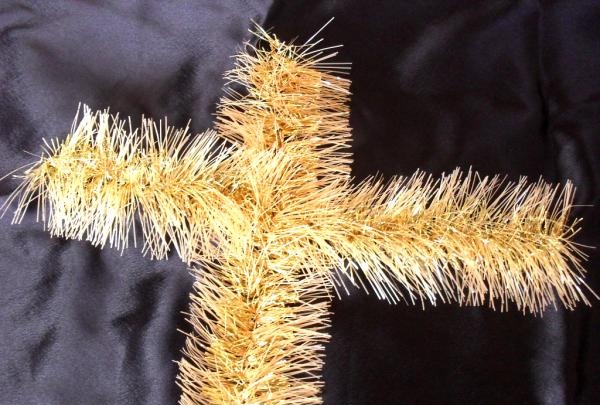
In the center of both fabric rectangles we make a cross from a garland of a different color.

Adviсe.
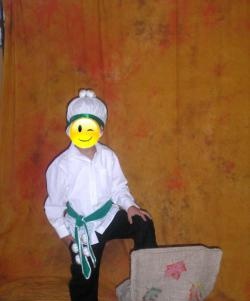
We sew the garlands by hand. When dressing the baby, first we put the tops on his feet, and then any shoes that fit. Under the raincoat we wear my mother’s white blouse (preferably a larger size and with frills) or a shirt. We turn the collar up to the neck of the cloak. The shirt should be cinched at the waist with a belt. You need to tie a short (6-7 centimeters) cord to the belt, which will serve as a fastener for the sword. SWEEP is a must! If it is not in the nearest store, we make it ourselves. To do this, take a stick, a mop handle, a thin pipe or thick wire. We string a circle on it with a hole in the middle, made of cardboard. We move it 15 centimeters down. We wrap the entire craft with baking foil.
That's all! Your baby will not only be individual, but will also get great pleasure from the unusualness of the outfit. Santa Claus will appreciate your efforts!