1. Plastic hemispheres.
2. Coffee beans.
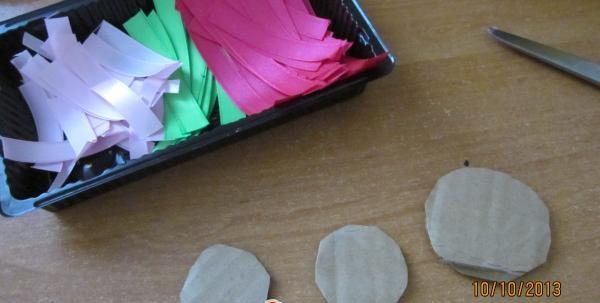
3. Satin ribbons in pink, raspberry and green colors.
4. Gold acrylic paint - spray.
5. Pink tulle.
6. Flower pot.
7. Steel wire.
8. Decorative elements.
9. Sisal rope.
10. Glue gun.
11. Scissors.
12. Cardboard.
13. Foam plastic.
14. Alabaster.
![Flower topiary](https://i.washerhouse.com/images/1/1118-cvetochnyy-topiariy.jpg)
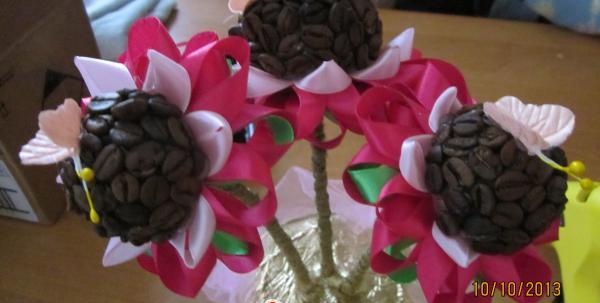
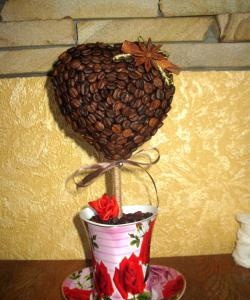
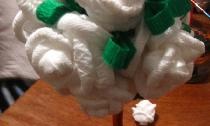
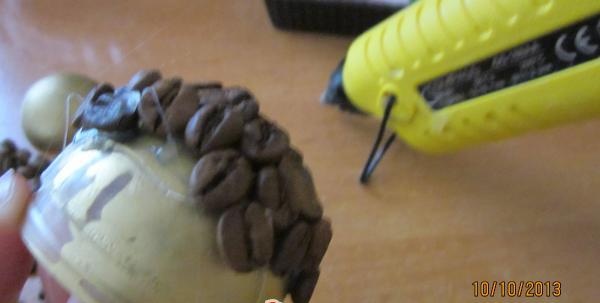
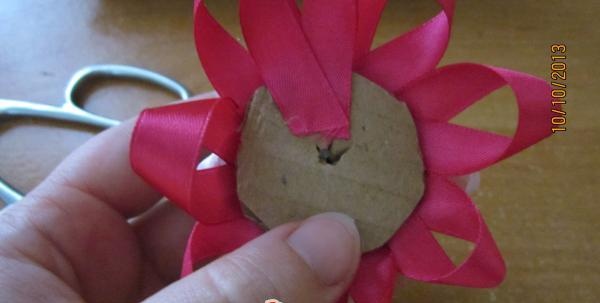
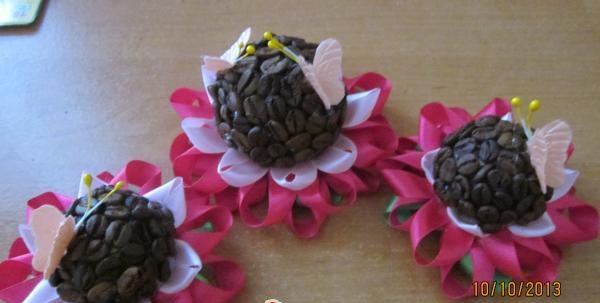
Stage No. 1. Hemispheres covered with gold paint are pasted over with coffee beans. The bases are cut out of cardboard according to the size of the pasted hemispheres.
![covered with coffee beans](https://i.washerhouse.com/images/1/1119-okleivayutsya-kofeynymi-zernami.jpg)
![bases are cut out](https://i.washerhouse.com/images/1/1120-vyrezayutsya-osnovaniya.jpg)
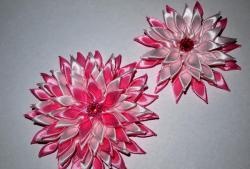
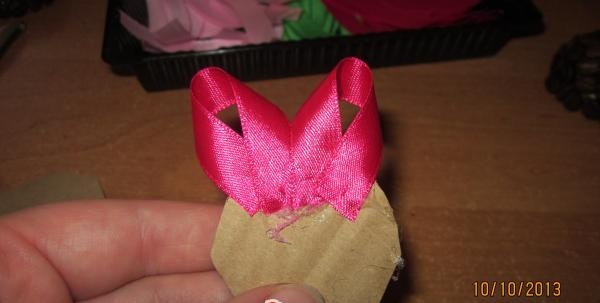
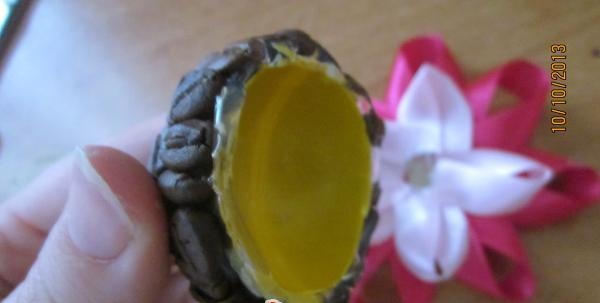
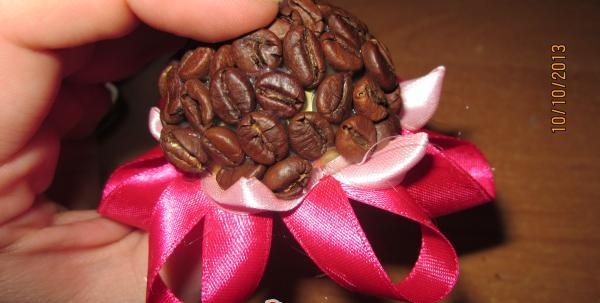
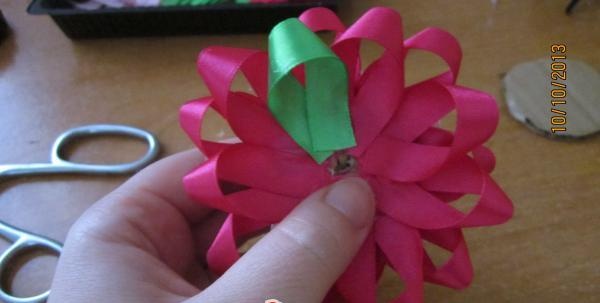
Stage No. 2. Satin ribbons are cut into equal lengths. First, the first row of crimson ribbons is glued. The next row of petals is made with pink ribbons. Using a glue gun, a coffee hemisphere is glued. The third and fourth rows of tapes are glued to the back of the cardboard base. This way the flower becomes more voluminous and also hides the edges of the cardboard.
![the first row is glued](https://i.washerhouse.com/images/1/1121-prikleivaetsya-pervyy-ryad.jpg)
![the flower turns out](https://i.washerhouse.com/images/1/1122-cvetok-poluchaetsya.jpg)
![coffee hemisphere is glued](https://i.washerhouse.com/images/1/1123-prikleivaetsya-kofeynaya-polusfera.jpg)
![wdtnjr](https://i.washerhouse.com/images/1/1124-wdtnjr.jpg)
![rows of tapes are glued on the back side](https://i.washerhouse.com/images/1/1125-ryady-lent-prikleivayutsya-s-obratnoy-storony.jpg)
![the flower becomes more voluminous](https://i.washerhouse.com/images/1/1126-cvetok-poluchaetsya-bolee-obemnyy.jpg)
![three flowers are ready](https://i.washerhouse.com/images/1/1127-tri-cvetka-gotovy.jpg)
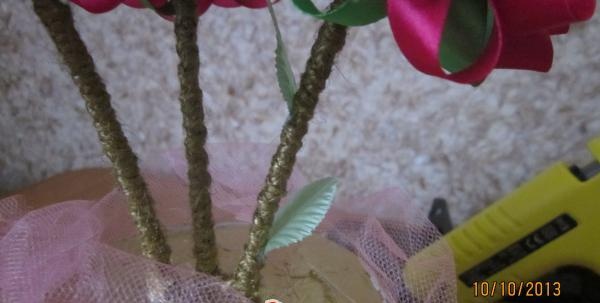
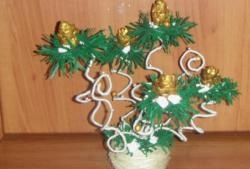
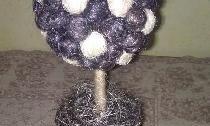
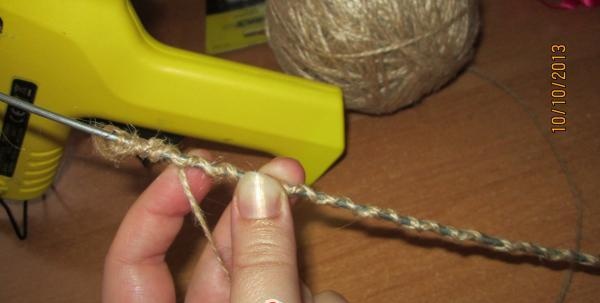
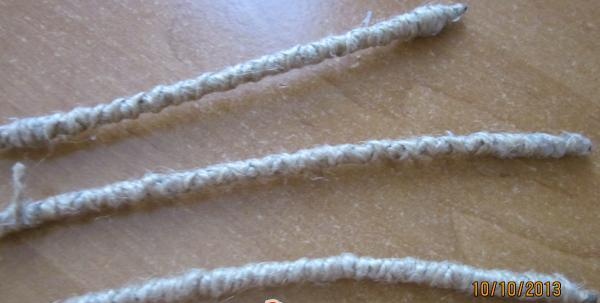
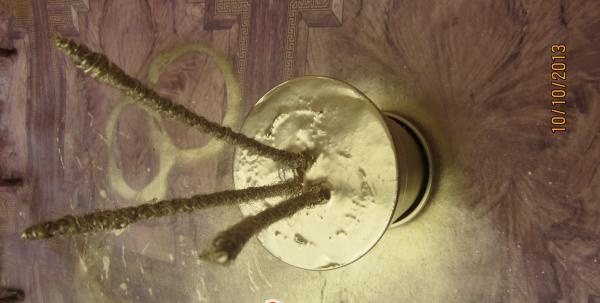
Stage No. 3. Using a glue gun, the sisal rope is fixed to the wire. The wire is wrapped in a chaotic manner until the bald patches completely disappear.
![make a stem](https://i.washerhouse.com/images/1/1128-delaem-stebel.jpg)
![wrapped in a chaotic manner](https://i.washerhouse.com/images/1/1129-obmatyvaetsya-v-haoticheskom-poryadke.jpg)
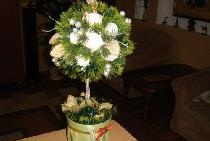
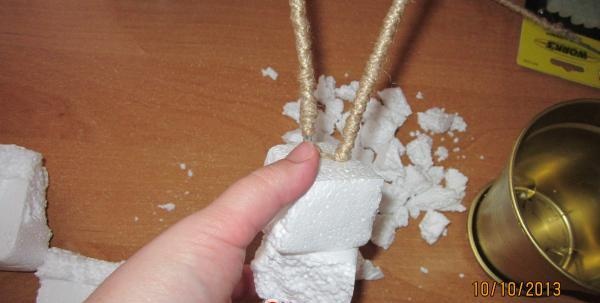
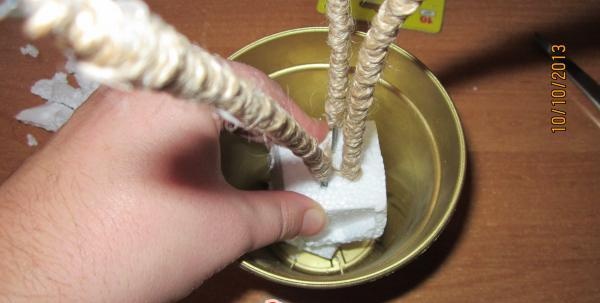
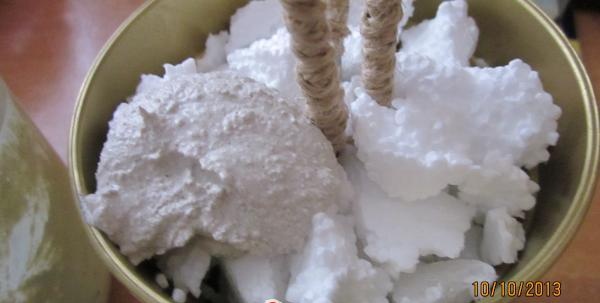
Stage No. 4. Finished topiary branches are fixed in foam.Branches are placed in a flower pot. The space in the pot is filled with small pieces of polystyrene foam and filled with alabaster solution. Such manipulations will help reduce the weight of the topiary and secure it securely.
![stringing polystyrene foam](https://i.washerhouse.com/images/1/1130-nanizyvaem-penoplast.jpg)
![install](https://i.washerhouse.com/images/1/1131-ustanavlivaem.jpg)
![fixing our plant](https://i.washerhouse.com/images/1/1132-fiksiruem-nashe-rastenie.jpg)
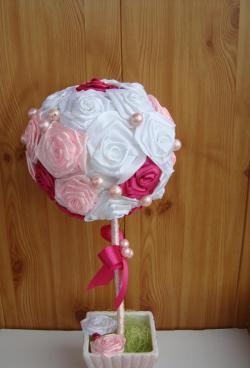
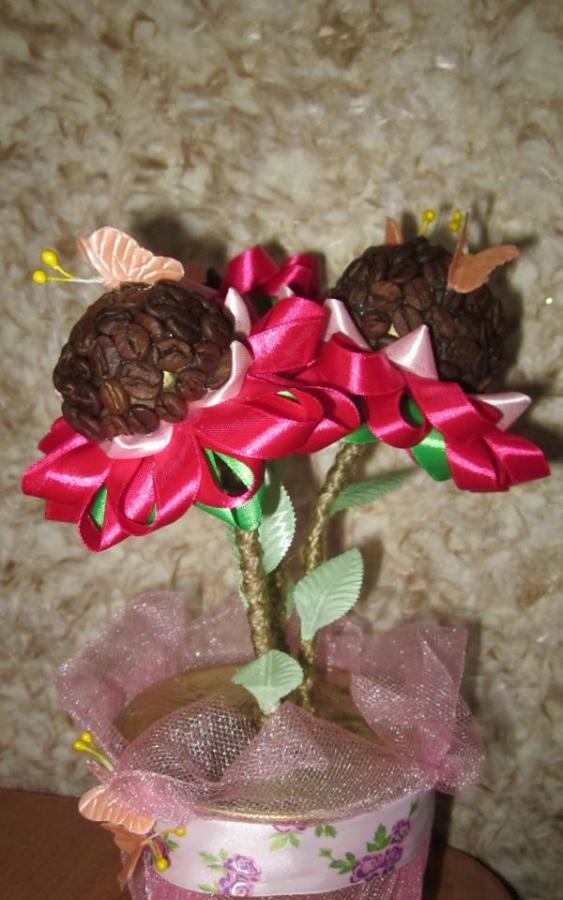
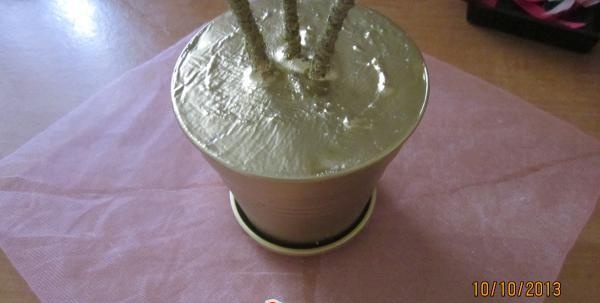
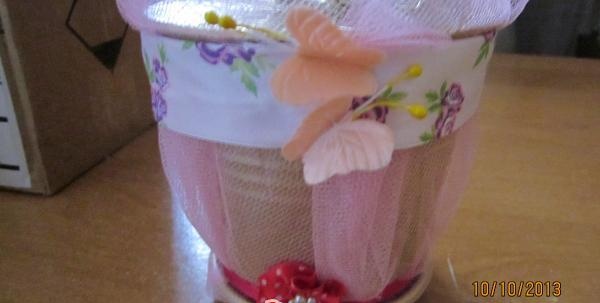
Stage No. 5. After the alabaster has dried, the structure is covered with gold acrylic paint. The flower pot is wrapped in pink tulle and secured with ribbons. The junctions of the satin ribbons are decorated with fabric flowers and butterflies.
![pour alabaster](https://i.washerhouse.com/images/1/1133-zalivaem-alebastr.jpg)
![cover with gold paint](https://i.washerhouse.com/images/1/1134-pokryvaem-zolotoy-kraskoy.jpg)
![decorated with fabric flowers and butterflies](https://i.washerhouse.com/images/1/1135-dekoriruyutsya-tkanevymi-cvetami-i-babochkami.jpg)
Stage No. 6. Using a glue gun, we fix the flowers and leaves on the topiary branches.
![fix flowers and leaves](https://i.washerhouse.com/images/1/1136-fiksiruem-cvety-i-listochki.jpg)
![fix with a glue gun](https://i.washerhouse.com/images/1/1137-pomoschi-kleevogo-pistoleta-fiksiruem.jpg)