For the Fursi clamp you will need:
- long hair clip.
- sharp scissors.
- satin weave ribbons in three different shades: green, lilac and light pink.
- pink beads for weaving.
- cotton pads.
- glue gun with spare stick.
- wire for needlework.
- lighter.
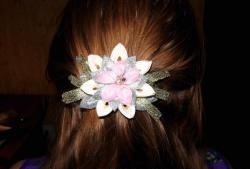
Step-by-step description of creating a hairpin.
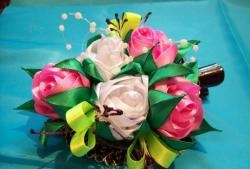
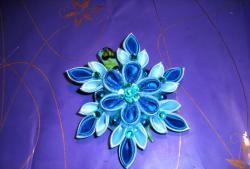
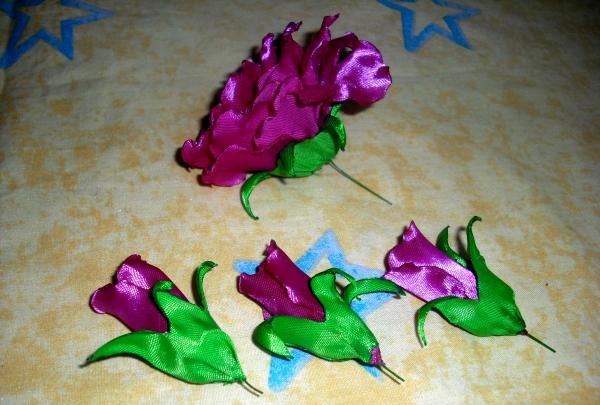
The hairpin consists of one main flower and three small unopened buds. Each of these parts is made separately and consists of a certain number of petals.
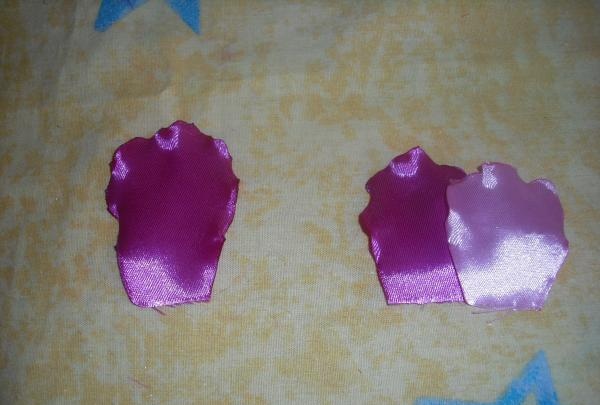
You should begin work by preparing the petals. To do this, you need to cut out two types of parts from ribbons of pink and lilac shades. The size of large blanks is 6x4.5 cm. The parameters of small ones are 4.5x4.5 cm. Large rectangles need to be cut only from lilac ribbon, their number is 15 pieces.Small details should be prepared from two shades of ribbons, pink will require 6 pieces, and lilac 10 for the main flower and 15 for the buds.
Now the upper edge of the rectangles needs to be made round, and the lower cut should be narrowed along the sides. The result is raw petals of two sizes.
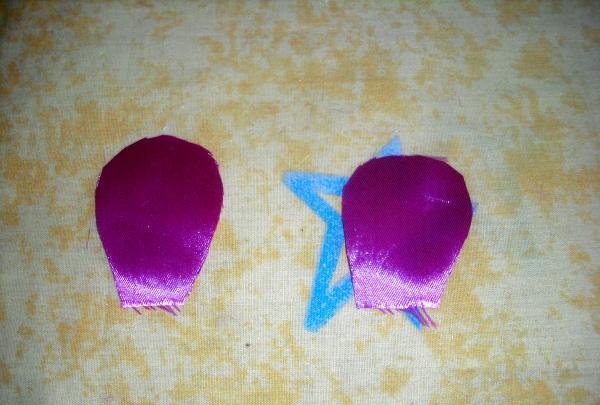
Now, using the flame of a lighter, all parts will need to be carefully scorched on all sides, evenly stretching the rounded areas, giving them a wavy appearance.
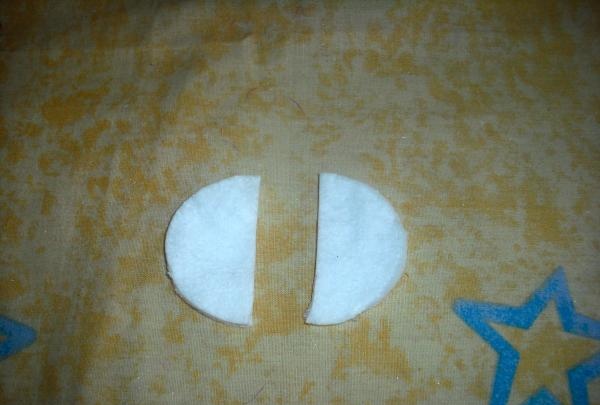
Cotton pads should be cut in half.
Having prepared a wire 10 cm long, you need to secure its edge to the middle of half a cotton pad.
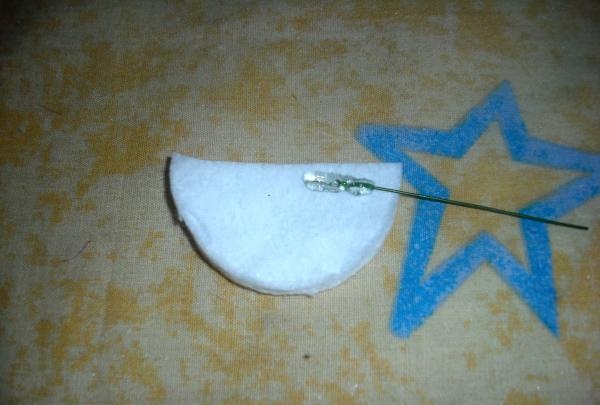
The remaining edge of the disk must be wrapped around the wire and secured in this state with glue. The result will be a kind of umbrella.
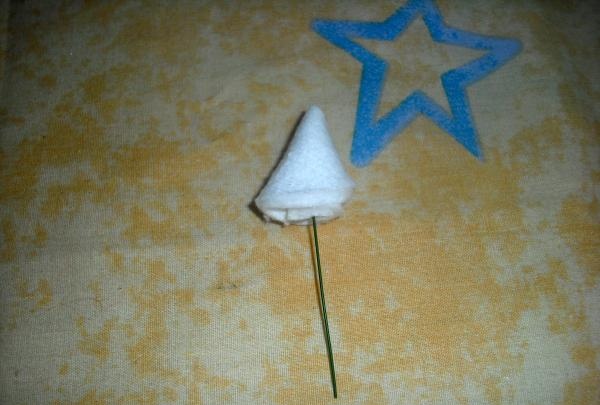
The pink petal is carefully glued onto this umbrella, but only the top edge of the piece needs to be attached.
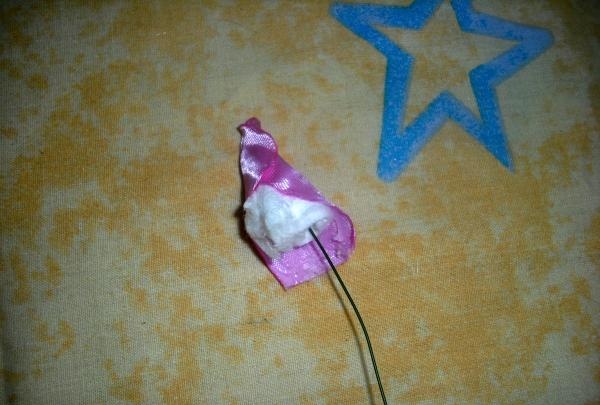
Then you should attach 2 more pink petals, gradually placing them around the cotton pad. Then the lower sections of all parts must be tightly attached to the wire so that the result is a closed bud.
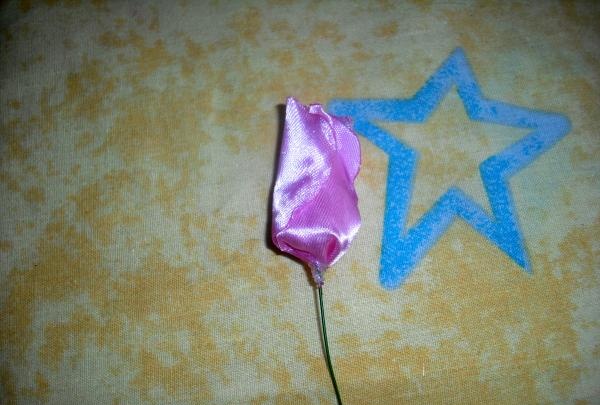
The two remaining petals are also glued to this bud, but now the glue should be applied only to the lower cut so that the bud turns out lush.

You get a bud like this, repeating the whole sequence you need to create three more of the same flowers from small lilac blanks. Each bud will require five parts. A lilac-colored flower will serve as the center for the main inflorescence.
Next, around the pink petals you need to attach 10 small lilac parts.
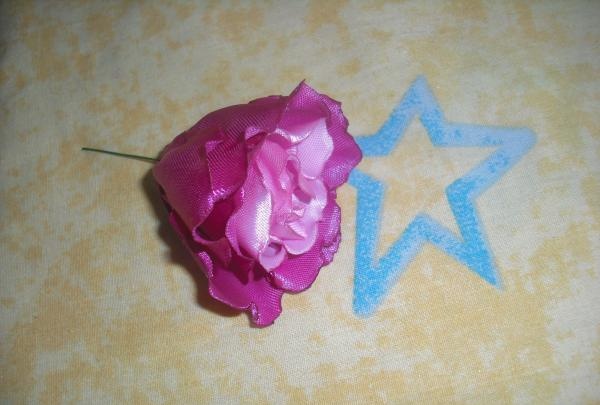
Then you should glue large petals around the circumference. This will form the main flower.
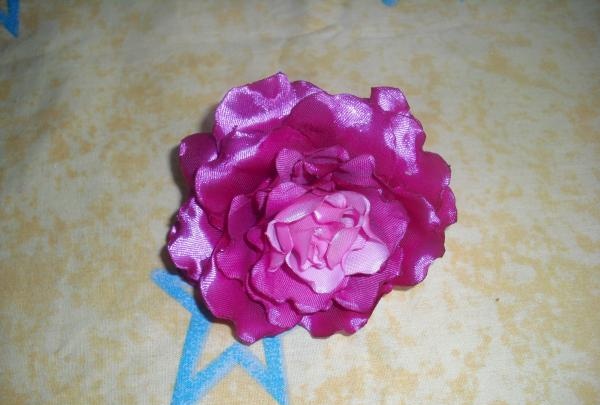
Next, you need to attach sepals made from green ribbon to the base of each flower.
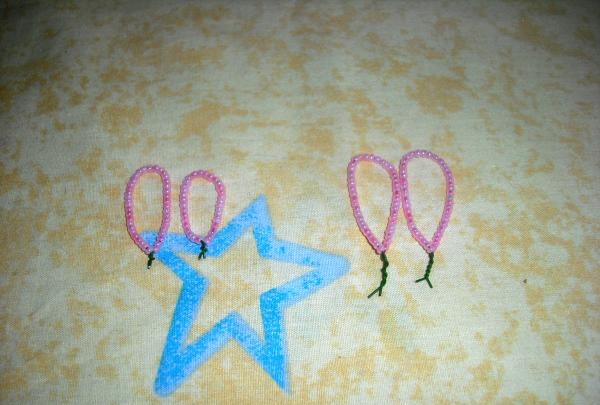
An additional decoration for the hairpins are beaded loops. To create them, you need to thread pink beads onto the wire. The length of the loops can vary from 3 to 5 cm.
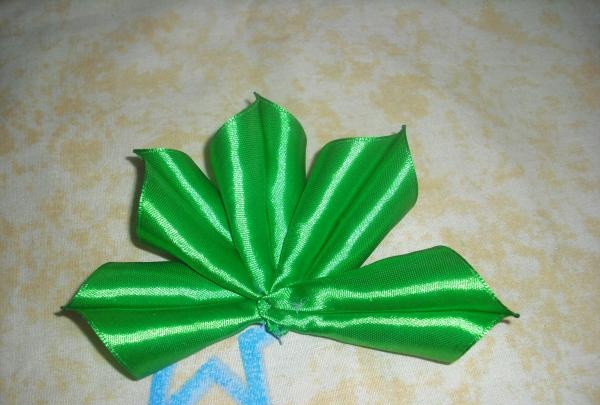
Then use the green ribbon to cut out large triangles and use them to make leaves for the flowers. A total of 5 of them will be required.
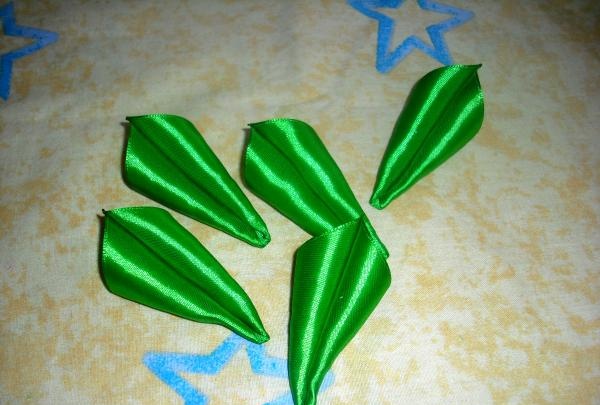
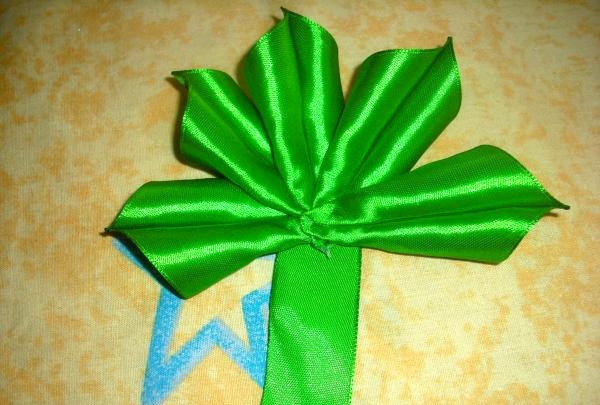
From the resulting leaves you need to glue a fan, carefully placing the ends of the parts one on top of the other.
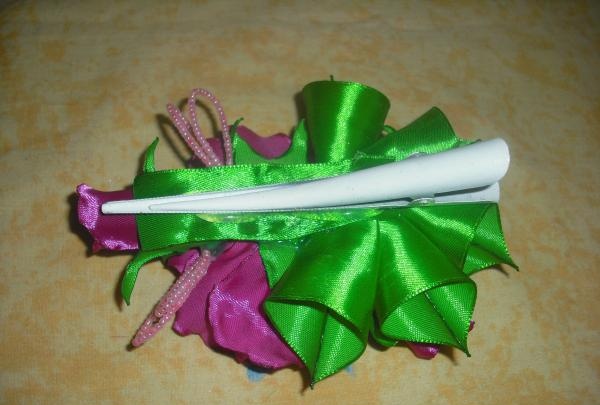
A green strip, 3 cm wide, is attached to the bottom of the fan, which will serve as the basis for the hairpin.
Two buds are fixed on top of the leaves, directed in different directions.
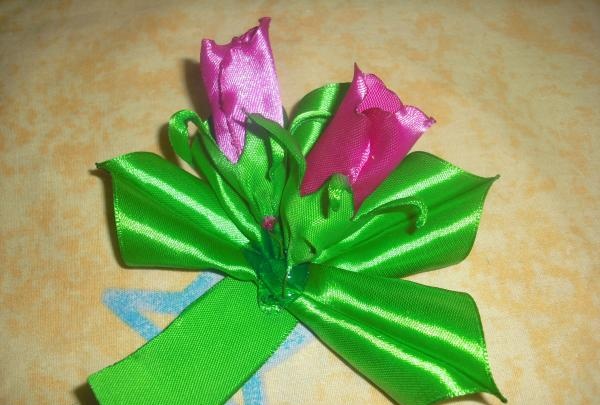
The third bud is located on the other edge of the base.

Beaded loops are attached near a single bud, two pieces on each side.
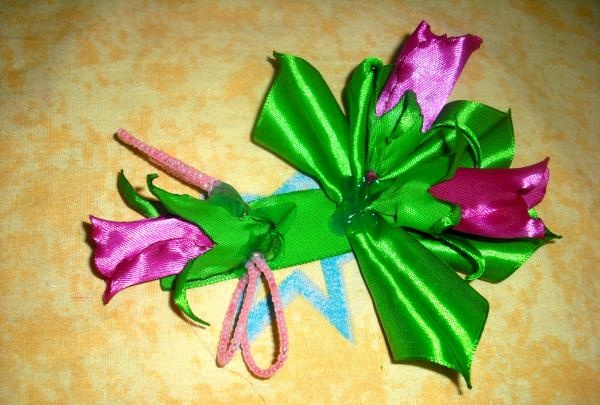
Now a large flower is glued to the center of the remaining space on the base.
All that remains is to turn the decoration over and securely fasten the hair clip along the base line.
The Fursi hair clip is completely ready!