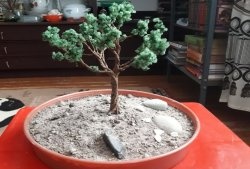
Topiary will fit perfectly into any interior and always attracts the eye. It serves not only as an original decor, but also gives a sense of harmony.
To make topiary we will need:
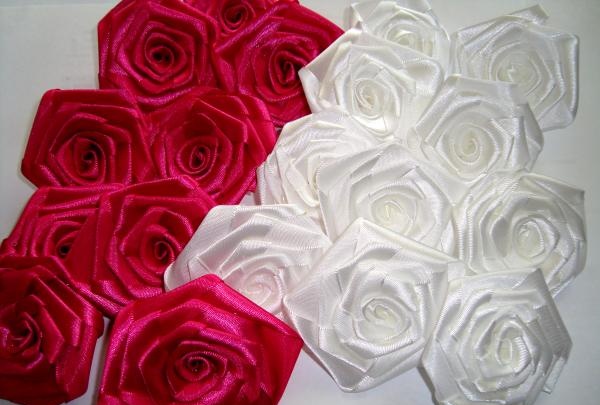
- satin ribbons for roses, 2.5 cm wide. You will need three colors: crimson, white and pink;
- satin ribbon for the trunk, 1 cm wide;
- hot glue (gun with glue sticks);
- about ten sheets of newspaper;
- branch for the trunk;
- a flower pot, preferably a heavy one, for example, ceramic;
- a small piece of penoplex;
- plaster with water;
- for decoration, sisal and decorative ladybugs.
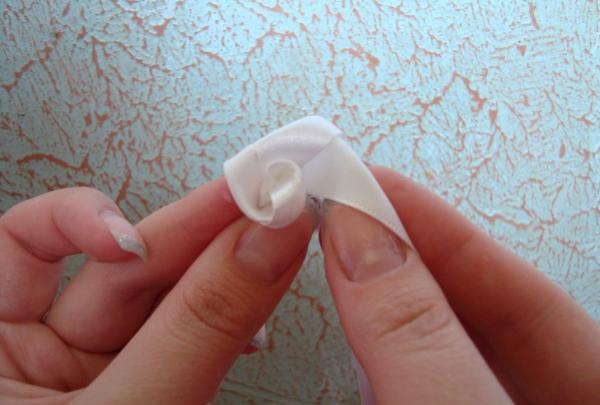
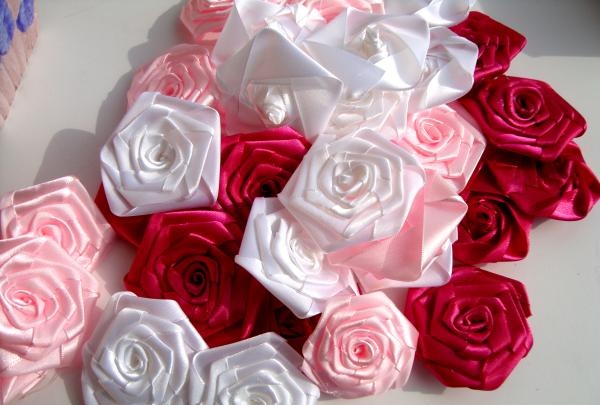
The first stage is the longest and most labor-intensive - rolling the roses. You will need a lot of roses, about 50 pieces. For each rose, cut 50 cm of ribbon and begin twisting. First, fold the edge and make two turns; apply one small drop of glue for each centimeter of tape to fix it.
Folding the ribbon away from you every two centimeters, continue to form the rose flower. Do not forget to fix every second turn with glue.
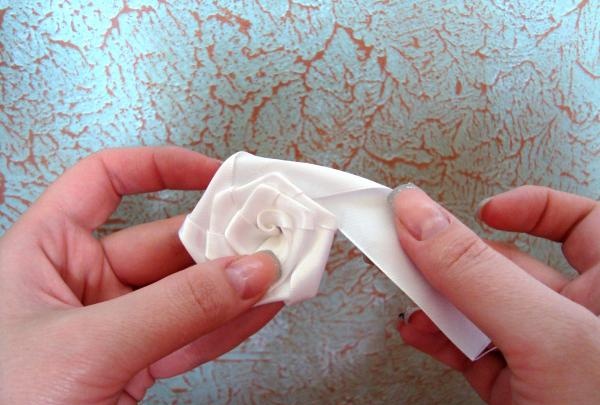
The roses should be smooth and almost the same size.
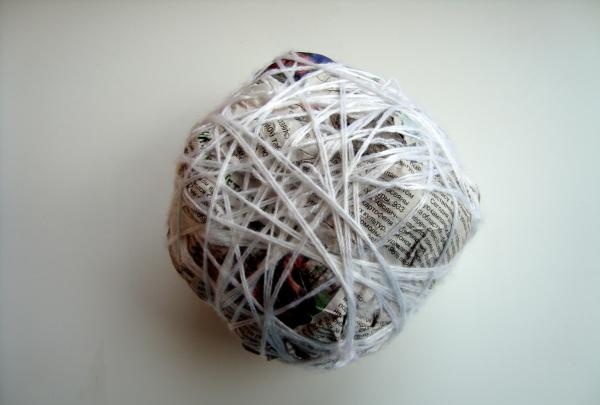
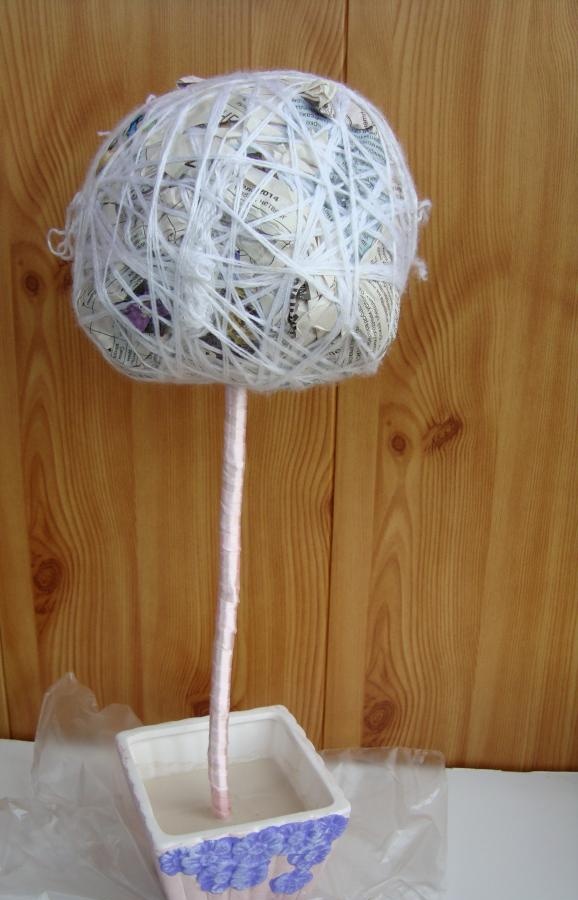
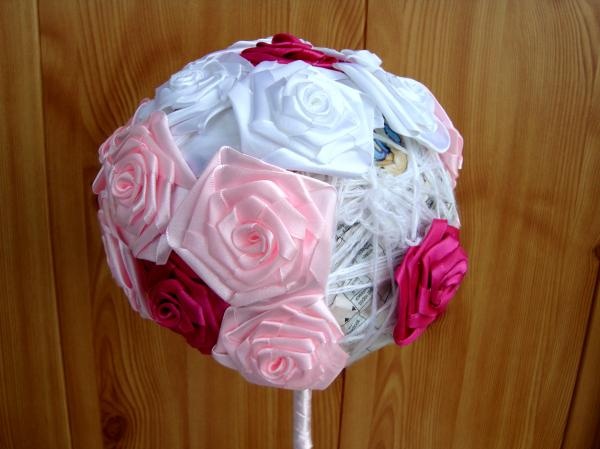
At the next stage we form a ball for the topiary. To do this, wrap one newspaper in another and press it with your hands until a round shape is formed. You should get a ball about 15 cm in diameter. To prevent newspapers from falling apart and roses to stick more easily, wrap the entire ball with thread, adjusting the shape to an ideal sphere.
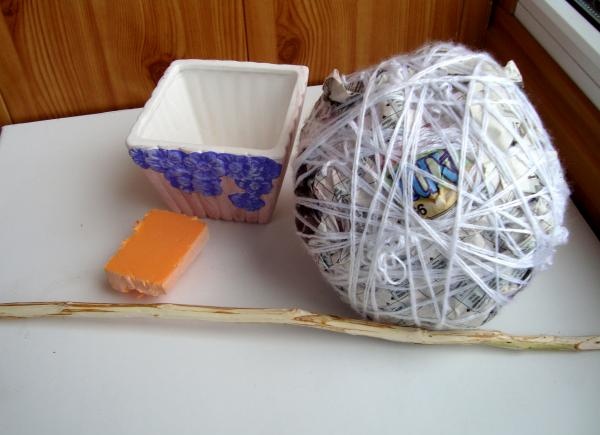
Prepare the remaining items: the pot should be clean, remove the bark from the branch.
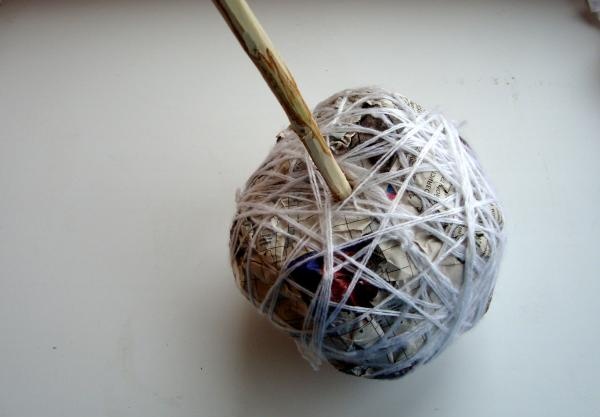
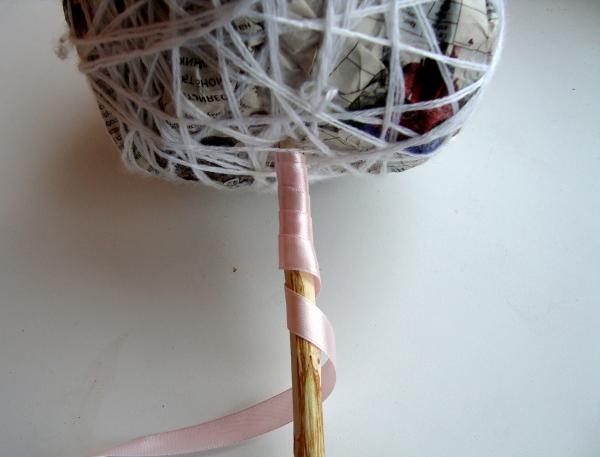
We place the ball on the barrel. To do this, it is more convenient to first make a small hole with a knife and then try on the barrel. If the trunk extends 7-8 cm, then fix it with hot glue.
We begin to wrap the barrel with tape from the ball to the bottom.
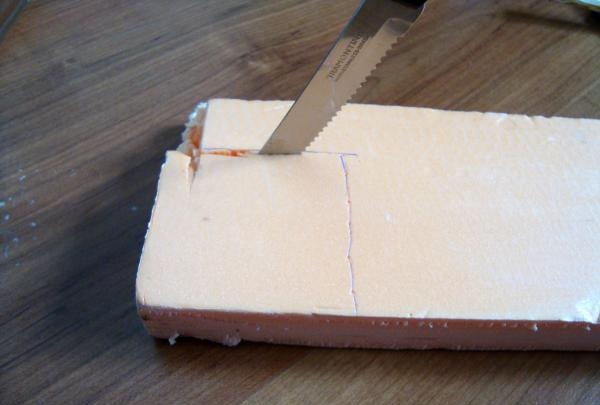
Cut a piece of foam. It will be needed to fix the barrel.
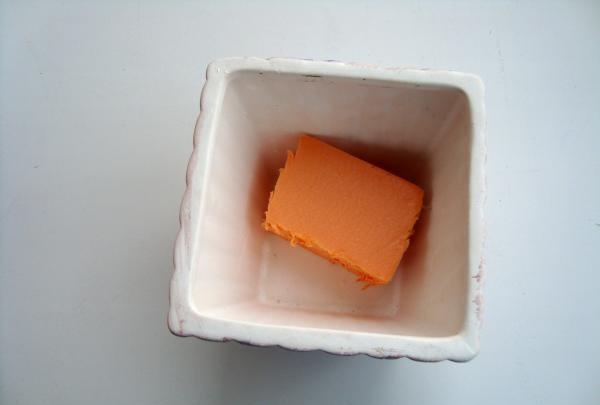
Glue the foam to the bottom of the pot, inside of course.
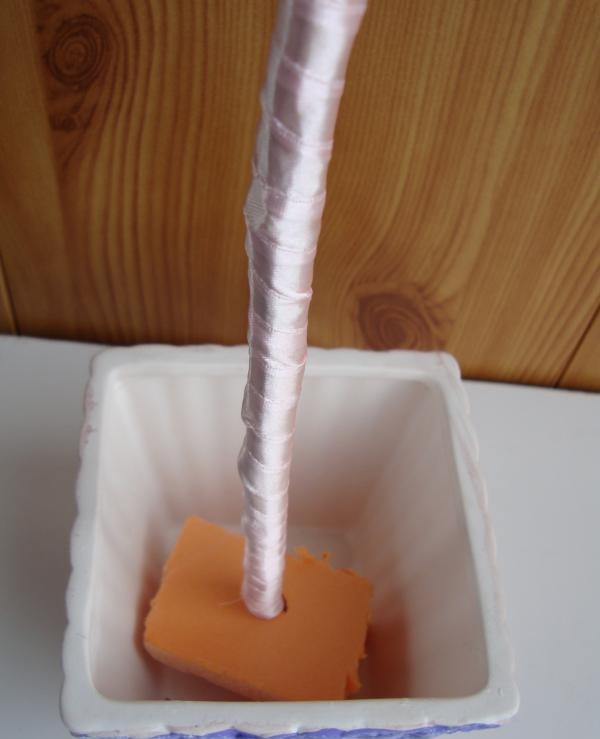
Next, we “plant” the trunk in the pot.
To firmly fix the trunk, pour a gypsum solution into the flower pot. Let it harden for half an hour.
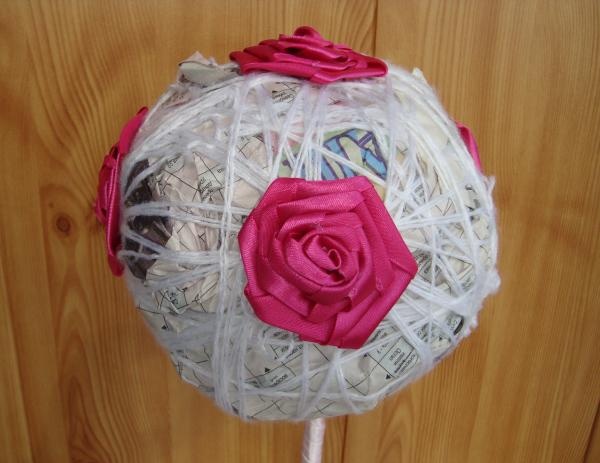
When the plaster has hardened, you can begin decorating the topiary with roses. To do this, apply hot glue to each rose.

First we glue the crimson roses according to the planned pattern. The drawing needs to be thought out in advance. This topiary will have a crimson rose in the middle.
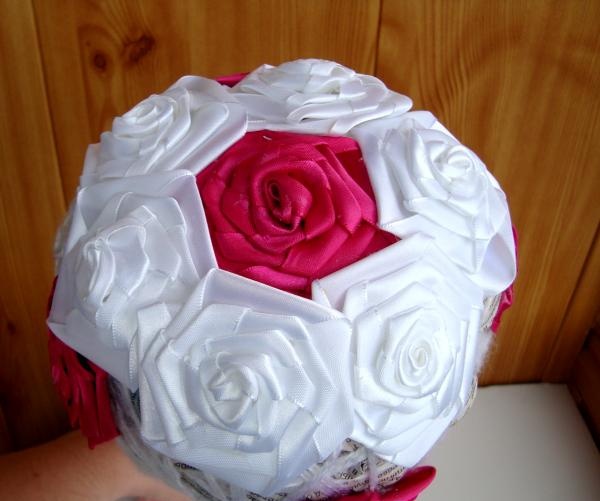
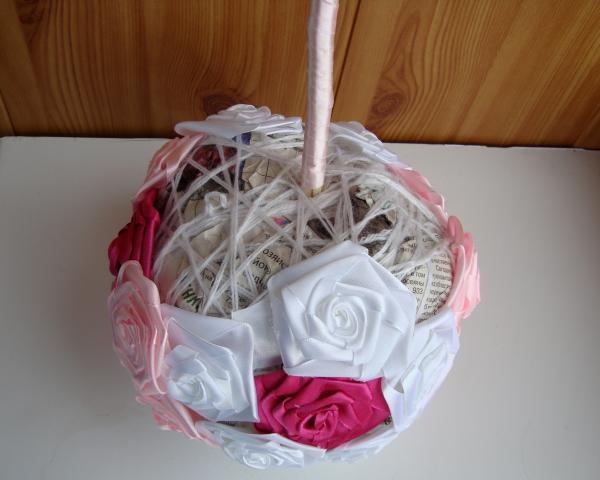
Glue white roses around the first crimson rose.
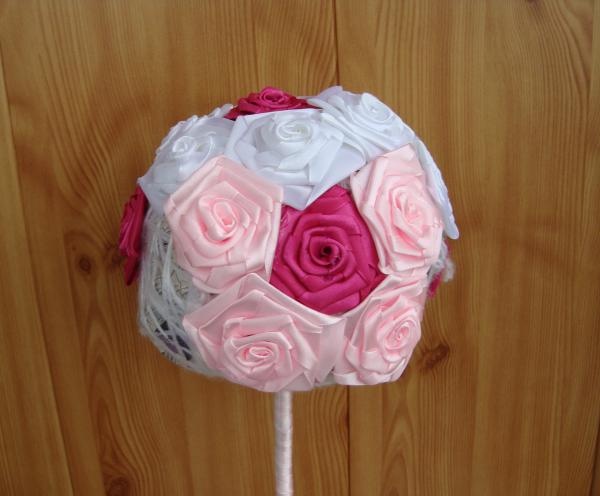
We make decorations around the neighboring crimson rose from pink roses. We alternate the entire drawing in this sequence.
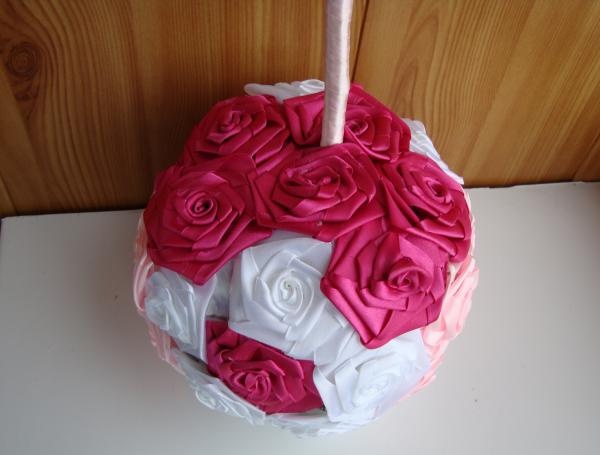
To decorate the bottom layer of the ball, it is better to turn the work over. Cover with crimson roses and press them tightly together.
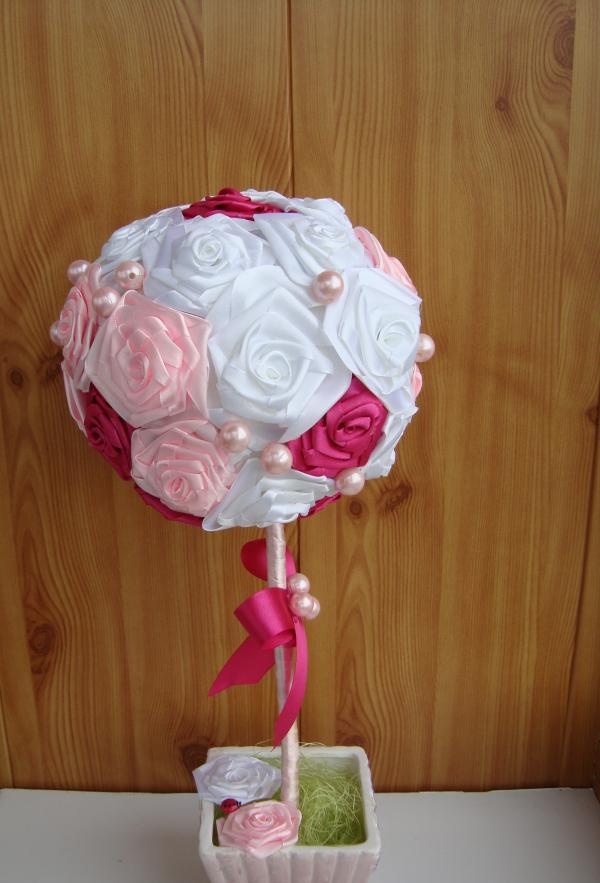
To make the topiary look neat, we cover all the places at the junctions of the roses where the newspaper is visible with large beads.
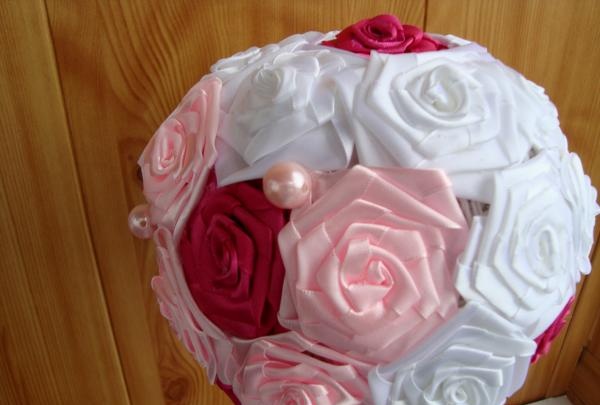
It turns out to be such a chaotic scattering of beads on top of the roses.

We cover the plaster in a flower pot with green sisal, which imitates grass. We glue the roses on top, so that one edge of them sticks tightly to the edge of the pot. Decorate with a ladybug.

We tie a bow of raspberry ribbon on the trunk and decorate it with three beads.
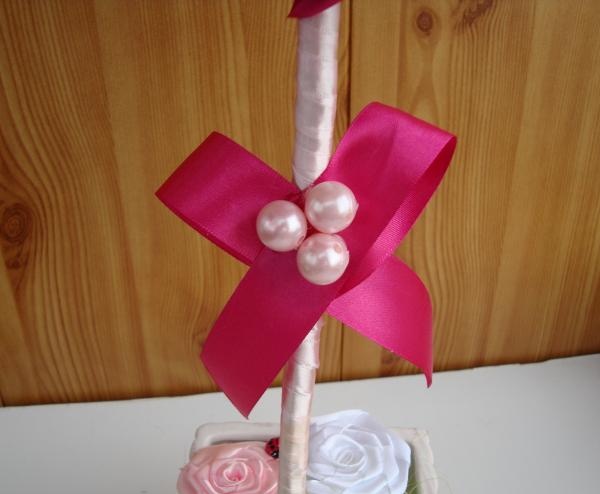
An exquisite home decoration is ready.