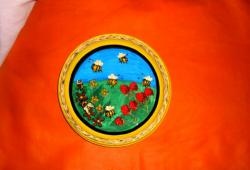
An “antique” decorative plate will not only be a wonderful interior decoration, but also an excellent gift for friends and loved ones. After all, its value also lies in the fact that it was made with one’s own hands.
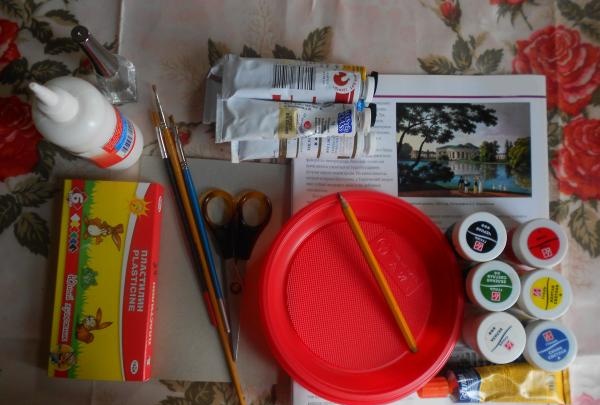
For work we will need oil paints (including titanium white), gouache, a disposable plate, plasticine, cardboard, brushes, colorless glue (“Second”, “Moment”), PVA glue, pencil, transparent varnish, as well as a picture (fragment paintings or your own idea), which will serve as a model for the future plot. I chose Martynov’s lithograph depicting the Tauride Palace.
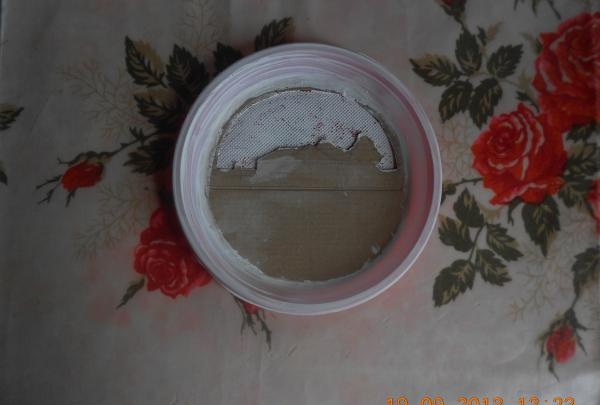
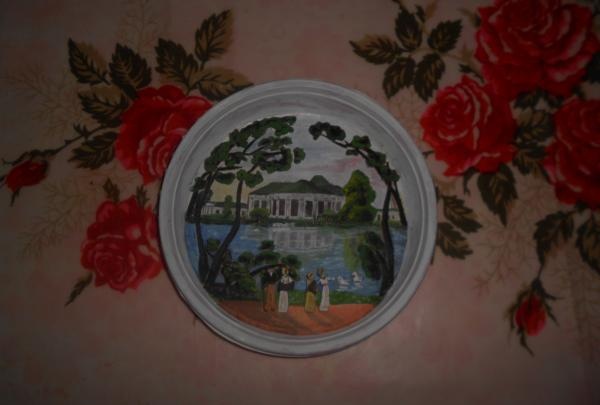
The picture on the plate will be three-dimensional, so the original image must be roughly divided into several layers. Cut out the first layer of cardboard - everything except the sky. Glue it to the bottom of the plate. Carefully close the gaps between the circle of cardboard and the side walls of the plate with plasticine (and so on for each layer). For the convenience of further work, it is better to immediately paint over the empty spaces with white gouache.
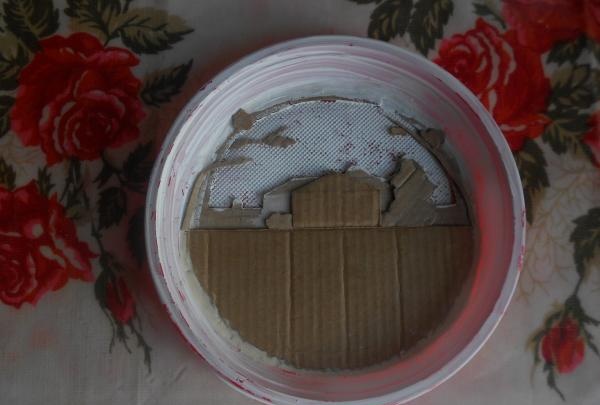
Subsequent layers are those elements of the original painting that are located on the first, second planes, etc. We repeat them in approximately the same way on the craft. The front part of the palace, the bushes nearby, some of the trees, as well as everything below, are glued with a second layer.
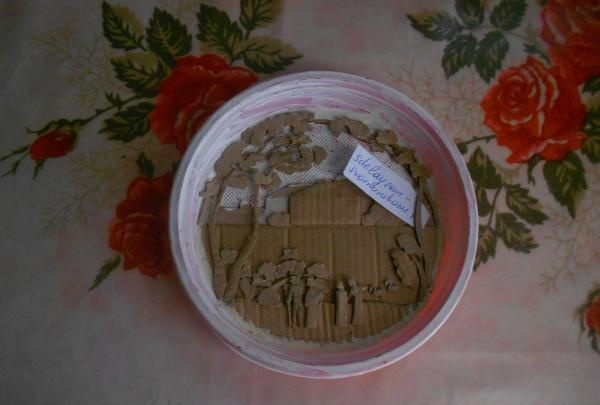
We attach the remaining elements in a third layer, and only human figures come to the fore (fourth layer).
The form is ready, all that remains is to give it color. We begin to paint the picture from the background.
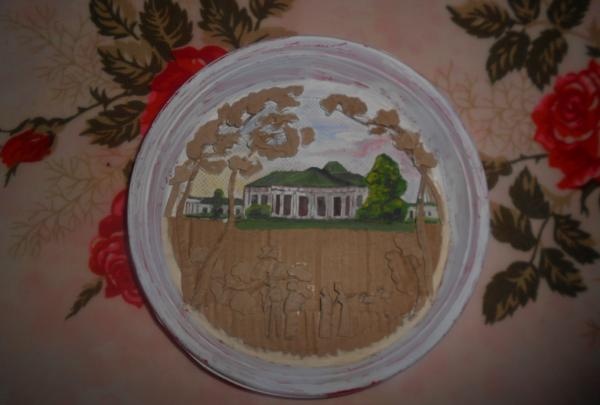
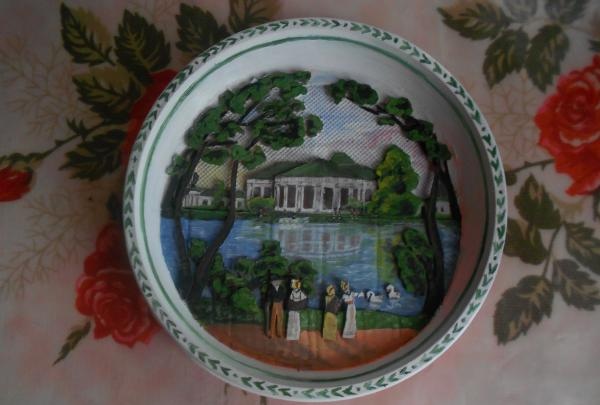
For painting, I used only gouache paint, since all the elements are very small and difficult to paint with oil or acrylic. And gouache, firstly, dries quickly, and secondly, stains, uneven strokes or imprecise lines are easily eliminated.
The varnish coating compensates for the dullness of the gouache paint, but for greater color saturation you can paint some elements with oil.
We paint the walls of the plate with a thin layer of titanium white - they are smooth and opaque, which creates the effect of ceramics. Then we apply the ornament with green oil paint.
All that remains is to coat the plate with varnish, make a loop in the back and hang it on the wall.
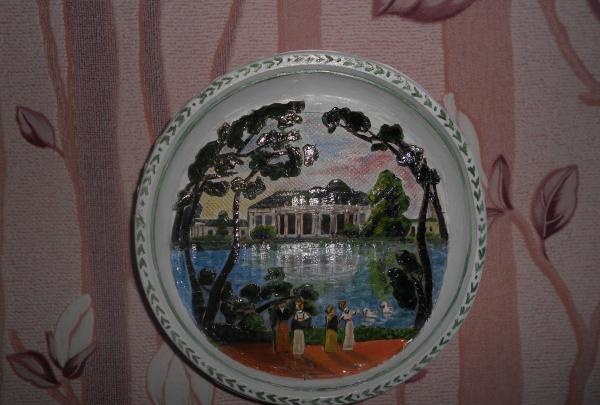
A decorative plate does not require any material costs, because it is made from waste material. However, the craft looks like an antique ceramic product made by hand.