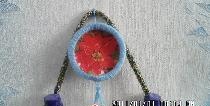
I would like to share my master class on making a children's decorative plate called “Bees on Flowers.”
For work, we will take a simple white plastic plate, gouache paints, plasticine, pistachio shells, ears of oats, watermelon seeds of various shapes, raspberry stalks, black small beads, thin golden wire, cardboard, scissors, glue, brushes, colorless varnish. However, the natural material can be anything you can find at hand.

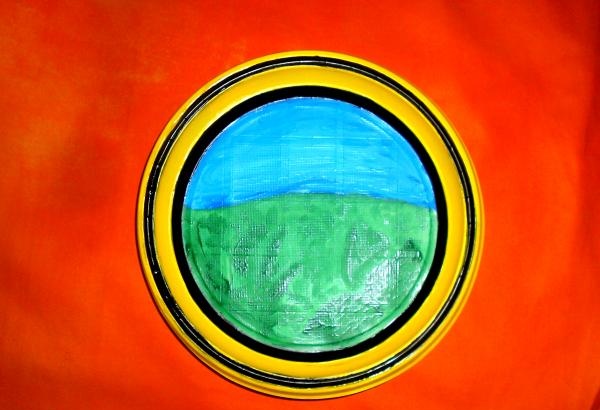
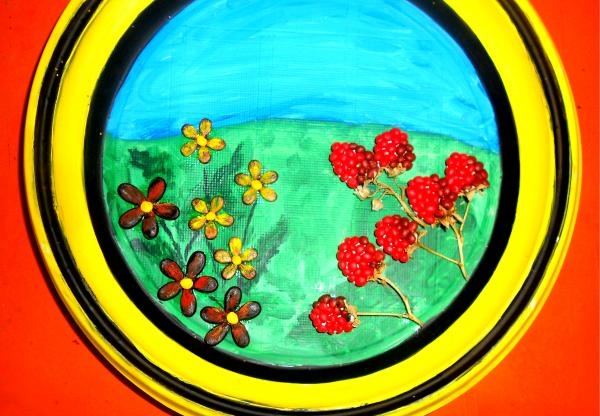
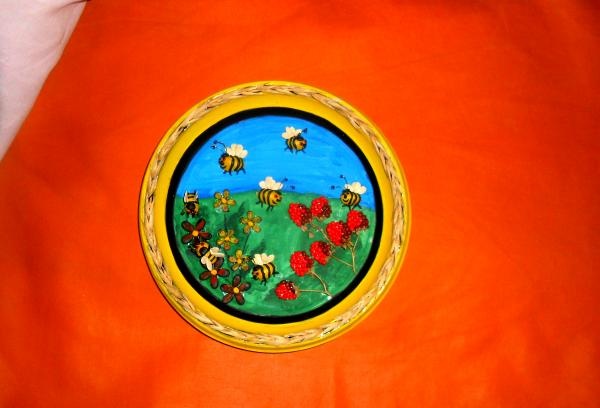
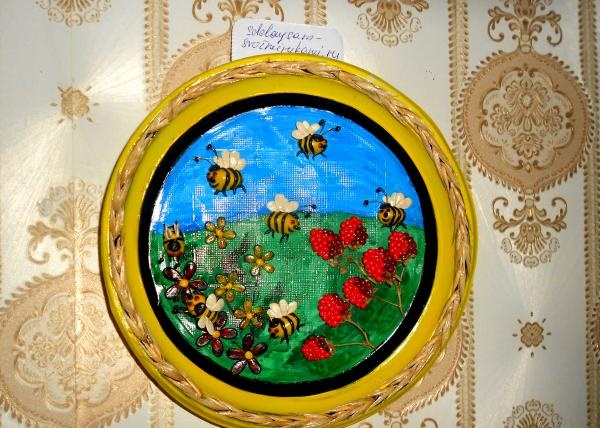
We start by painting the frame of the plate in black and yellow “bee” colors, and in the background we draw green grass and a blue sky. Lightly draw the leaves.
We arrange flowers from watermelon seeds on the left side of the plate.The combination of seed-petals of different shapes and colors looks beautiful. On the right side we glue dry raspberry stalks.
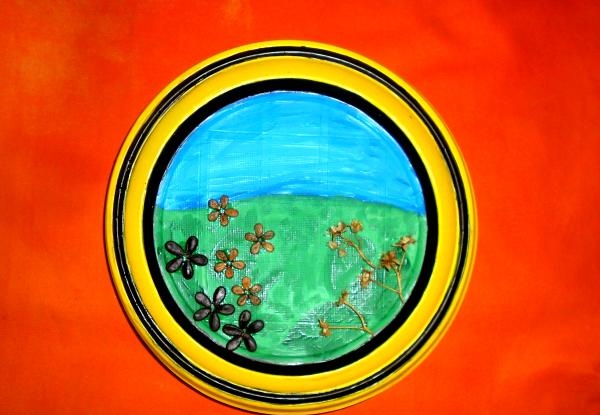
We glue cardboard bases in the shape of raspberries to the stalks. Flowers made from seeds are slightly tinted with gouache: large ones are painted red, and small ones are painted yellow. Let's highlight the leaves.
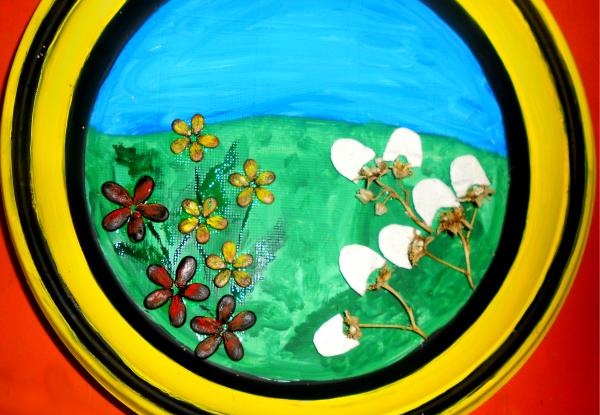
We make the center of the flowers from yellow plasticine and begin making plasticine raspberries. To have additional colors and shades, you don’t need to buy a huge package of plasticine. This material can be mixed just like paint to achieve the desired color. We need brown. We get it by mixing red (3/4) and black (1/4) plasticine. Now we form balls. Each berry requires approximately 12-13 red plasticine balls and about 7-9 brown ones. When the required amount is ready, we begin to “collect” the berries. To make the plasticine stick better, you can grease the cardboard base with super glue.
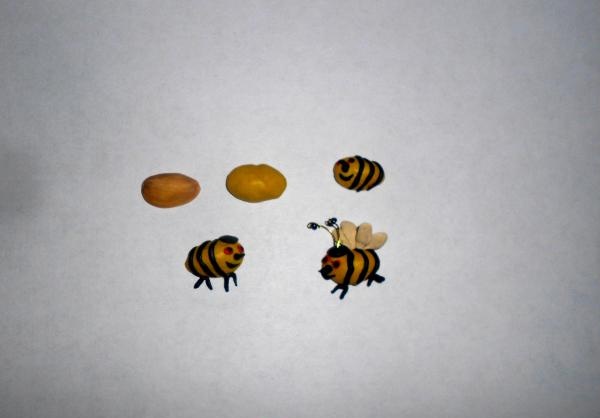
Let's move on to making bees. As a base, we will take halves of pistachio shells. First, spread a thin layer of yellow plasticine over the entire surface of the shell, and then make strips from black plasticine. We attach paws, a hat and sculpt a face. We make the wings from white plasticine, and the antennae from thin wire with beads at the ends. In this way we make 7-8 different bees.
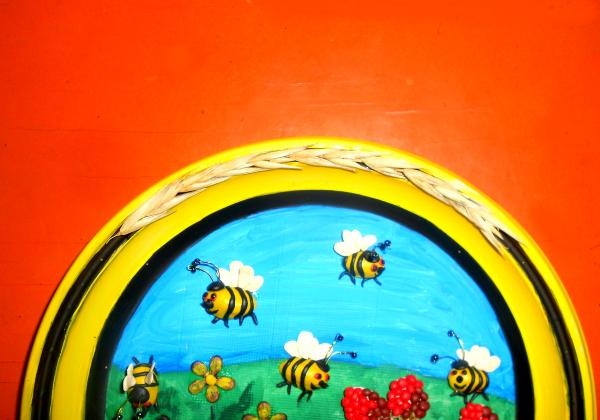
Place them on a plate, securing them with super glue. Let the bees fly, land on berries and collect nectar from flowers.
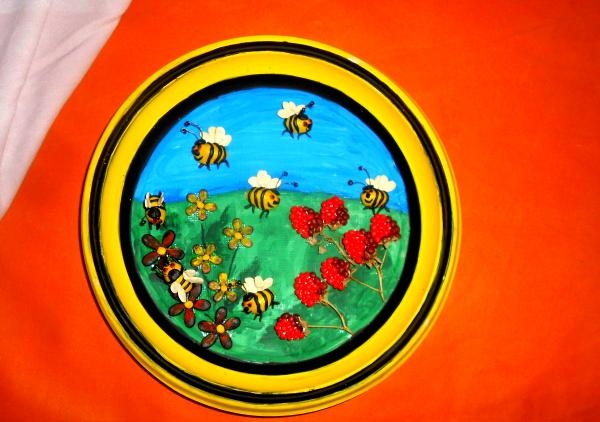
Finally, we decorate the frame with ears of oats. To do this, carefully tear off the seeds from the stem and glue them around the frame.
All that remains is to coat the craft with varnish and you can hang it on the wall.
This decorative plate can not only be made to decorate a child’s room, but also made together with the child, for example, as a craft for school. Your little one will definitely love this colorful, cheerful composition.