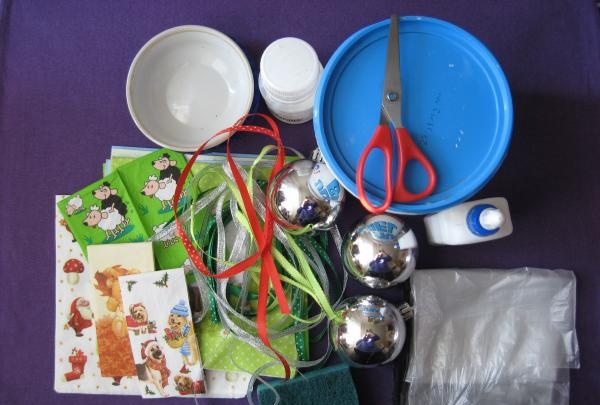
To decoupage Christmas balls we will need:
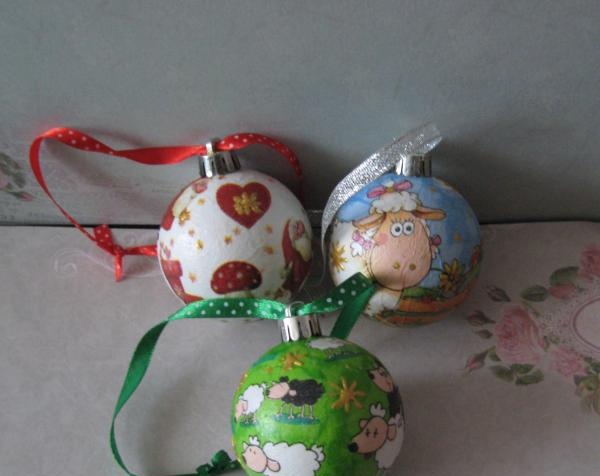
• Three plastic plain balls with a diameter of 5 cm;
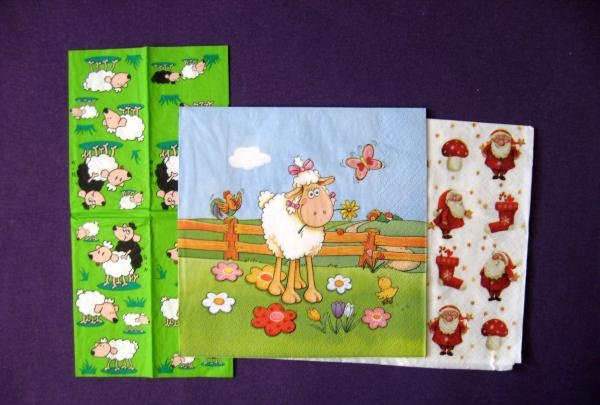
• Three napkins for decoupage: two with sheep, and one with Santa Claus;
• White acrylic paint;
• PVA glue;
• Decoupage glossy varnish;
• Foam sponges;
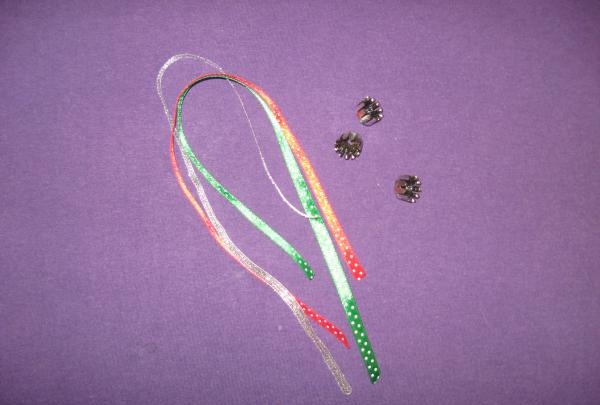
• Three narrow ribbons made of satin and organza of different colors;
• Scissors;
• Bags or oilcloth;
• A plate for paint and glue;
• Gold outline for decoration;
• Three sticks or pencils.
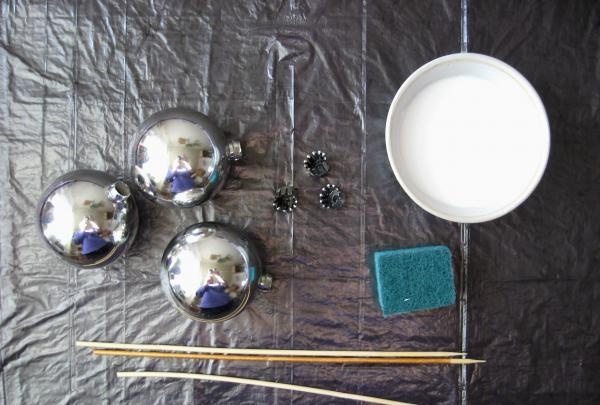
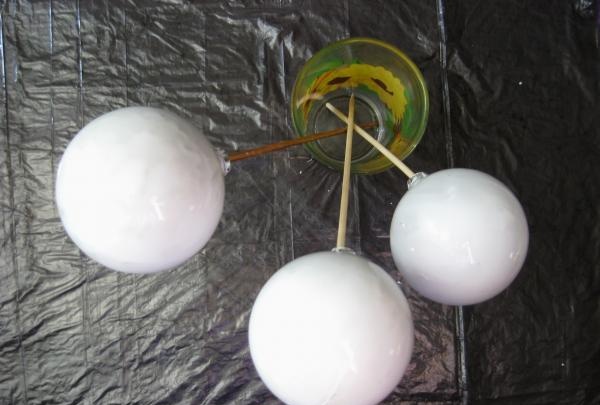
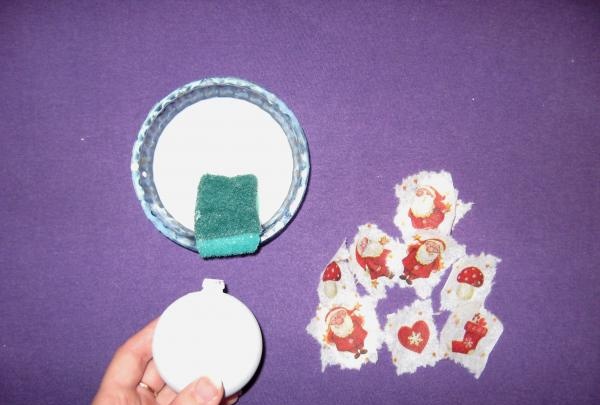
To work accurately, you need to prepare your workplace, first cover it with a bag or oilcloth. We take the balls and remove their caps. Pour white paint into a plate and add a little water, about 20%.

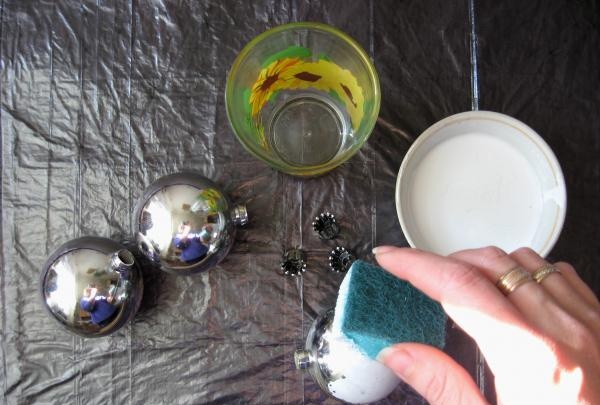
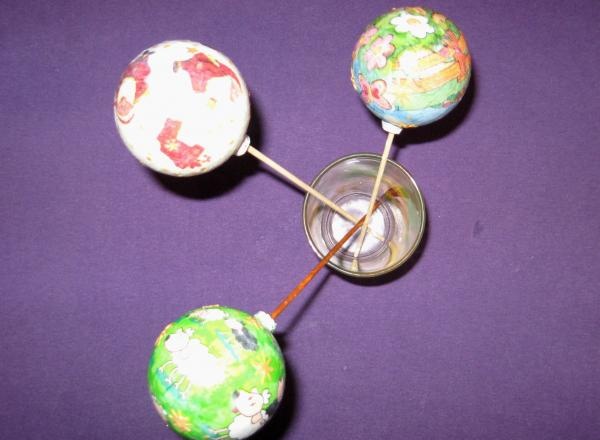
Using a sponge, we begin to paint each ball, starting with the cap, then we put the ball on a stick and place it in a glass so that the ball dries. So we paint all three balls. Place them in a glass and wait for them to dry completely, or speed up drying with a hairdryer.
We paint all the balls with a second layer of paint and wait for drying. In the meantime, we are preparing pictures for decoration.
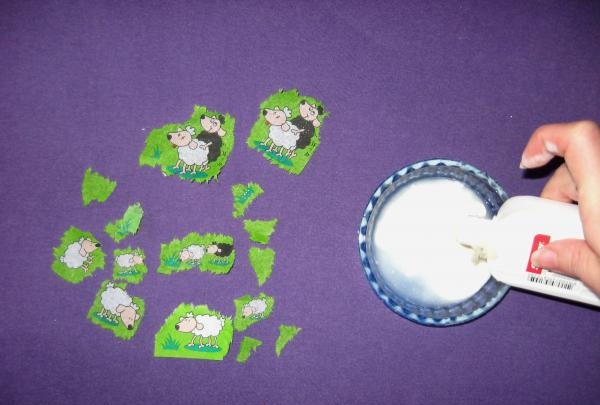
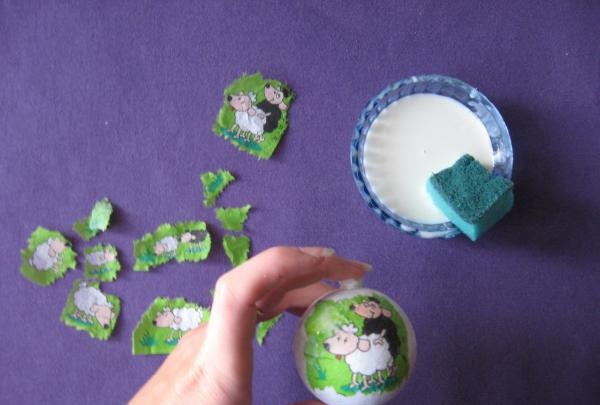
Carefully tear off small fragments from each napkin. It is better to take napkins with small pictures, then it is convenient to apply them to the ball and the picture turns out uniform and without wrinkles. Carefully remove the top layer from each piece of napkin, the bottom two are simply white, and remove them. We rinse the paint plate and pour PVA glue and water into it in the same ratio.

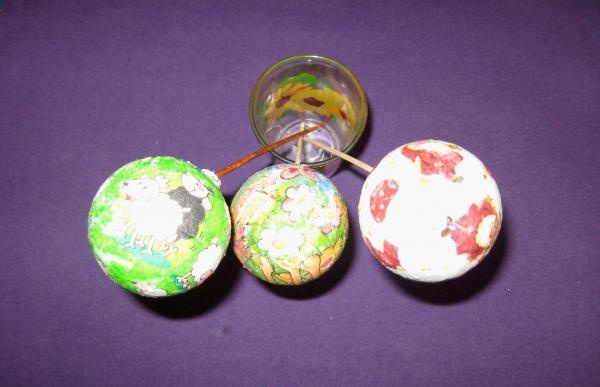
Stir well and now use a sponge to glue each fragment of the napkin with this mixture to the ball. Each ball has its own pieces of napkin.
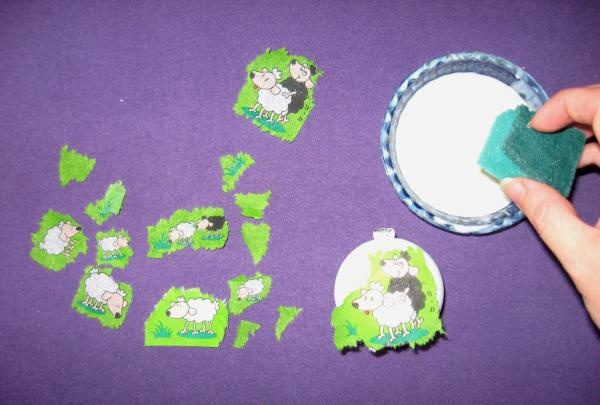
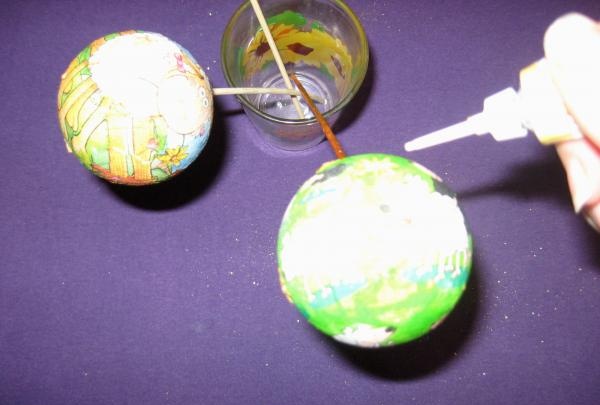
We also put all the balls on sticks and dry them.
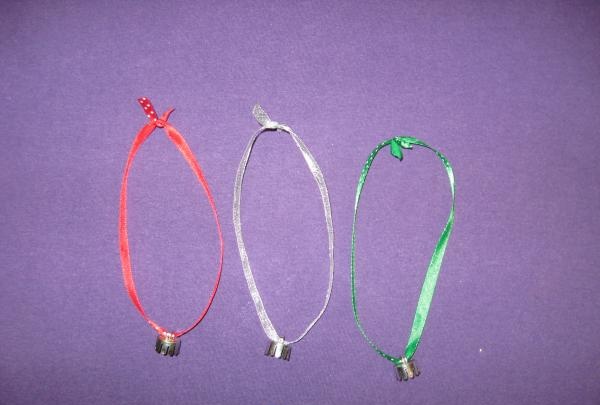
When the surface is dry, draw snowflakes with an outline and dry it again. We measure out 20 cm of each ribbon and burn the edges of each.
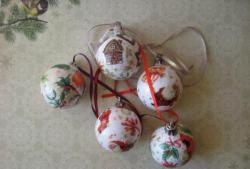
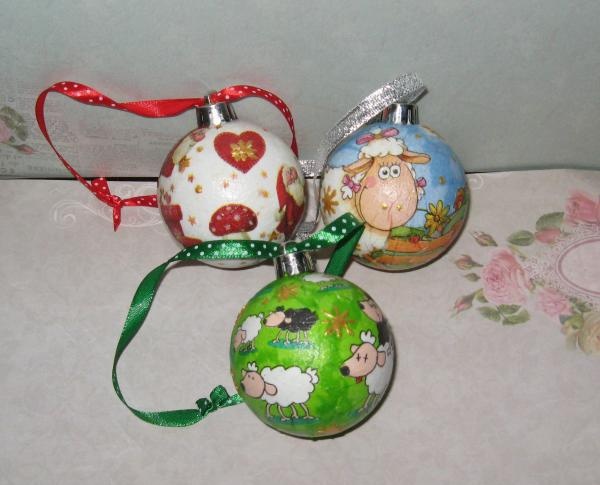
We thread the ribbons through the loops and tie knots.The final step is to coat the balls with glossy varnish in several layers, pausing to dry.
We put hats with ribbons on the balls and you're done! You can decorate your guest. Thank you.