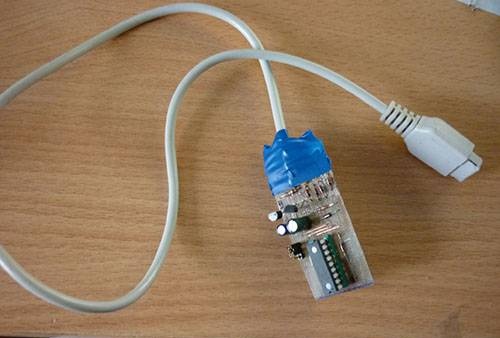
This programmer is one of the simplest and most common. It contains a minimum of details and is easy to repeat:
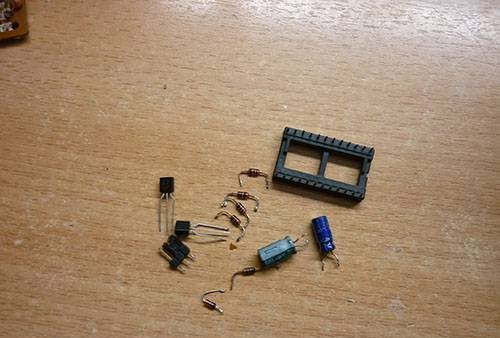
For assembly we need:
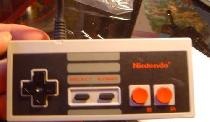
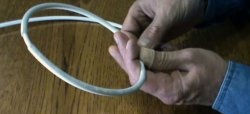
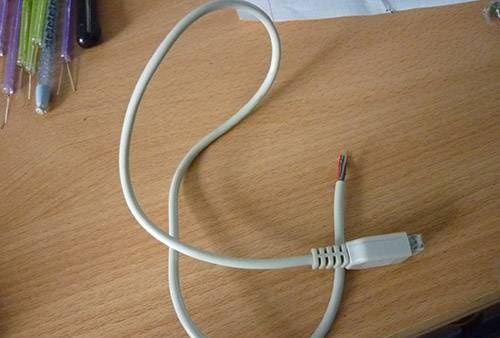
If there is no plug to the COM port, you can cut it off from the shogi joystick:

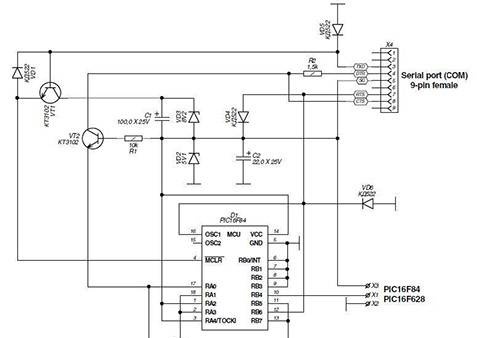
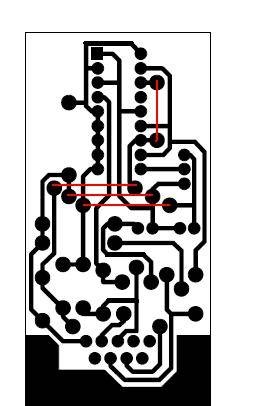
Making a printed circuit board
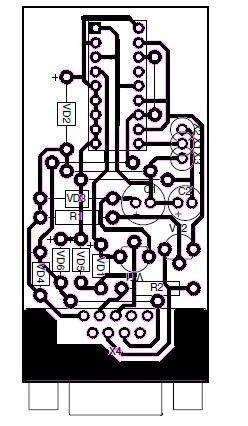
Parts location:
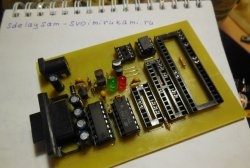
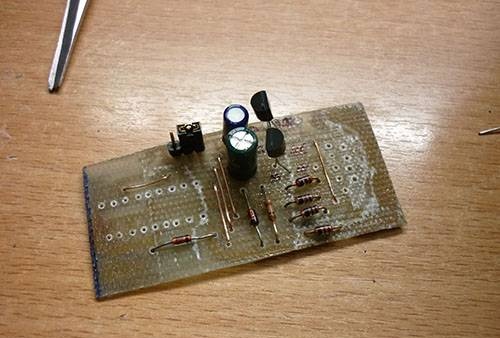
So, our board is ready, now we solder the parts. First the jumpers, and then the details:
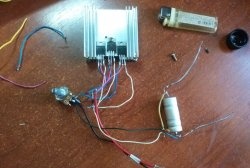
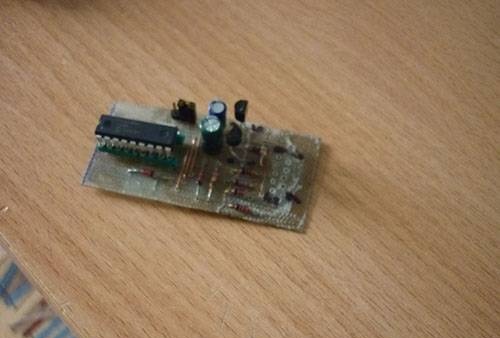
Here all the parts are already soldered and the PIC16F628A MK is inserted
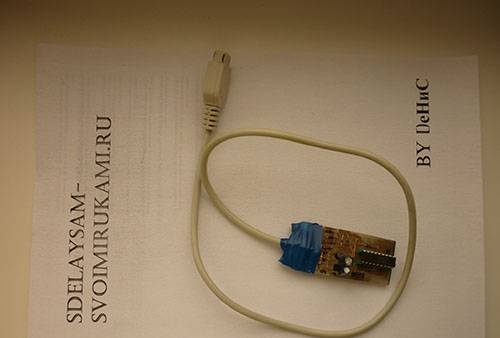
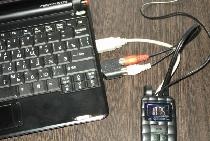
The final stage: solder our COM wire. But before soldering you have to ring
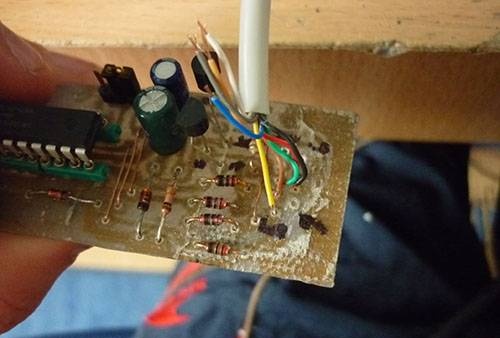
It is better to cut off unused wires to avoid short circuits.