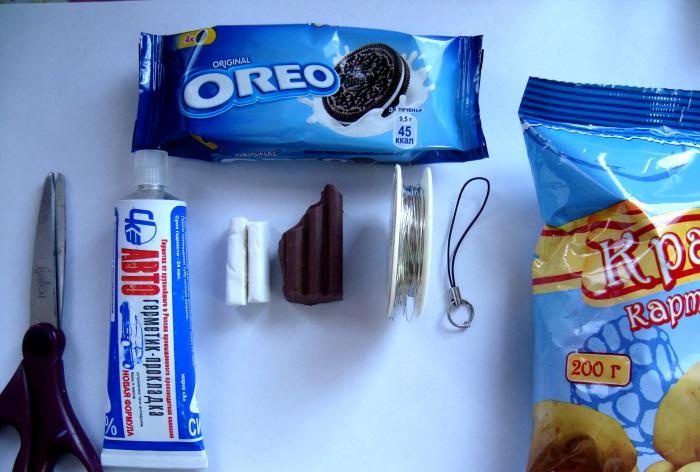
To make Oreo cookies we will need: No! Not flour or butter, but just a little polymer clay and a good mood!
- - polymer clay (brown and white);
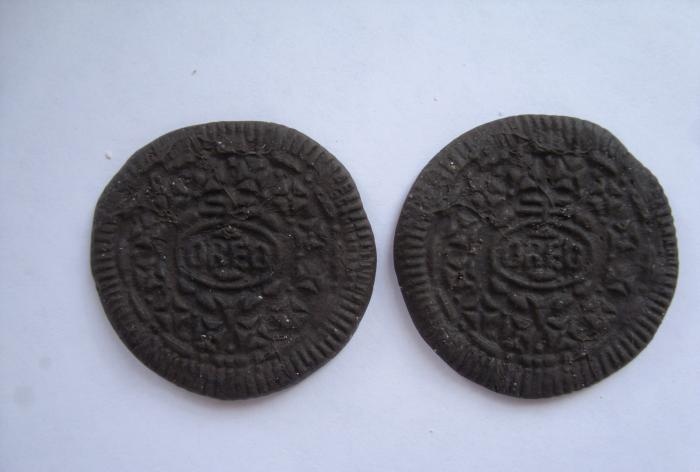
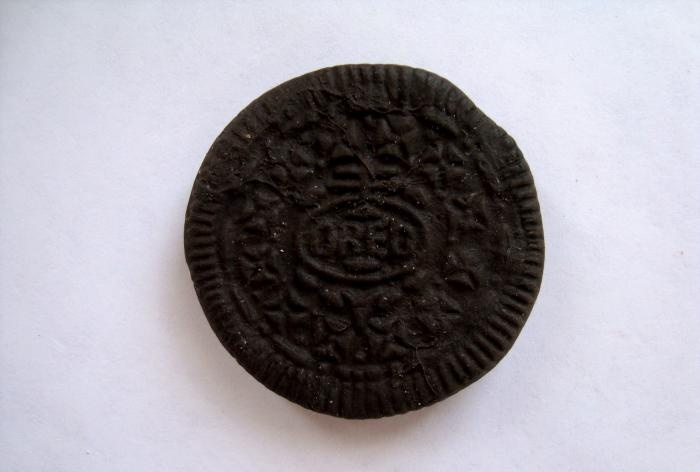
- - one real Oreo cookie;
- - silicone sealant;
- - scissors;
- - wire and clasp - carbine for keychain;
- - potato or corn starch.
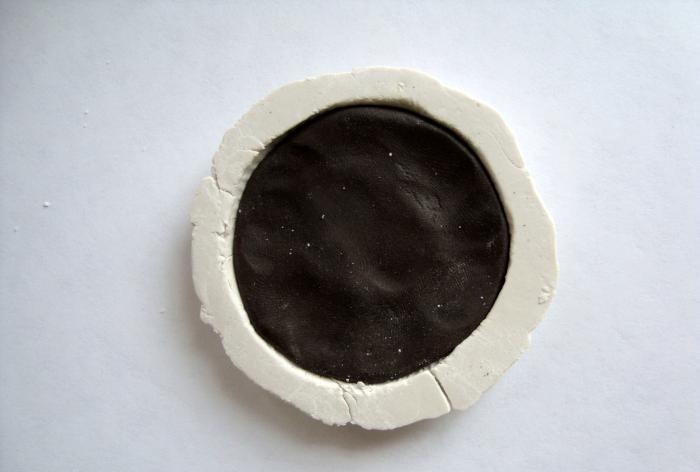
Step 1. Prepare your workplace in advance, i.e. Place a sheet or newspaper on the table. Let's make a mold for Oreo cookies. (A mold is a mold with which you can make shapes and three-dimensional compositions). Mix starch and silicone sealant (1:1). It is necessary that the mass resembles dough. It should also not stick to your hands and be homogeneous. Roll into a ball.
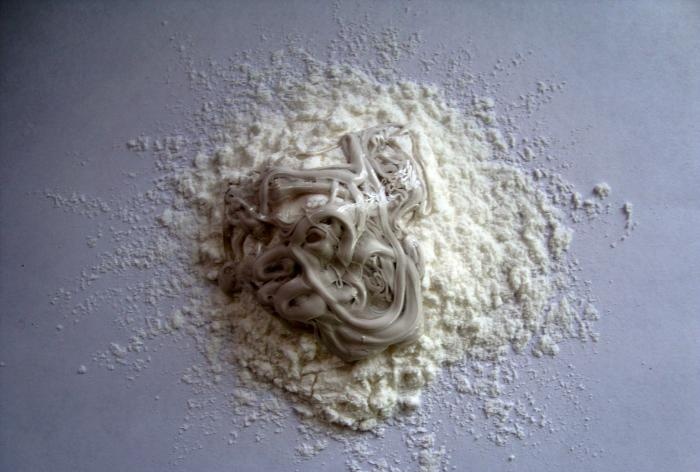
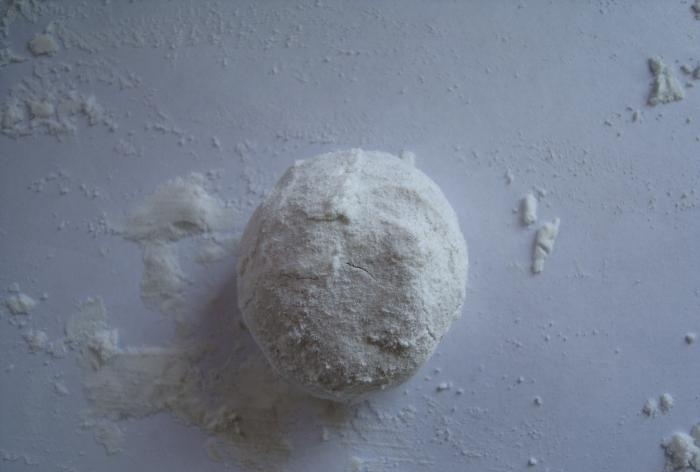
Step 2.Then take a real Oreo cookie, separate one half from the other and take the part of the cookie that has a clearer pattern, i.e. Cookies should not be broken or cracked. Place the cookies on a flat surface and press the same ball (made of starch and silicone sealant) on top of it. The cookies should be carefully covered with this mixture on all sides. Leave it all to harden. Silicone sealants have different curing times, so check the packaging of the sealant you are using.
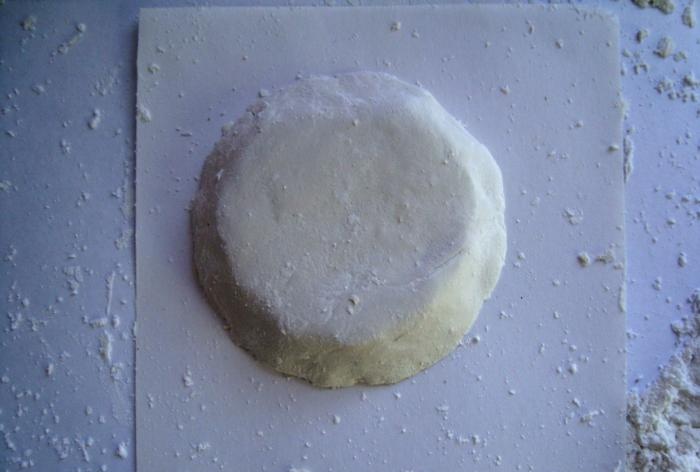
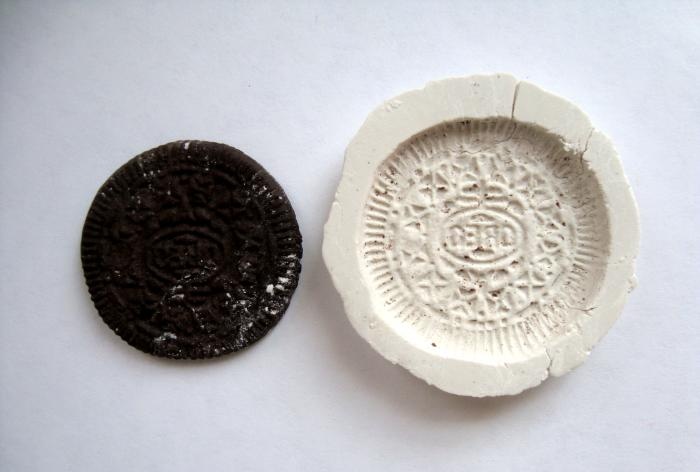
Step 3. After our mold has hardened, the cookies can be removed. Of course, the cookies you used can no longer be eaten! After this, it is better to rinse the mold with water.
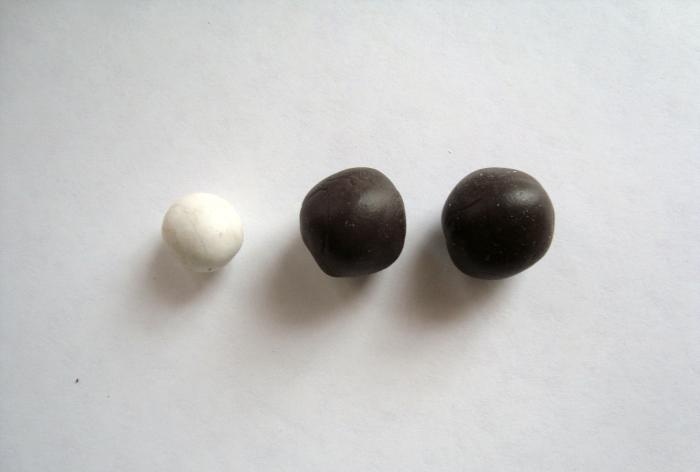
Step 4. Take brown and white polymer clay. Roll two identical balls from brown clay, and one smaller ball from white clay.
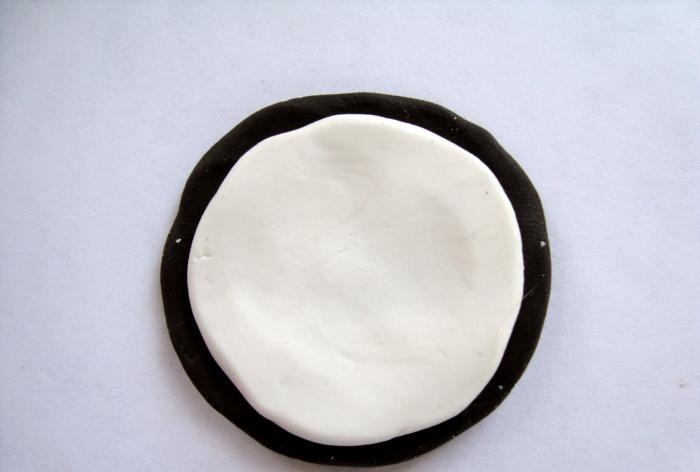
Step 5. Take one brown ball and press it into the mold.
Step 6. Carefully take it out, you get one half of an Oreo cookie. Thus we make two halves.
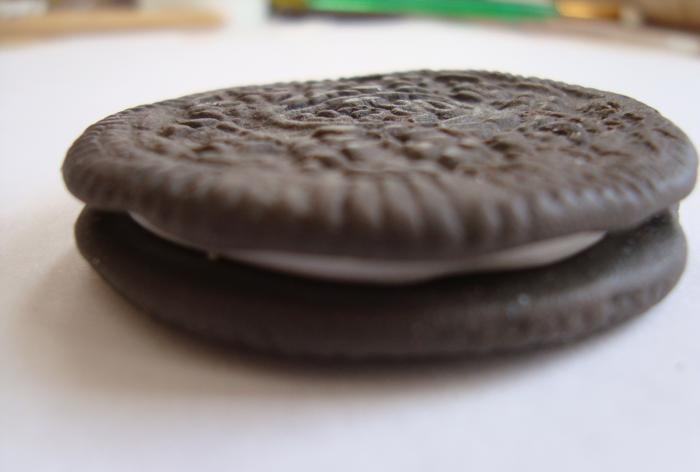
Step 7. Then take the white ball and roll it out. It should be slightly smaller than a cookie (this will be the filling). Place the filling between the two halves. Press lightly without damaging the structure of the Oreo pattern.
Step 8. All that remains is to make a hole in the cookie for the keychain. We bake, see the temperature and baking time on the packaging of the polymer clay from which you sculpt. Then all that remains is to make the fastening. Make a ring out of wire, insert a clasp - a carabiner for a keychain - and you're done!
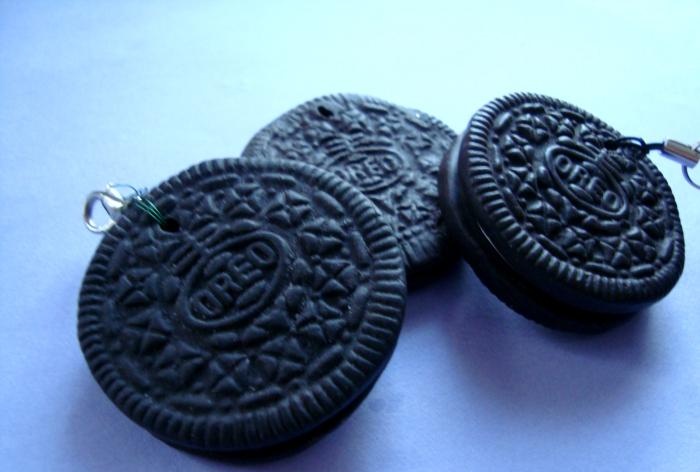
We made such wonderful cookies, it is impossible to distinguish them from the real thing! It can be used as a prank or given as a gift to someone.