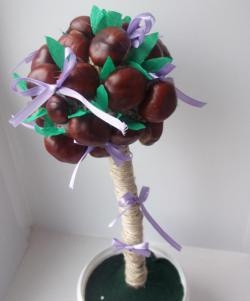
Today we will make spring topiary from fabric and satin ribbons. To work you will need the following components:
- - green flowerpot with stand;
- - stick 25 cm long;
- - green fabric;
- - cotton buds;
- - multi-colored satin ribbons 5 cm wide;
- - regular newspapers;
- - yellow gouache;
- - colored paper (in our case green);
- - threads;
- - plasticine;
- - beads;
- - thermo gun;
- - candle;
- - matches.
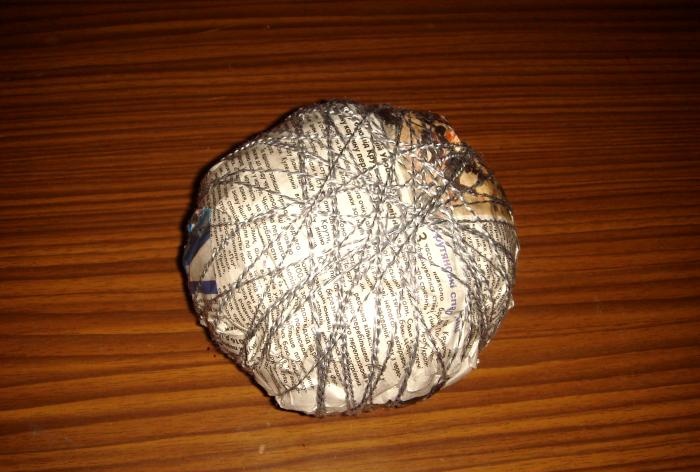
First, let's make a ball. To do this, take old unnecessary newspapers and form them into a tight ball, and so that the layers do not crumble, we fasten them with thread.
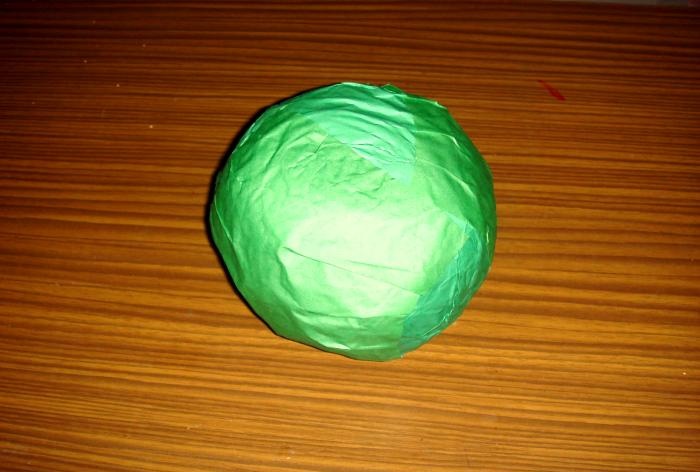
Then we cover the ball with green paper.
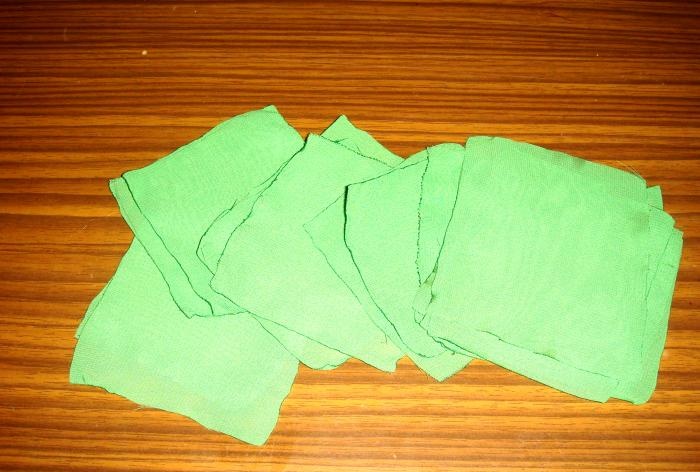
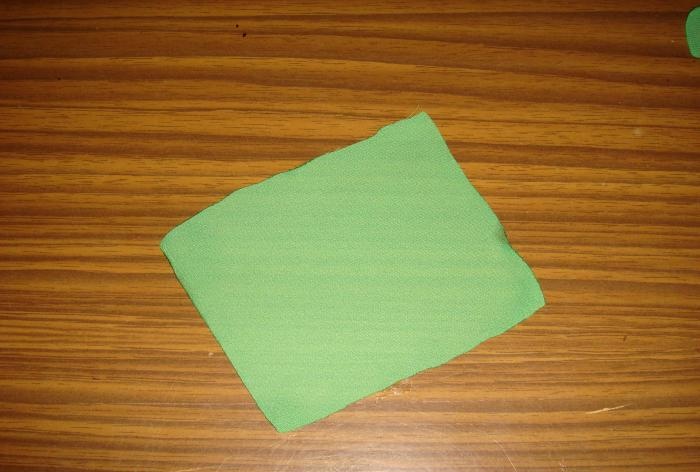
We cut the fabric into squares 8-10 cm in size. To prevent the edges from fraying, they must be scorched with the fire of a candle or lighter. In total you will need 50 green squares.3.jpg
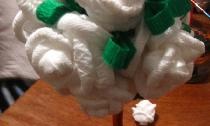
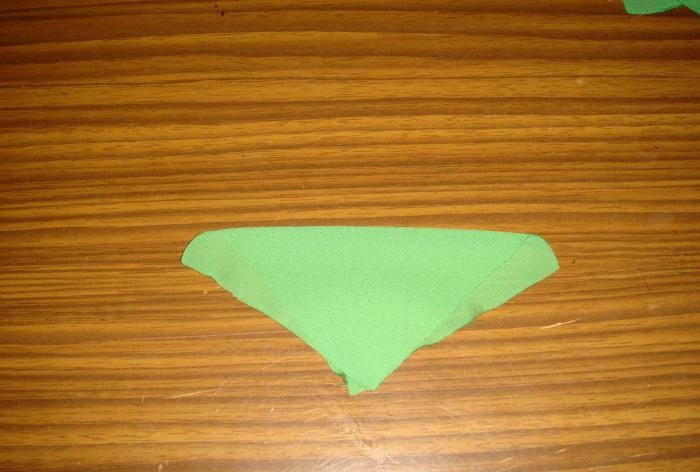
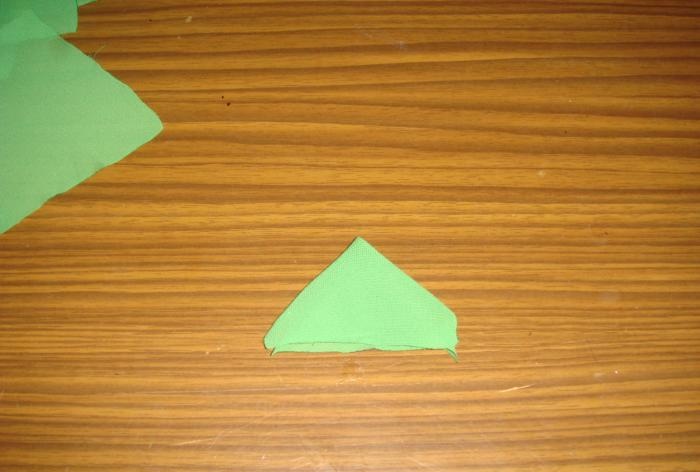
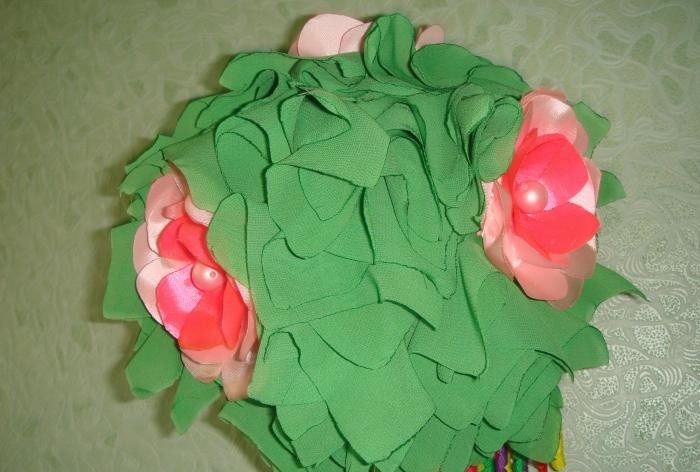
Now we will glue these blanks onto the ball.But first, each of them needs to be folded 2 times into a small triangle and only then glued to the ball by the corner, using a heat gun for this.
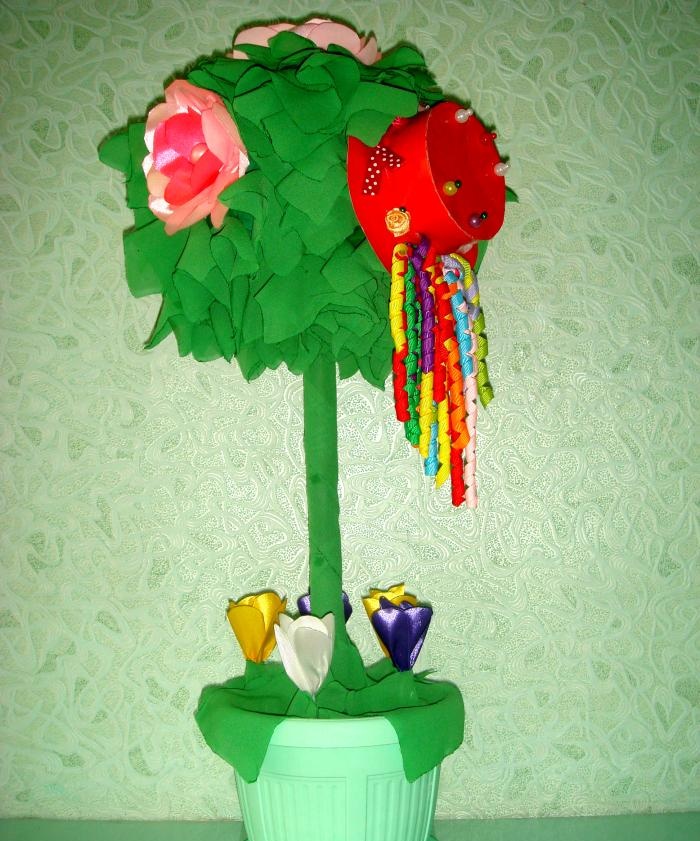
We will make flowers from pink and raspberry satin ribbons. We cut out the petals, singe the edges and glue them according to color onto a cardboard circle. Such delicate lush flowers come out.
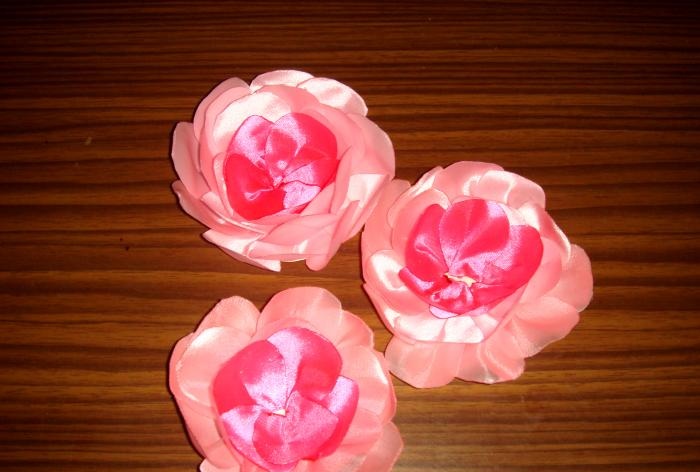
We glue them between the green fabric and attach a beautiful mother-of-pearl bead in the center.

You can also stick a small bright hat on the ball, made from colored cardboard, narrow ribbons and beads.

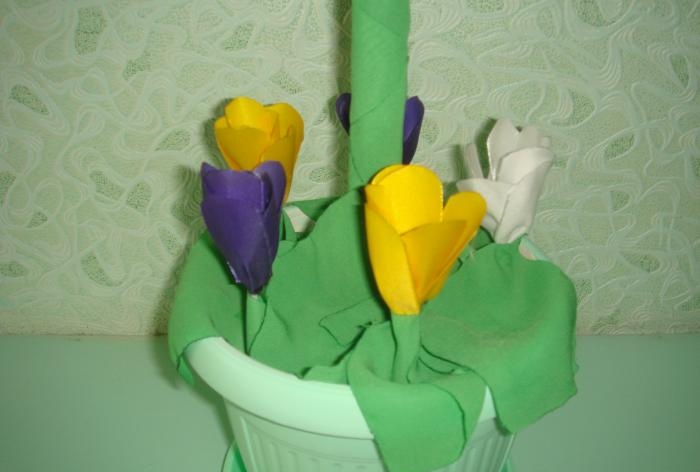
At the bottom of the spring topiary we will place crocuses. We will make them from purple, yellow and white satin linen.
Cut out 6 oval petals and glue them onto a cotton swab.
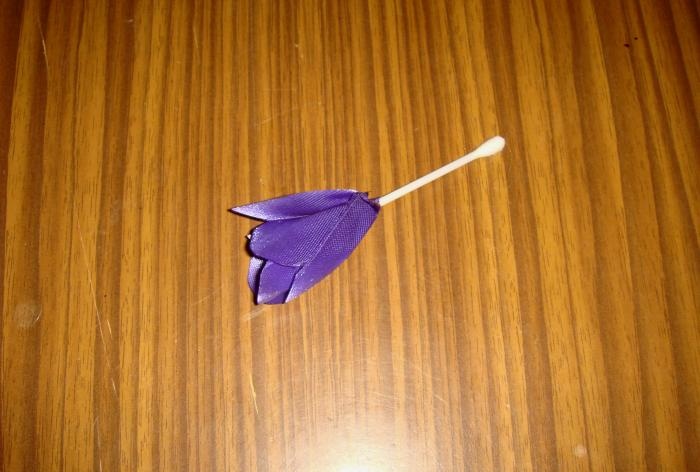
We paint the middle of the stick with yellow paint.
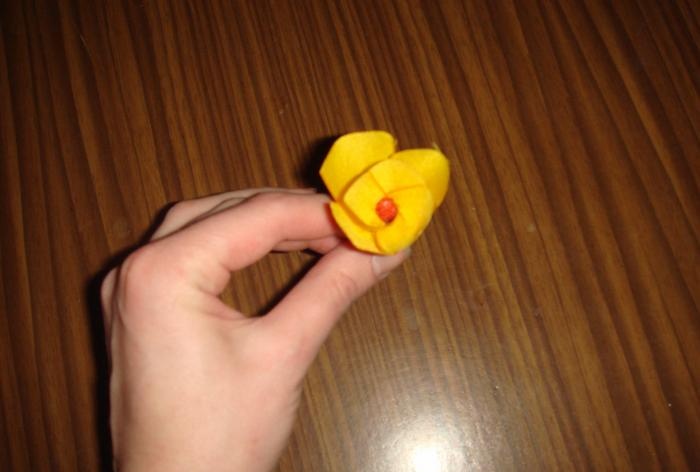
You get pretty, tender crocuses.
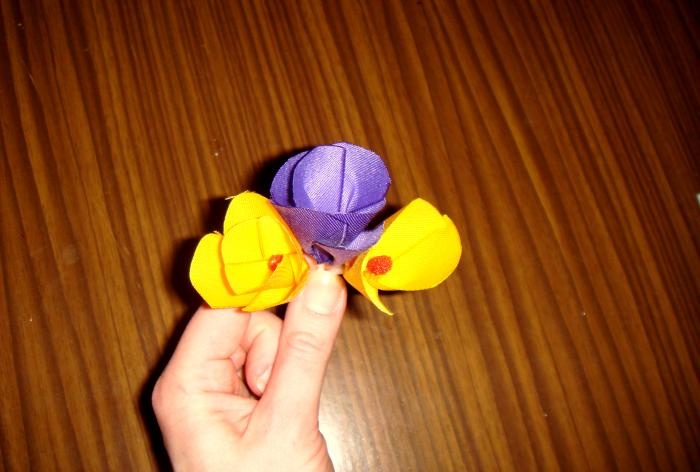
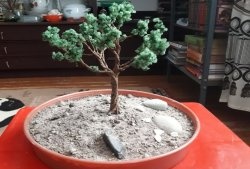
We take a flowerpot, place a stick in the center, securing it with plasticine. We stick crocuses into plasticine and decorate them with green squares.
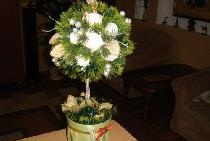
We also cover the stick with green cloth and place a ball with flowers and a hat on it. Everything is fixed perfectly using a heat gun.
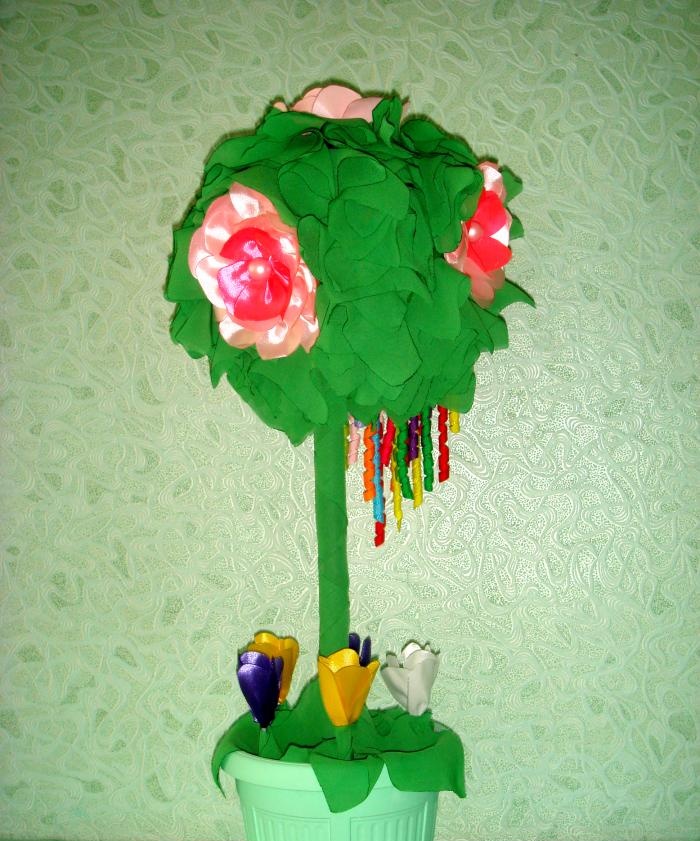
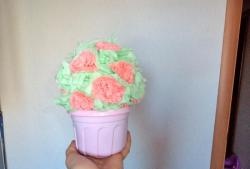
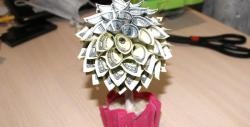
Spring topiary is ready!
It will look very beautiful on a table, on a shelf, on a windowsill or on a nightstand. Adviсe:
- - to reduce the amount of work, you need to buy a ready-made foam ball and paint it with green gouache;
- - instead of satin ribbons, you can use bright corrugated paper, it also makes beautiful flowers;
- - crocuses are far from the only option; snowdrops or tulips will look no worse;
- - it is better to use orange fabric to decorate autumn topiary, and white fabric for winter;
- - in winter topiary, snowflakes rather than flowers would be more appropriate;
- - if the theme is autumn, the tree can be decorated with various gifts of nature (cones, acorns, leaves, etc.);
- - summer topiary can be decorated with cheerful birds and butterflies made of corrugated paper.