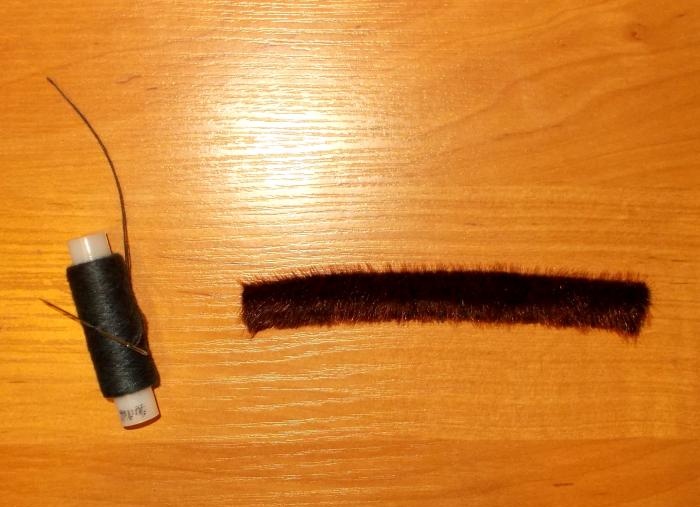
To make this bird, I needed thread, scissors, paper, fabric, cotton wool, two red rhinestones, reliable rubber glue, two plastic sheets, red, pink and yellow nail polishes.
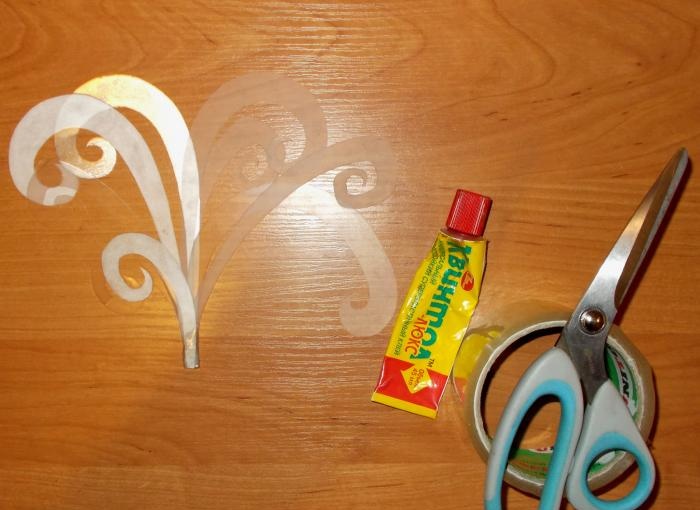
Starting work, I made a paper sample:
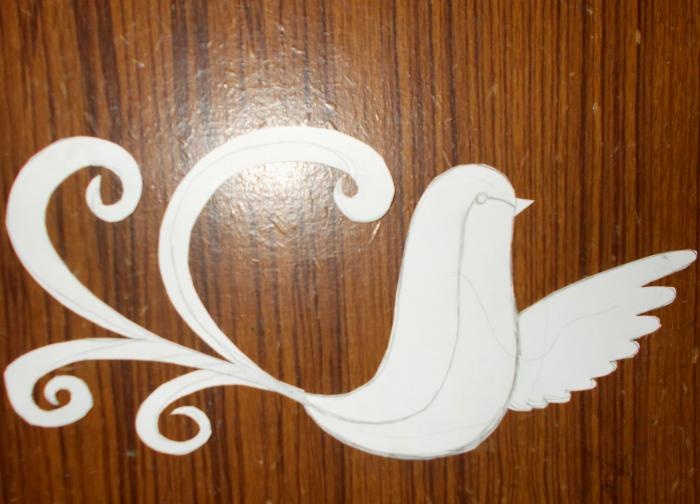
I divide the resulting sample into five parts (wings, tail, beak, as well as the upper and lower parts of the body).
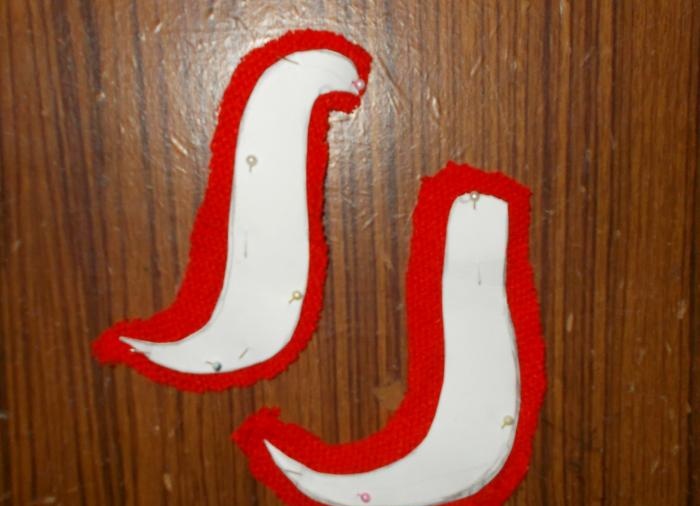
Next, I take the body parts that I need to pin to the fabric, folded in pairs, and cut them out taking into account the allowance:
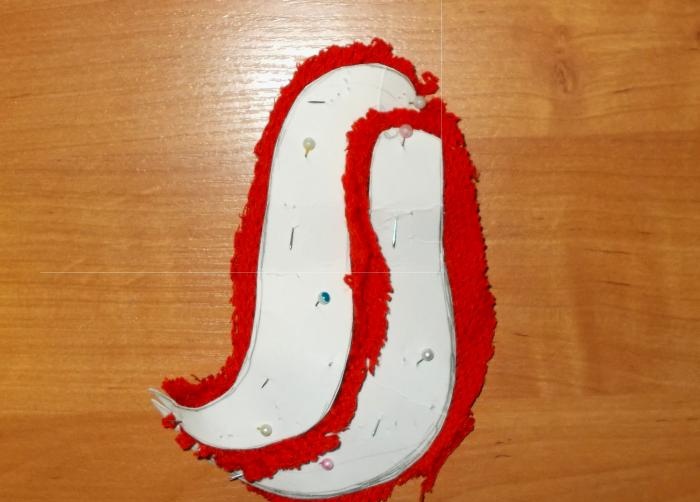
I connect these parts with seams, forming two parts from four:
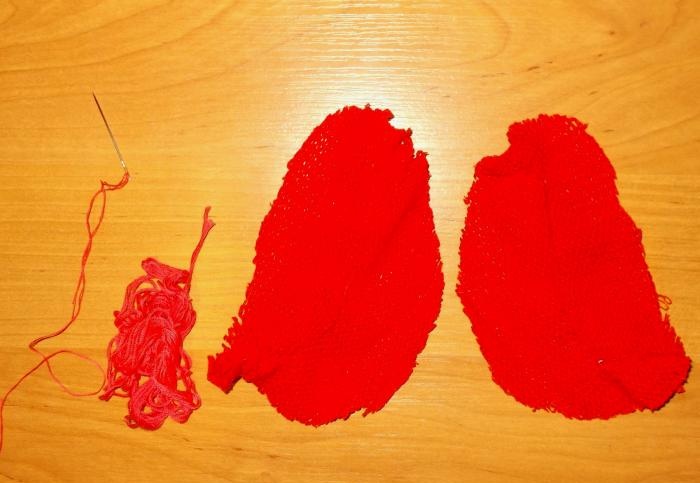
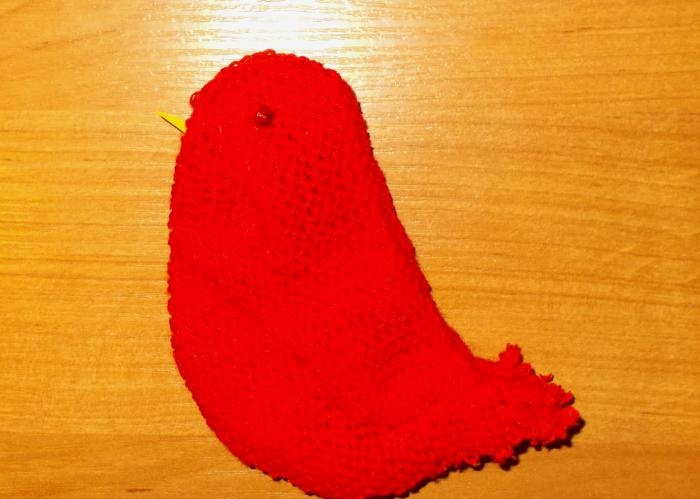
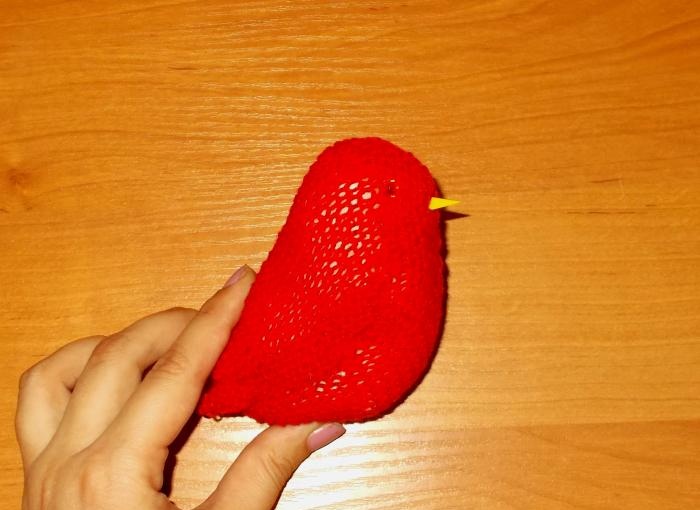
I sew the resulting two sides by the edges, taking into account the allowance and leaving a small area near the tail unsewn in order to then fill the craft with cotton wool.Before sewing the head together, I cut out a piece of plastic sheet for the beak, which I need to paint with yellow varnish. After waiting for the varnish to dry, I will need to sew on the finished beak. Rhinestones can be suitable as eyes:
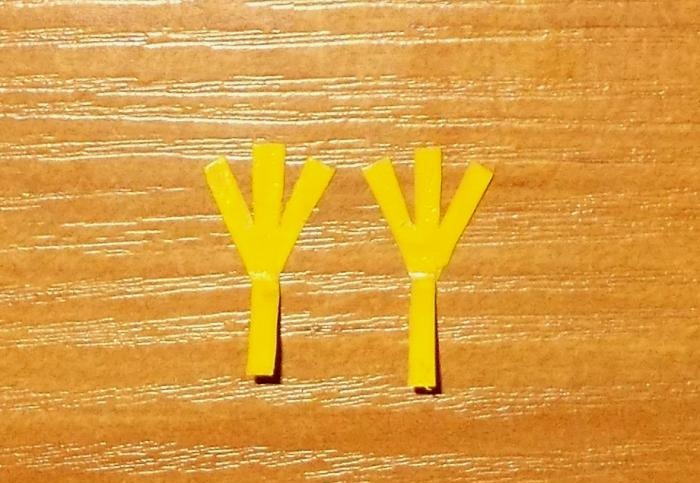
Next, I cut out the paws from plastic and also cover them on both sides with yellow varnish:
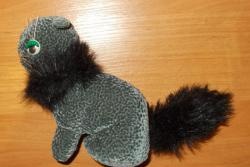
Next is the torso crafts I fill it with cotton wool, after which I make a stitch in the middle of the tail, leaving the sides on the right and left unstitched. These sides will need to hold the tail of the toy when it is glued to the craft.
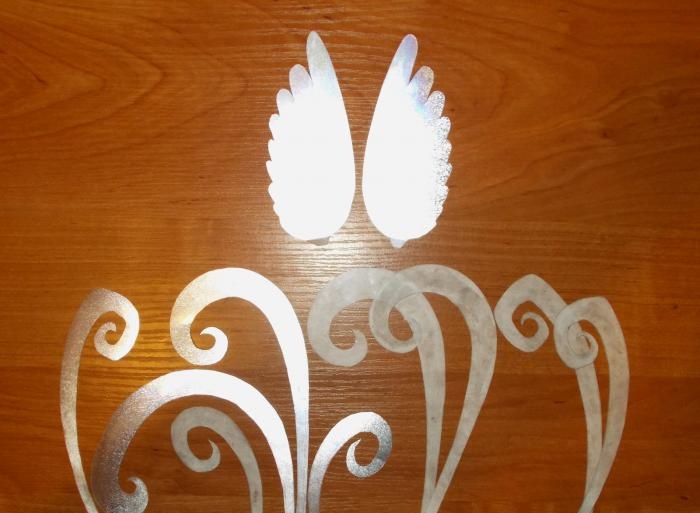
Now we take two strong plastic sheets and cut out the wing and tail parts from them:
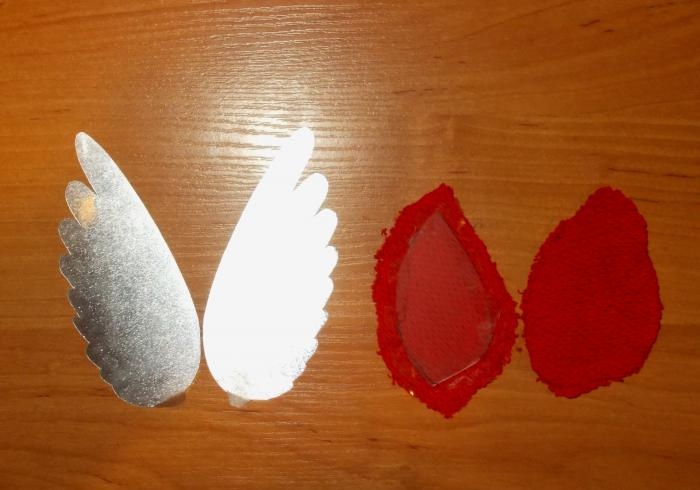
For the lower part of the plastic wings, we cut out four parts from the fabric, taking into account the allowance, which will need to be sewn on the wrong side:
Next, we need to sew the parts on top, but leave the lower sides unsewn so that they can then be put on the plastic parts:
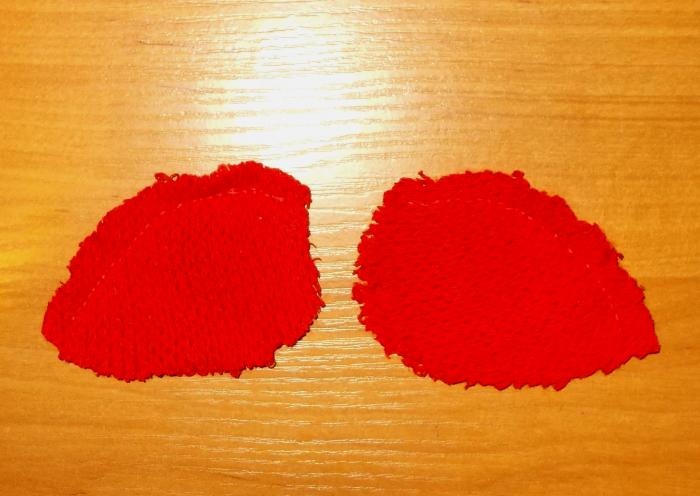
Now we turn the resulting parts inside out and put them on the plastic wings, after which we sew them on, folding the allowance fabric inside. And we will have to sew the resulting wings to the craft.
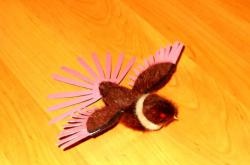
In order for the wings to remain raised, they need to be hemmed or glued to the back of the toy bird:
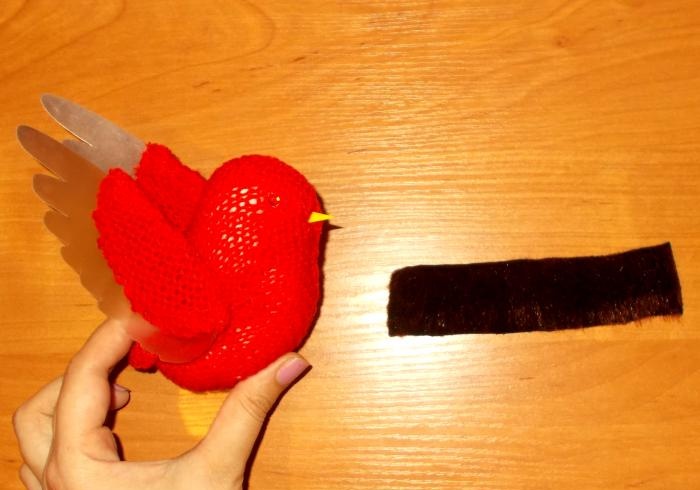
Next we take a small piece of red fur fabric. We will use it to make a decoration for the neck of the toy.
We sew this piece along the longitudinal edges, forming a “tube”:
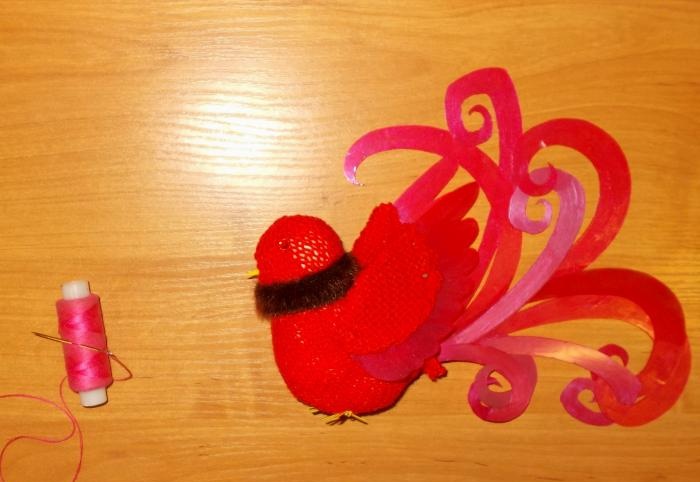
Next we glue the plastic parts of the tail:
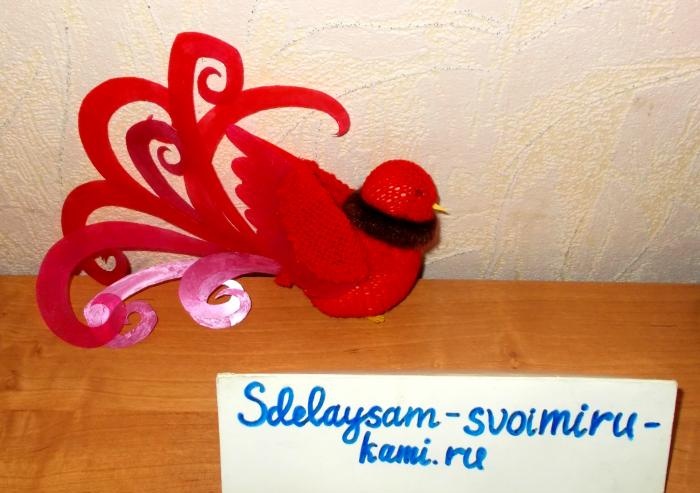
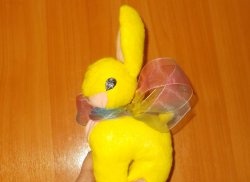
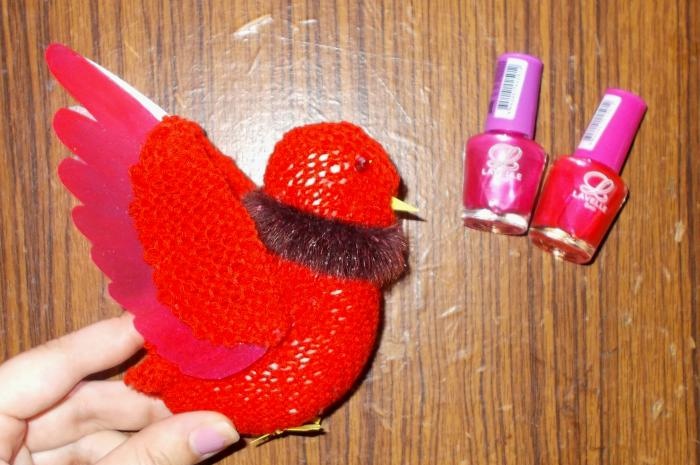
We paint the feathers on the wings of the craft in red and pink colors and sew on plastic legs with a decoration for the neck of the toy:
Having painted the details of the tail with varnish, we glue the tail to the toy, pressing it deeper between two sections of fabric and folding the fabric allowance inward:
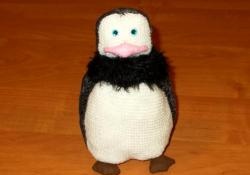
After this, work on the Bird of Paradise toy will be completed:
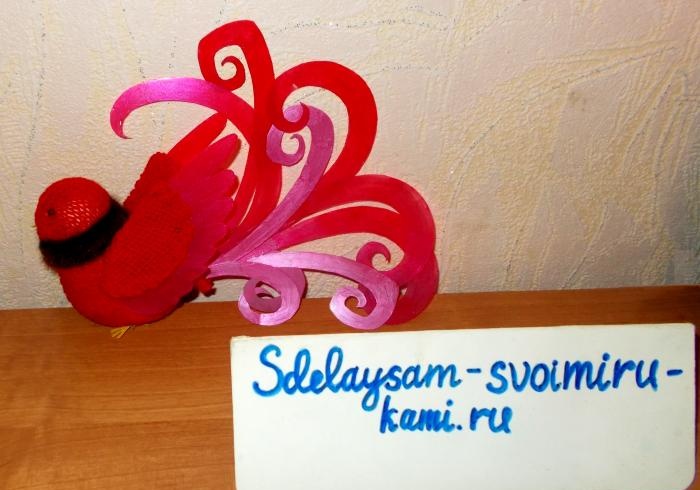
She is ready to entertain a child who loves Stuffed Toys: