I offer a simple master class on making snowmen. We will use the simplest materials and those that are always at hand:
- baby cereal boxes;
- a stencil to draw circles;
- colored paper;
- white office paper;
- colored cardboard;
- self-adhesive velvet paper (can be replaced with colored cardboard).
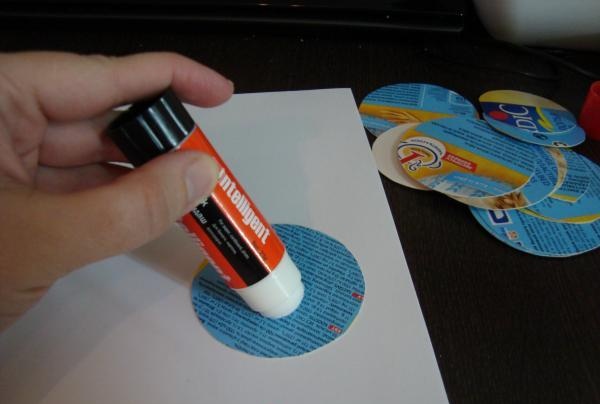
- glue, it is better if it is a colorless “Moment”. A glue stick for paper will also work.
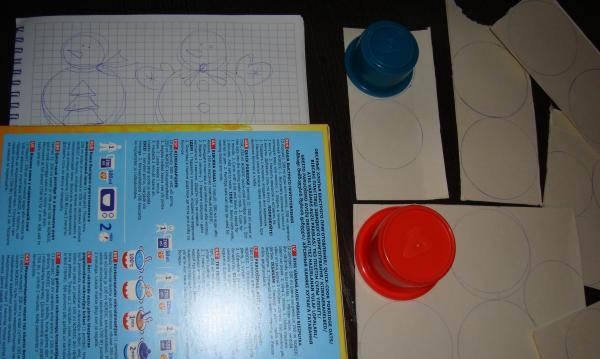
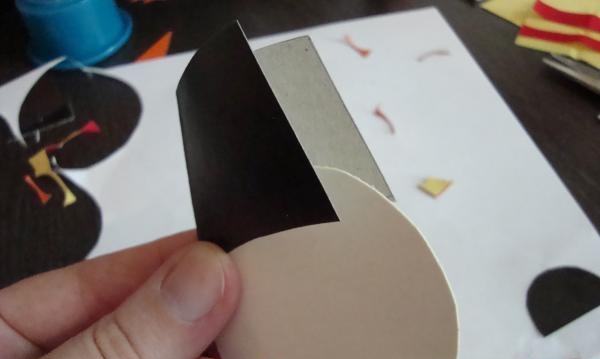
We cut a cereal box and draw circles using a stencil. Large circles are for the body, and small circles are for the head.
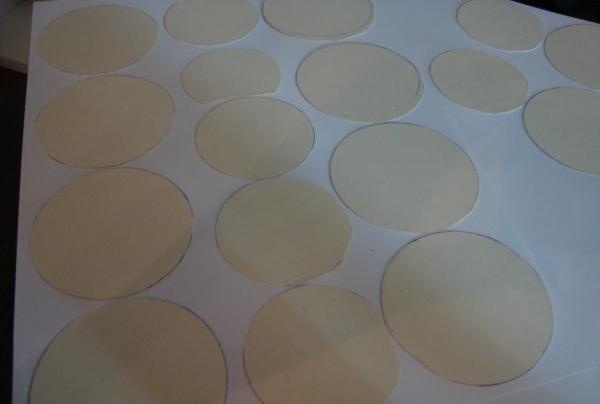
Since the boxes are colored, we glue the cut out circles with the colored side onto plain white paper and cut them out.
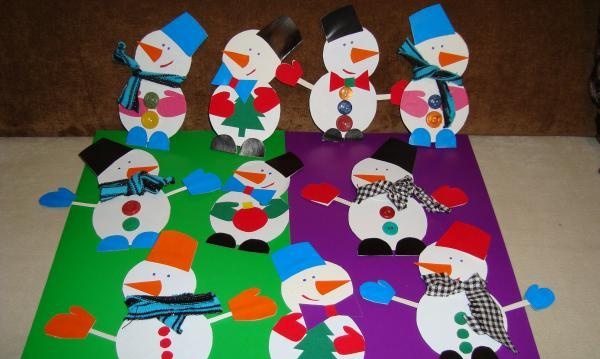
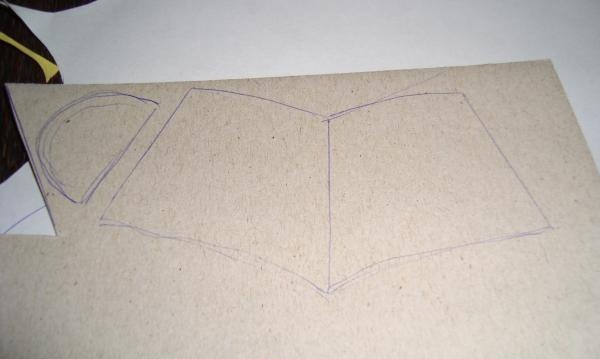
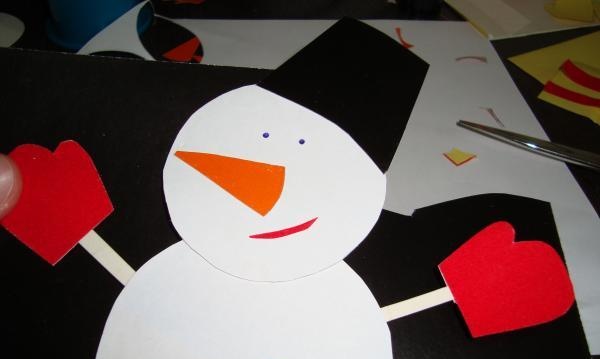
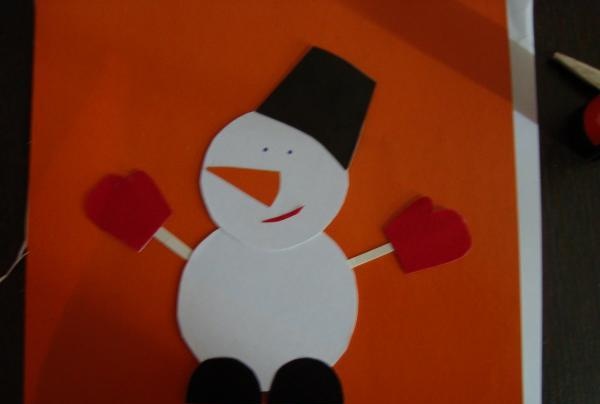
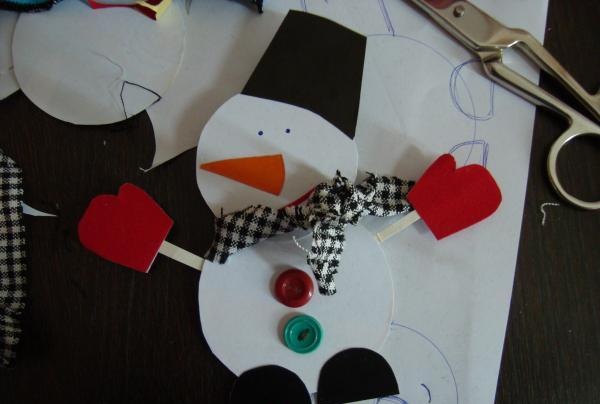
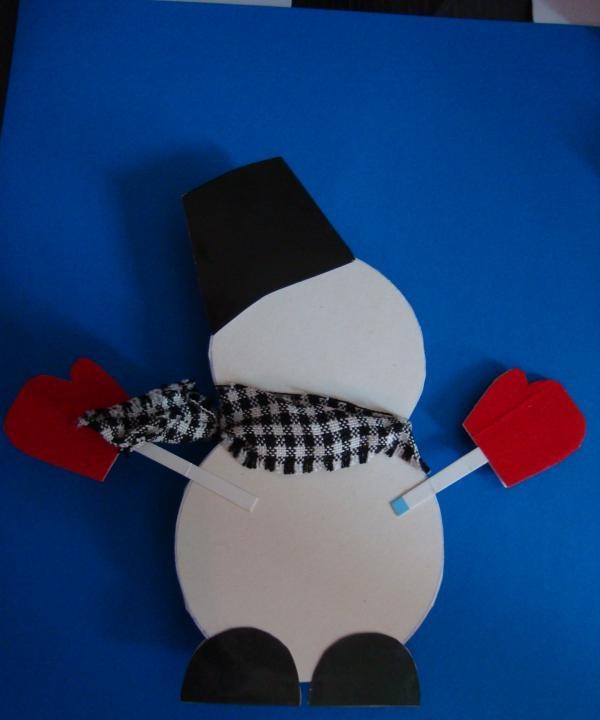
We collect snowmen: we glue the “head” and “torso”. We draw on paper a life-size sketch of a snowman, a face, mittens, felt boots, a bucket, a carrot - whatever you can think of for decoration.
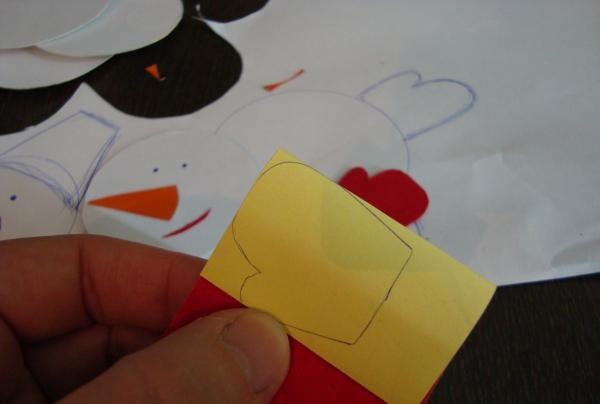
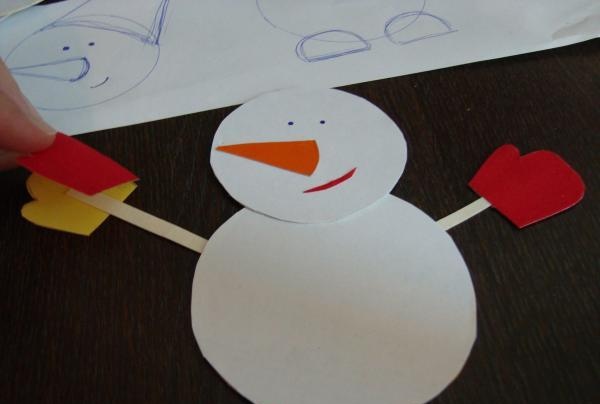
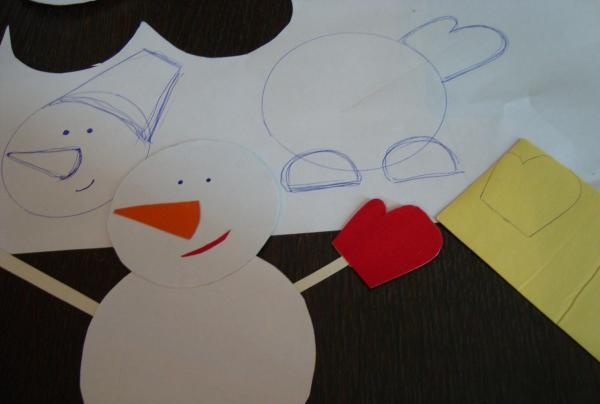
We use this sketch as a stencil and cut out a carrot nose from orange paper, mittens from red, blue, orange cardboard, felt boots and a bucket from black and blue cardboard.We make the mittens, bucket and felt boots double-sided so that the snowman is real. We cut out the handles from a cardboard box - long strips 4 mm wide. Now we glue all this onto the blanks: we glue mittens on the handles, on the head and the lower ball - a bucket and felt boots. The eyes and mouth can be drawn with a felt-tip pen, or they can be glued on.
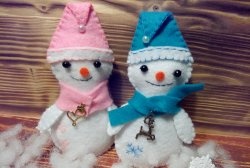
When the snowmen are ready, we proceed to the final stage of decoration: scarves, buttons, Christmas trees. We cut out the scarf from pieces of knitwear; you can use old sweaters. We also select buttons from a home box. Cut out a Christmas tree or New Year's ball from paper.
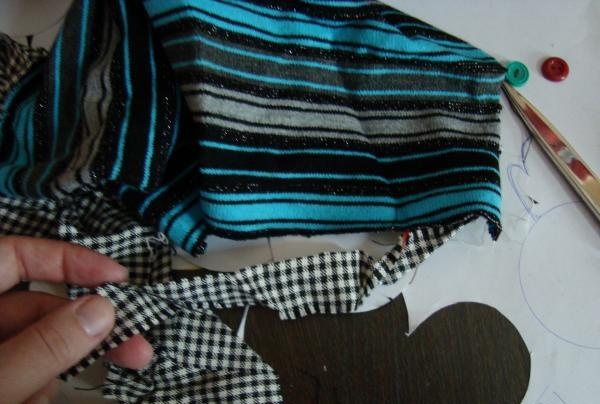
In order for the snowmen to turn out different, we tie scarves around the neck of one, and cut out and glue a paper bow on the other. We attach Christmas trees, balls and buttons with glue.
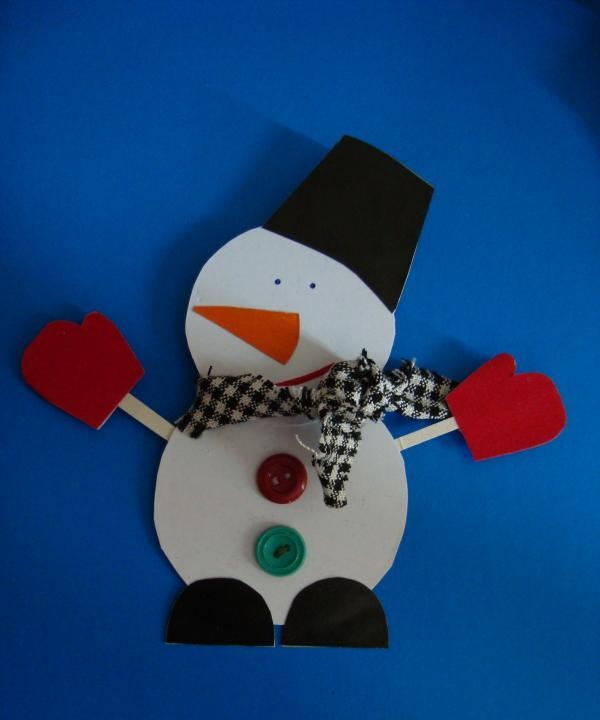
The snowmen are ready. Such decorations can be used both for decorating a Christmas tree and for a New Year's garland. To do this, you need to make a hole in the upper part of the snowman's headdress and stretch a decorative ribbon.