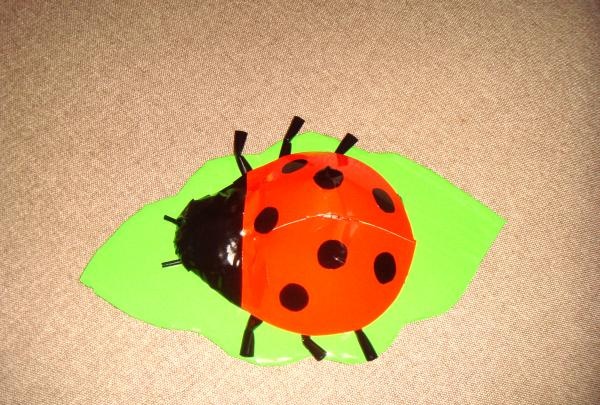
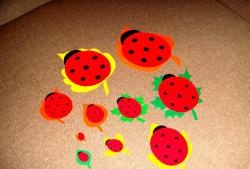
Today you will learn how to make a ladybug, which is located on a leaf of a tree.
The following materials are needed for work:
- a piece of thick cardboard;
- newspaper;
- black colored paper;
- plastic bag;
- marker;
- scissors;
- needle and thread;
- pen or pencil;
- glue in a tube;
- self-adhesive film in green, red and black colors.
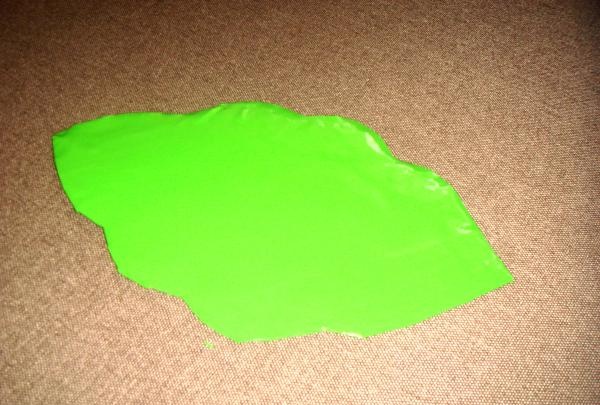
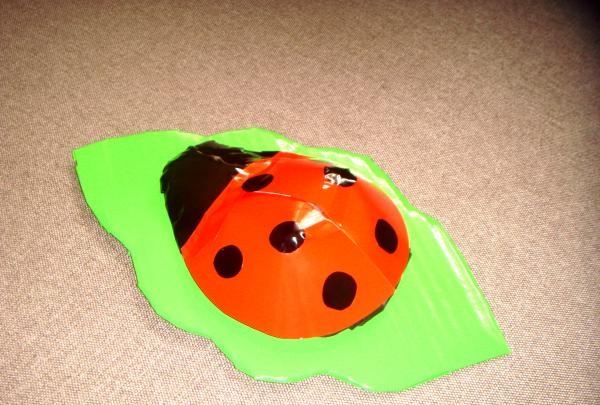
First, cut out a piece of wood from thick cardboard. It can be of any shape.
Now it needs to be covered with green self-adhesive film.
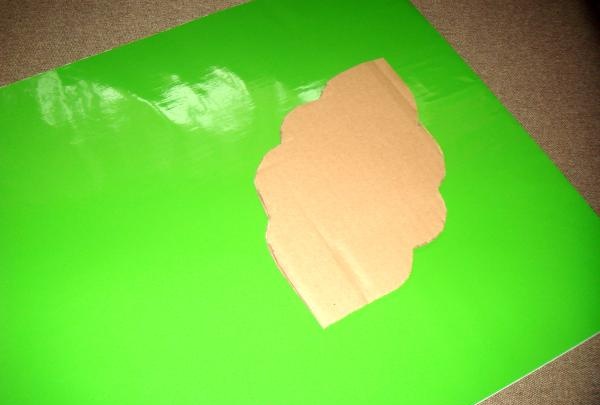
We cut out one rectangular piece, slightly larger than the leaf itself.
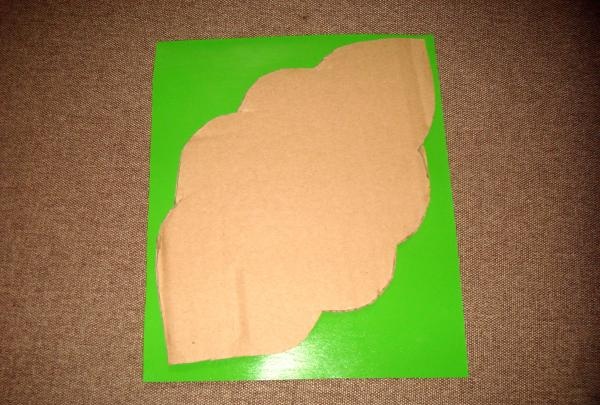
We wrap the edges of the film on the wrong side.
Next, we cut out the blank according to the shape of the cardboard base.
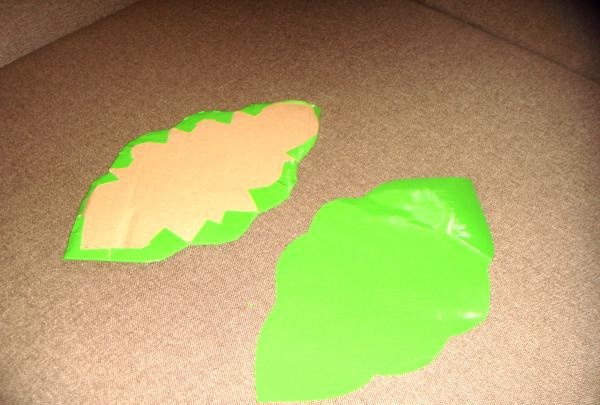
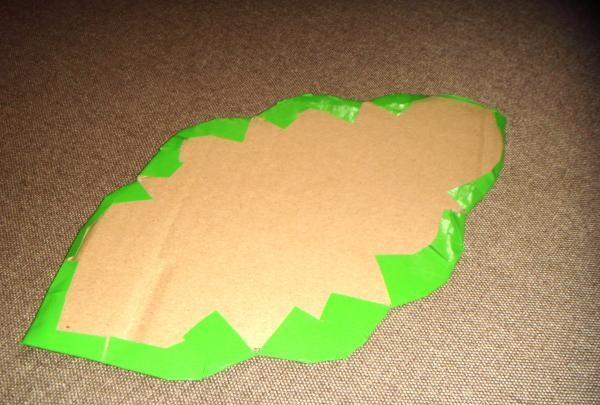
And glue it on the back side of the leaf. The basis of the future crafts ready.
Now let's move on to making a ladybug.
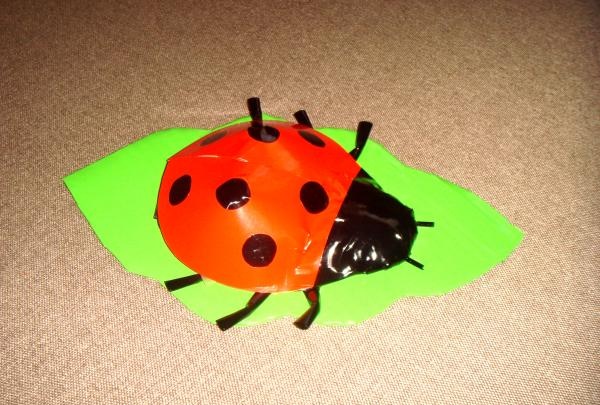
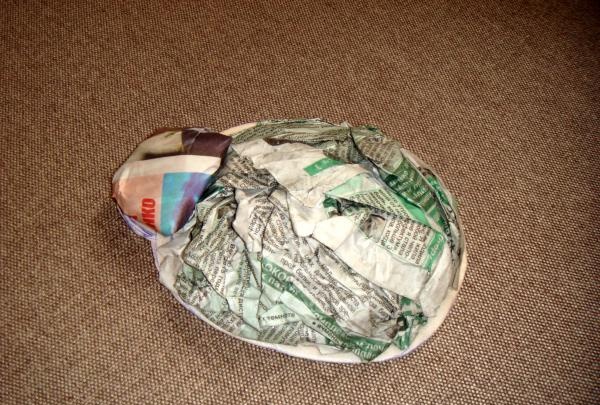
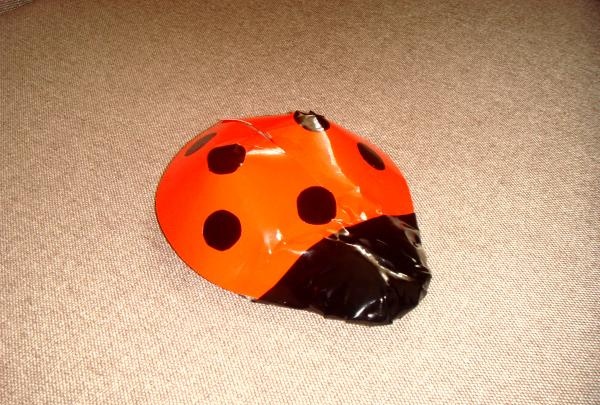
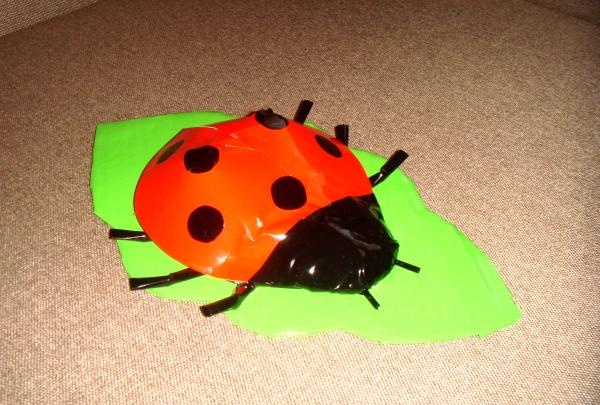
Cut out an oval from cardboard with a small semicircle in front. This is exactly the shape of the bug.

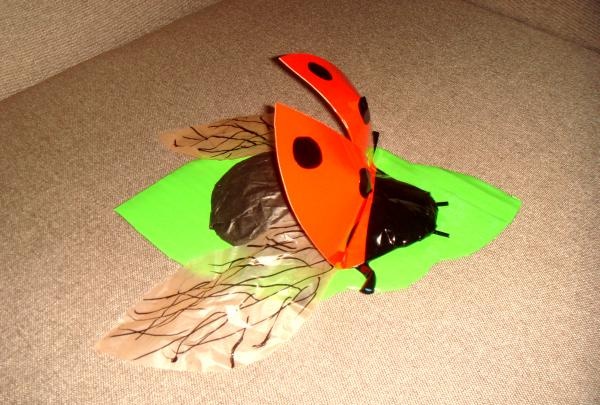
We cover the workpiece on one side with newspaper. This must be done in such a way as to create volume.
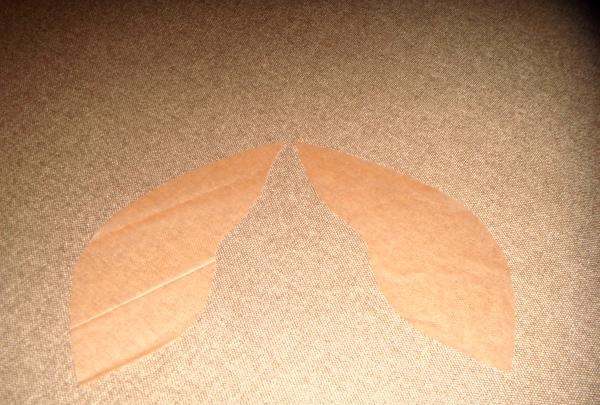
We cut out two transparent wings from a plastic bag and draw stripes – veins – with a black marker.
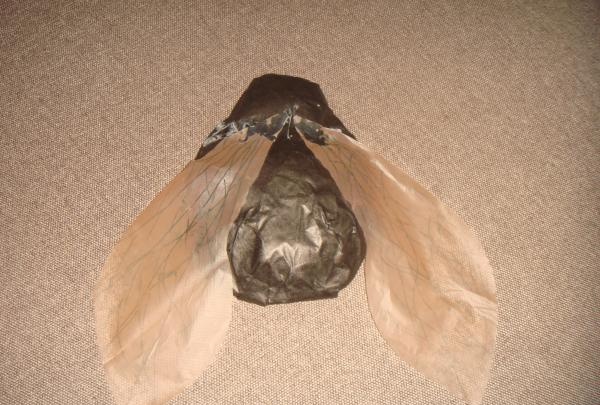
We glue them onto the ladybug blank, having previously covered it with black colored paper.
Now we cut out two blanks from ordinary cardboard - these will be hard wings.
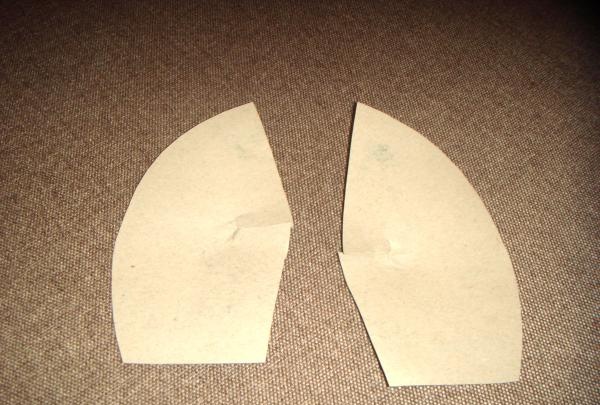
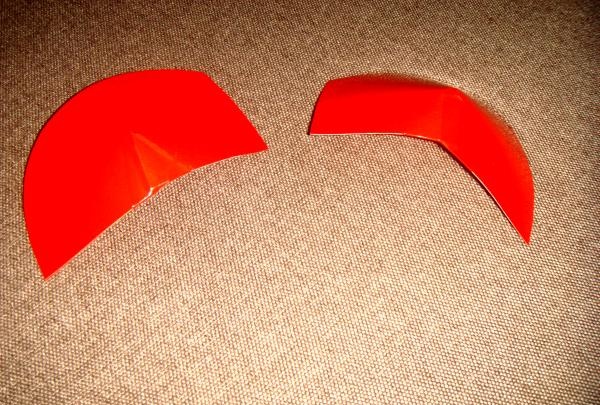
We cover them on both sides with red self-adhesive film and make cuts in the center.
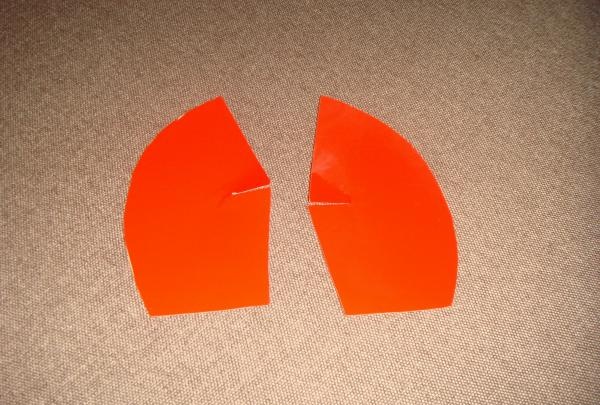
We connect the cuts so that there are bends on the wings. Thanks to this, the bug will receive stable volume.
We attach the hard red wings near the insect's head. This can be done with a needle and thread.
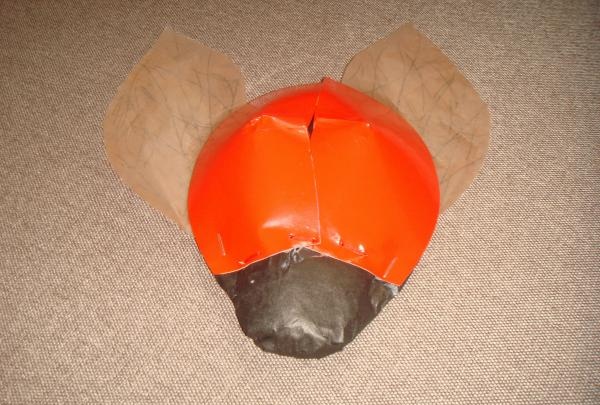
The place where the parts are attached must be decorated with black self-adhesive film. We also paste it over the head of the bug.
All that remains is to glue 7 black circles cut from the film.
On the reverse side, generously grease our workpiece with glue. And glue it to the green leaf.

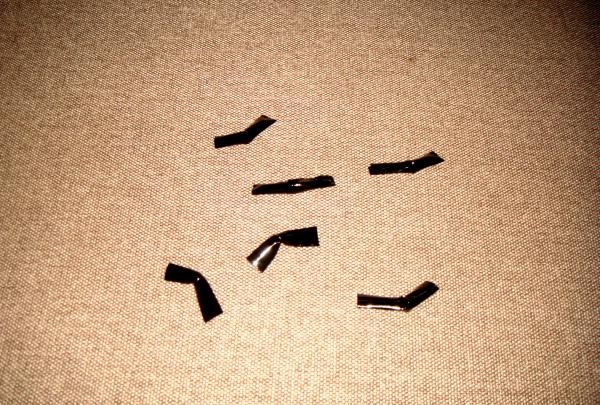
Now we make 6 legs. You can take a cocktail tube, cut it into 1 cm long segments, cover it with black self-adhesive film and bend it in half.
Glue the legs to the body. We make two antennae.
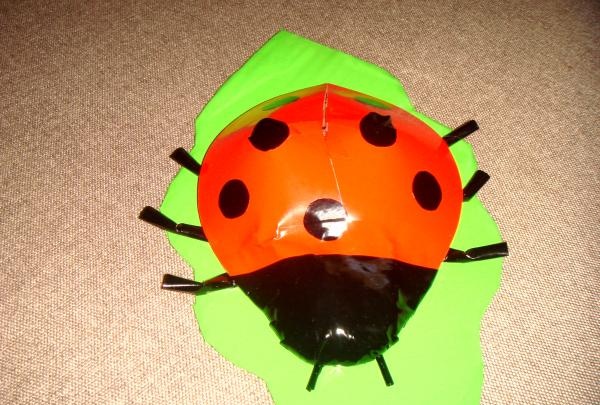
This is such a magnificent ladybug.
A child can examine it, lift the upper wing covers and examine the transparent wings.


In addition, such a bright craft will be a wonderful decoration for the interior of your children’s room.