Materials for work:
1. Old metal barrel – 1 pc.;
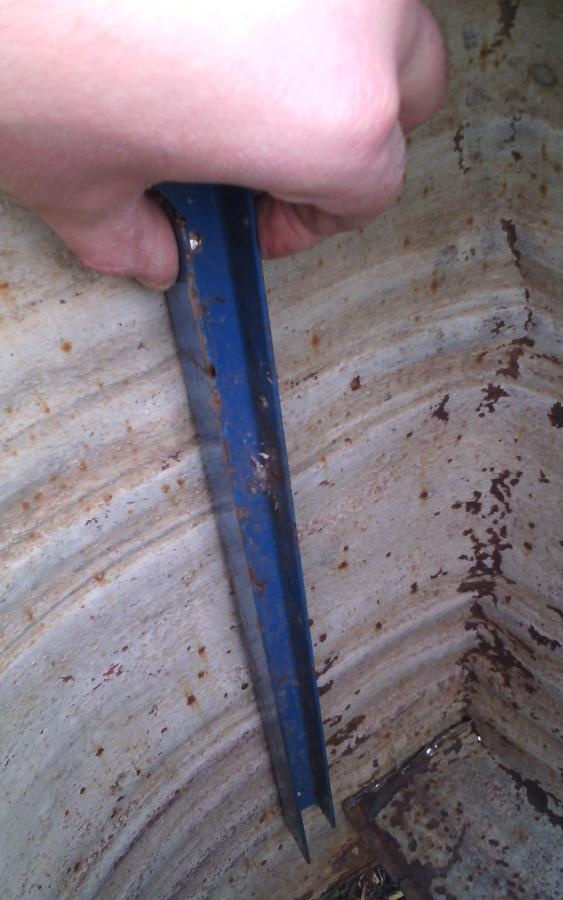
2. Iron bar – 1 pc.;
3. Rivets for a hand rivet gun – 6 pcs.;
4. Angle grinder (grinder), hammer, drill, pliers, hand rivet gun.
Stages of work:
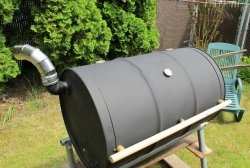
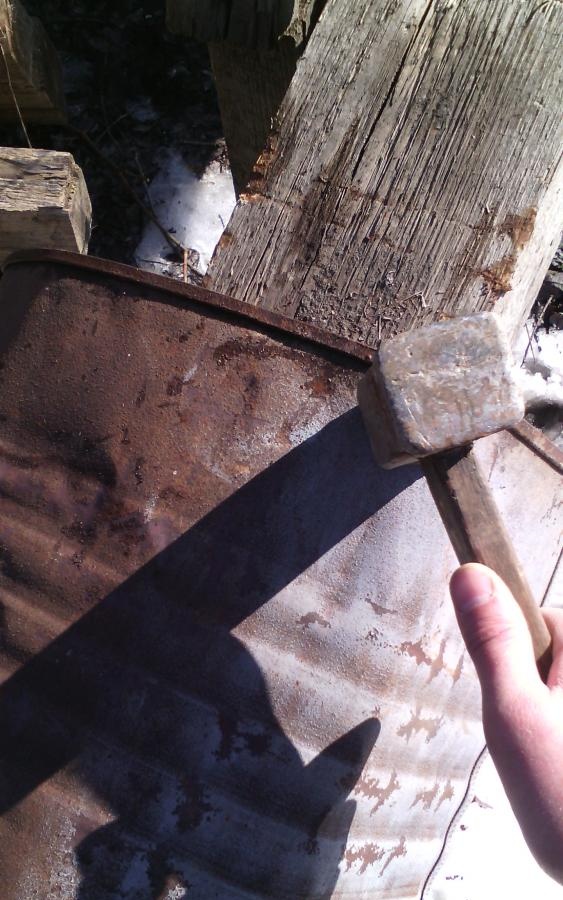
First stage: give the barrel a shape.
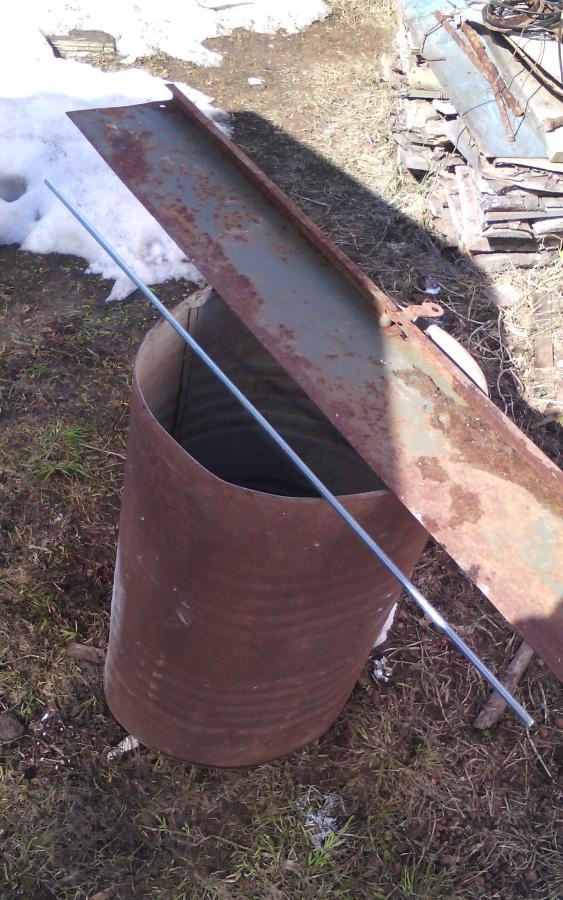
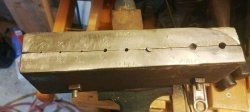
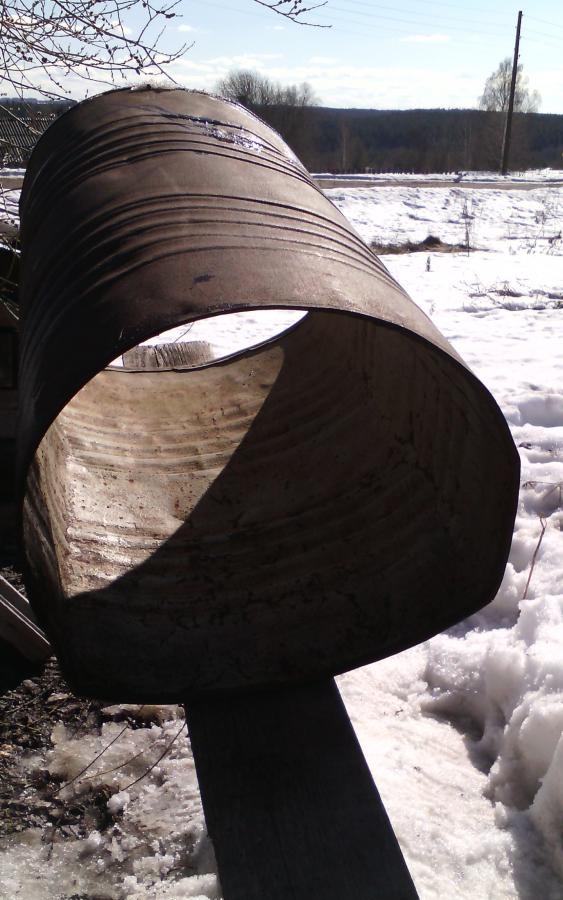
Having selected a barrel of the required size, we put it on the beam and align the two edges, forming the bottom of the grill.
The result is a semicircle with a bottom.
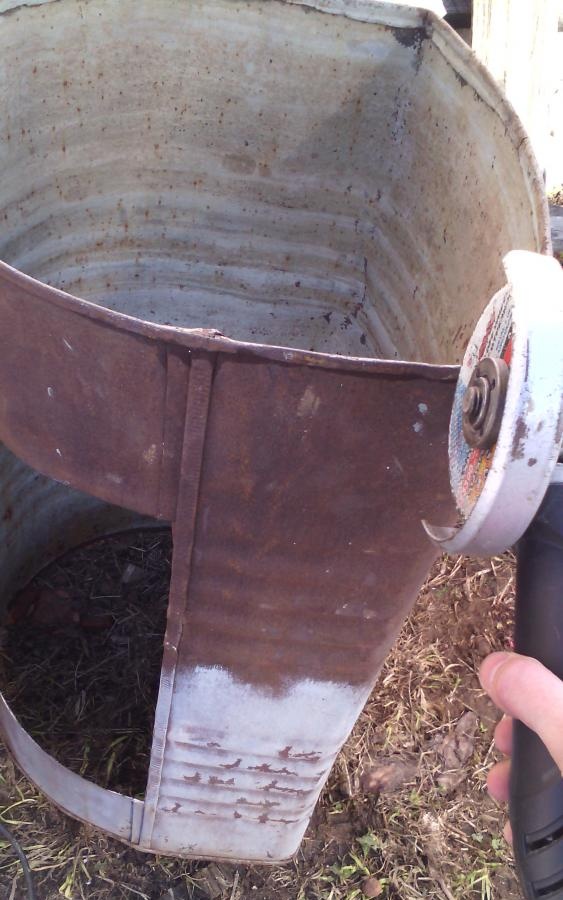
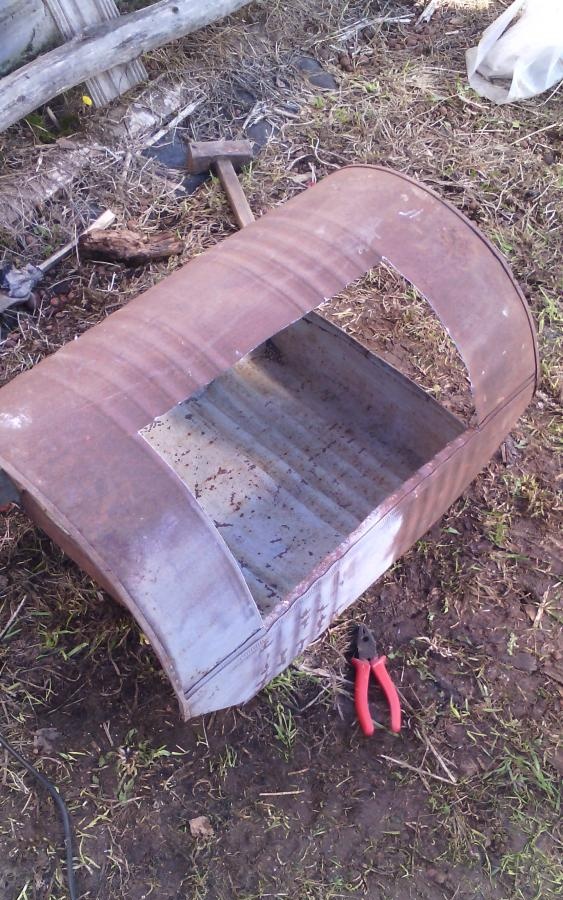
Second stage: cut out the main hole.
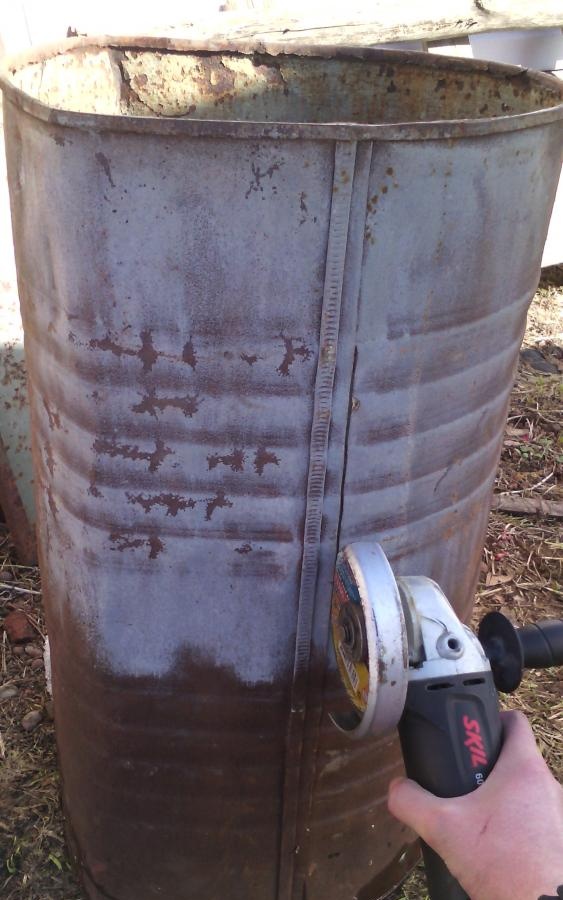
Using a grinder, we make a longitudinal cut parallel to the bottom of the grill - along the body of the barrel (at a height of 30 centimeters, not reaching the edges of the barrel by 15 centimeters on each edge)
On both sides of the bottom cut we make slits up at a distance of 40 centimeters.
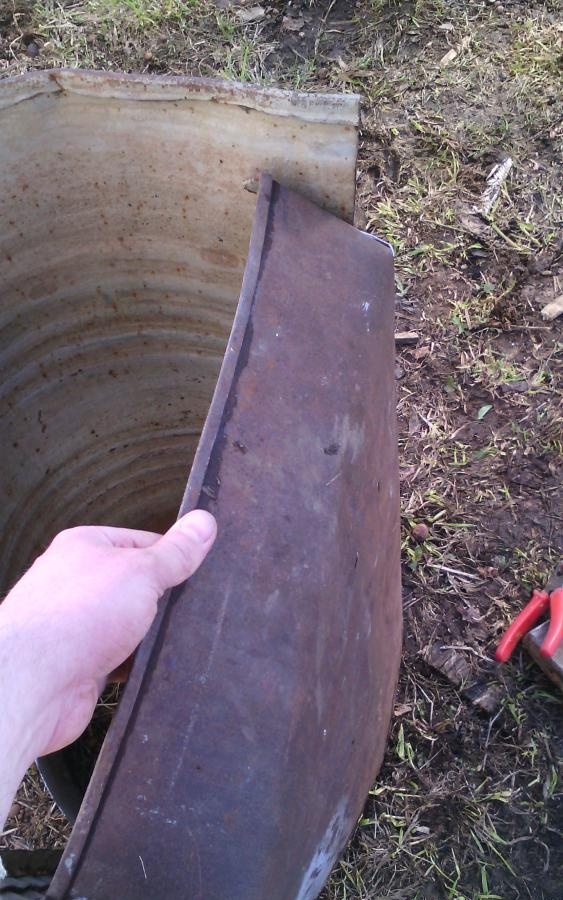
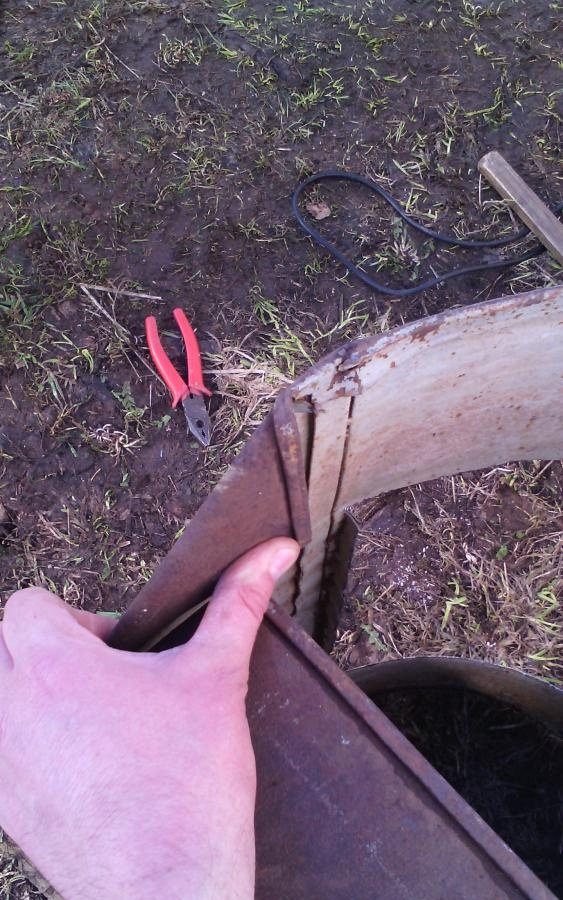
We get rid of the dangling piece of tin by making a cut parallel to the bottom. It turns out that the main opening of the barbecue is a window. For safety reasons, we bend the lower edge of the learned “window” inward using pliers.
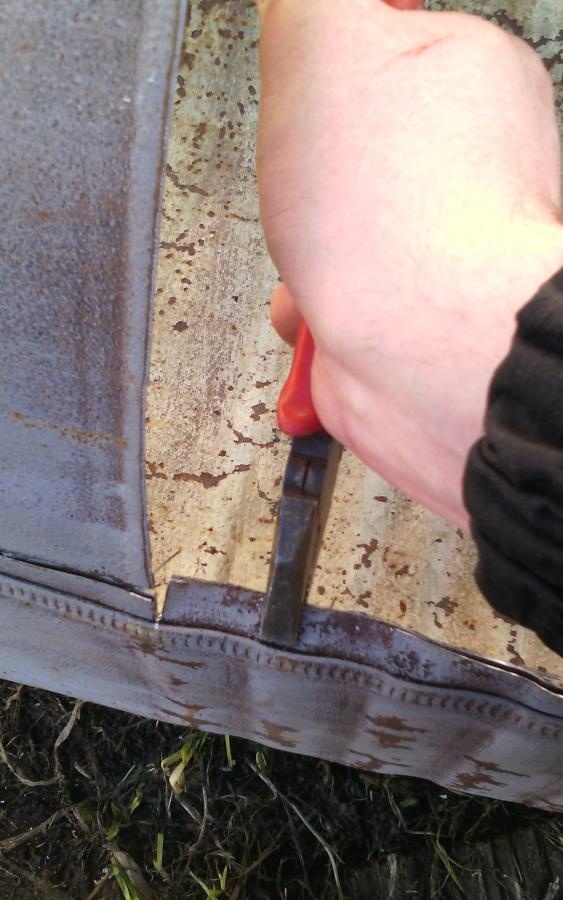
Third stage: form the side folds.
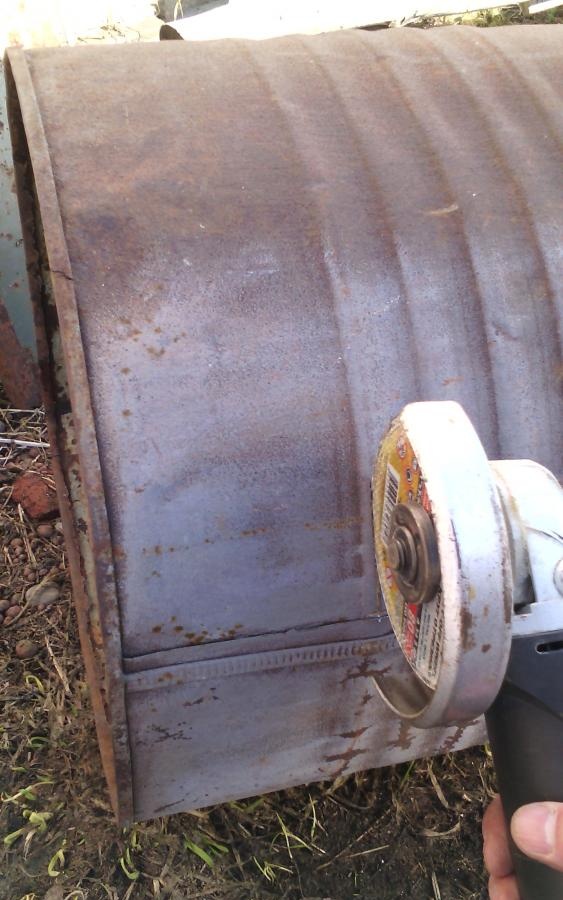
Just above the already formed bottom of the grill (10-15 centimeters), we make a cut parallel to it, 15 centimeters long.
We turn the angle grinder 90 degrees and form a perpendicular cut, deepening it to the bottom line.

We bend the edges of the cuts inward on both sides.
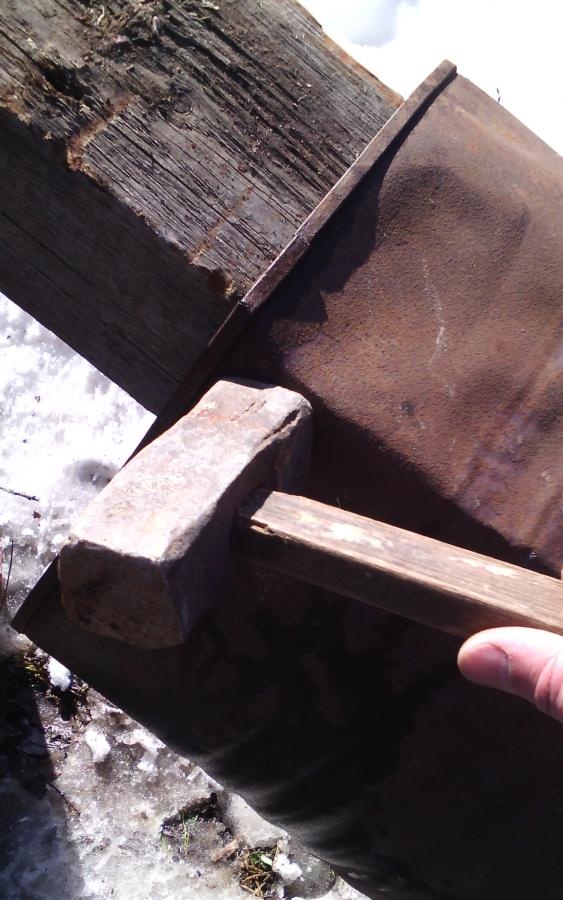
In order to get an even bend in the area of the bottom of the grill, you can tap it with a hammer, placing a corner surface.
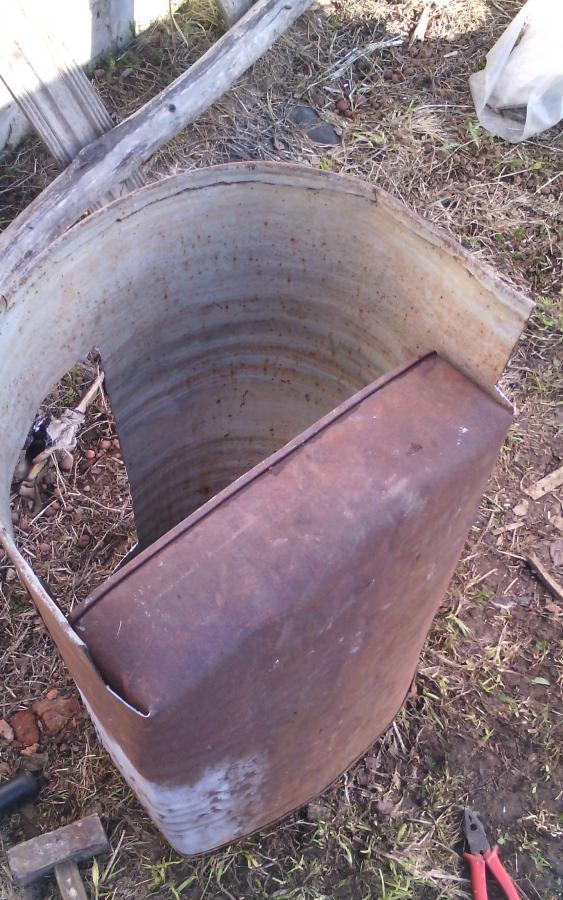
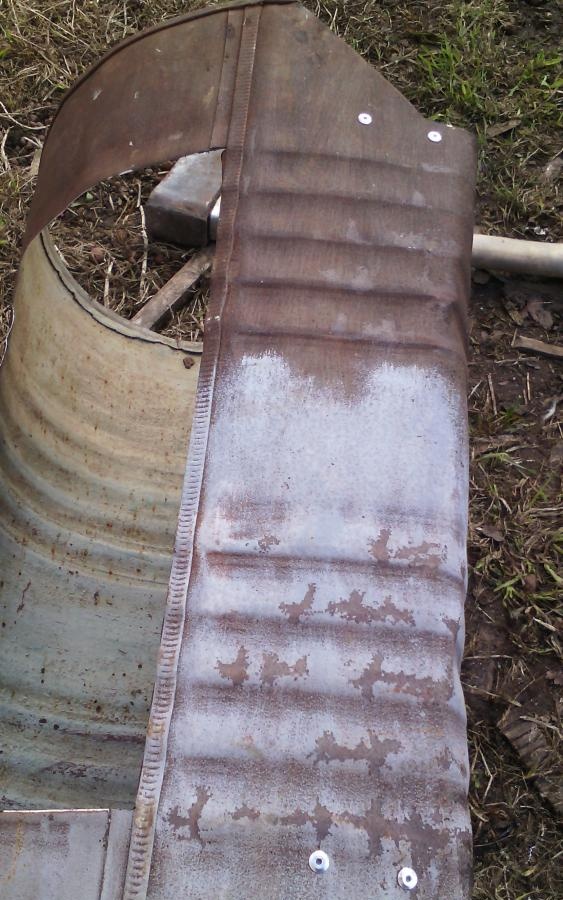
For safety reasons and to stiffen the bottom, we fold the protruding edges of the grill into a triangle.
On the opposite side of the barrel we make similar cuts and bends. It turns out the frame of the future barbecue.
Fourth stage: connecting the seams.
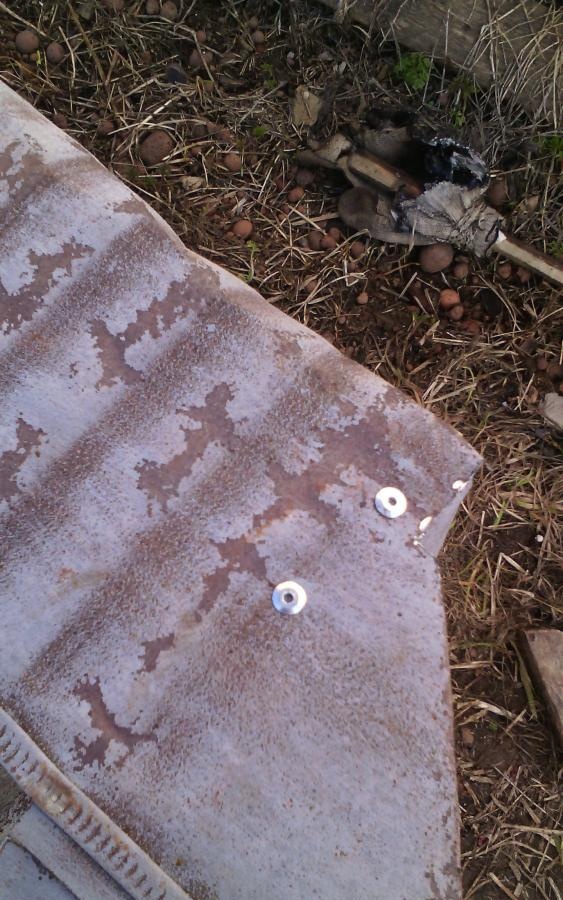
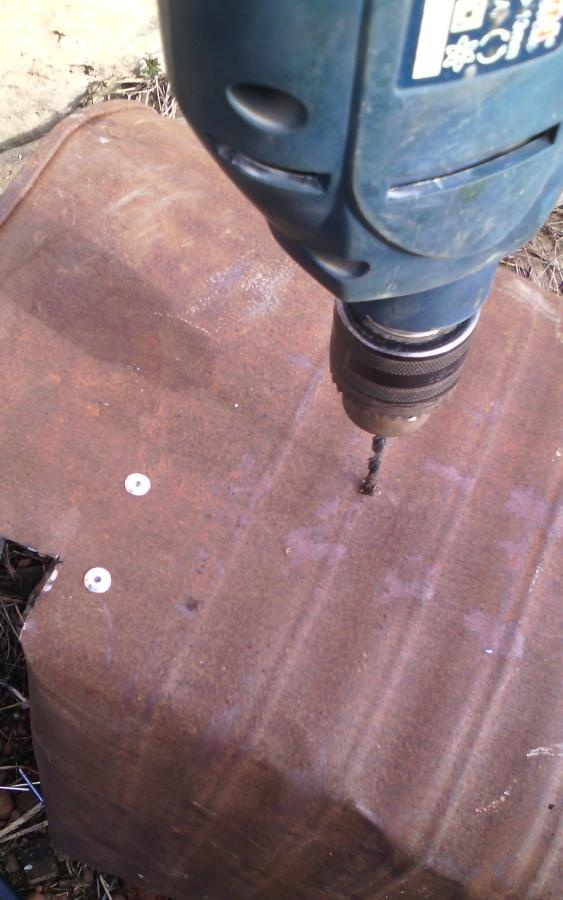
To connect the joints of the side seams, use a thin drill bit to make two holes at a distance of 10 centimeters from each other.

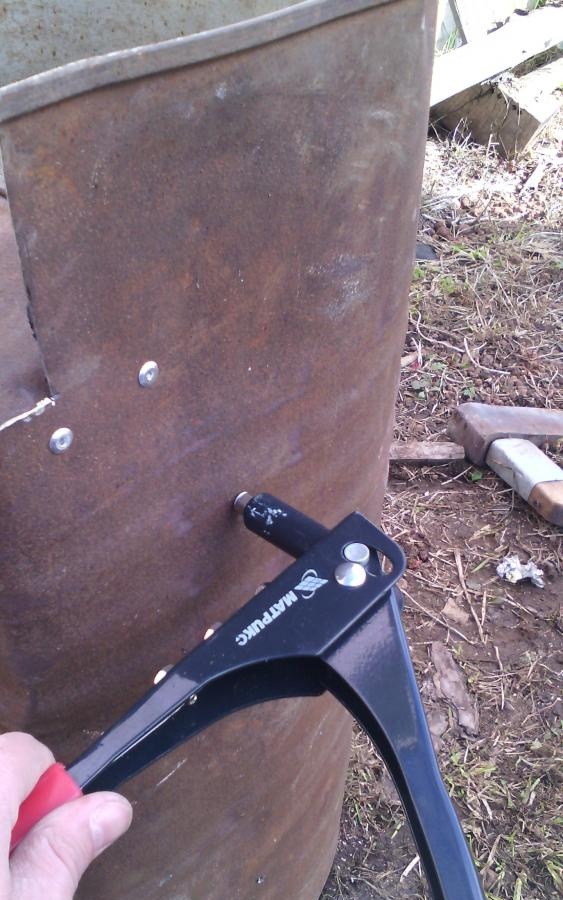
We use a rivet gun to connect the walls of the grill (insert the rivet into the hole, set the gun, rivet). Similarly, we fasten the joints of the remaining bends (three more: one on the same side of the barrel and two on the other).

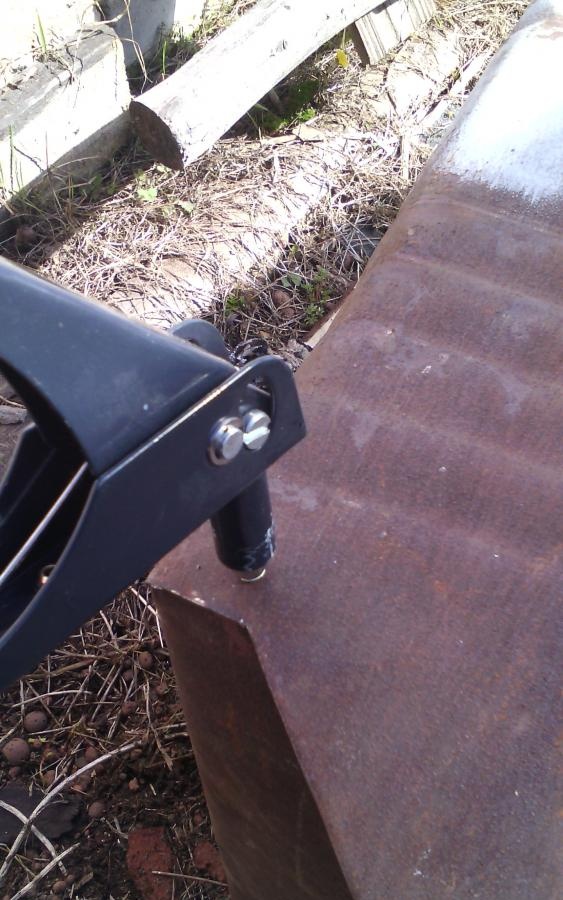
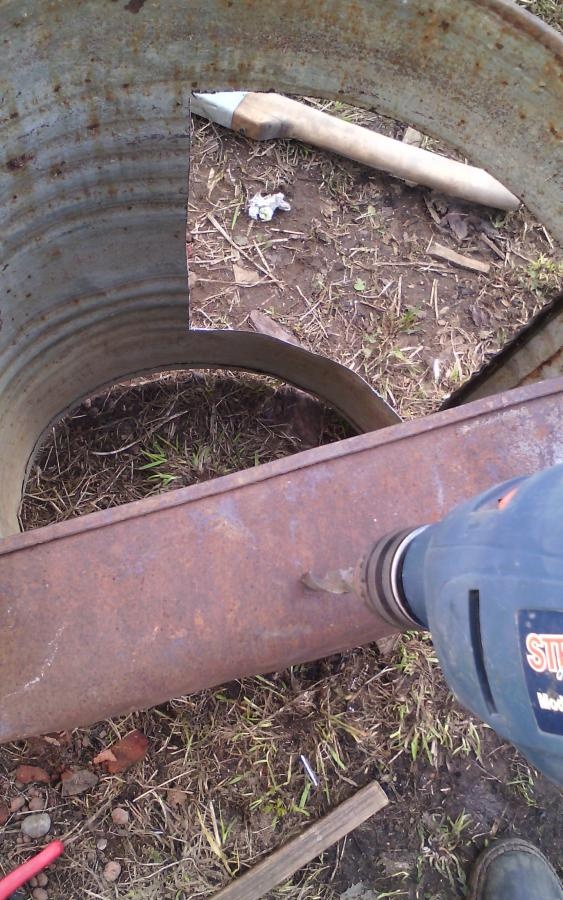
Fifth stage: we attach the iron bar - stand.
Cut out the iron strip to the required length.
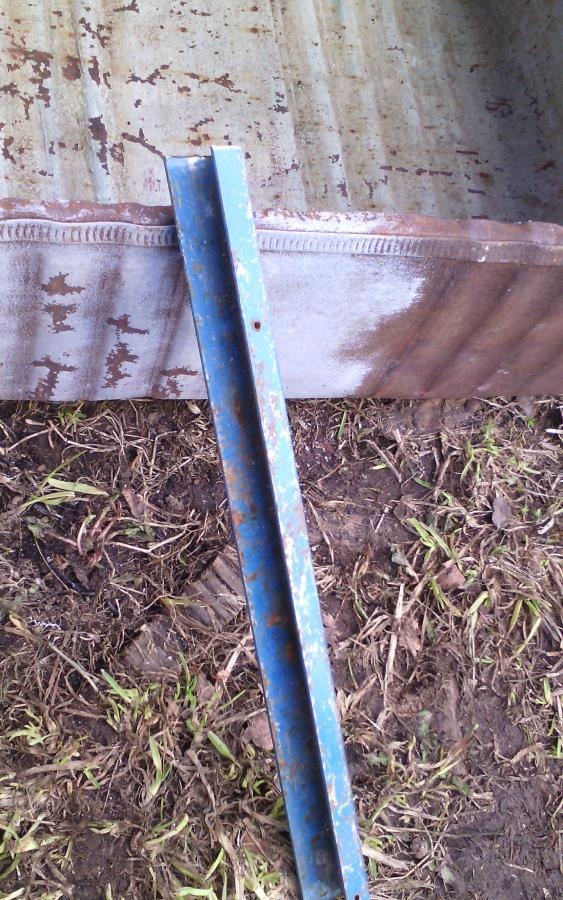
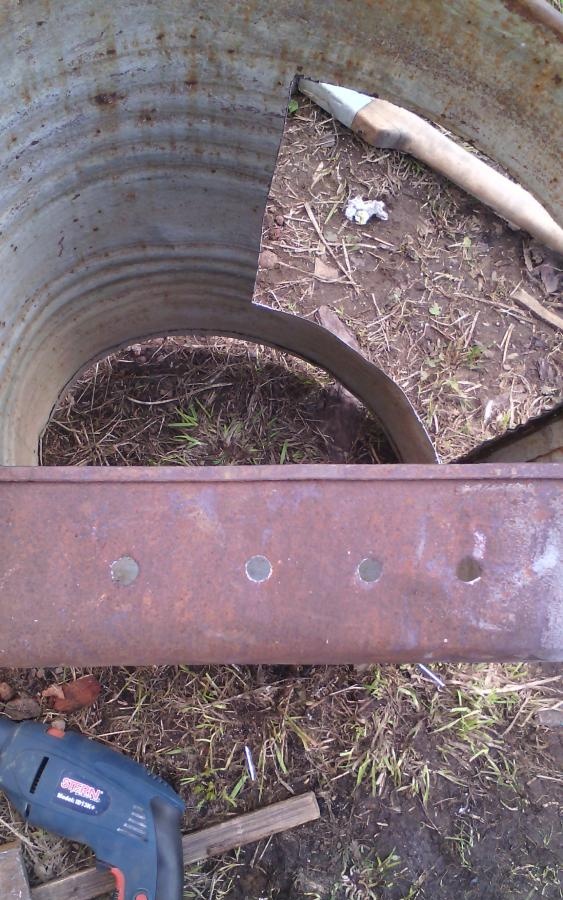
Using a thin drill, we make three holes in it, slightly offset from the edges and in the center.
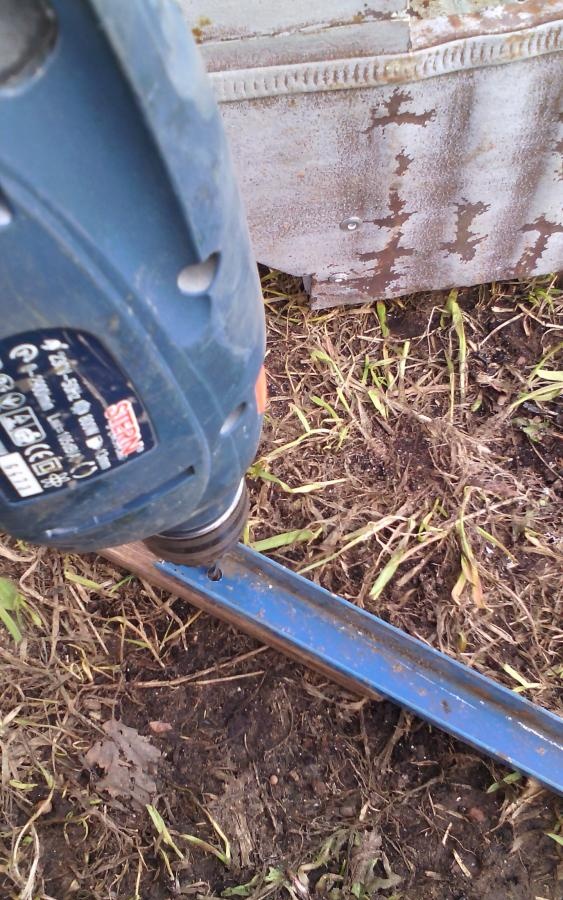
On the back side of the grill we make similar three holes (with the same thin drill and at the same distance from each other).
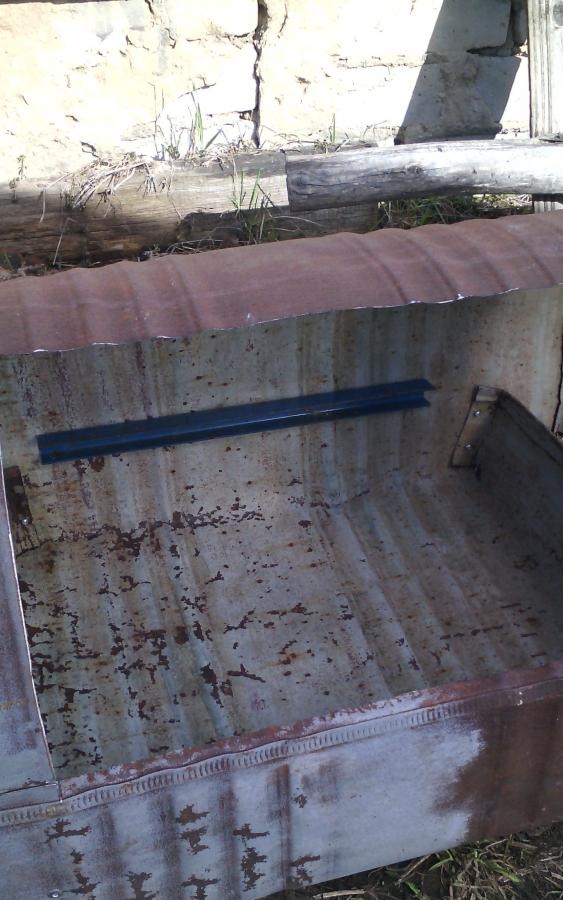
We put a bar inside the barbecue and connect it to the barbecue with rivets.
The height of the bar attachment (from the bottom) should coincide with the height of the bend of the front wall of the grill.
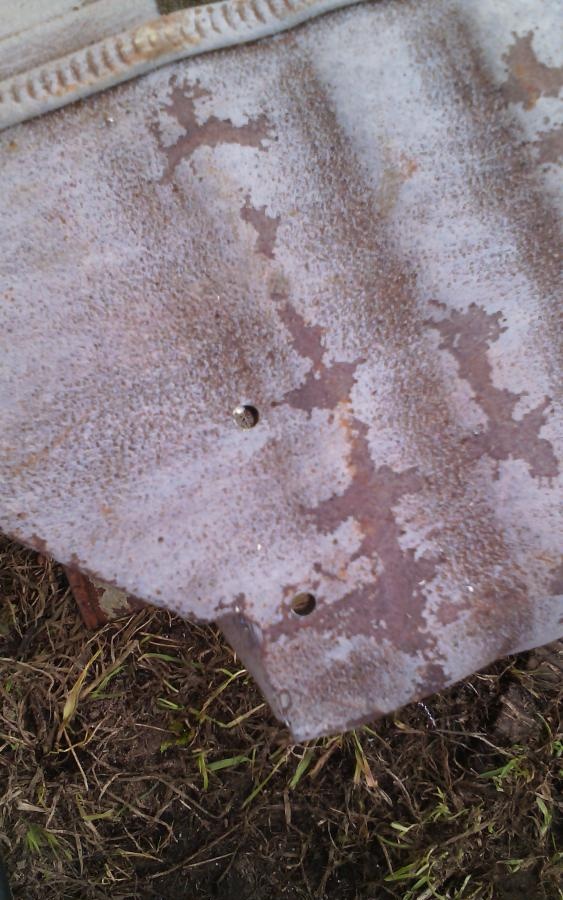
Sixth stage: we make ventilation for air circulation.
In order to ensure uniform air circulation, we make ventilation holes in the lower part of the grill. At the same time, we change the thin drill bit of the drill to a thick one.
In total, we make 4 holes on each side in the side walls of the grill.
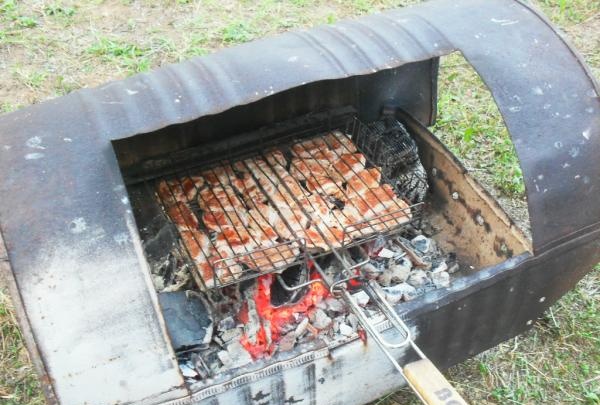
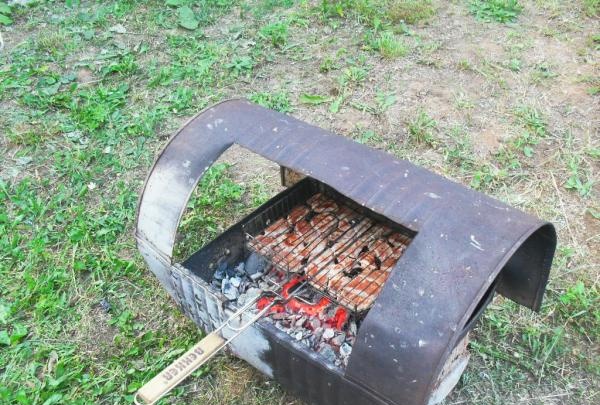
So we got a strong barbecue, “molded from what was.” Everyone, enjoy its convenience and delicious food!