![Original key holder with embroidery](https://i.washerhouse.com/images/15/2116-originalnaya-klyuchnica-s-vyshivkoy.jpg)
![Original key holder with embroidery](https://i.washerhouse.com/images/15/2117-originalnaya-klyuchnica-s-vyshivkoy.jpg)
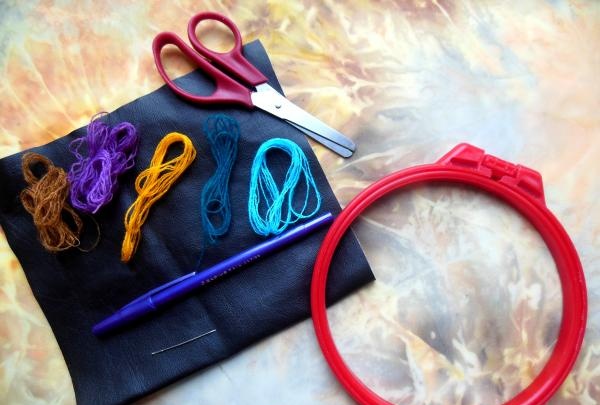
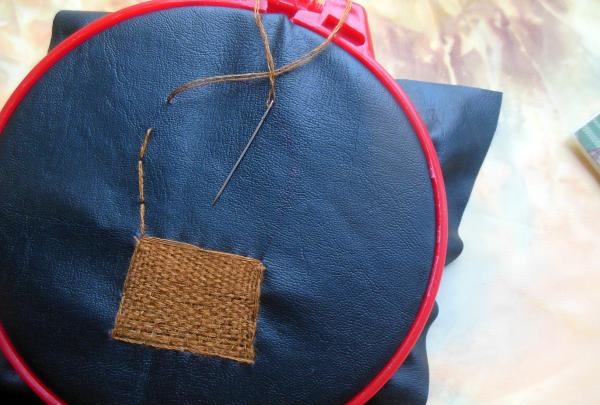
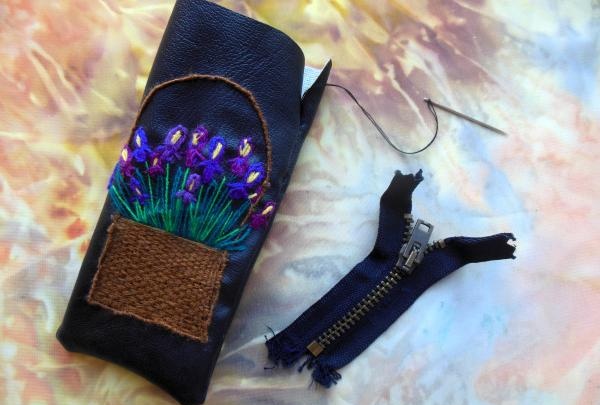
First you should start creating a basket of irises. It is much easier to embroider on wide fabric than on a narrow piece for a case. Therefore, prepare a piece of leatherette for sewing the base, a needle for embroidery, a hoop, silk threads or thin yarn of the required colors (for irises you will need several tones of purple, threads of light green and dark green colors, a little yellow yarn and a skein of brown for the basket), more take a small zipper, a ruler, and also a ballpoint pen.
![Original key holder with embroidery](https://i.washerhouse.com/images/15/2118-originalnaya-klyuchnica-s-vyshivkoy.jpg)
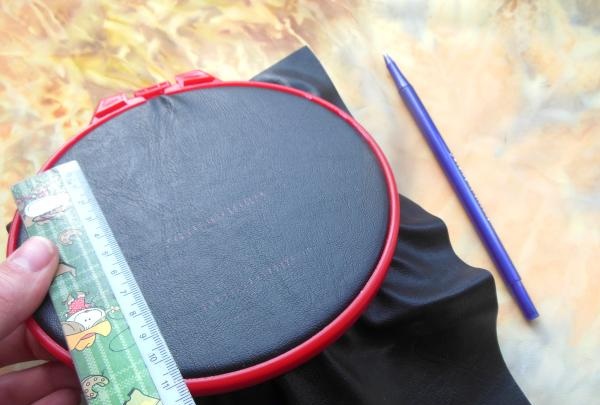
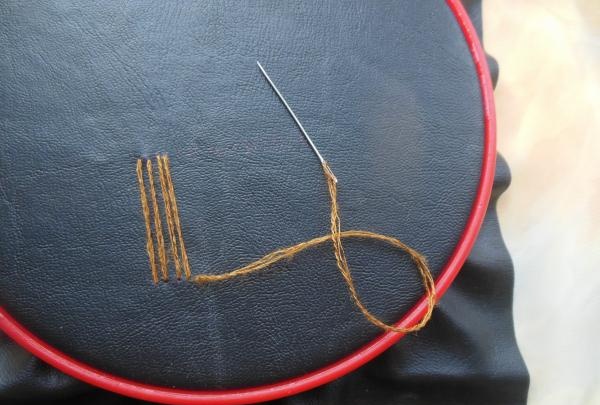
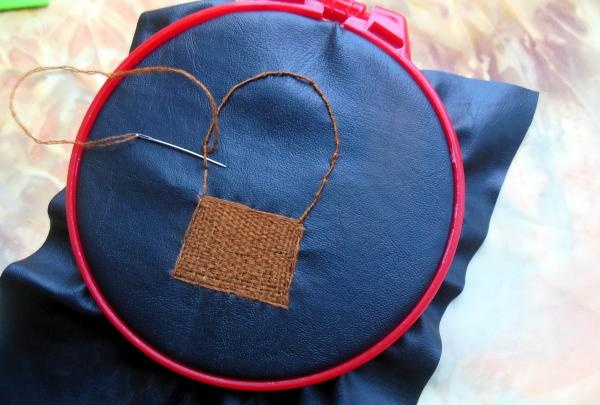
In the center of the round area, use a pen and ruler to make marks for the basket (marks should be placed every 3 mm). There should be about 20 twigs in total.
![Original key holder with embroidery](https://i.washerhouse.com/images/15/2119-originalnaya-klyuchnica-s-vyshivkoy.jpg)
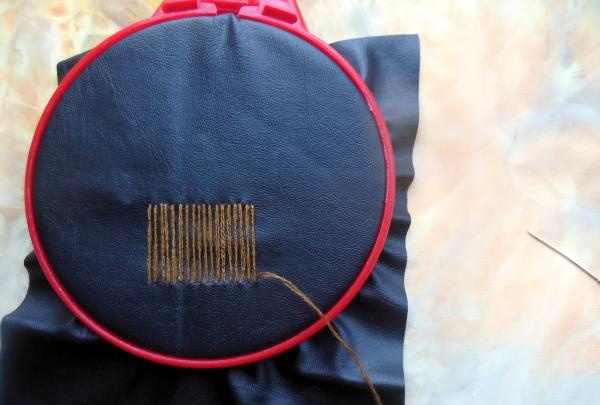
Now duplicate these points just above the formed row (about 3-4 cm) and start connecting each pair with a thread.
![Original key holder with embroidery](https://i.washerhouse.com/images/15/2120-originalnaya-klyuchnica-s-vyshivkoy.jpg)
![Original key holder with embroidery](https://i.washerhouse.com/images/15/2121-originalnaya-klyuchnica-s-vyshivkoy.jpg)
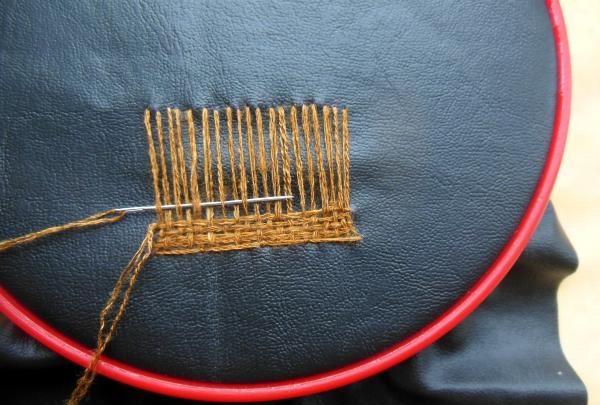
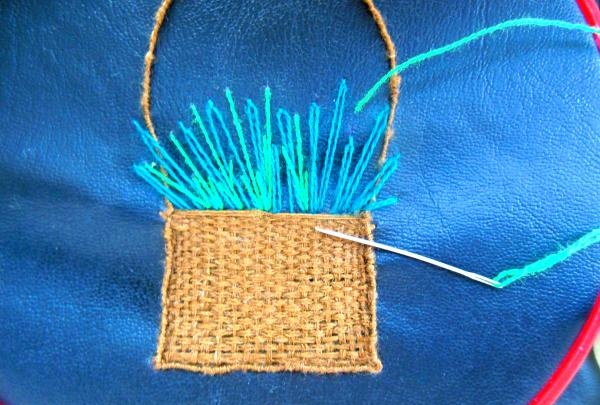
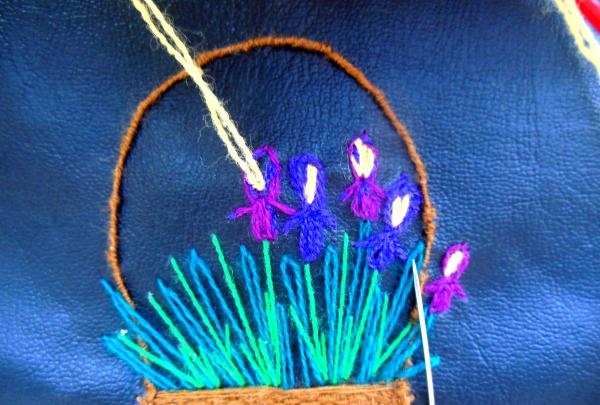
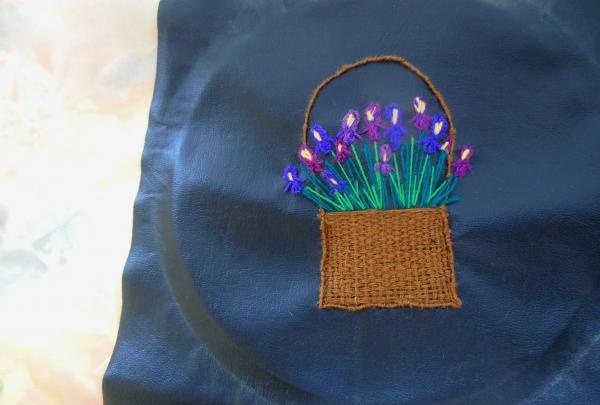
At the end, you need to bring the needle to the front side of the embroidery (the lower border of the vertical lines) and begin to “weave” the basket. To do this, pass the thread through a tightly packed row of twigs, constantly alternating the position of the thread (“above the twig” and “under the twig”).
![Original key holder with embroidery](https://i.washerhouse.com/images/15/2122-originalnaya-klyuchnica-s-vyshivkoy.jpg)
![Original key holder with embroidery](https://i.washerhouse.com/images/15/2123-originalnaya-klyuchnica-s-vyshivkoy.jpg)
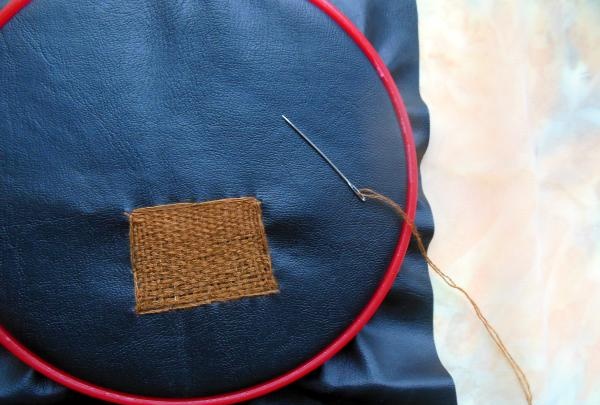
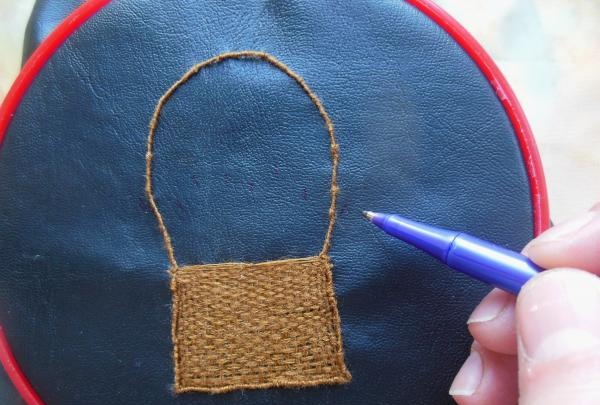
And when you finish weaving the cross rods, mark 6 cm from the top edge of the basket and draw a handle.
![Original key holder with embroidery](https://i.washerhouse.com/images/15/2124-originalnaya-klyuchnica-s-vyshivkoy.jpg)
Sew it with a reverse stitch, which will later need to be hidden with a loop stitch.
![Original key holder with embroidery](https://i.washerhouse.com/images/15/2125-originalnaya-klyuchnica-s-vyshivkoy.jpg)
![Original key holder with embroidery](https://i.washerhouse.com/images/15/2126-originalnaya-klyuchnica-s-vyshivkoy.jpg)
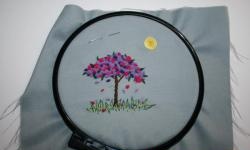
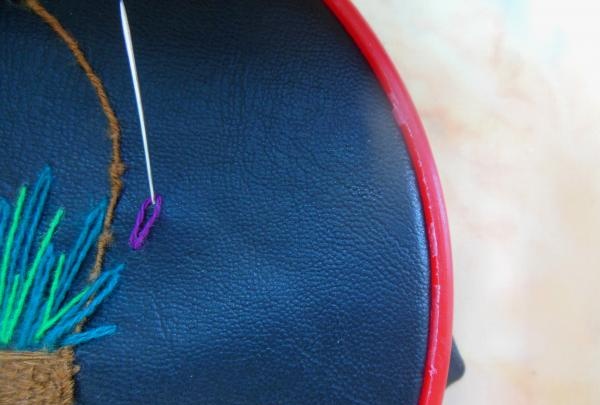
Flowers are also first marked, and then they begin to embroider the stems.
![Original key holder with embroidery](https://i.washerhouse.com/images/15/2127-originalnaya-klyuchnica-s-vyshivkoy.jpg)
![Original key holder with embroidery](https://i.washerhouse.com/images/15/2128-originalnaya-klyuchnica-s-vyshivkoy.jpg)
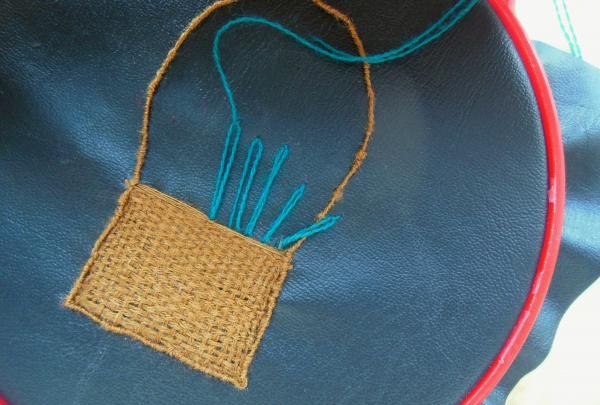
Secure each dark loop on top with a regular stitch, place the light green thread between these double stems in random order (single thread).
![Original key holder with embroidery](https://i.washerhouse.com/images/15/2129-originalnaya-klyuchnica-s-vyshivkoy.jpg)
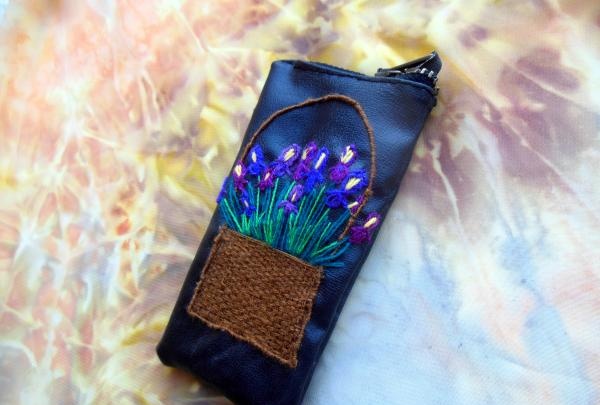
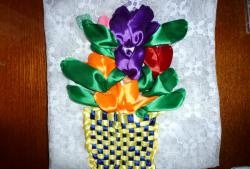
And now comes the most interesting moment - embroidery irises This is a very painstaking and creative work, so there are no special instructions or clear rules here. Each flower can combine several tones at once (darkening one petal, for example), or you can get a monochromatic bouquet - it’s up to you.
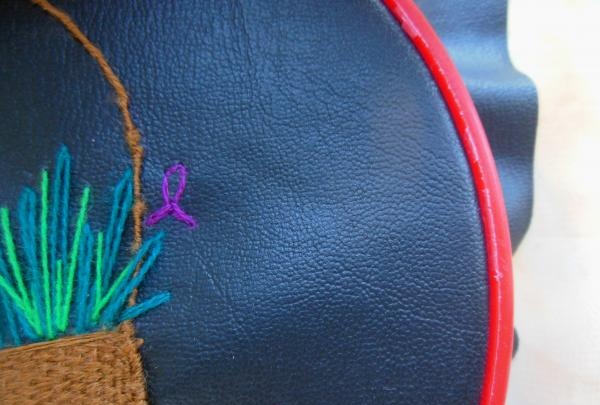
So, the upper lobe of the perianth is created from a loop, which, like the double stem, is fixed at the top with a stitch.
![Original key holder with embroidery](https://i.washerhouse.com/images/15/2130-originalnaya-klyuchnica-s-vyshivkoy.jpg)
The side petals are ordinary even stitches, applied symmetrically on both sides of the perianth.
![Original key holder with embroidery](https://i.washerhouse.com/images/15/2131-originalnaya-klyuchnica-s-vyshivkoy.jpg)
From below, create the same petal from a loop, but only smaller in size. Fill it with color right away.
![Original key holder with embroidery](https://i.washerhouse.com/images/15/2132-originalnaya-klyuchnica-s-vyshivkoy.jpg)
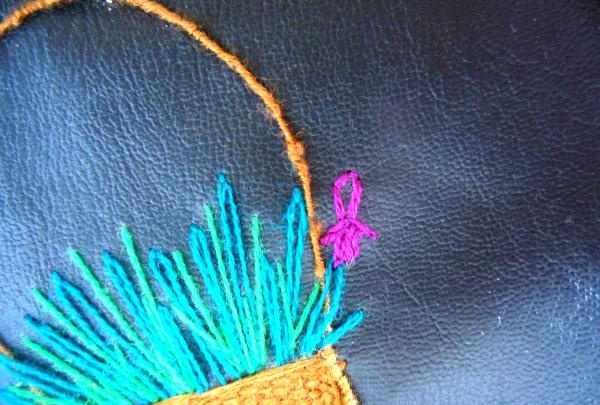
Embroider such flowers on each protruding stem, and be sure to fill the middle with yellow.
![Original key holder with embroidery](https://i.washerhouse.com/images/15/2133-originalnaya-klyuchnica-s-vyshivkoy.jpg)
![Original key holder with embroidery](https://i.washerhouse.com/images/15/2134-originalnaya-klyuchnica-s-vyshivkoy.jpg)
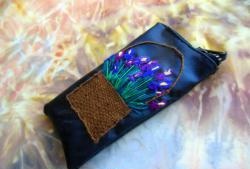
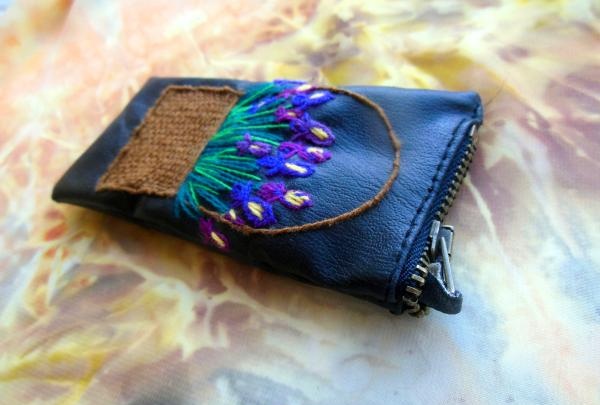
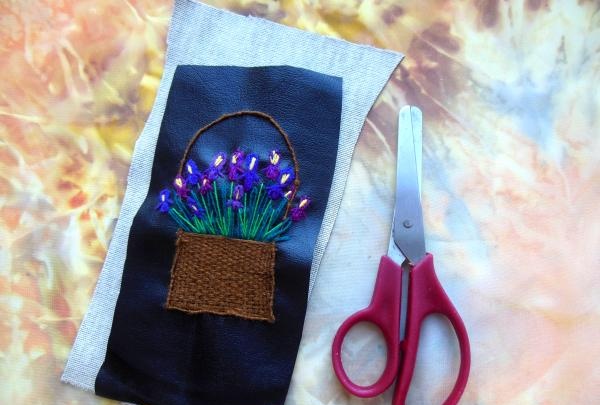
Then cut out two parts for sewing the key holder and assemble them with a basting stitch along the contour.
![Original key holder with embroidery](https://i.washerhouse.com/images/15/2135-originalnaya-klyuchnica-s-vyshivkoy.jpg)
![Original key holder with embroidery](https://i.washerhouse.com/images/15/2136-originalnaya-klyuchnica-s-vyshivkoy.jpg)
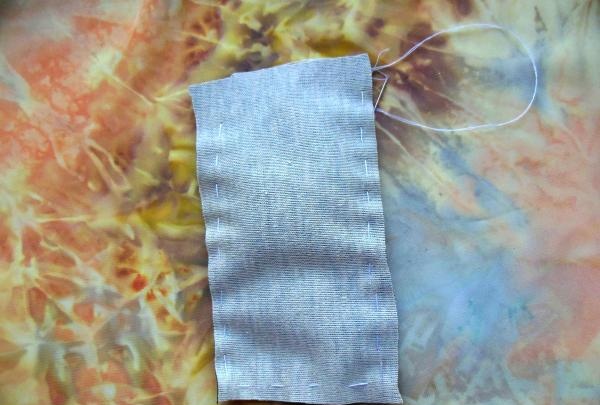
Leave a slit at the top for the zipper and (after the final stitching of the base) sew it in place.
![Original key holder with embroidery](https://i.washerhouse.com/images/15/2137-originalnaya-klyuchnica-s-vyshivkoy.jpg)
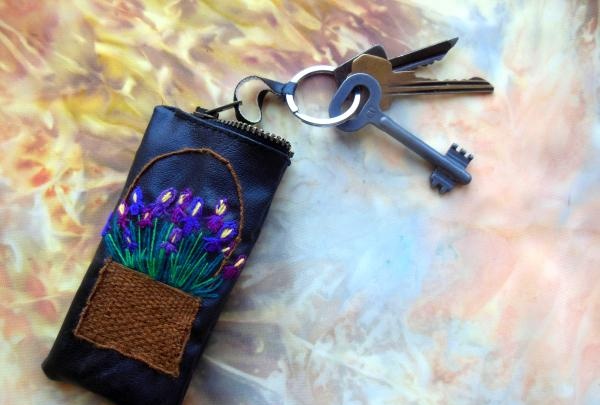
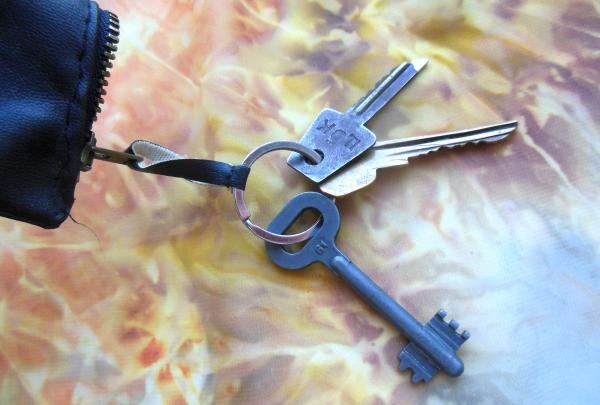
To quickly remove keys from the case, connect them to the clasp with a leatherette shelf. This makes the keys not only easier to remove, but also virtually impossible to drop or lose.
![Original key holder with embroidery](https://i.washerhouse.com/images/15/2138-originalnaya-klyuchnica-s-vyshivkoy.jpg)
![Original key holder with embroidery](https://i.washerhouse.com/images/15/2139-originalnaya-klyuchnica-s-vyshivkoy.jpg)
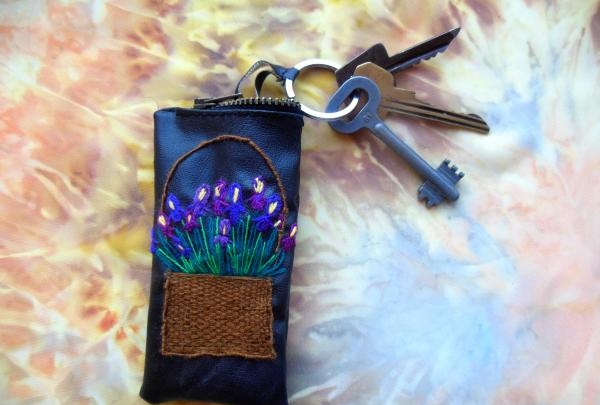
Now it will be easier and faster to find your keys, and carrying them in a beautiful case is much more pleasant than in your pocket.
![Original key holder with embroidery](https://i.washerhouse.com/images/15/2140-originalnaya-klyuchnica-s-vyshivkoy.jpg)
![Original key holder with embroidery](https://i.washerhouse.com/images/15/2141-originalnaya-klyuchnica-s-vyshivkoy.jpg)