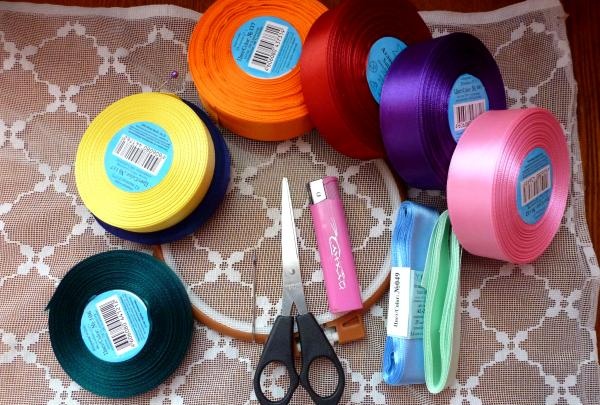
To make it I needed the following materials:
satin ribbons of various sizes;
hoop;
scissors;
fabric (I used tulle, but I really regretted it in the process);
scissors;
needle with a wide eye.
The first step is to stretch the fabric onto the hoop. It is important to find the tension line at which the fabric will not sag, but it will also be possible to move it a little so as not to tear. For the most successful outcome of the work, it is best to outline the outline of the future embroidery fragment. I decided to start with the basket.
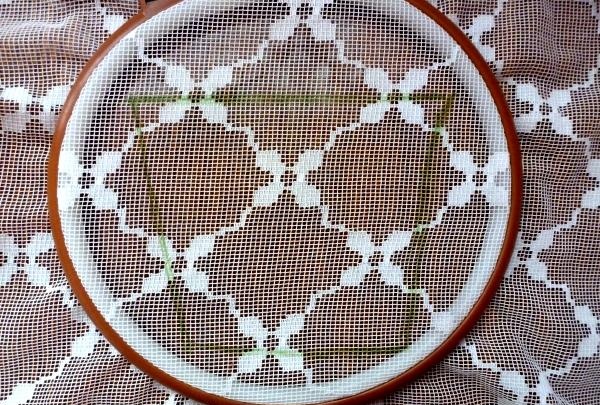
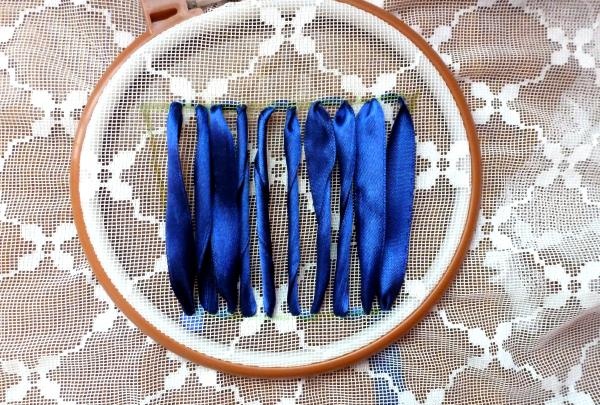
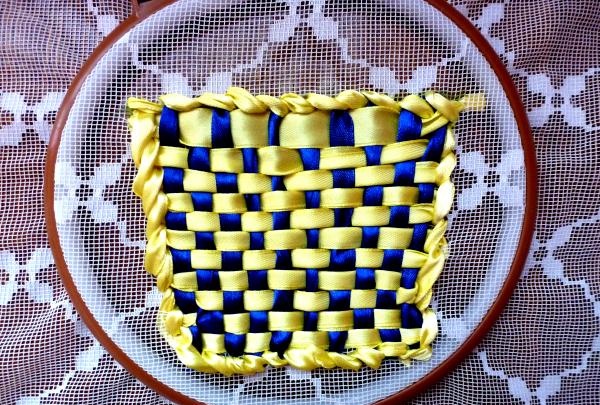
The best option for applying a design would be a water-washable felt-tip pen. We embroider vertical lines in blue.
Now, using the method of weaving the ribbons alternately with each other (basket weaving), we introduce a ribbon of a different color.
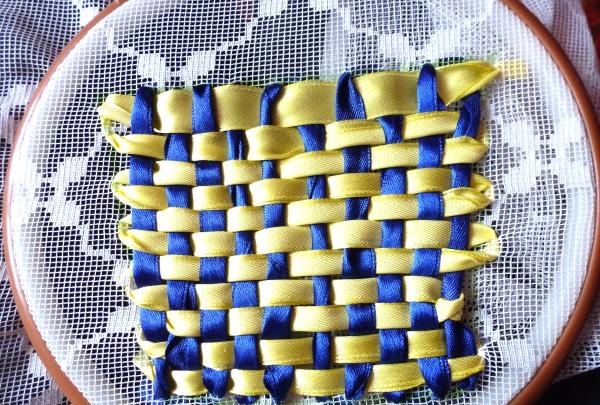
I finished the edges of the basket with a stem stitch, it is very clearly visible in the photo, so I will not describe it in detail.
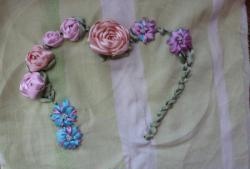
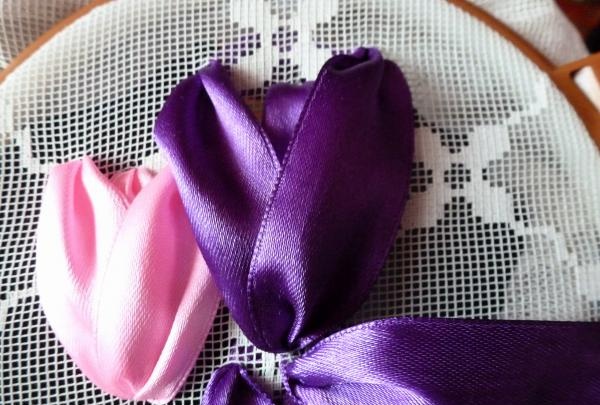
Let's start embroidering the buds. To do this, place a wide ribbon in the right place.
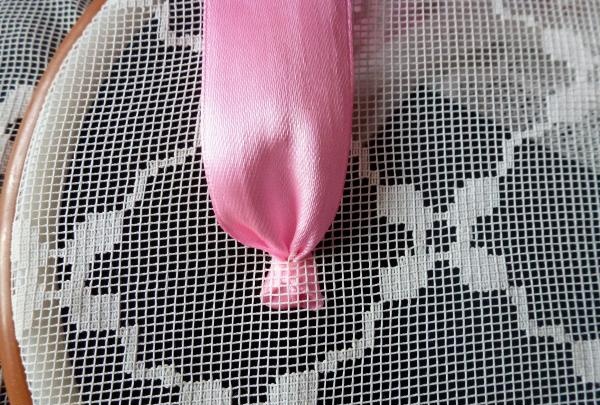
We step back a little upward and insert it into the fabric, the remaining segment will be a petal.
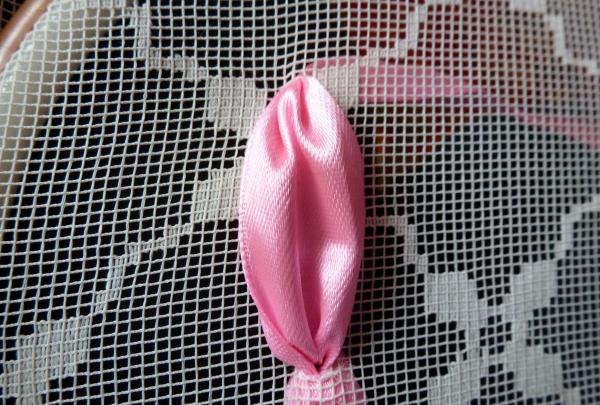
Then, we bring the thread a little lower and hide it higher. Having done this procedure on both sides, we will get such a neat bud of the future tulip.
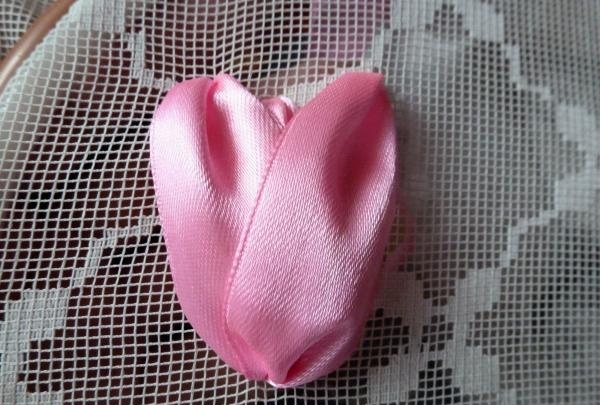
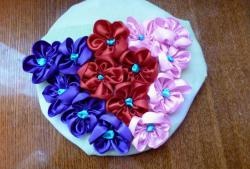
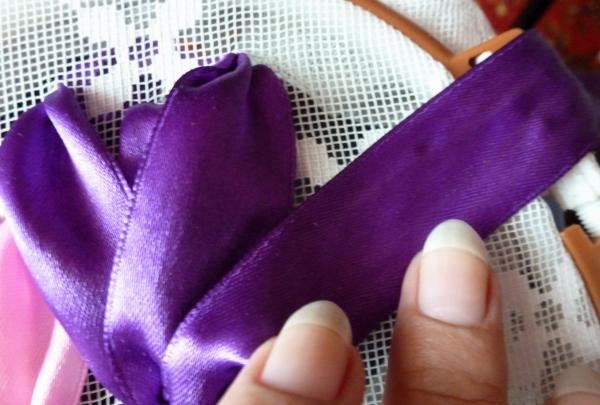
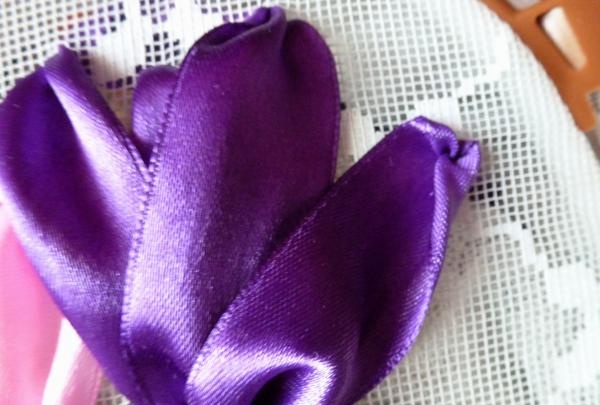
I decided to make my tulips in different colors. I made one of the purple tulips more blooming. To do this, after embroidering the main bud, we bring the ribbon down again, measure the distance needed for the petal and, piercing it with a needle from above, bring the ribbon down.
The final stage of embroidery will be landscaping the picture. Where you consider it necessary, you need to make the same stitches as the last tulip petals, only with a green ribbon.
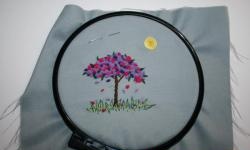
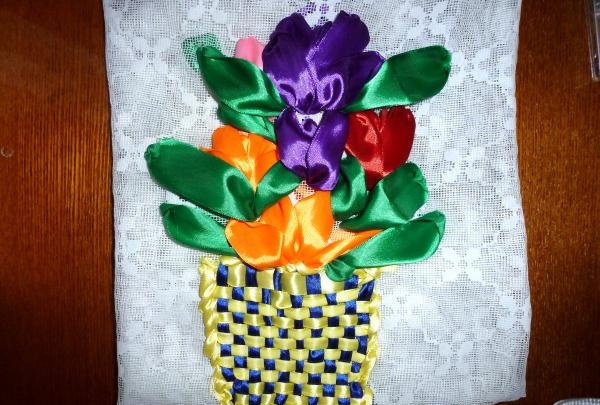
In the end, I ended up with this bright basket of spring flowers. I have no doubt that even on cold winter evenings, it will lift my spirits and give me warmth.