To make it you will need:
- wooden twigs from a crib;
- a piece of multilayer plywood 16 - 18 mm thick;
- pencil, ruler, protractor;
- jigsaw, drill, surface grinder;
- PVA glue;
- varnish, brush;
The dimensions of the holder depend only on your needs and can be designed for any number of mugs. For example, consider making a holder for three mugs.
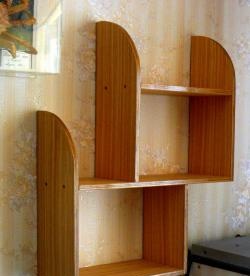
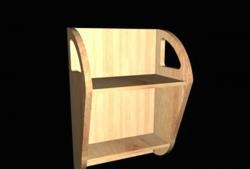
We cut out the base from plywood.
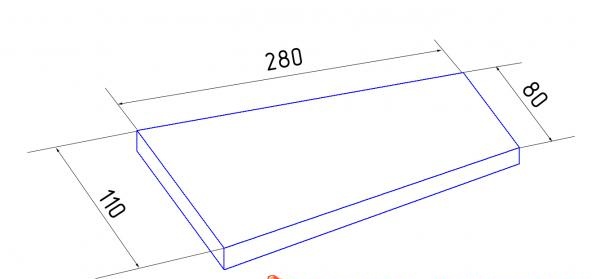
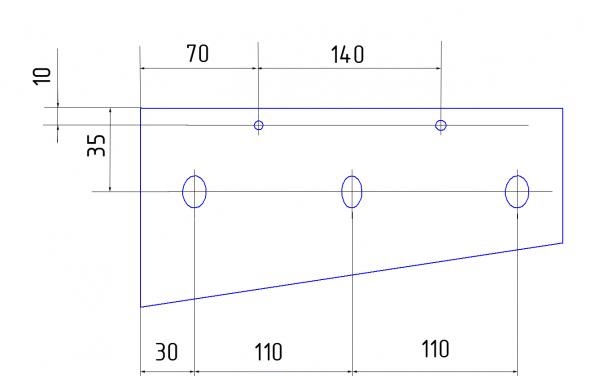
The rectangular base seems too massive to me, so one corner is slightly beveled. We mark and drill holes for fastening for the screws or self-tapping screws that you have.
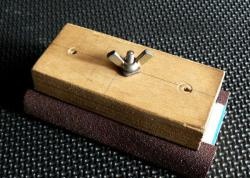
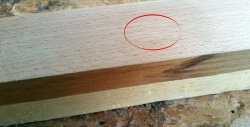
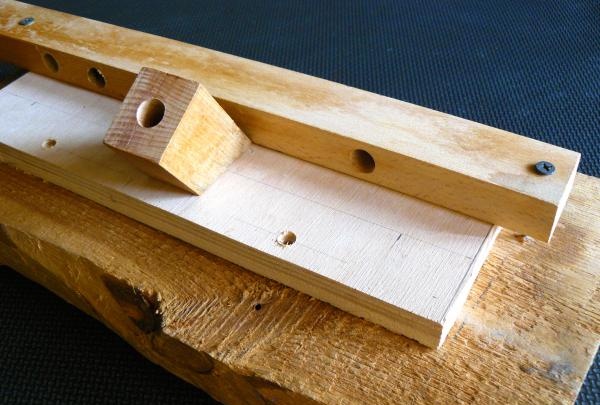
We make a guide from a block of hardwood.
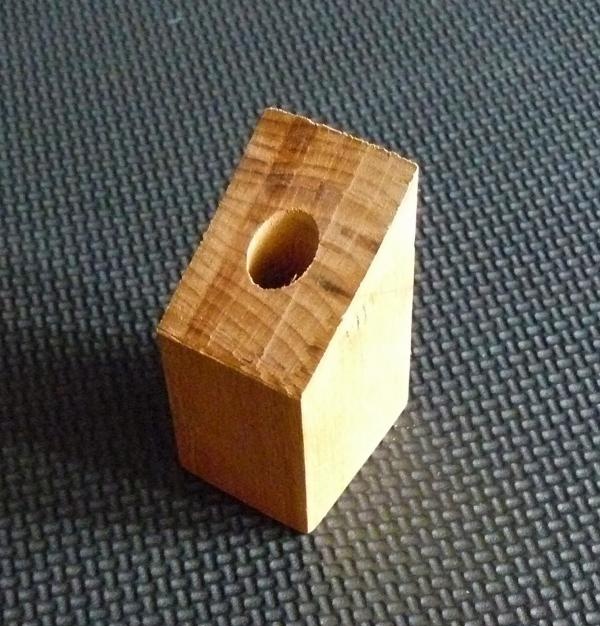
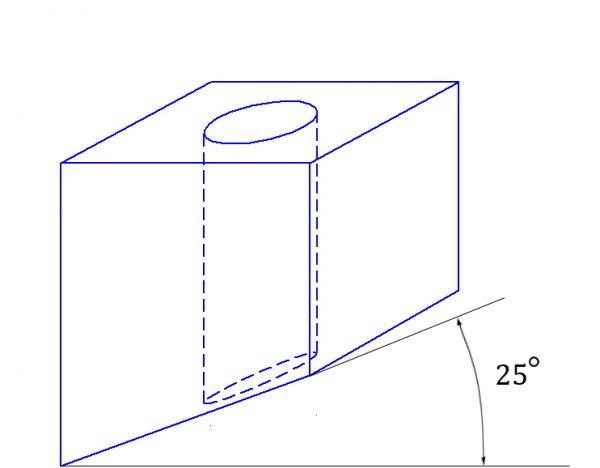
The dimensions of the block are not of fundamental importance; for example, I used a piece of a bed leg measuring 35x30x60. Wooden rods have a diameter of 12 mm, so we use a drill of this diameter.We drill a through hole in the block at the end along the long side.
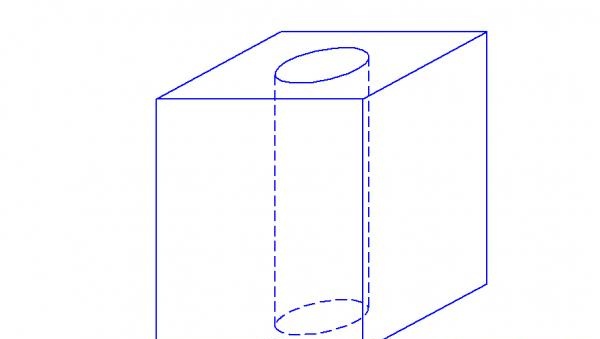
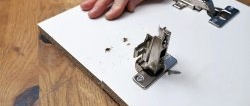
On a piece of thin cardboard, mark an angle of 25 degrees with a protractor. There will be twigs at this angle. Transfer the angle to the block and cut it off.
To ensure that the guide does not move when drilling from any board of suitable length, we place a stop. The stop is a board with holes, which is attached with screws and presses the base at the required distance.
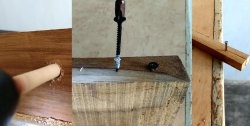
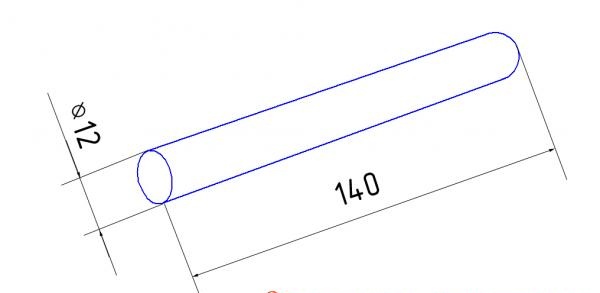
On the plywood in the places where the rods are attached, lightly drill, install the guide against the stop and drill through the plywood at an angle. We grind the base and slightly round the ends. We clean the twig from varnish and cut it into 14 cm pieces.
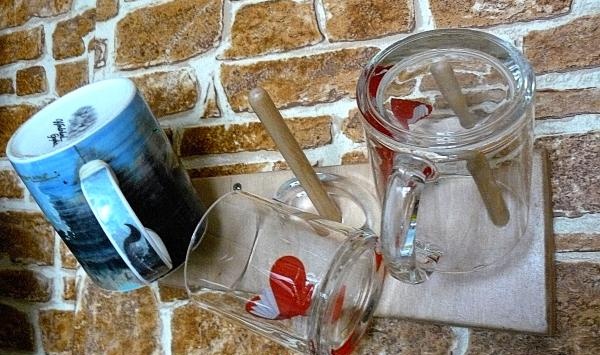
We round one end. Lubricate with glue and insert into the prepared hole with the blunt end so that the twig protrudes slightly from the back.
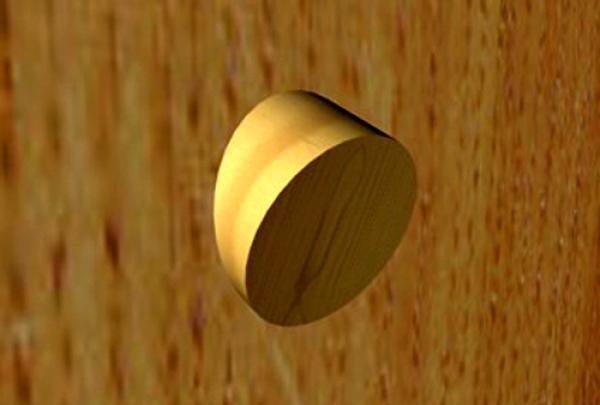
After the glue has dried, sand off the protruding part. If necessary, putty and sand. Cover with varnish. We attach it to the wall.