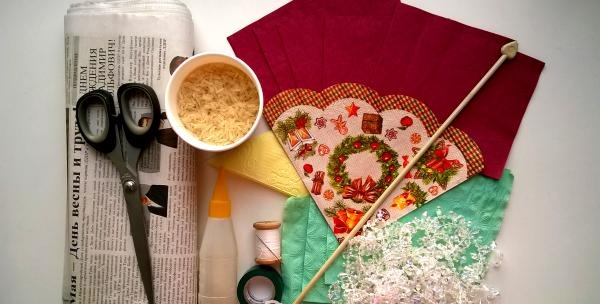
– paper cup with a volume of 0.2 liters;
– two-layer napkins;
– plastic or wooden knitting needle;
– electrical tape;
- rice;
– newspapers;
– threads;
– needle;
- scissors;
– glue for paper;
– decorative stones.
![will be needed](https://i.washerhouse.com/images/11/1248-ponadobitsya.jpg)
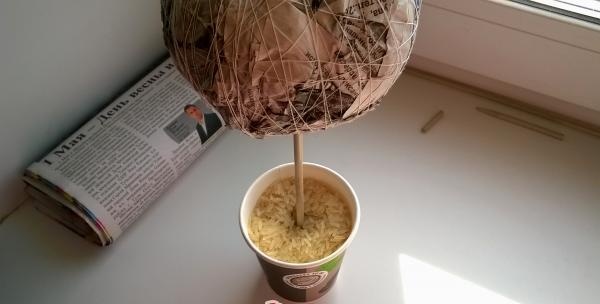
First you need to make a frame for the tree. To do this, you need to crumple newspaper sheets into a ball shape, wrapping each layer with thread to secure it. You should not make the ball too large; 30-35 cm in circumference will be quite enough.
![make a frame for a tree](https://i.washerhouse.com/images/11/1249-izgotovit-karkas-dlya-dereva.jpg)
![make a frame for a tree](https://i.washerhouse.com/images/11/1250-izgotovit-karkas-dlya-dereva.jpg)
Now the ball must be pierced in the center with a knitting needle and shortened if necessary.
![make a frame for a tree](https://i.washerhouse.com/images/11/1251-izgotovit-karkas-dlya-dereva.jpg)
At this stage, the tree structure can be checked for stability; if the sphere (ball) is smooth and pierced exactly in the center, then it will stand firmly in a glass of rice.
![make a frame for a tree](https://i.washerhouse.com/images/11/1252-izgotovit-karkas-dlya-dereva.jpg)
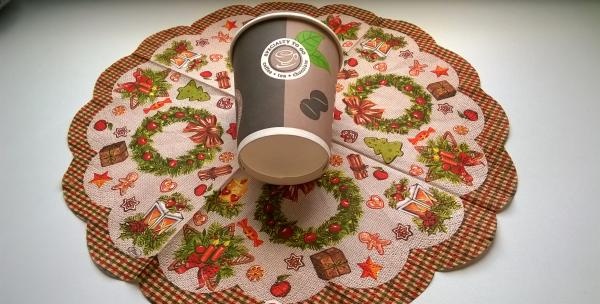
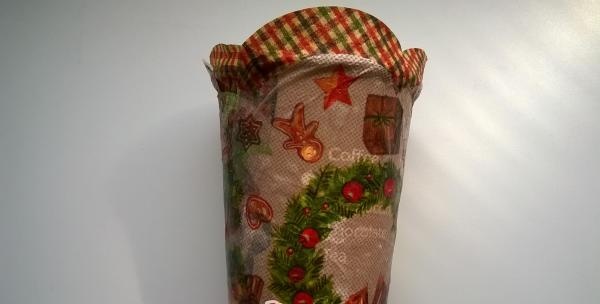
If everything is in order, then it’s time to move on to decorating the tree. It's best to start with a glass. It will be enough to simply cover it with napkins with a beautiful pattern using office glue.
![glass](https://i.washerhouse.com/images/11/1253-stakanchik.jpg)
![Decorative tree](https://i.washerhouse.com/images/11/1254-dekorativnoe-derevo.jpg)
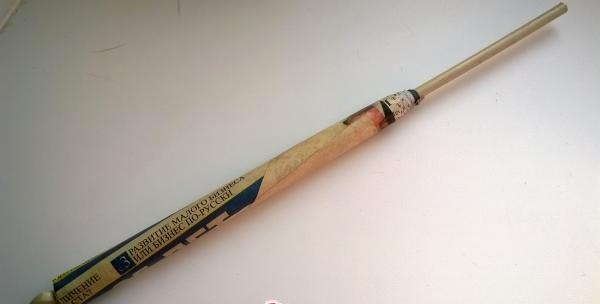
Now you should work on the tree trunk.To do this, you need to wrap the knitting needle with a sheet of newspaper, except for the part that will be inside the ball. Finally, seal the outer edge of the newspaper with glue.
![Decorative tree](https://i.washerhouse.com/images/11/1255-dekorativnoe-derevo.jpg)
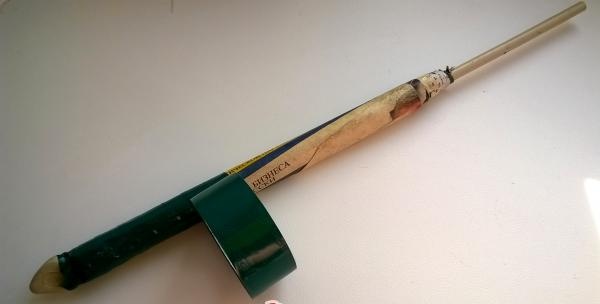
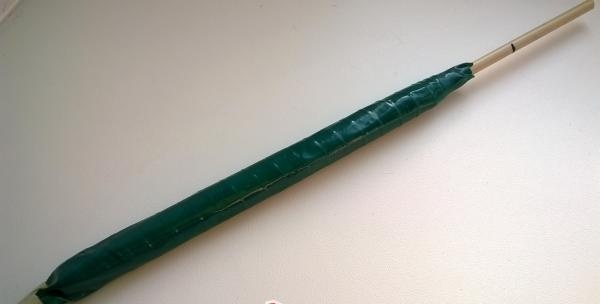
Next, the tube obtained from the newspaper must be wrapped with electrical tape.
![Decorative tree](https://i.washerhouse.com/images/11/1256-dekorativnoe-derevo.jpg)
![Decorative tree](https://i.washerhouse.com/images/11/1257-dekorativnoe-derevo.jpg)
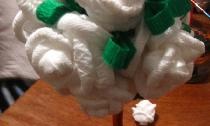
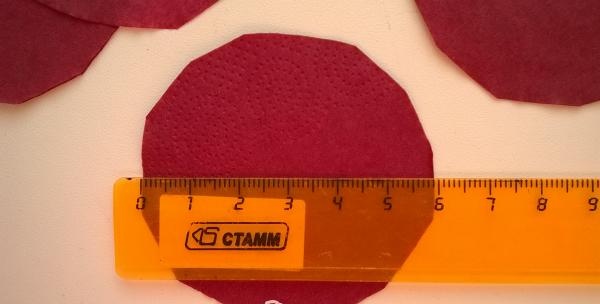
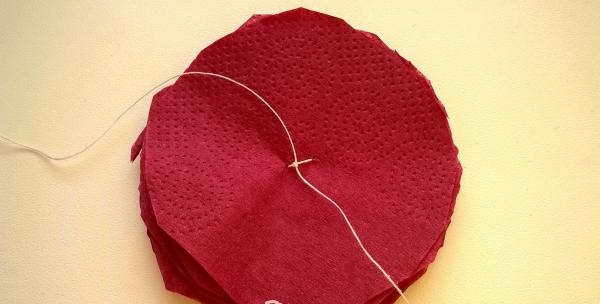
After this, you can proceed to making flowers. To do this, cut circles with a diameter of 6 cm from napkins.
![Decorative tree](https://i.washerhouse.com/images/11/1258-dekorativnoe-derevo.jpg)
And sew them in 10 pieces. (If the napkins are single-layer, then they need to be sewn together in 20 pieces).
![Decorative tree](https://i.washerhouse.com/images/11/1259-dekorativnoe-derevo.jpg)
Now bend their petals up one at a time.
![Decorative tree](https://i.washerhouse.com/images/11/1260-dekorativnoe-derevo.jpg)
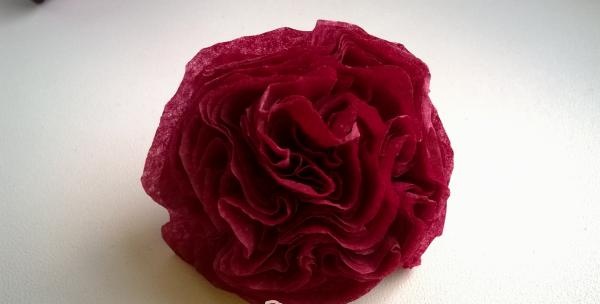
You will need about 50 of these flowers.
![Decorative tree](https://i.washerhouse.com/images/11/1261-dekorativnoe-derevo.jpg)
![Decorative tree](https://i.washerhouse.com/images/11/1262-dekorativnoe-derevo.jpg)
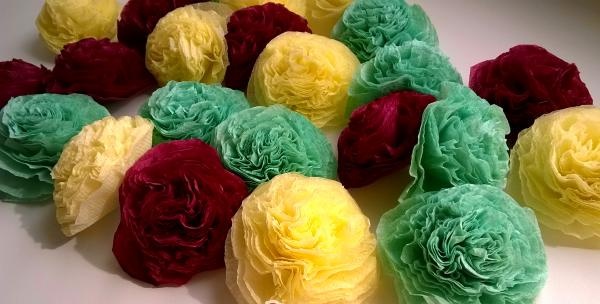
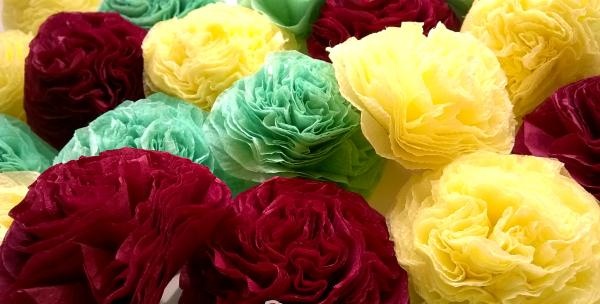
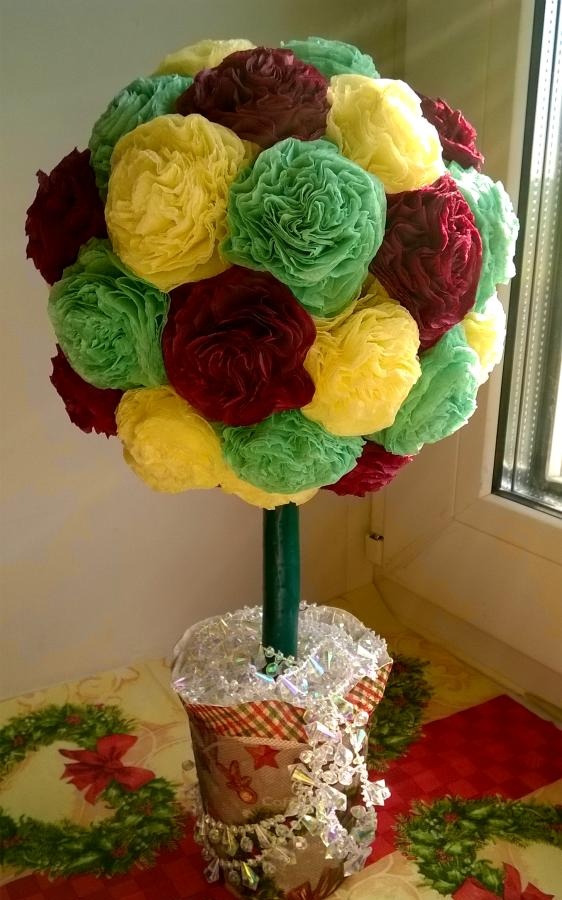
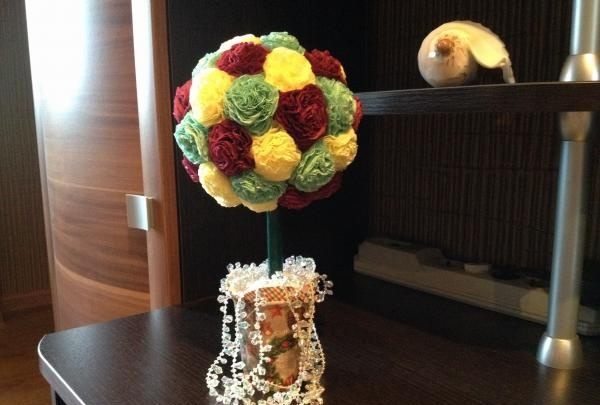
All that remains is to glue the flowers evenly to the ball and place decorative stones on top of the rice.
![Decorative tree](https://i.washerhouse.com/images/11/1263-dekorativnoe-derevo.jpg)
![Decorative tree](https://i.washerhouse.com/images/11/1264-dekorativnoe-derevo.jpg)
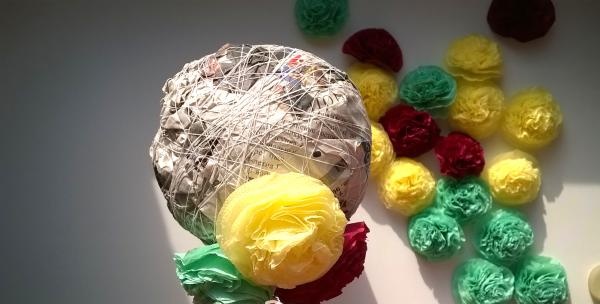
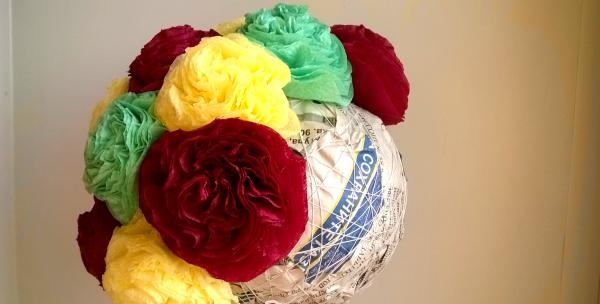
All. The tree is ready.
![Decorative tree](https://i.washerhouse.com/images/11/1265-dekorativnoe-derevo.jpg)
![Decorative tree](https://i.washerhouse.com/images/11/1266-dekorativnoe-derevo.jpg)
![Decorative tree](https://i.washerhouse.com/images/11/1267-dekorativnoe-derevo.jpg)