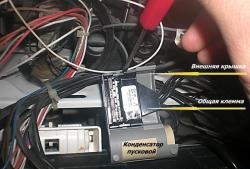
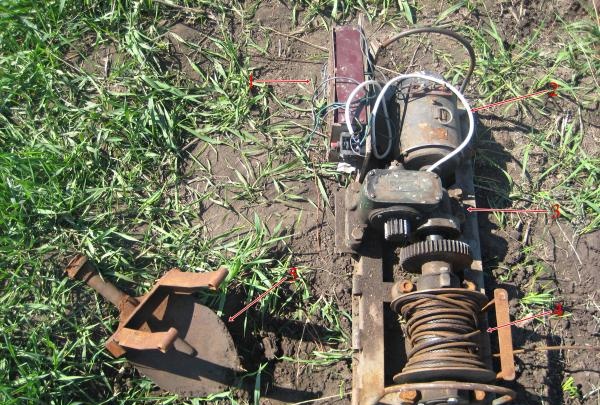
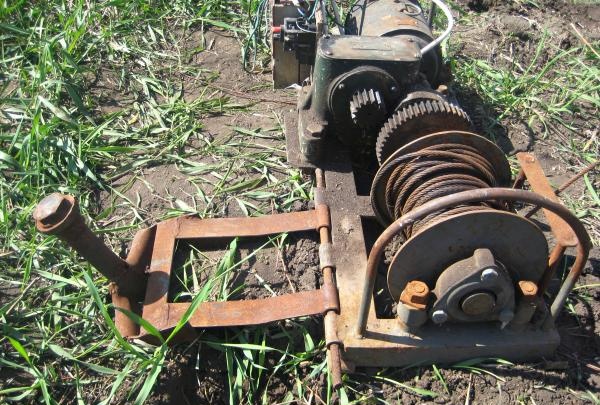
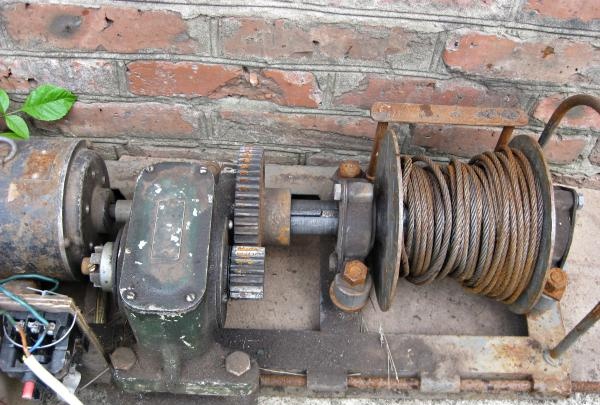
1 – rectifier bridge (power supply).
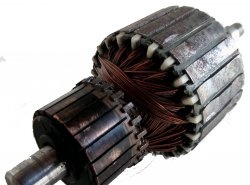
2 – electric motor.
3 – gearbox combined with a gear.
4 – cable - 5 mm, acting as a winch.
5 – anchor (working part of the shovel).
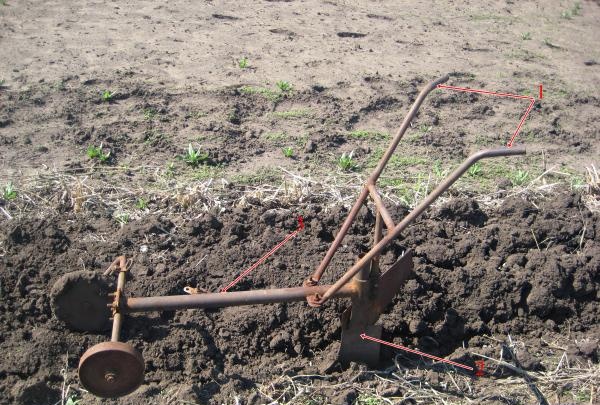
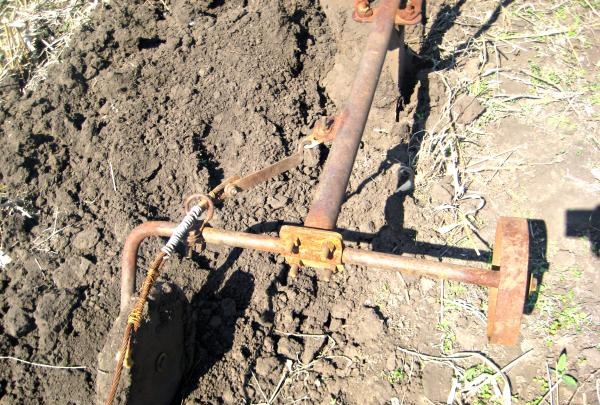
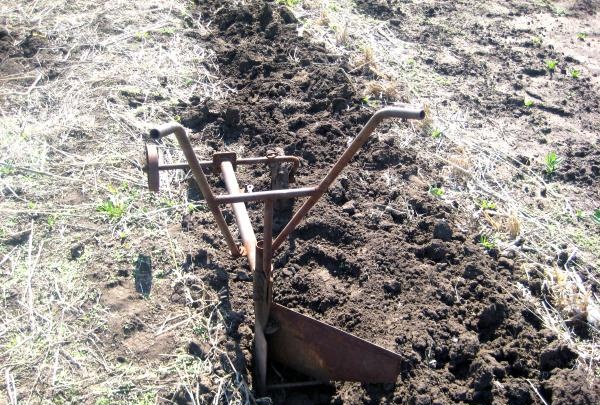
A plow, which is designed for plowing land, consists of the following elements:
1 – steering wheel (plow control lever).
2 – ploughshare.
3 – base with fastenings.
Installation and connection of the plow.
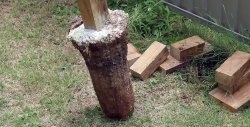
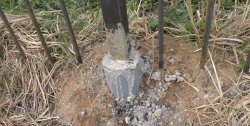
1. The anchor must be installed at an angle for better support.
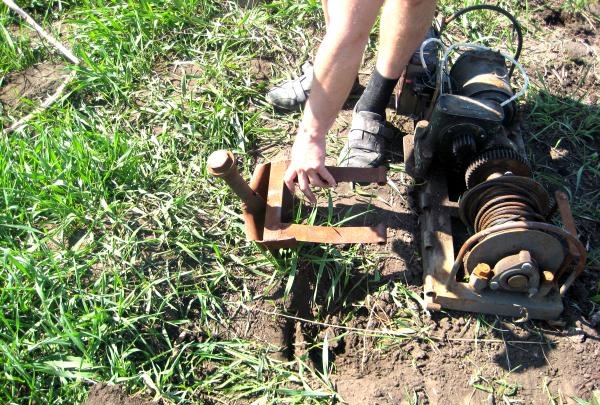
2. After which the anchor should be deepened into the ground up to the connecting strip.
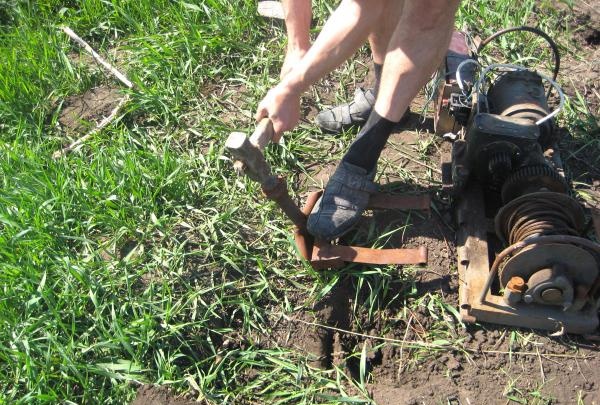
3. Then the anchor is connected to the control device using a piece of reinforcement.
4. In front of the barrier bar, near the cable, reinforcement is also driven in. It will additionally hold the control unit in place during operation.
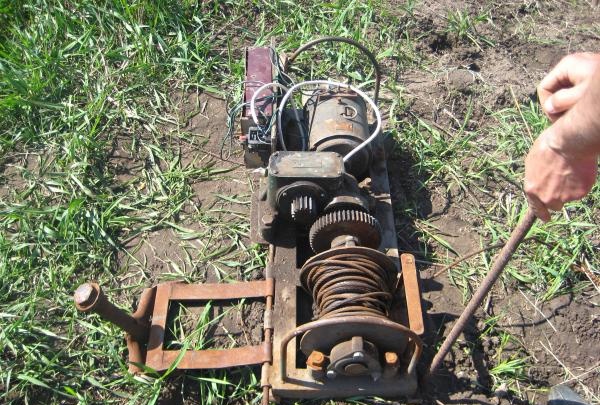
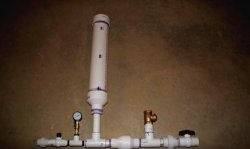
5. In the working position, the gearbox is in the engaged position.
6. The control unit is ready for operation.
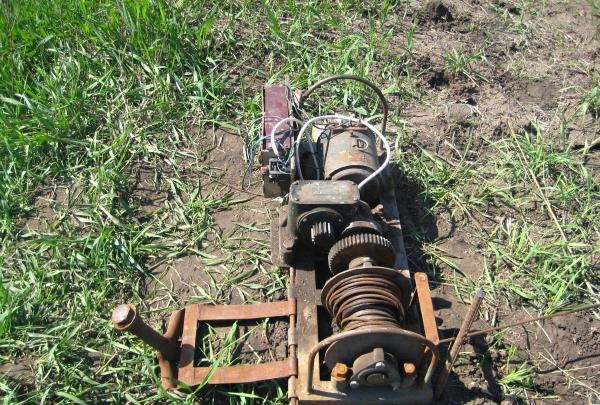
7. After installing and securing the control device, attach the plow to it. To do this, the free end of the cable is attached to the base of the plow.
Operating principle and operation.
1. The plow is carried to the required distance.
2. The ploughshare is driven into the ground to the required depth.
3. The left foot is placed on the ploughshare, and the right foot rests on the ground.

4. Thus, while moving the plow along the ground, the tiller pushes off with his right foot and controls the plow using his weight.
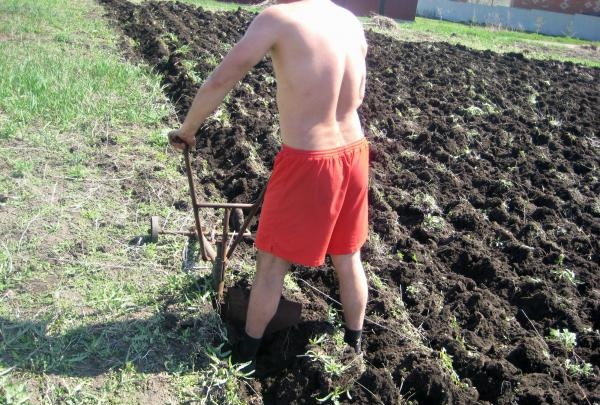
5. During operation, the plow steering wheel should not exceed the level of the plowman’s belt.
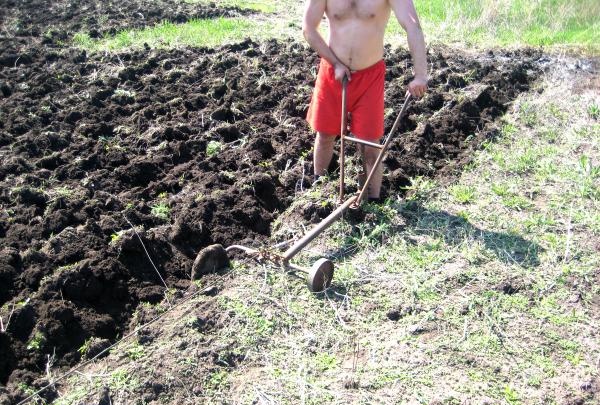
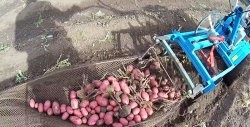
6. When the plow reaches the end of plowing, the control unit is turned off and the plow is again taken to the opposite side of the site. A plow made according to this principle is capable of plowing land that has been left without care for a long time.
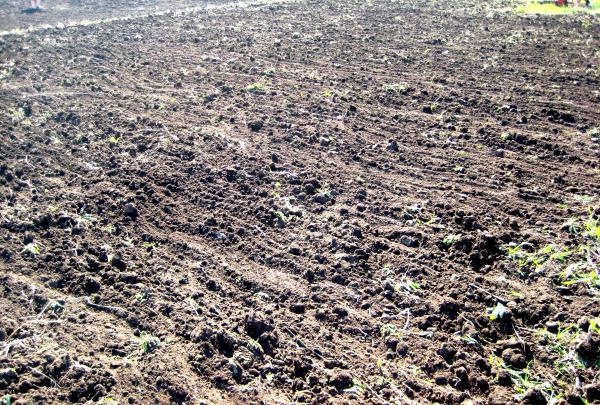
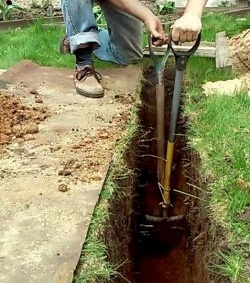
The plowed land has smooth and deep furrows.

After plowing, the soil should be processed using a harrow. This is done in order to break up blocks of earth. To do this, instead of a plow, a harrow is attached to the control unit.
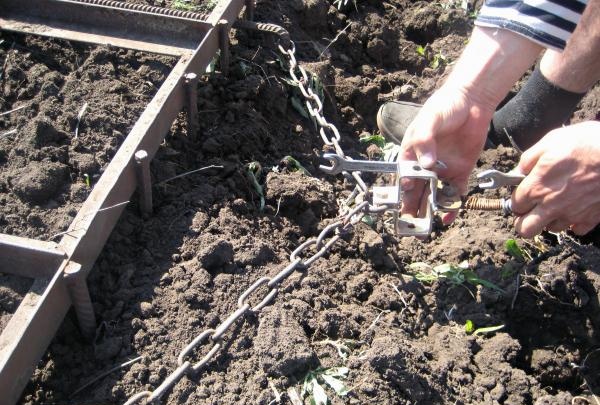
They cover the ground according to the same principle as plowing.
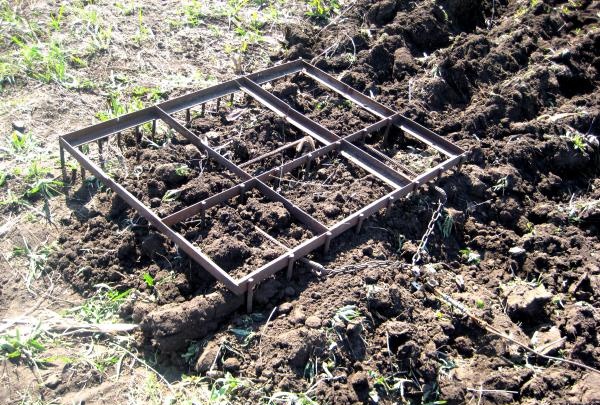
The end result is an almost flat piece of land suitable for use.