What you will need
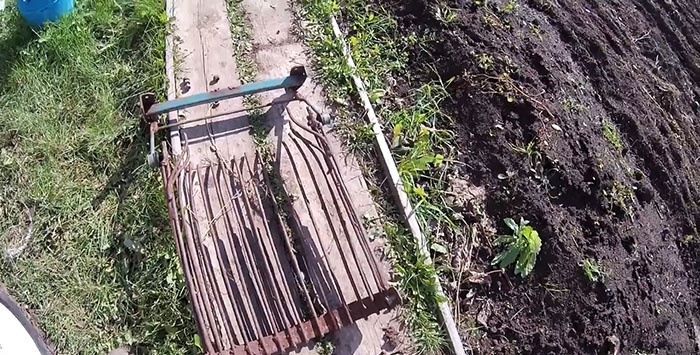
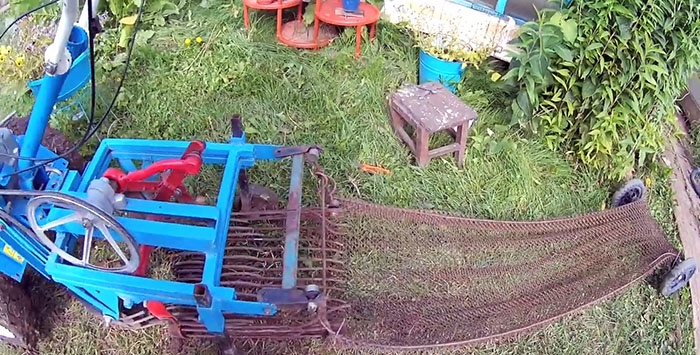
The dug up potatoes will be fed onto a grid, the cell sizes are approximately 2–3 cm. You can specially buy a chain-link with these parameters or use an old metal bed. The length of the mesh is approximately 1.5–2.0 m, the width is 1 m. To strengthen the structure, wire rod with a diameter of 5–6 mm is used, the mesh is fixed to the wheels. There is no point in purchasing special ones; the chassis is perfect for unnecessary baby strollers.
Manufacturing process
Cut off the corners of the bed and remove the metal mesh.
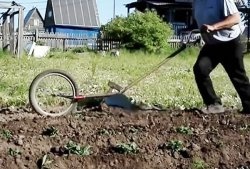
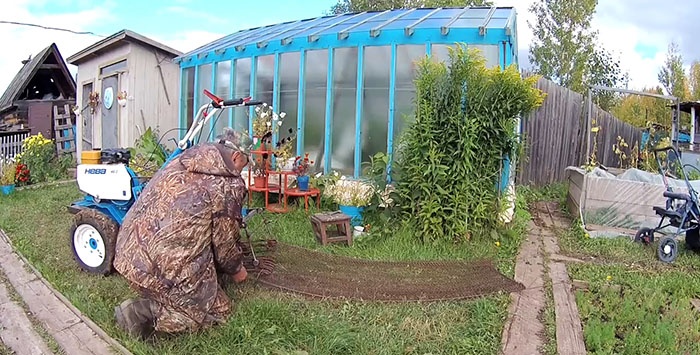
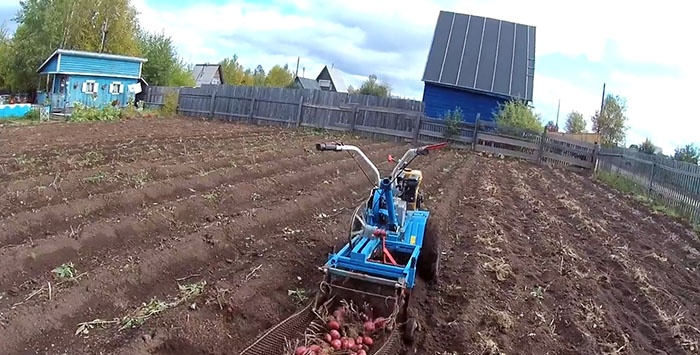
Prepare a potato digger screen; it can be either factory-made or self-made. Install it on the walk-behind tractor.
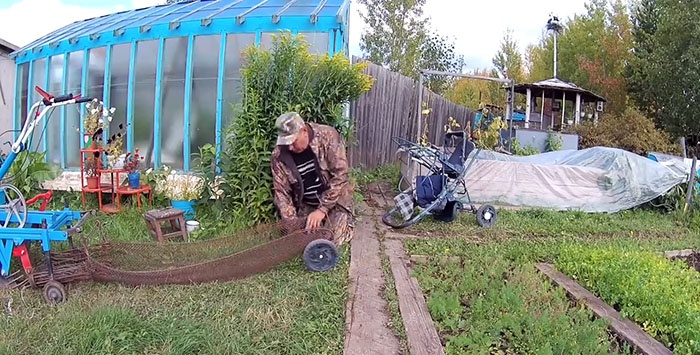
Prepare the grid.To make the edges rise a little and make a recess for the potatoes, insert a wire rod along the edges. The length of the wire should be approximately 30–40 cm greater than the size of the mesh; free ends will be needed later.
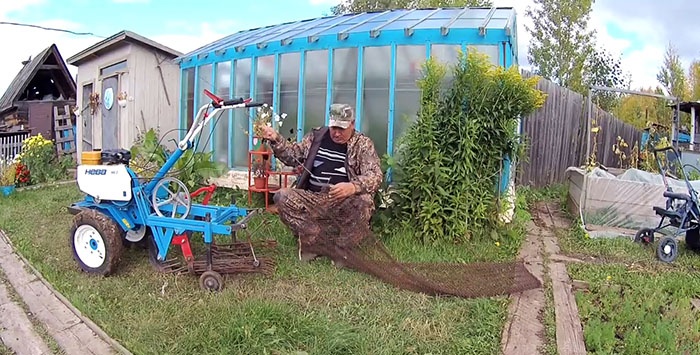
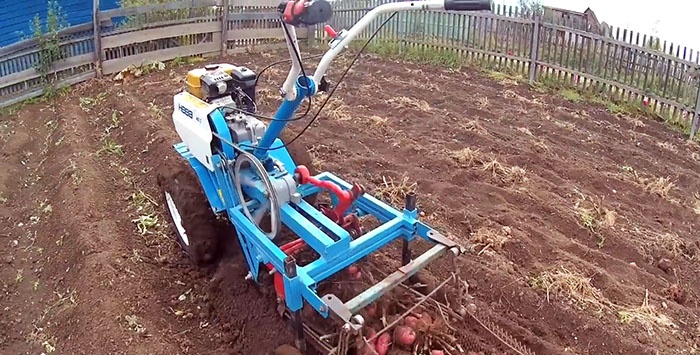
Slide the mesh under the screen and use wire to fasten it to the screen brackets. Make sure that there are no gaps between the elements; the potatoes will then fall into them.
Start the walk-behind tractor engine and check the functionality of the structure.
Remove the axle and wheels from the old baby stroller. The dismantling algorithm depends on the design features.
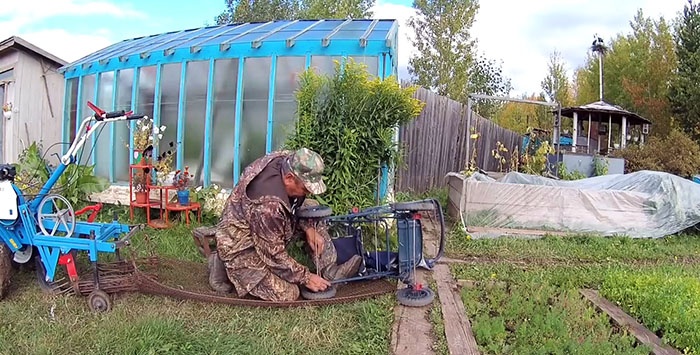
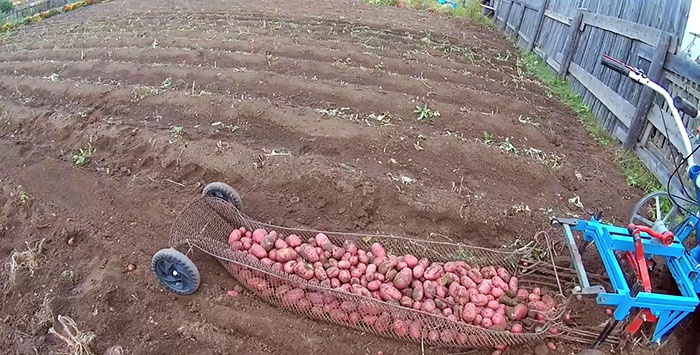
Screw them to the back of the mesh with wire. The wheels will lift it and prevent the potatoes from spilling onto the ground.
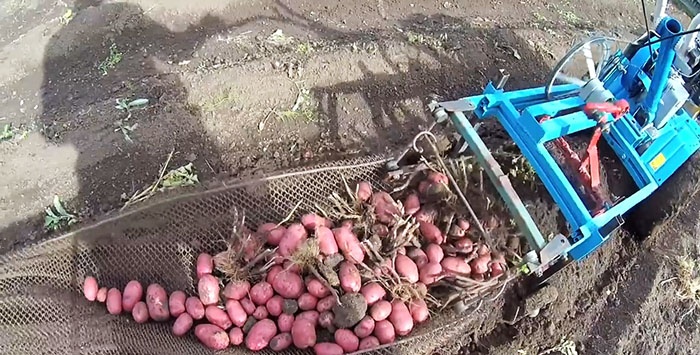
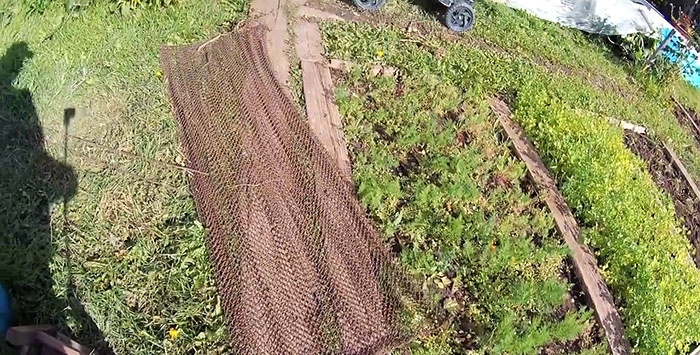
Start digging potatoes. If there is little space on the site, then at the beginning of digging, the harvesting net can be raised onto the wall.
The dug up potatoes accumulate on the mesh, straighten it a little if necessary.
Now they began to collect the harvest into buckets as they were filled. It is much more convenient to do this while sitting on a chair, rather than crawling in a bent position throughout the garden.
Conclusion
Potatoes must be dug after the soil has dried and the crop has fully ripened. Otherwise, it does not all come off the bush and is poorly cleared from the ground. In addition, the load on the walk-behind tractor increases significantly, the earth sticks to the wheels and they slip.