To make a pincushion you will need a small piece of cardboard, any fabric and decor your choice: lace, ribbon or flower.
The process of creating our hat:
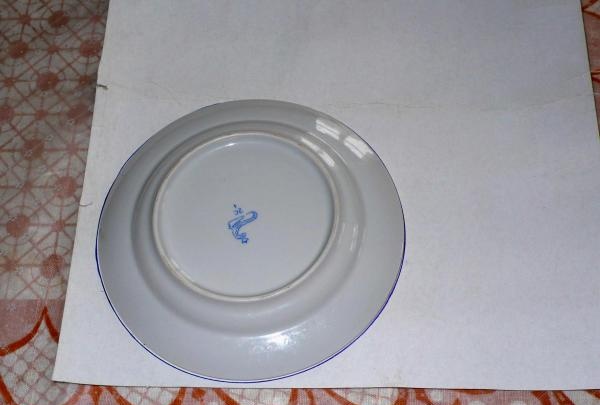
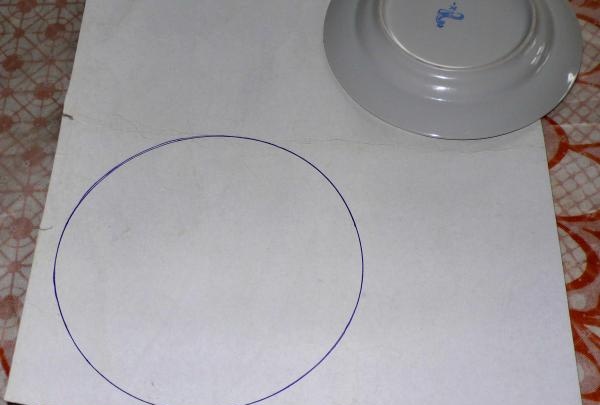
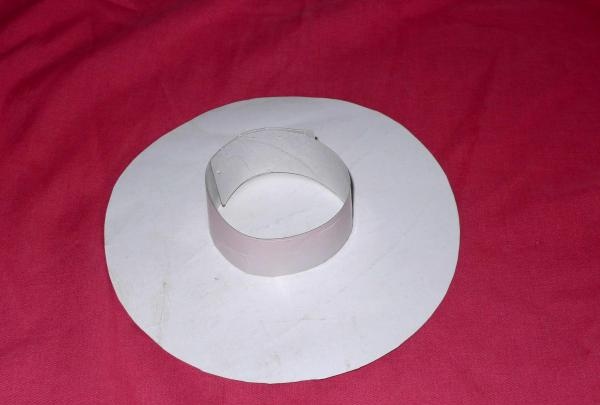
1. Draw a circle on cardboard. To do this, you don’t need to have a compass; you can simply trace the outline of the plate with a pencil. Cut out a circle and another small strip of cardboard for the walls of the pincushion.
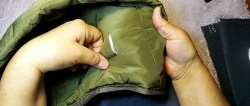
2. We fasten a strip of cardboard with thread and stuff it with cotton wool.
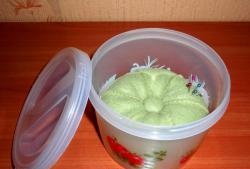
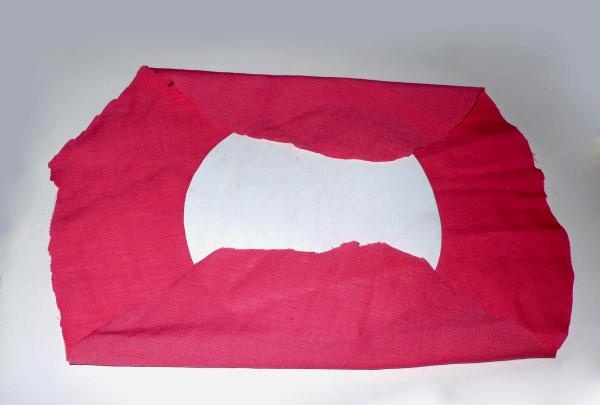
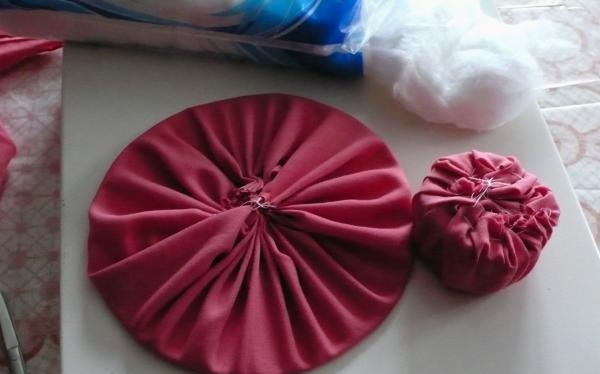
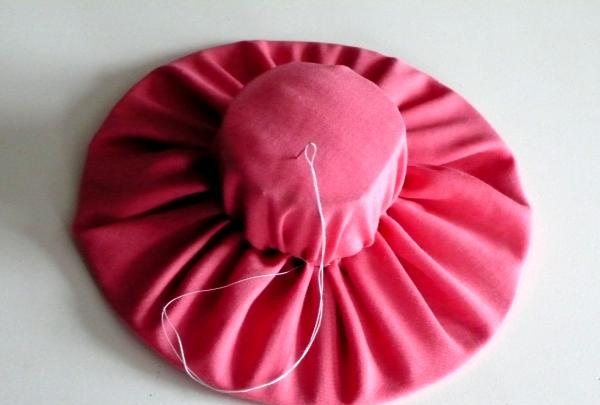
3. Cut a piece of fabric twice the diameter of the circle and stitch it along the edge of the fabric with a seam, as they say, “on the vein.” We wrap the cardboard circle with this fabric. We tighten the thread so that the edges meet approximately in the center of the cardboard circle.

4. We also cover the cotton wool with a cardboard wall with fabric. At the same time, try to evenly distribute the folds of fabric on the walls.
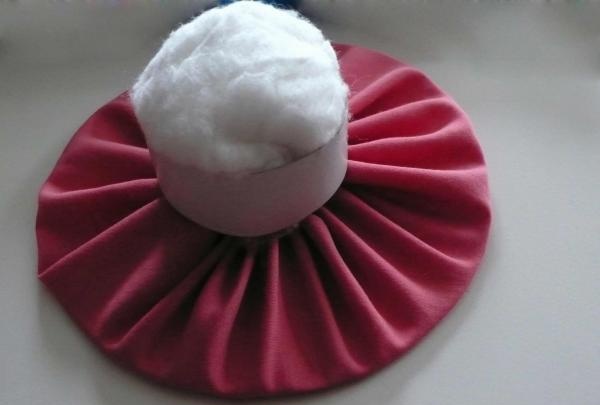
5. Now all that remains is to sew the upper part of the hat (with cotton wool) to the brim of the hat, that is, to a cardboard circle covered with fabric. By sewing them together, you will hide the unsightly pulled edges of the fabric. The hat is almost ready.
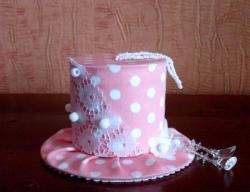
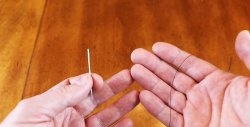
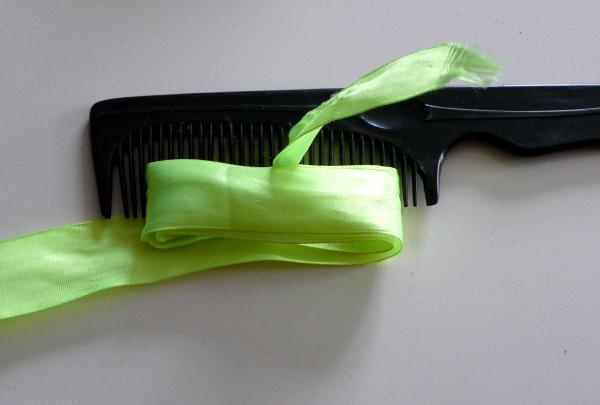
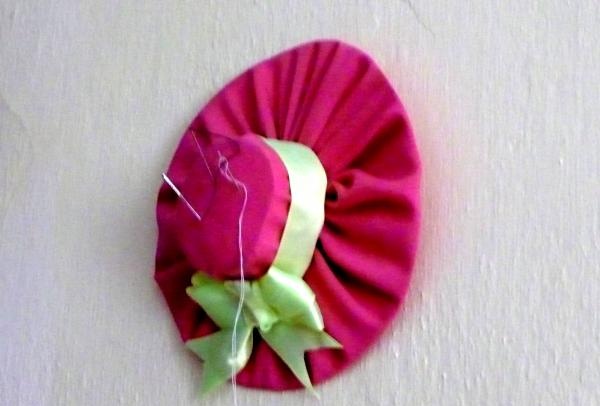
6. For decoration, I take a regular satin ribbon. First you need to make a bow. The bow will turn out even if you wrap the ribbon around an object and then tie it in the middle. You can use a comb for this, like in my photo.
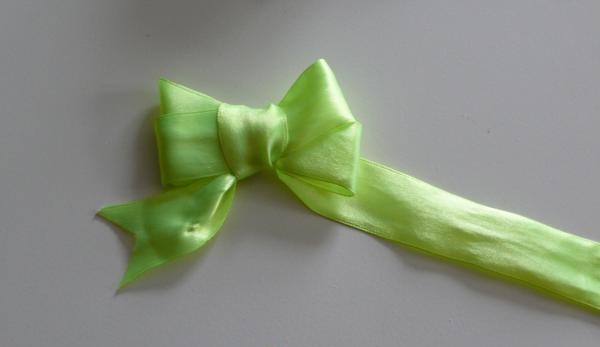
7. Then, having attached the bow, sew the ribbon at several points. To prevent the ribbon from unraveling, the ends need to be cut into a triangle or diagonally.
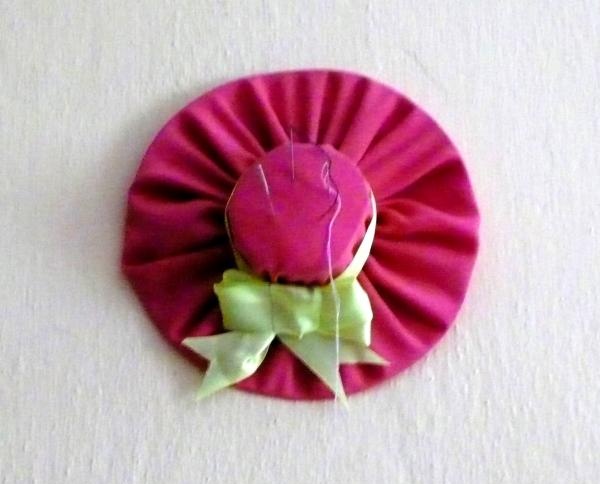
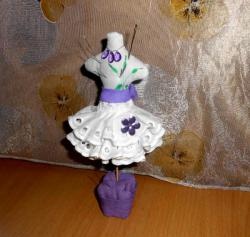
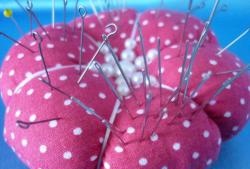
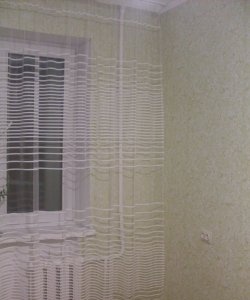
Look: here the hat is lying on the table, and here it is hanging on the wall. Now the needles will not get lost and your room will be decorated with a flirty hat. I only spent half an hour making it.