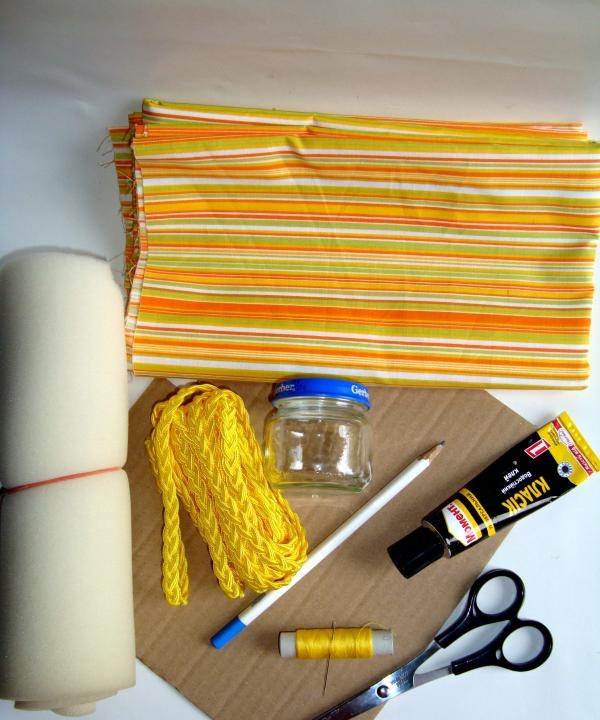
For work we will need:
• textile
• small jar
• cardboard
• foam rubber
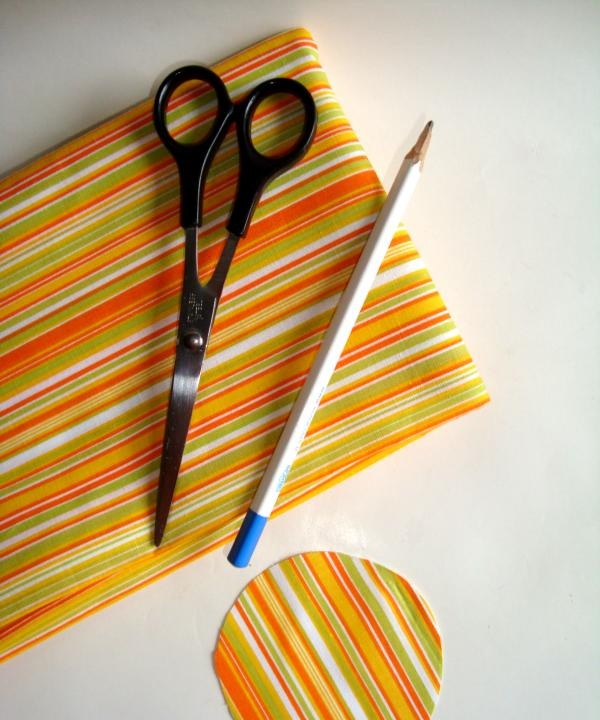
• scissors
• glue
• pencil
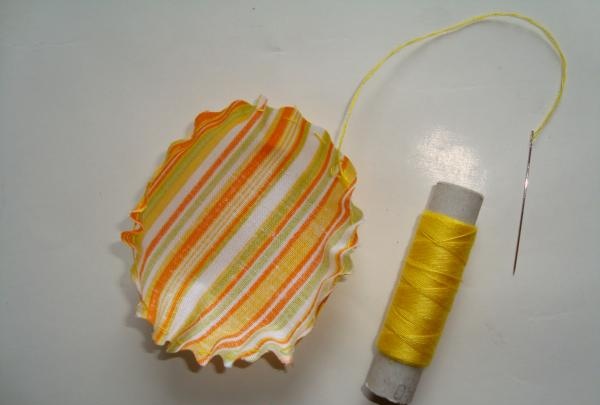
• threads
• needle
• ribbons for decoration
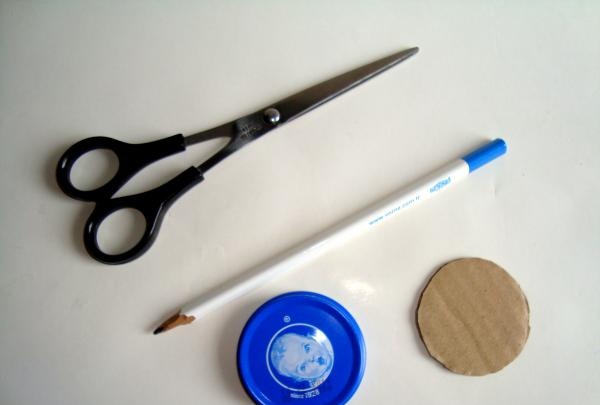
Cut out a circle from cardboard equal in size to the top surface of your lid. I have a lid with a diameter of 5 cm.
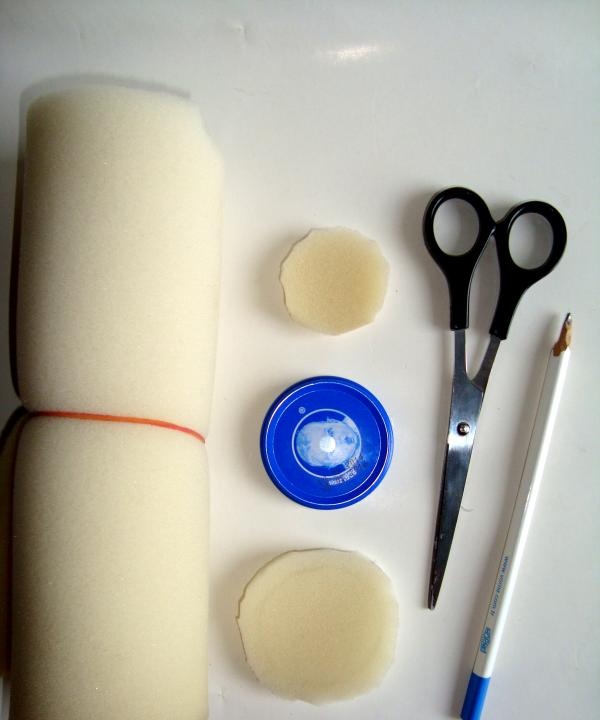
I will use foam rubber as a filler. If you prefer a different filler, then you can skip the next step. But if you, like me, decided to opt for foam rubber, then you need to cut out 2 circles, one circle is 5 mm smaller than the diameter of the lid, the second is 1-2 cm larger than the diameter of the lid.This is done so that the cap of our needle bed is more voluminous and soft.
Take the fabric. You can take absolutely any fabric you can find at home. Cut out a circle twice as large as the top surface of the lid. For my lid it is 10 cm.
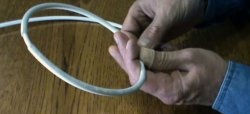
We sew along the edges with regular, simplest stitches.
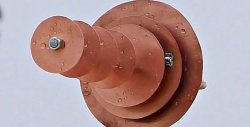
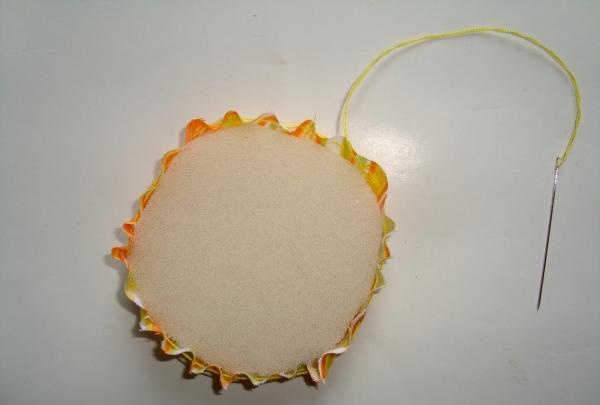
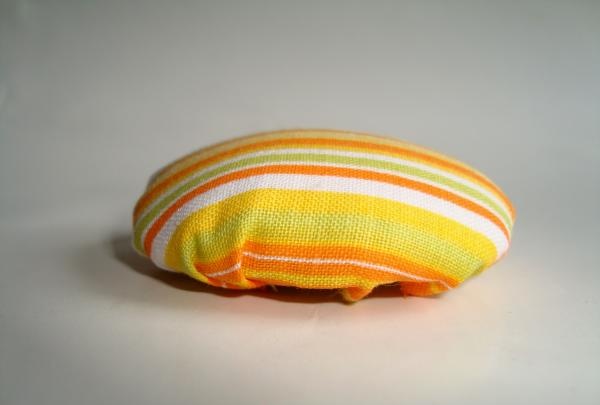
We begin to form the cap of our pincushion. First, place a circle of foam rubber that is larger in size.
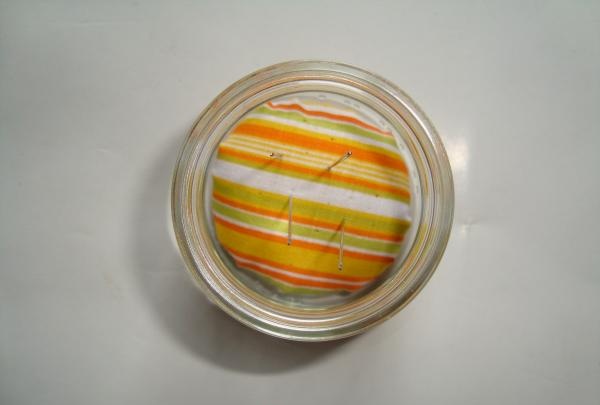
Then we cover the one that is smaller in size with a circle of cardboard. Gently tighten the thread and securely fix it.
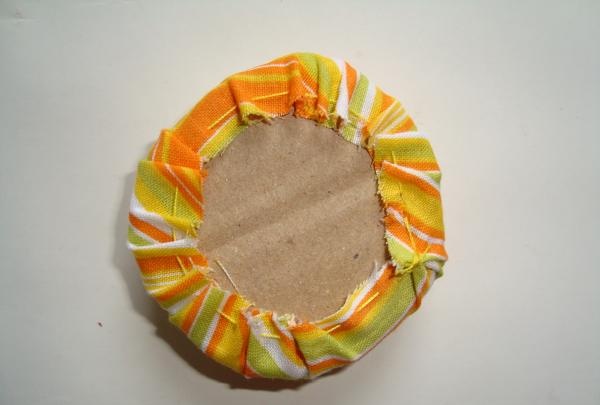
This is such a funny hat.
Glue it to the lid. I use instant glue, you can use the glue you trust most.
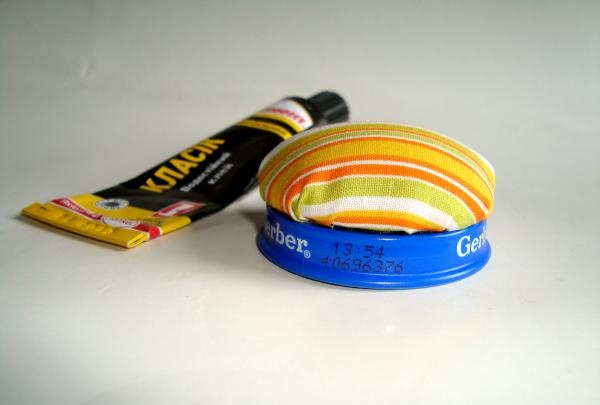
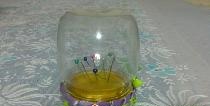
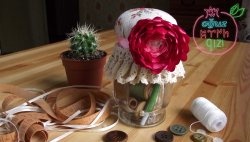
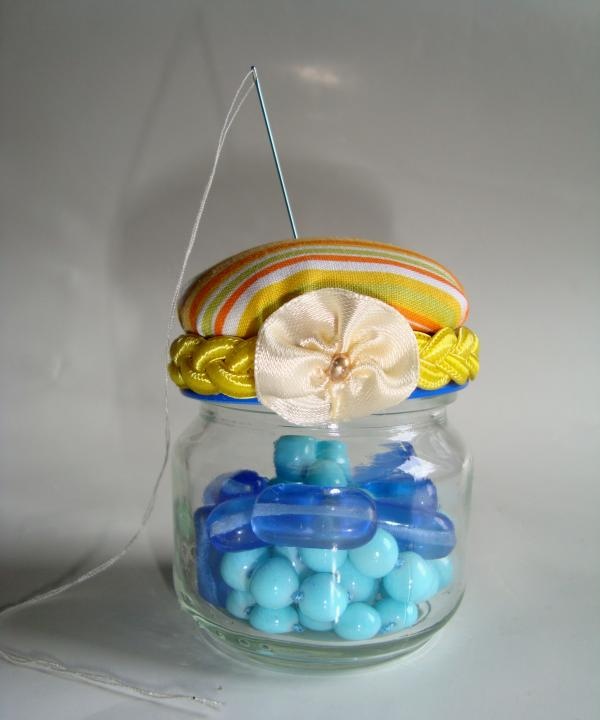
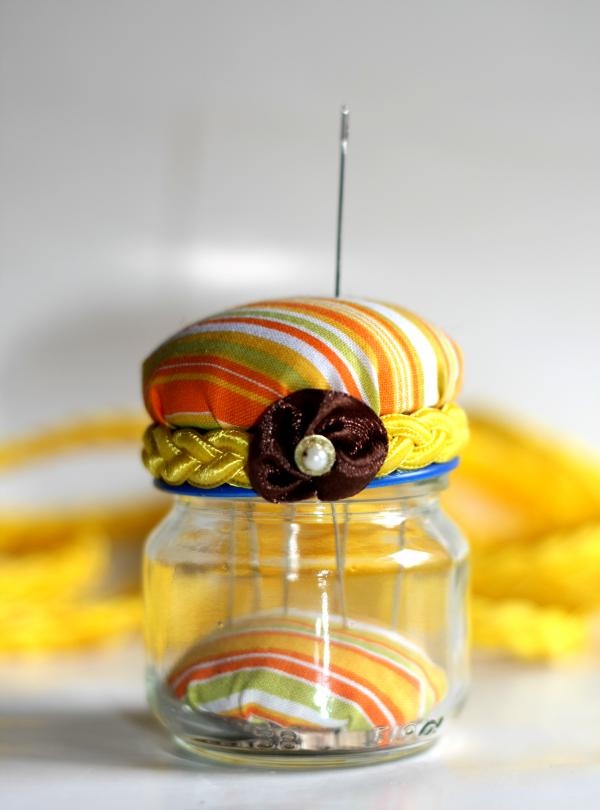
We decorate the jar. By the way, about the jar. I have it from a baby food bottle, 6 cm high, 5 cm in diameter. Honey is often sold in such small jars if you can’t find it in the baby food department.
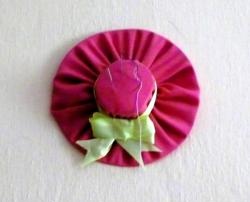
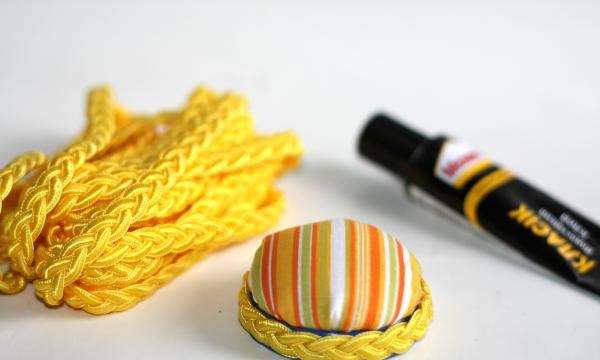
Take decorative tape and cover the lid. You can use beads, lace, satin ribbons - whatever your imagination tells you... or whatever you find at home.
We hide the junction of the ribbon under a bow. Our pincushion is ready!
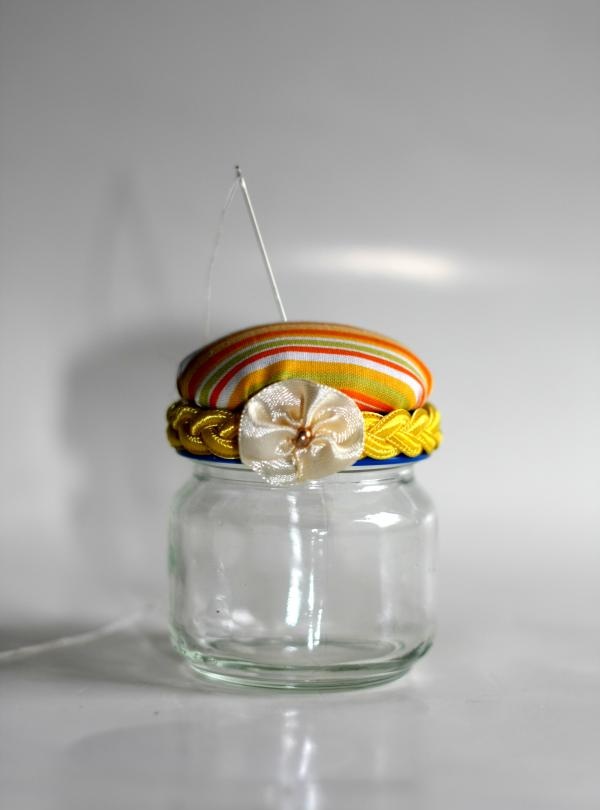
I use the surface of the pincushion for its intended purpose, and store glass beads inside.
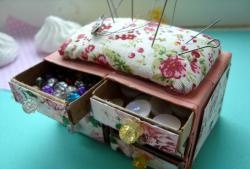
Because Since I am passionate about embroidery, I prefer to store my embroidery needles separately from regular needles. For this I have another pincushion.
It is made exactly the same as the first one. The only difference is that inside I placed exactly the same cap that we glued to the lid. This way my embroidery needles are always in a safe place and don't get mixed up with others.
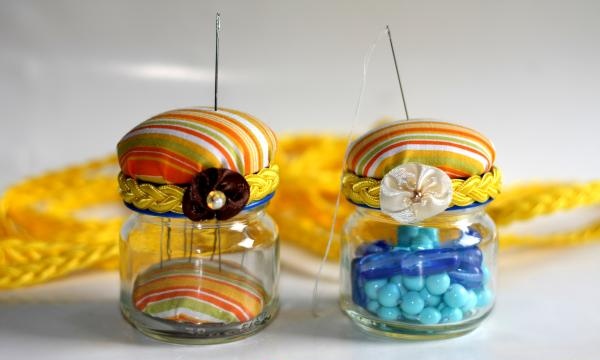
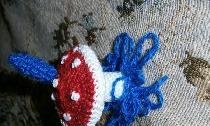
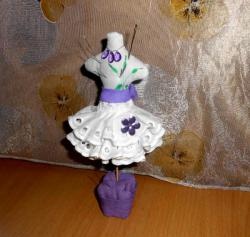
We got such cute little things. You can also make such a pincushion in present to my handicraft friend.Rest assured, any needlewoman will be happy!