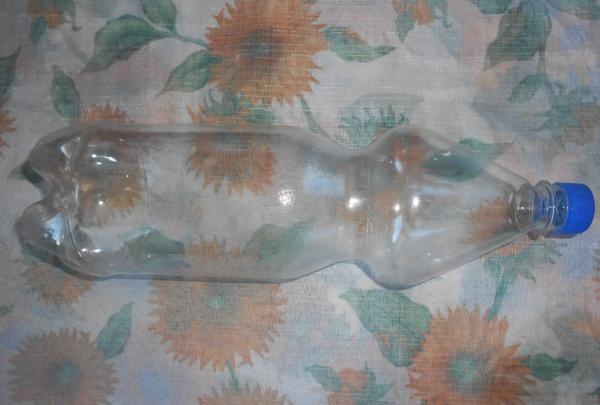
We will need:
- Bottle (plastic).
- Scissors.
- Fabric in two colors (brown, green).
- Needle.
- Threads to match the color of the fabric.
- Stapler.
- Glue.
- Disposable red tablecloth.
- Beads.
- Sisal.
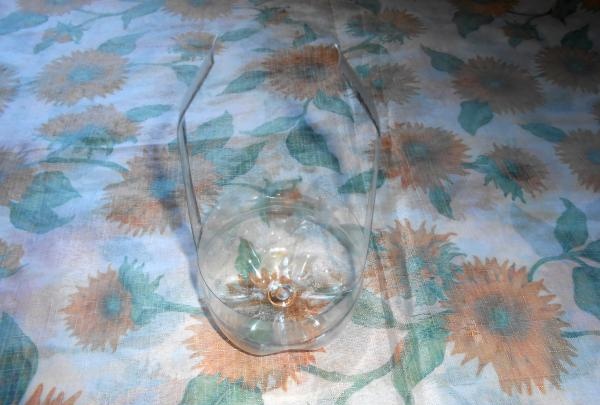
Let's take a bottle and cut out a blank for the future basket, 7 centimeters high. Don’t forget to leave blanks for the handle, 1.5 centimeters wide, opposite each other at the edges. For convenience, you can mark the cutting lines with a marker.
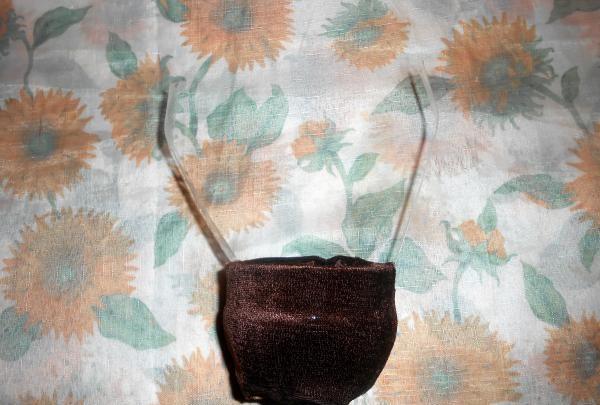
Now we need fabric. You can take the material in absolutely any color, I took brown. We will cover the base for the basket inside and outside with fabric. We don't touch the handles yet.
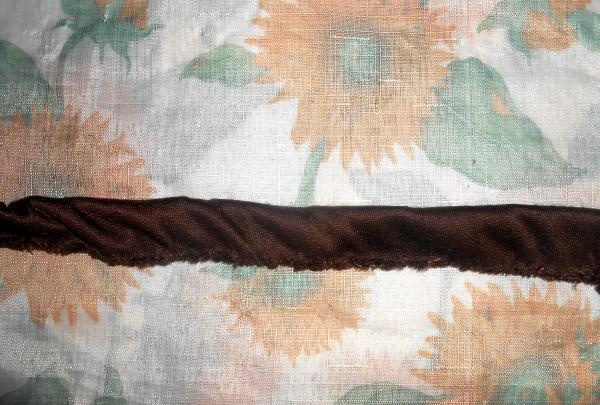
Again, take the brown material and cut 2 strips from it, 6 centimeters wide and 40 centimeters long. We fold each strip in half, right side inward, and sew it together. After the strip, turn it inside out.
We put the strip on one pen blank, exposing the tip of the pen. We will get a kind of “accordion” made of fabric.

We do the same with the second strip.
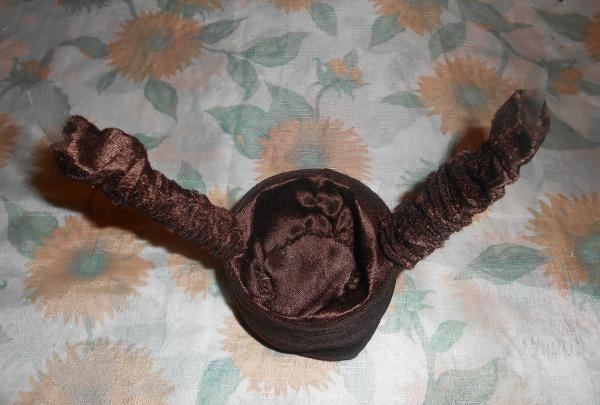
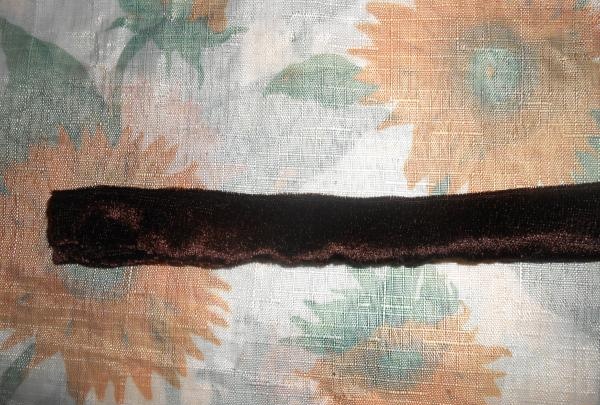
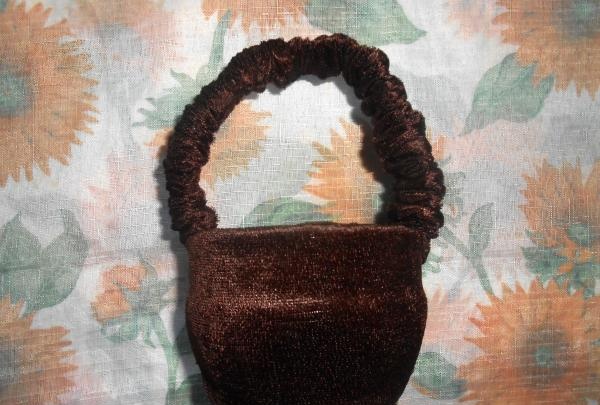
We fasten the handles with a stapler, sew 2 strips of fabric together and straighten the material evenly along the entire length of the handle.
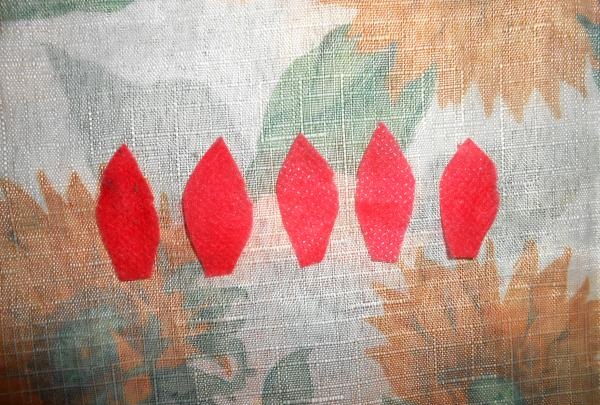
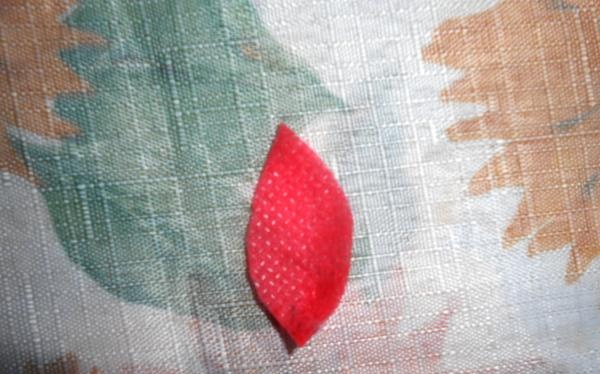
Now take a red disposable tablecloth. This tablecloth is thin and in order to prevent the fabric from showing through, we will cut a strip 2 centimeters wide from it, coat it with glue and fold it in half. Only after this we will cut out flower petals from it. Each flower will need 5 petals.
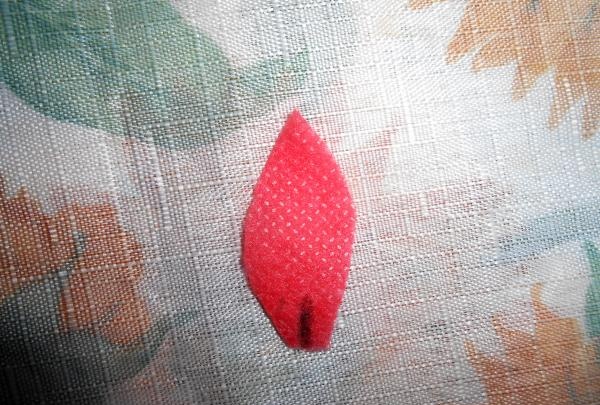
Make a small cut on each petal. In the photo I marked this cut with a marker. We glue the edges with glue. This way we will add a little volume to the petals.
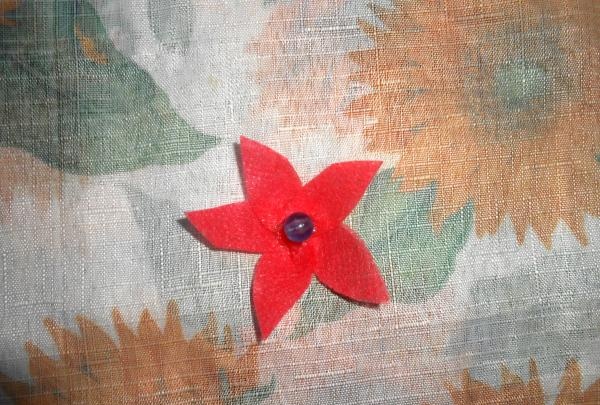
Glue the petals together to form a flower shape.

Glue a bead into the center of the flower.
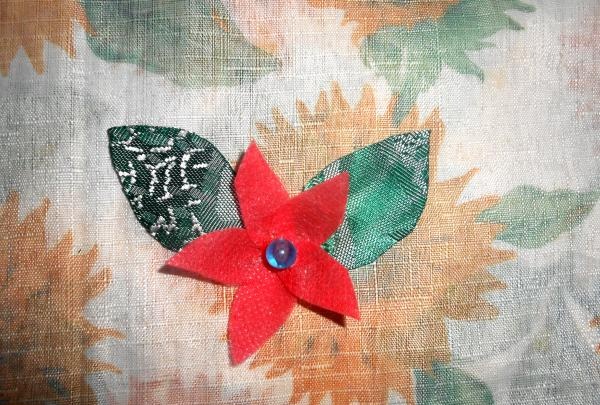
Cut out leaves from green fabric and glue them to the flower. Immediately make the required number of colors, not forgetting that their number should not be even. I made 11 flowers and each of them has 2 or 3 leaves. It will be good if all the flowers are different sizes.
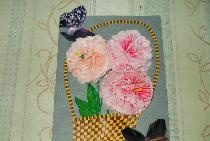
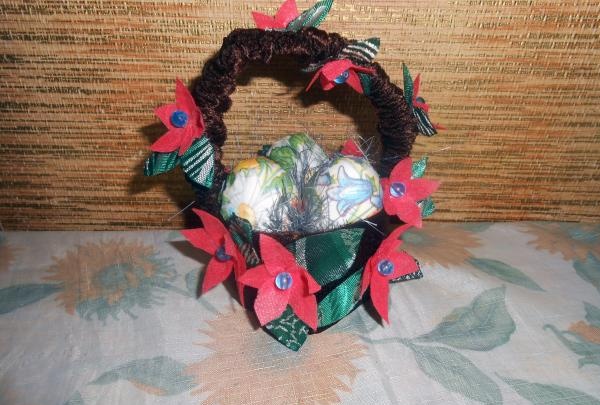
We glue our flowers to the basket.
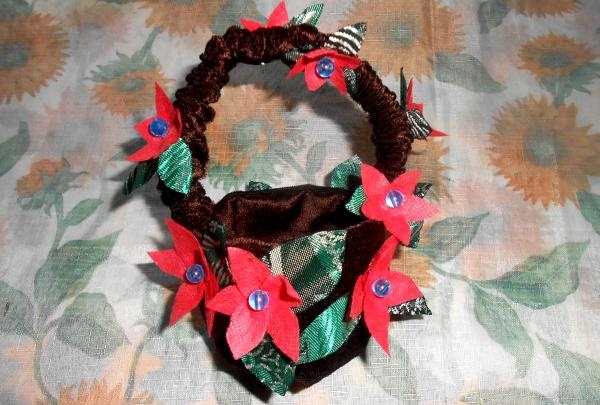
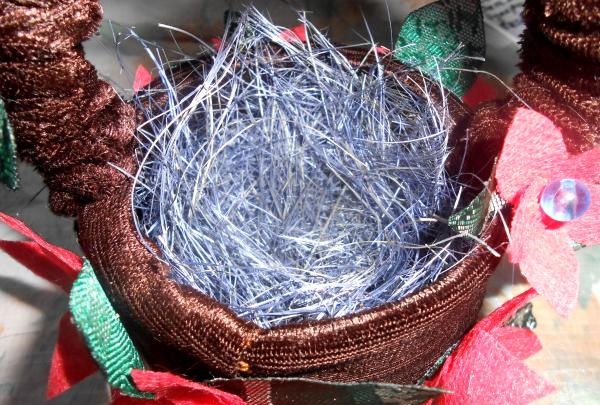
We put sisal inside the basket.
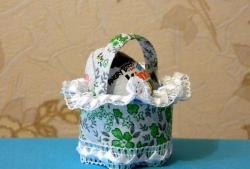
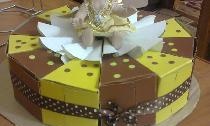
The basket is ready. On Easter we'll put colored eggs in it and we'll be able to go visit.
Goodbye.