For work I needed the following materials:
- Old book;
- corrugated cardboard;
- toilet paper;
- cardboard;
- belt with buckle;
- lace;
- satin ribbon;
- PVA glue;
- silicone glue;
- gouache;
- pearlescent paints;
- magnet;
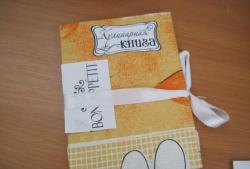
You will also need brushes, scissors, a stationery knife, a ruler, a kitchen sponge, and an awl. The first step is to disassemble the old book, that is, separate the cover from the pages.It is advisable to do this as carefully as possible so as not to damage the binding.

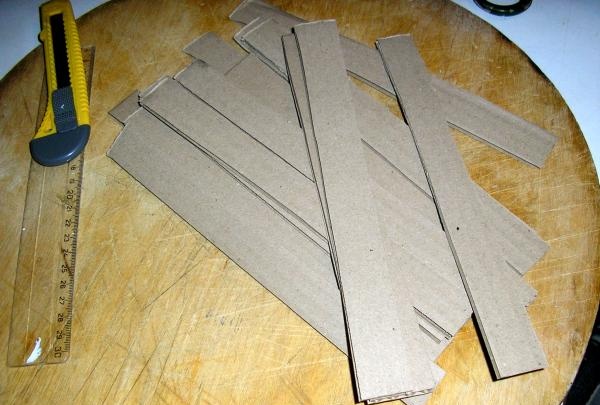
Now let's get to work on the corrugated cardboard, using a stationery knife we cut the cardboard into strips 1.5 -2 cm wide.
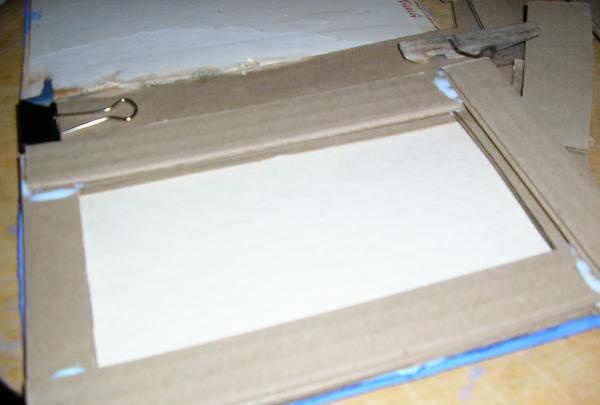
On one side of our cover, which will serve as the bottom of the future box, we glue two strips of cardboard on opposite sides. Let's grab it. On top, we also glue the next two strips on opposite sides. I make the sides as high as the binding.
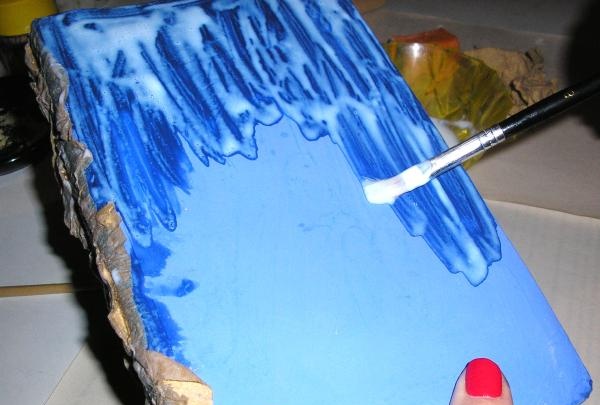
Cover the front side of the cover with gouache and let it dry. After drying, generously coat with PVA glue.
We take toilet paper.
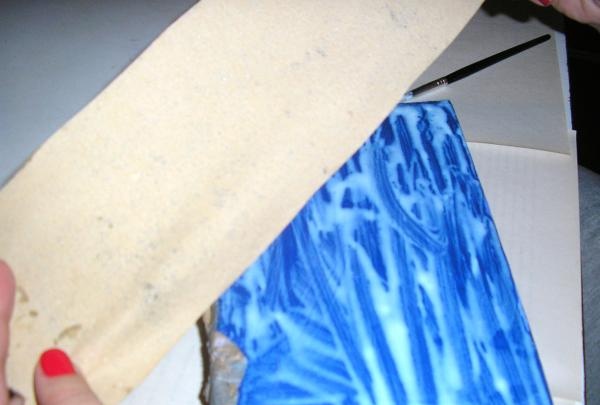
Knead well and crumple into a ball.
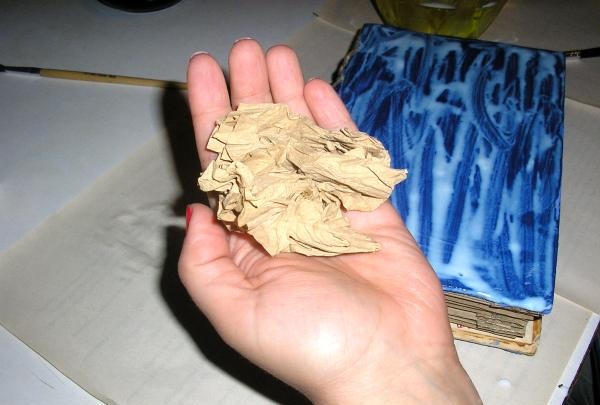
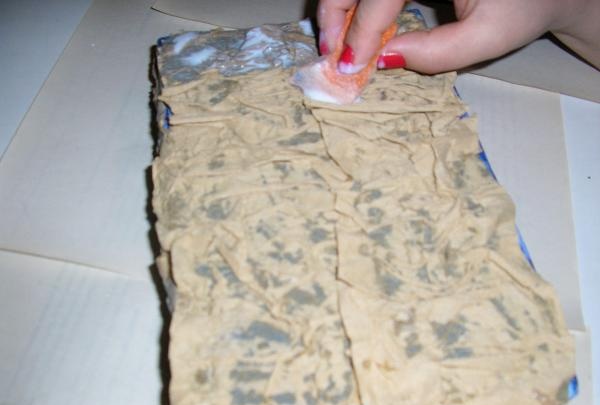
Then we unfold the ball and get crumpled paper, glue it to the front side of our future box, leaving wrinkles and folds.
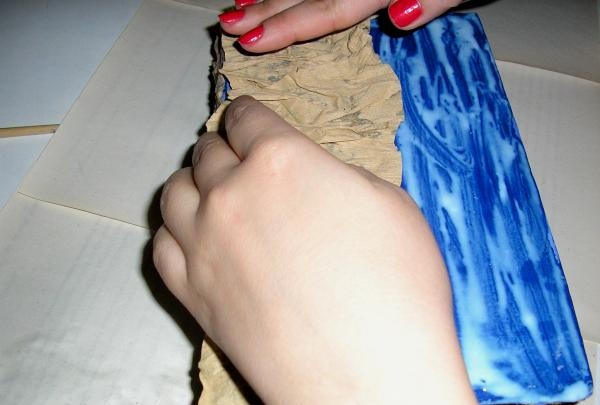
Using a kitchen sponge, we saturate our wrinkles with PVA glue on top and set them aside to dry.
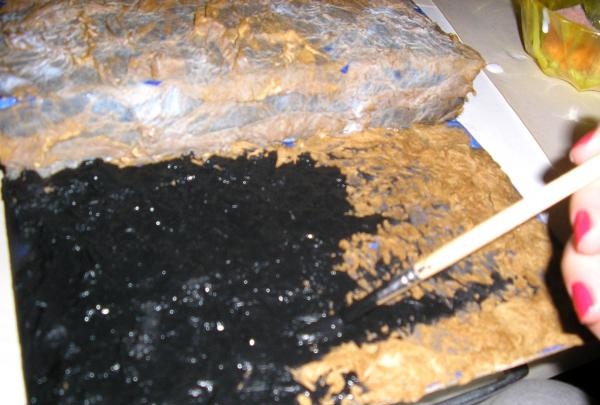
After drying, we carefully cover the cover with black gouache, without gaps. Every wrinkle and fold must be painted over.
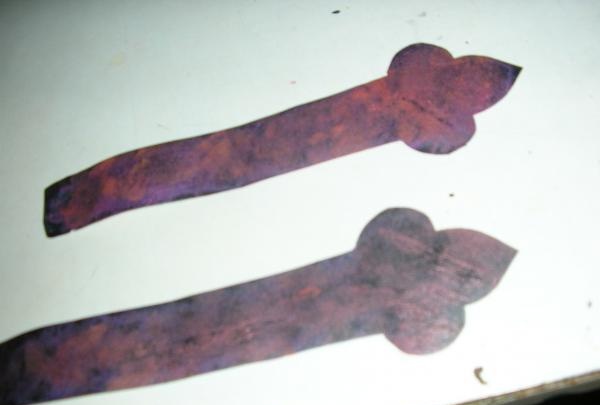
We send our product out to dry again, and in the meantime let’s work on the decorative elements of our box. We cut out holders from ordinary cardboard and paint them with brown and orange gouache, creating a rust effect.
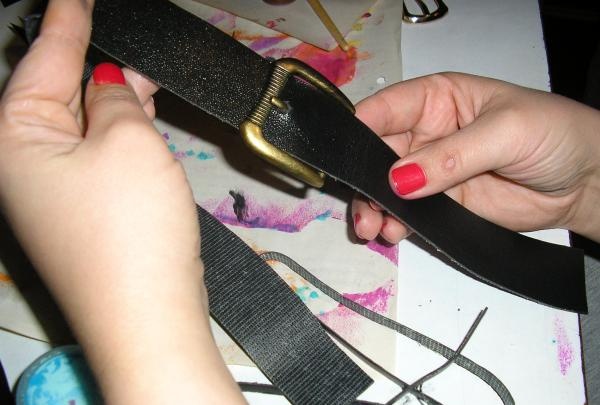
We cut the belt according to the volume of the book and approximately in the middle (if desired) pierce a hole and insert a buckle.
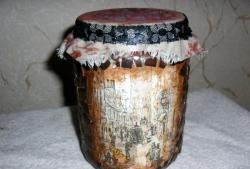
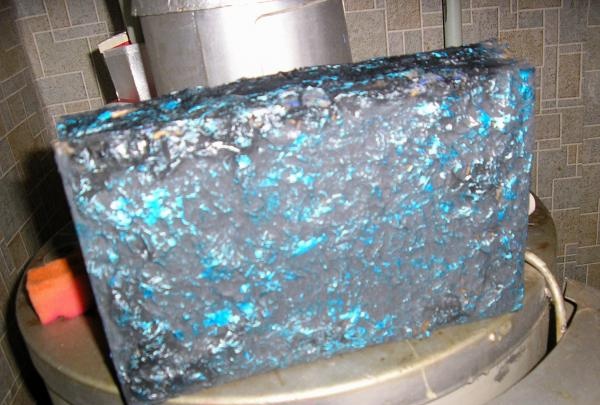
While we were working on the finishing elements, the cover was dry and ready for further work. The surface is covered with pearlescent paints without pressing. That is, only the tops of wrinkles and folds are painted.
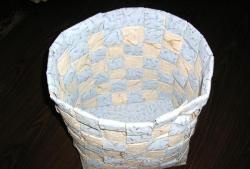
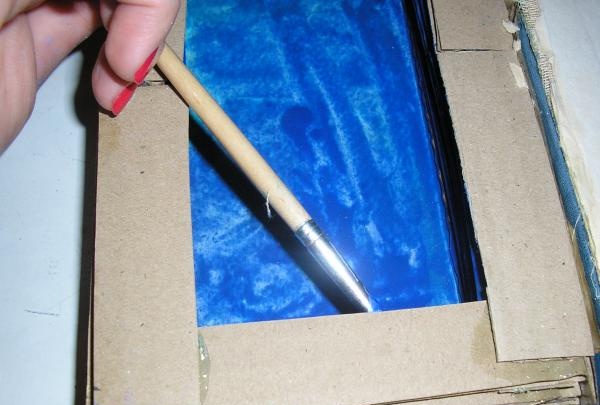
Let's dry it. Now let's move on to the interior decoration. First, let's paint the base. I used blue gouache.
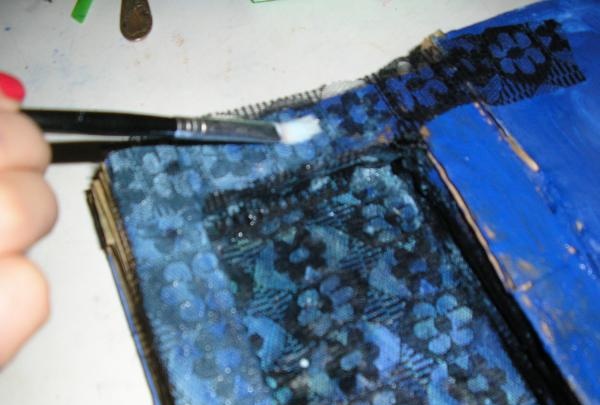
After drying, place the lace on the base and coat it generously with PVA glue.This is necessary not only to glue the lace to the base, but also to strengthen the entire structure of the box.
We cover the outer sides of the sides with satin ribbon. This is what we get.
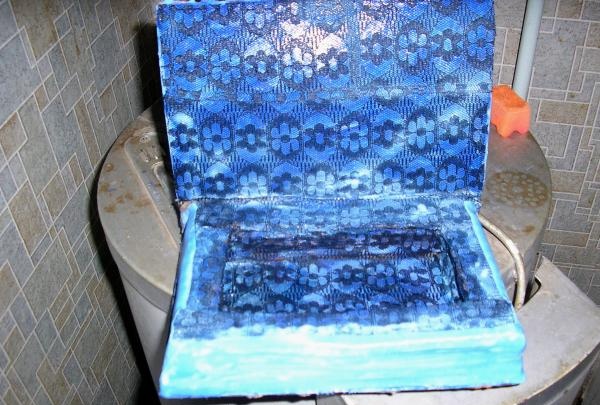
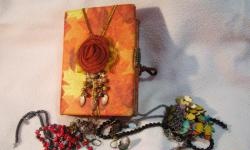
The last step will be decorating the lid with the prepared elements and gluing the magnet. And voila!
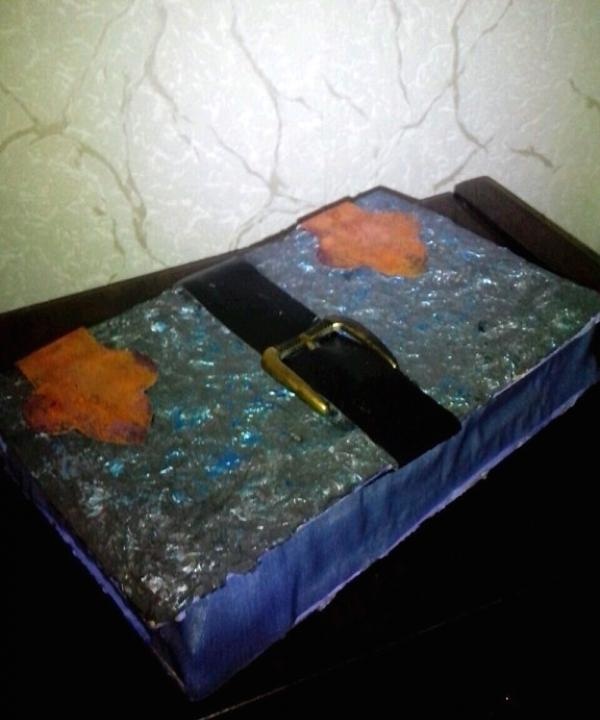
Imagine, create and surprise yourself and others. Good luck!