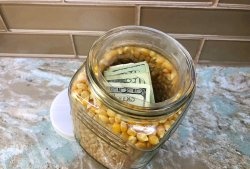
I, probably like each of you, have a lot of jars in my kitchen: for spices and cereals, pasta and flour, etc. And that’s okay, but they are too different in size and color, I, as a creative person, categorically did not like it. And I decided to change everyday, practical things into elegant jewelry that pleases my own eyes and brings my guests to complete delight. There is nothing complicated or costly about decorating jars; whatever is at hand will be used. And the way I did it!
Materials:
- Jar,
- PVA glue,
- mother-of-pearl paints (borrowed from my daughter’s doll makeup kit),
- egg shells,
- gouache,
- acrylic lacquer,
- burlap,
- lace.
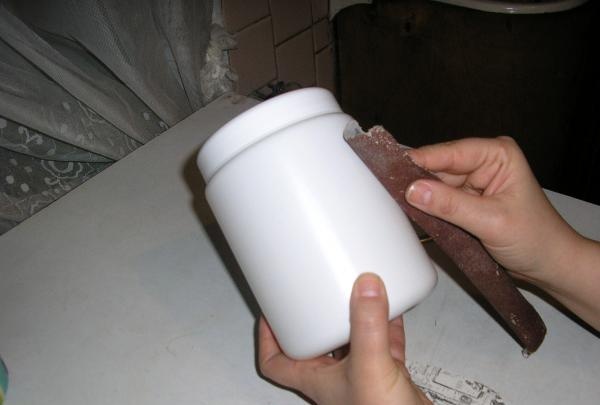
First, you need to thoroughly wash and dry the jar. Then go over with sandpaper and degrease with alcohol.
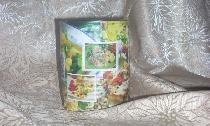
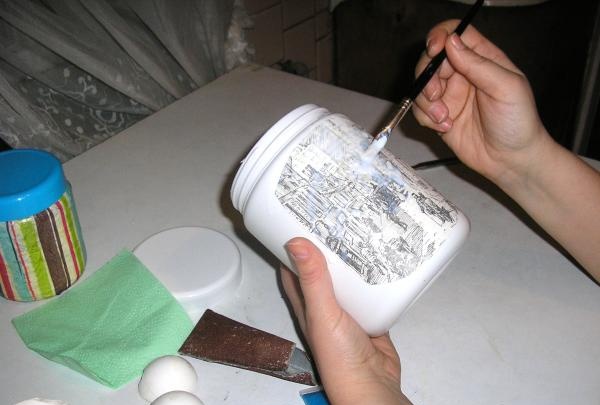
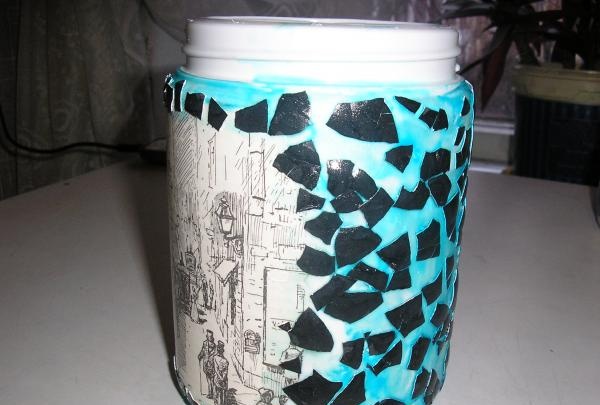
We select a picture: you can print it on a printer, or cut it out of a decorative napkin; I had a page from a book. Next we proceed to gluing the picture using the “decoupage" If you have not heard this word, which is incomprehensible at first glance, do not be alarmed, because this technique can be used even by small children. First you need to cover the surface (the size of a picture) with soil. In any master class you will see that you need to use acrylic paints, but we are creating a budget option, so I used gouache. After painting, let it dry. And then it’s even simpler - we apply our drawing and thoroughly, from the heart, coat it with glue on top.
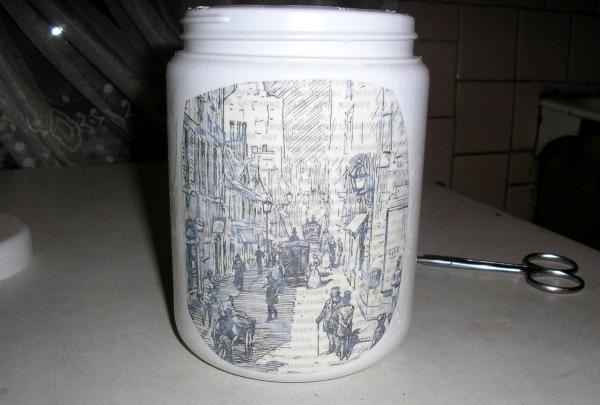
Here's what happened:
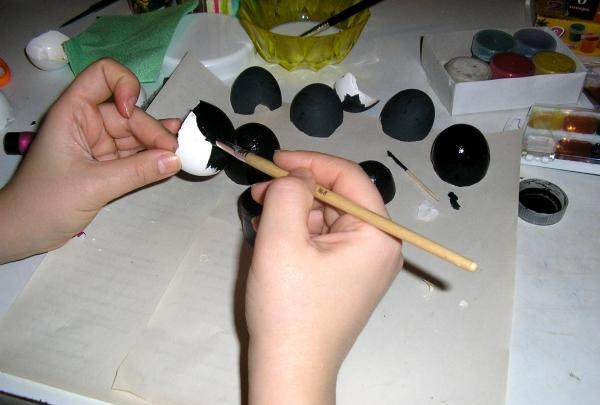
We put our jar to dry, and in the meantime we prepare the eggshells (dried). We paint it black and also send it to dry.
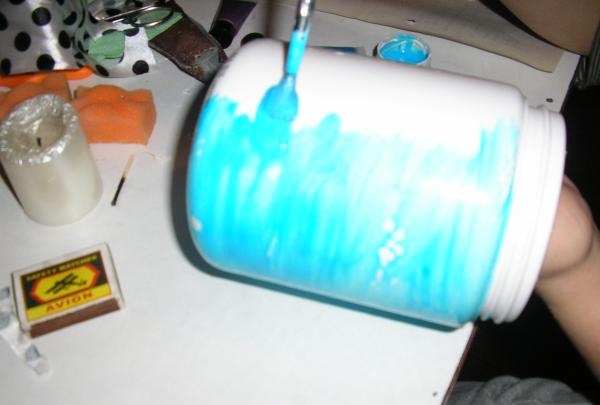
While we were painting the eggs, our jar had time to dry and we took it up again. We paint our entire jar with pearlescent paints (except for the drawing) and let it dry.
Cover the surface with PVA glue and glue broken eggshells.
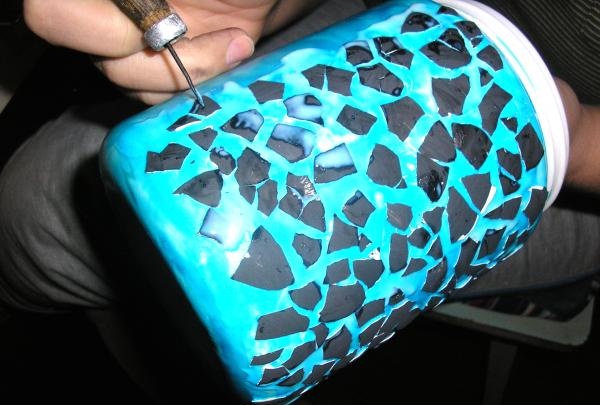
This is the semi-finished product we get:
Next, pour PVA glue, add pearlescent and brown paints to it, mix well.
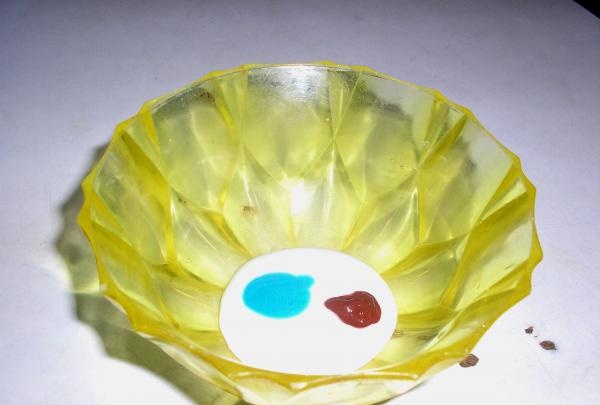
And using a kitchen sponge, apply it to the entire surface of the jar (including the design).
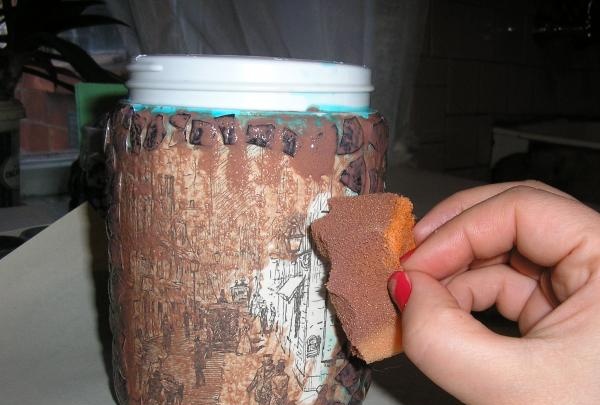
We remove excess paint with a dry sponge, and use a brush with yellow paint to go over the drawing with chaotic strokes.
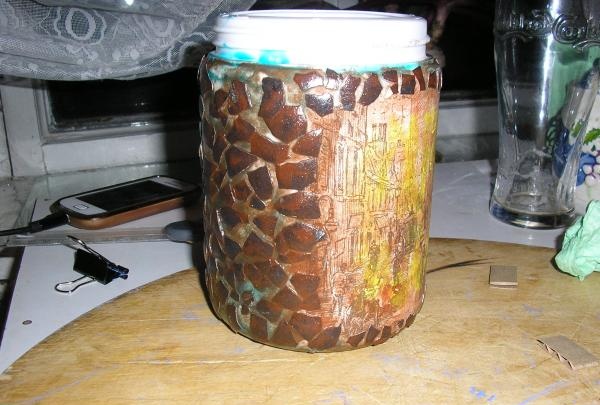
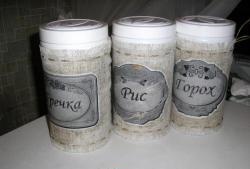
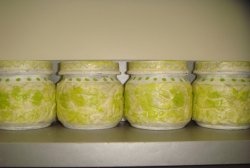
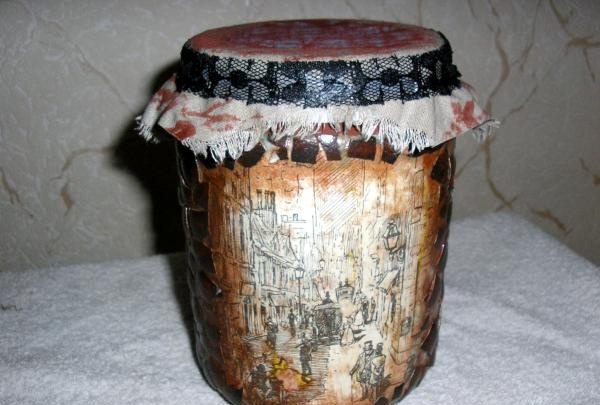
After the painting has dried, use “zero” sandpaper to “age” the painting. Next we decorate the lid with burlap and lace. We put it on a shelf, admire it and show it off to our guests.
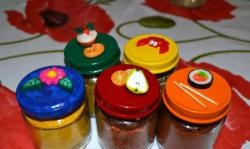
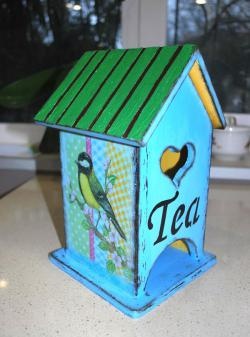
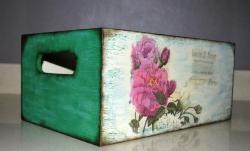
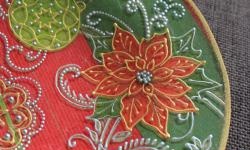
Also, as an option, I made jars like this:
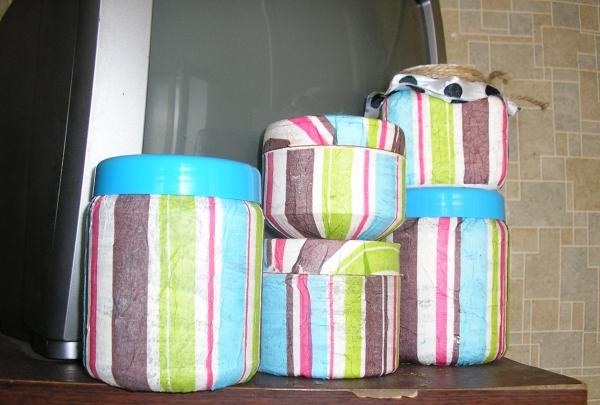
Imagine, create and surprise yourself and others. Good luck!