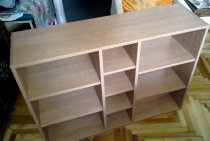
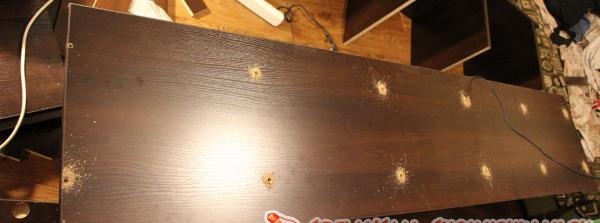
So, the pencil case consists of 11 parts. The table shows their dimensions, the necessary work that needs to be ordered in the cutting and format shop, the dimensions are indicated in millimeters.

To calculate your sizes, use the following algorithm:
1. Determine the parameters of the cabinet - length X width X depth.
2.The dimensions of the side walls are length X depth.
3. Shelves – depth X (width - 2*chipboard thickness). In our case, the chipboard thickness is 16 mm.
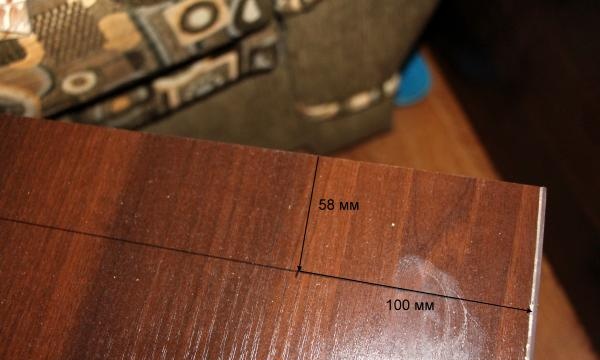
4. Lower façade - usually 50-70 mm high, as wide as shelves.
5. Rear wall and door – (length - front height - 5 mm) X (width - 5 mm).
Also, do not forget to order 3 round holes in the door, with a diameter equal to the hinge (for example, 40 mm), located 100 mm from the top and bottom edges, the third hole exactly in the middle. The edge varies in thickness from 0.6 to 2 mm and material: paper and plastic. The best option is a 1 mm plastic edge.
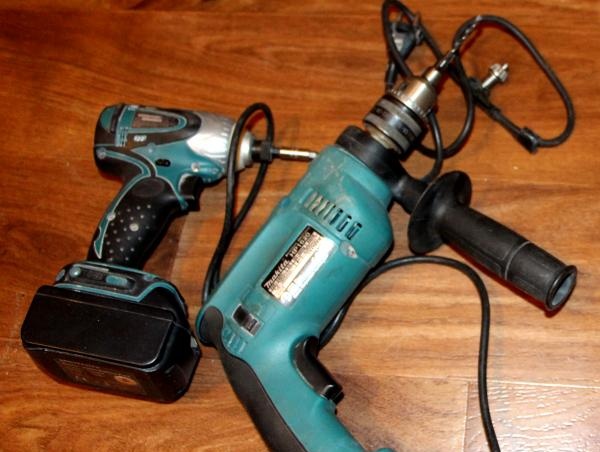
Required tools and materials:
- a drill with a confermate drill, aligned along the length of the confermate (in this case, 45 mm);
- screwdriver with hexagon or manual hexagon;
- conferments and decorative plugs for them;
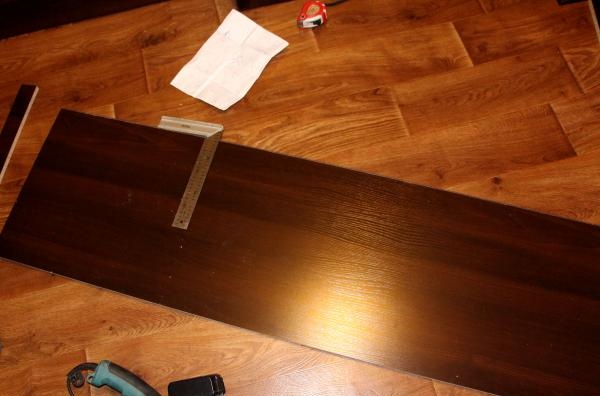
- square, tape measure and pencil.
All parts and tools are ready, let's start assembling.
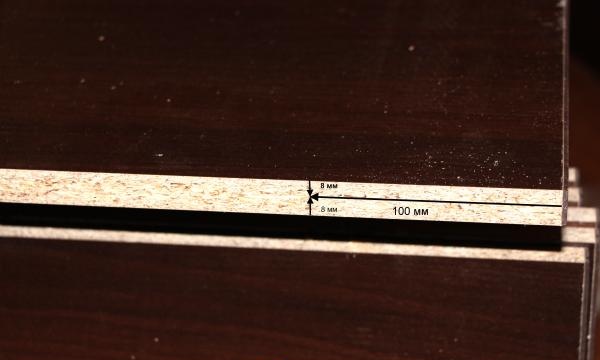
Step 1. On the side walls from the bottom we measure 58 mm (50 mm facade + 8 mm half the thickness of the chipboard, called the hole along the axes). Draw a line with a pencil, measure 100 mm from each edge on it - this is the place where the bottom shelf is screwed. Marks points for the facade: 25 mm from the bottom and 8 mm from the edge.
Step 2. Measure 8 mm from the top of the side wall, draw a line and put 100 mm on the sides to make the holes symmetrical - this is the top wall of the cabinet.
The distance is measured between the lines in steps 1 and 2 - in our case it is 2134 mm. In addition to the top and bottom, there are 4 shelves left, therefore, 2134 / 5 = 427 mm. We draw lines every 427 mm, and also set aside 100 mm from the edges to make the holes symmetrical.
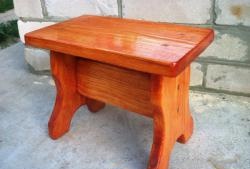
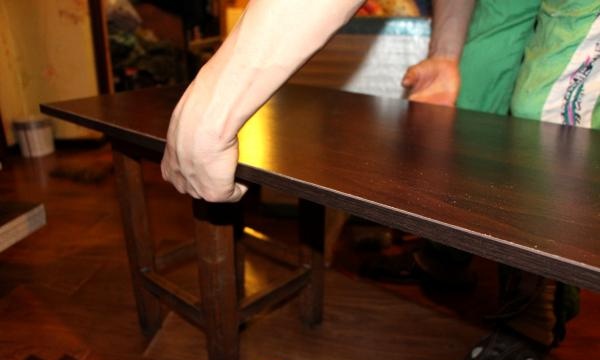
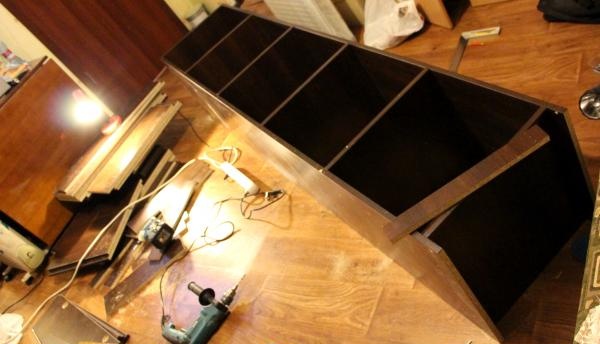
Step 3.We place the side shelves on 2 stools (carefully so as not to damage the stool) and drill holes at the prepared marked points.
Step 4. Next, measure 100 mm at the ends of the shelves and 8 mm along the axes. We make holes at the designated points in all shelves.
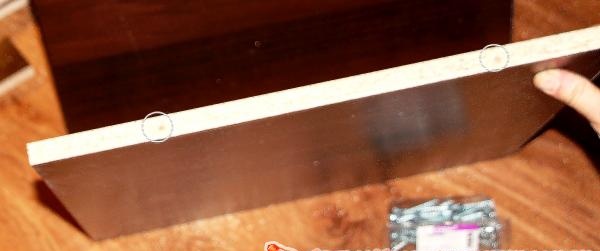
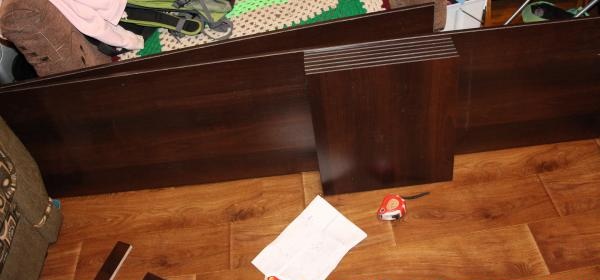
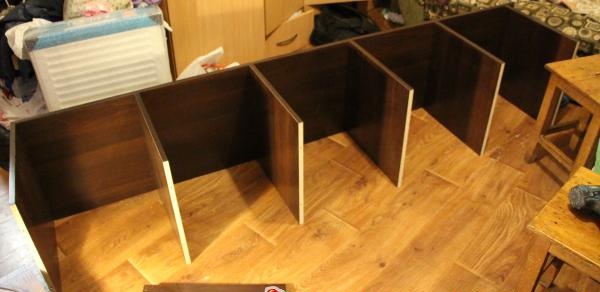
Step 5. We assemble the shelves, screw them to the side walls: first to one, then put the second wall and connect it to the shelves.
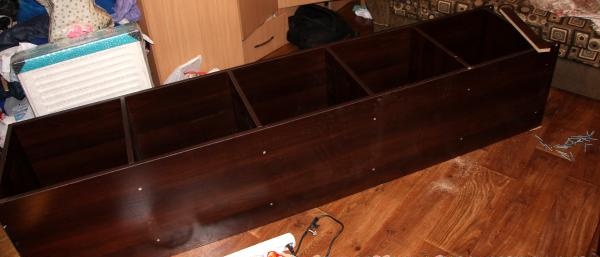
Step 6. On the short sides at the ends of the facade, drill holes at a distance of 25 mm from the bottom and 8 mm from the edge, screw the facade to the side walls of the cabinet.
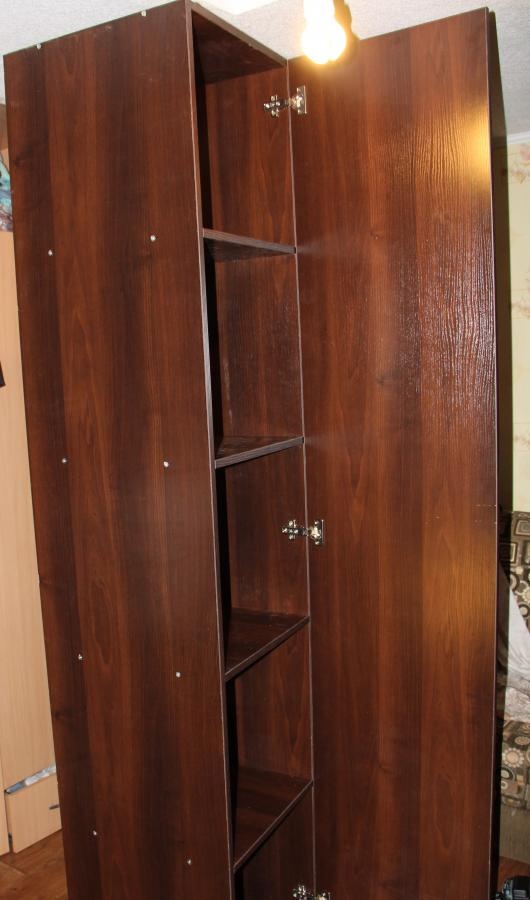
Step 9. Installing the door: hinges are screwed into the ordered holes. Then the door is placed evenly against the cabinet and with an awl (core) marks are made for holes for self-tapping screws through the hinges themselves. You need to screw the door with someone's help. If you make a slight mistake, it’s not a big deal, since the loop itself is adjustable vertically and horizontally.
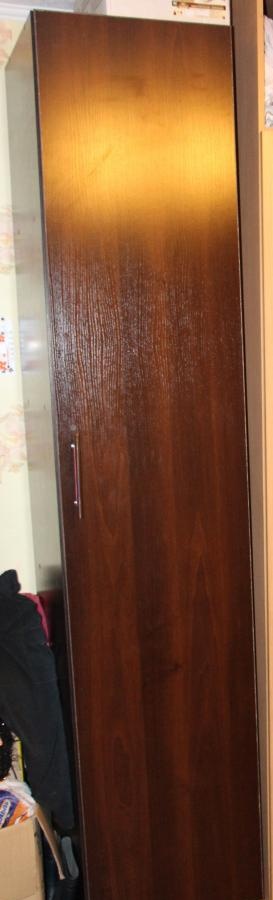
The handle is screwed where it is convenient for you. The back wall is nailed with small shoe nails. If the room has a high baseboard, you can make semicircular recesses at the bottom of the cabinet using a jigsaw so that it fits snugly against the wall. For aesthetics, the confermates are closed with plastic plugs.
Enjoy it for your health!