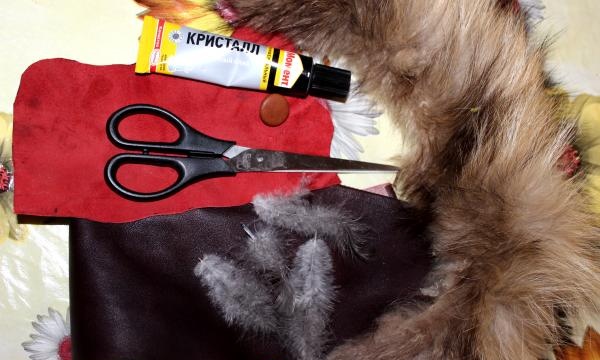
To create a flower - an elastic band made of leather, we will need:
- any thin skin;
- a little natural fur;
- feathers from a duck or any other bird (feathers can be decorative);
- scissors;
- glue moment crystal;
- pen;
- form for the petal;
- rubber.
The next step is to take a piece of leather and a mold for the petal. Trace this shape on the skin as much as will fit on it. On average, we need 40-50 petals for one flower.
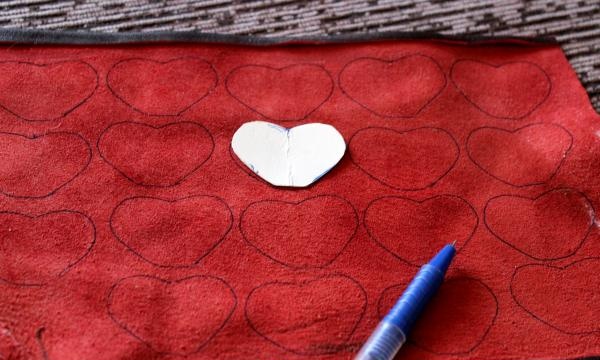
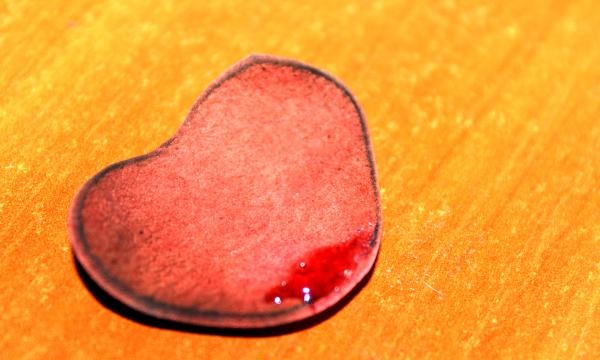
I made the shape in the shape of a heart so that the edges of the flower would not turn out unnaturally smooth.
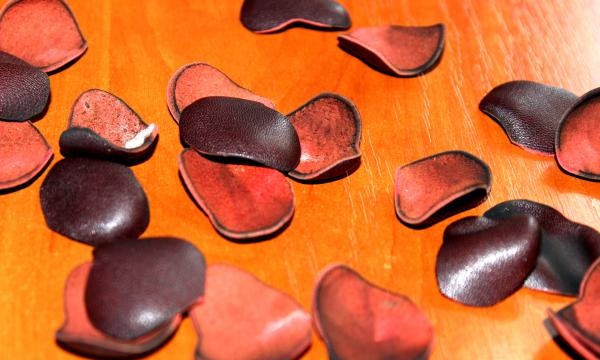
Next, cut out all the petals.

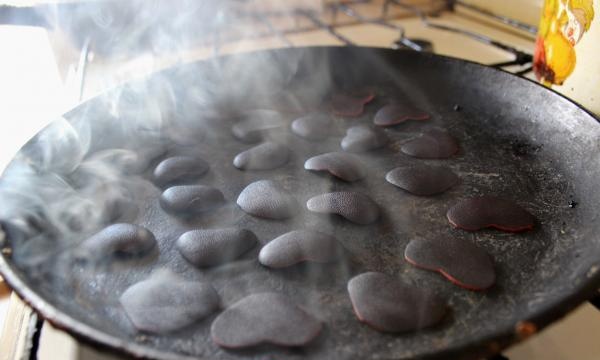
The next step is to burn the edges of the petals; this can be done in three ways.
Method 1: Fry the leaves in a frying pan.
Method 2 – use tweezers and a candle.
Method 3 – use a lighter.
Frying leaves in a frying pan leaves a lot of soot in the apartment.After using them, it is very difficult to air out the apartment in 2 minutes, but black deposits do not form on the skin.
You can very quickly process the edges of the petal with a candle, but soot will then remain on the leaf.
The best way is to use a lighter. It doesn't leave any residue and quickly burns all the ends, but the gas is used up very quickly.
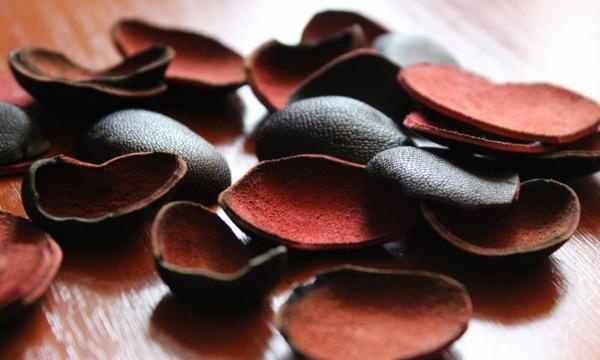
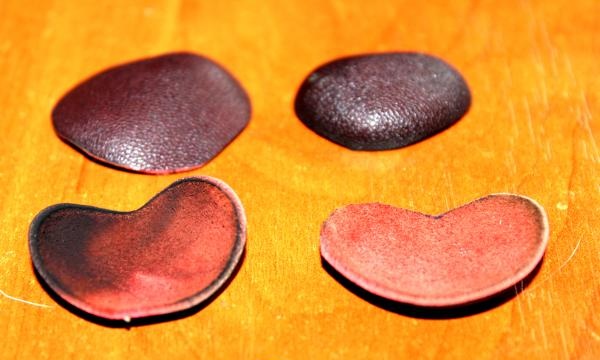
These petals are after the frying pan. If you overexpose them a little, the edges may be severely damaged (as in the photo).
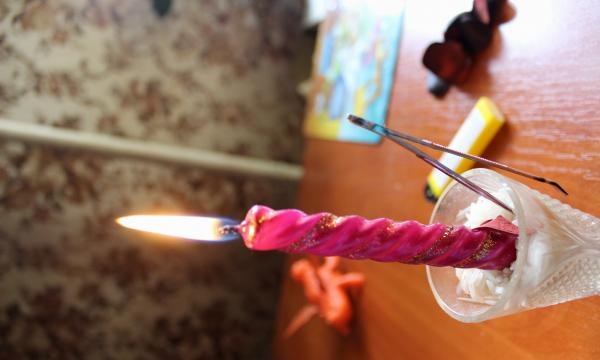
These petals are after the candle.
Here, for comparison, are the petals that were fried in a frying pan and over a candle. As we ourselves saw, a candle was used to process the leaves on the left side; soot from the candle formed on the inside of the leaf, but it will not harm us, since we will be working with the other side.
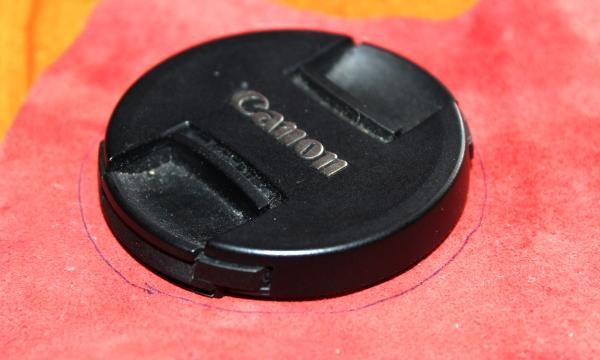
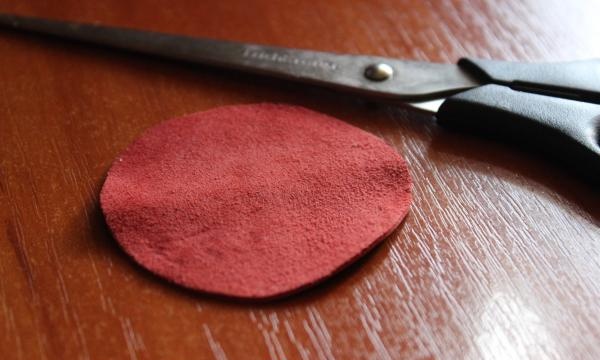
Next, we look for any round shape or, if the eye is not lame, we draw a circle on the skin, which will be the basis for our flower. I took a camera cap, but your shape can be larger or smaller.
Next, cut a circle out of a piece of leather.
The next step is to glue the leaves onto our base. They don’t have to be glued exactly to each other; they can be placed in a chaotic order. There can be 3-5-8 rows, it all depends on how large your petals are and how lush you want the flower.
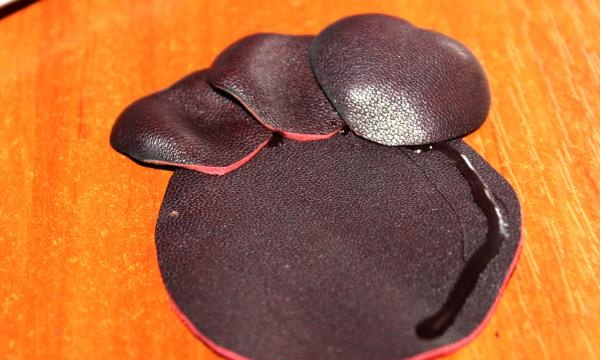
You can apply glue not only to the base of the flower, but also to the petals themselves.

Let's move on to the second row.
Thus, we glue the petals on top of each other with a gap of several millimeters.
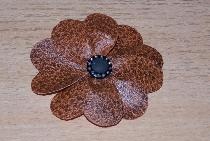
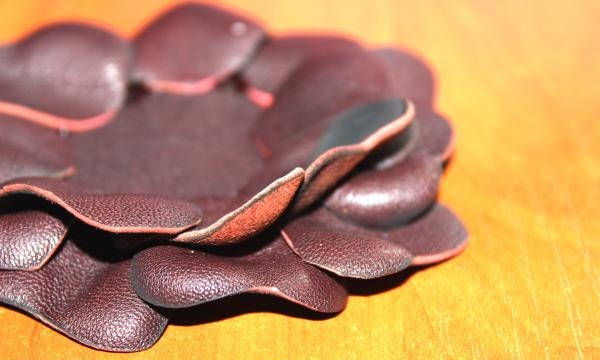
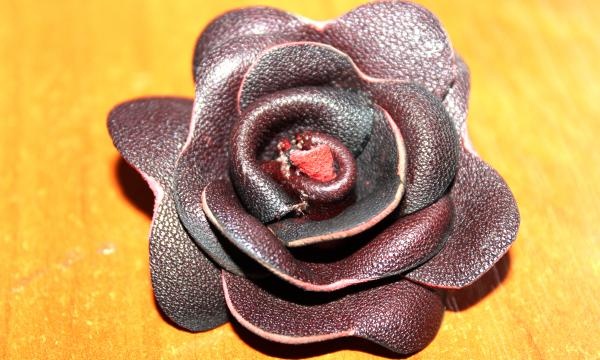
As a result, you should end up with something like this without a core.
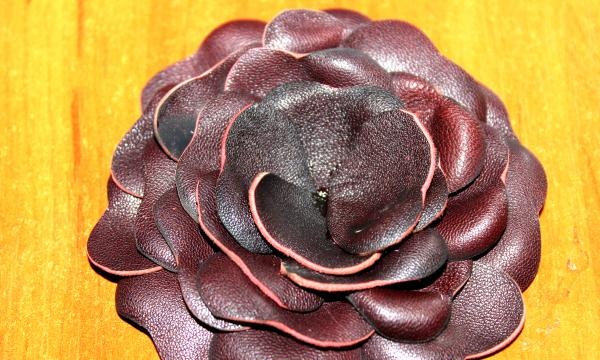
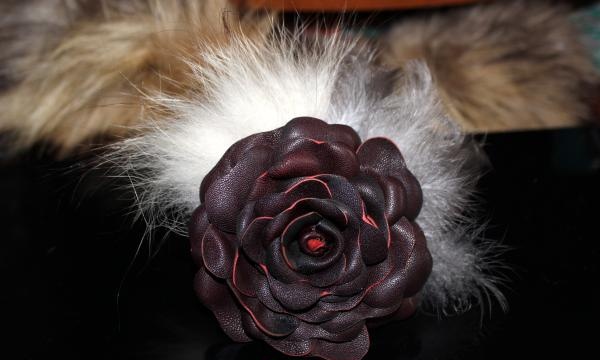
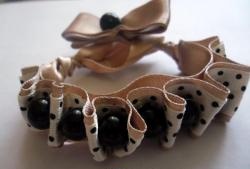
You can pour beads into the center of the flower, decorate it with sparkles or rhinestones, or stick a button on it.I decided to make a flower that would look as much like a blooming rose as possible.
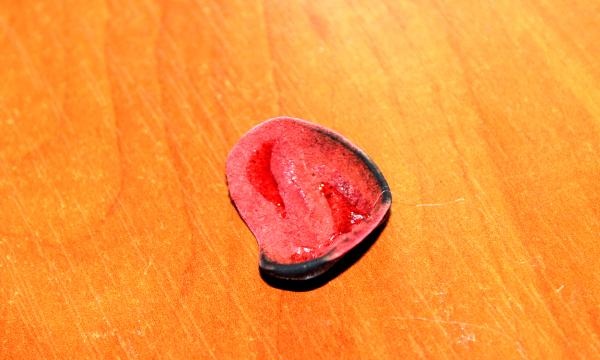
If before this we pasted the base of the flower with petals towards the center and on a flat surface, now we need to do the opposite. To do this, take a regular petal and wind it up, and then fold it in half.
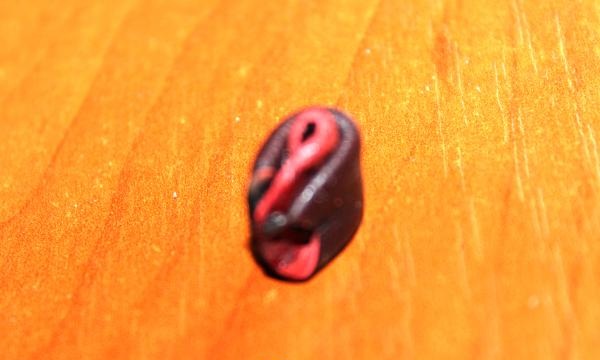
We need to start covering this blank with petals.
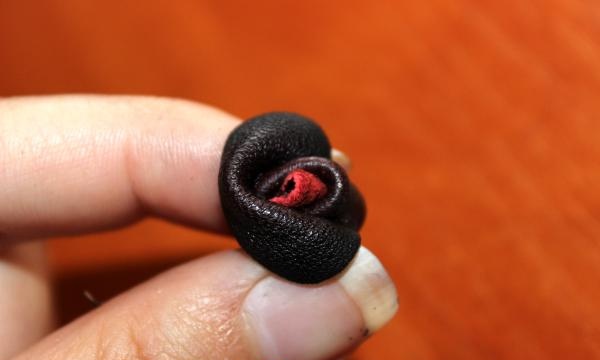
We put one petal on top of the other, and in the end we should get such a voluminous flower.
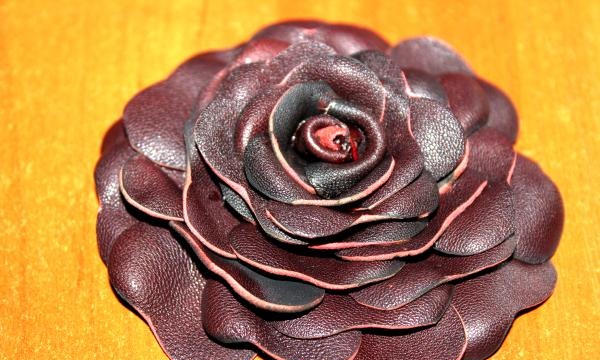
So we have a core that needs to be glued into the center of the workpiece. Coat the cent generously with super glue.
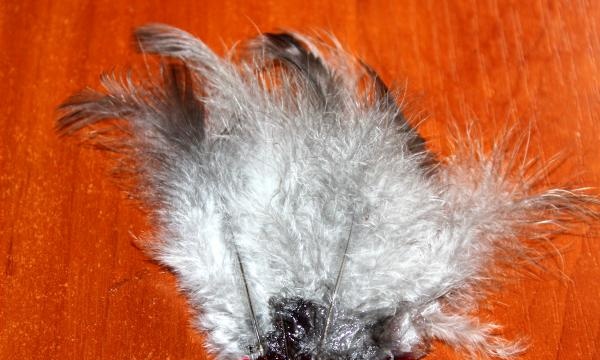
Now it's time to decorate. For this I use feathers and natural weasel fur.
We glue the feathers onto a piece of leather.
In the same way we attach fur to a piece of leather. We glue everything to the back of the flower.
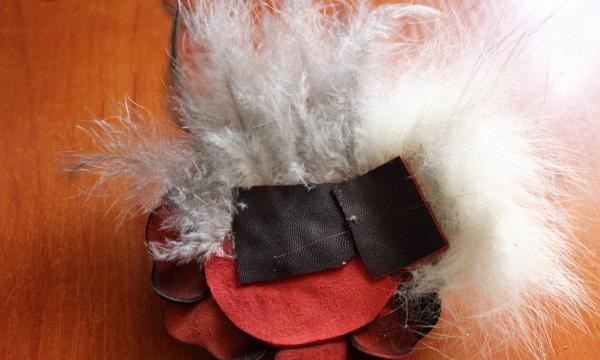
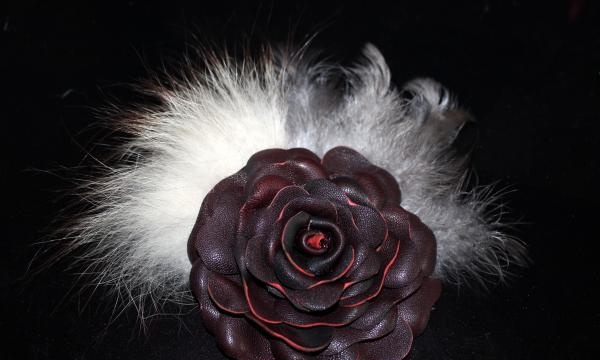
From the outside it all looks like this.
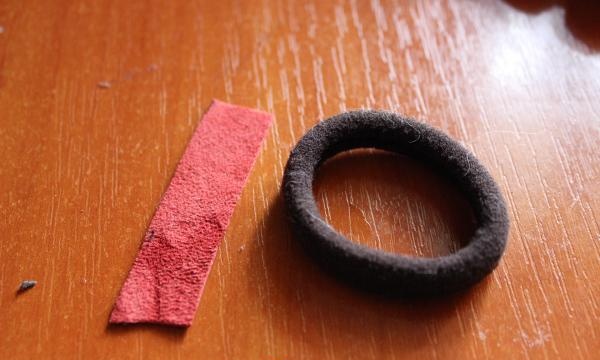
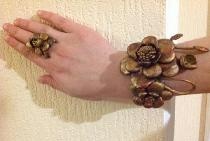
All that remains is to secure the elastic band and the flower is ready. We take a piece of leather, apply glue to it, pass it through an elastic band and attach it to the flower.
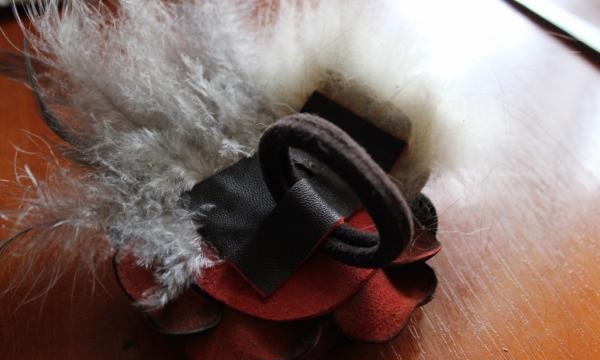
All! Our flower is ready, all that remains is to let it dry from the glue for 20-30 minutes.