To make topiary, you will need:
- red and green organza;
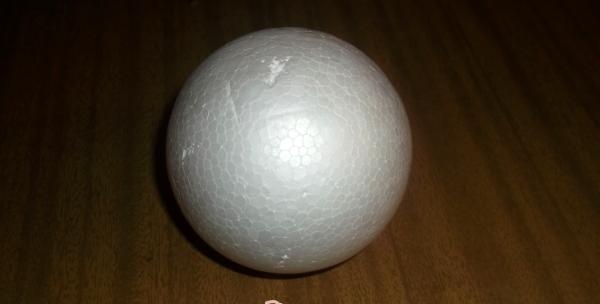
- foam ball;
- thin wire;
- white beads;
- toothpicks:
- stick;
- white tape;
- plaster;
- pot;
- green sisal;
- silicone gun and glue for it;
- scissors.
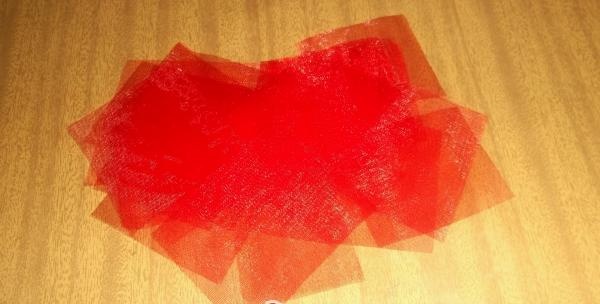
First, you need to cut organza cubes measuring 3x3 cm.
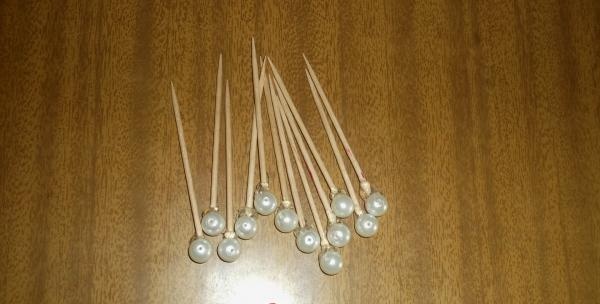
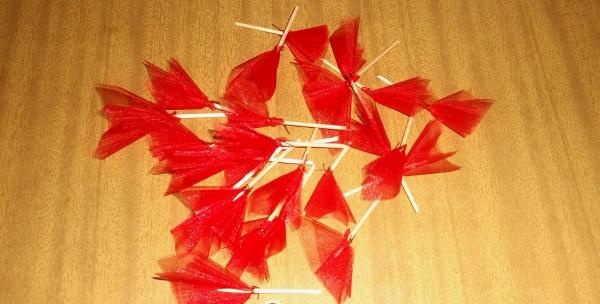
Then attach white beads to the toothpicks using silicone glue.
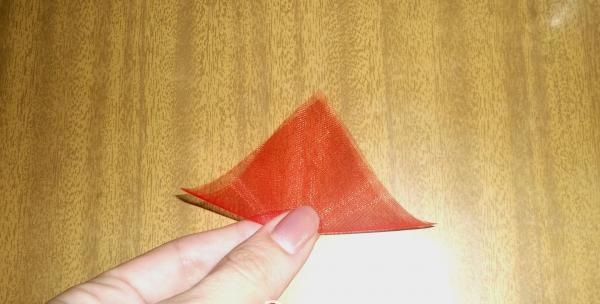
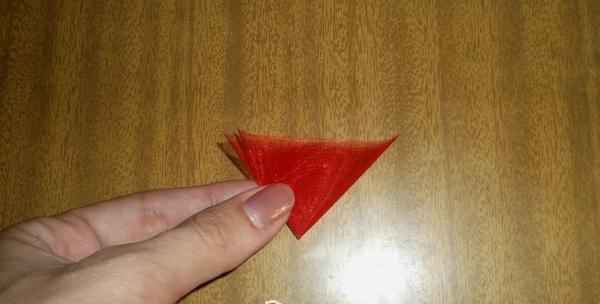
Now you can start making fluffy triangles. To do this, you need to fold the organza square in half, then in half again. A small triangle should come out (as in the photo).
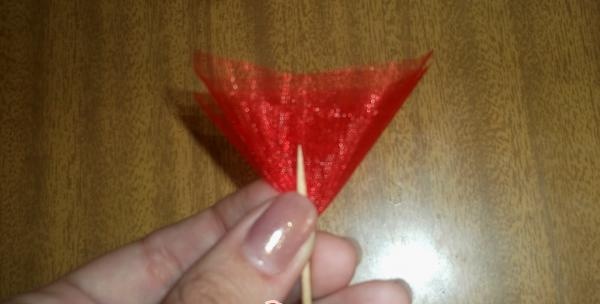
It should be attached to the toothpick using wire.
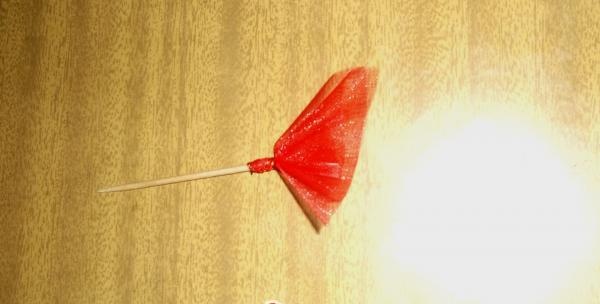
It is almost impossible to calculate the number of such triangles, since it depends on the density of their location. Therefore, you should watch as you work.
For this topiary, we used 1.5 meters of organza, 0.5 meters wide.
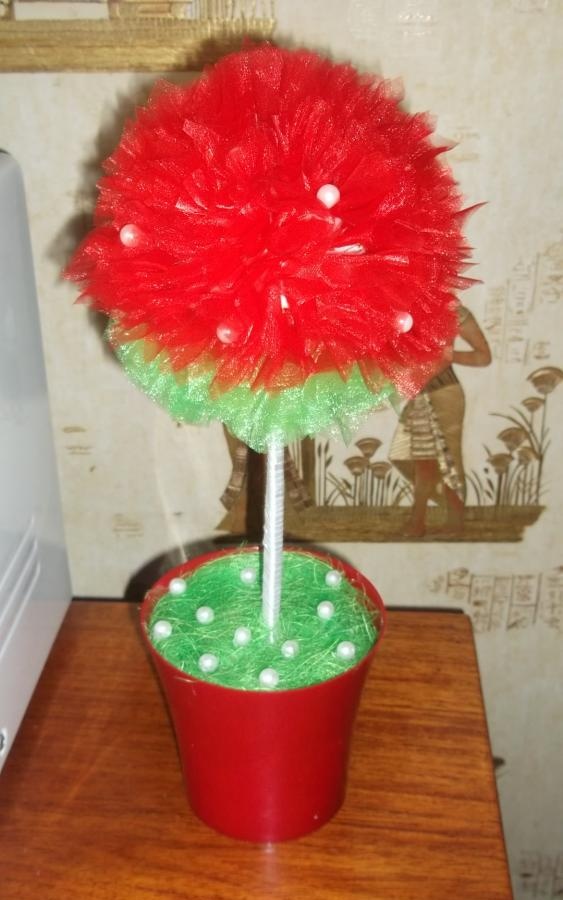
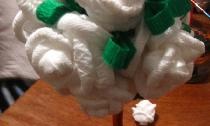
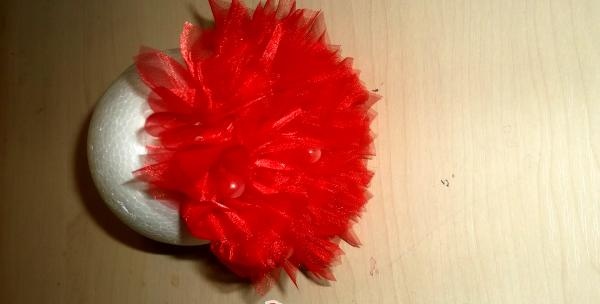
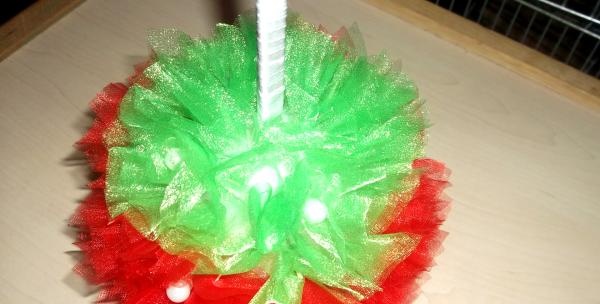
The next step is to insert the triangles into the foam ball. This must be done so that there are no white gaps.
To add a little color to the topiary, you can attach a white bead to the top of a toothpick. But to do this, you need to attach the triangle a little lower so that the top of the toothpick is visible. Such triangles with beads should be evenly distributed throughout the product.
The bottom of the ball can be decorated with the same green triangles. When there is a small gap left, you can fix the base of the topiary with silicone glue, on which it will stick.
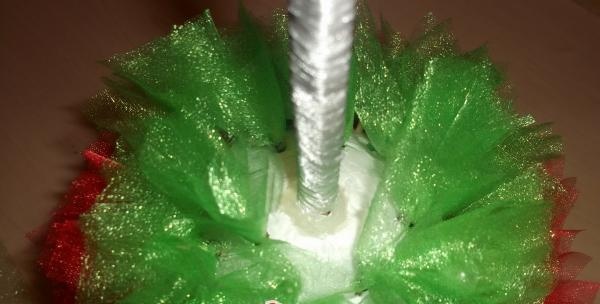
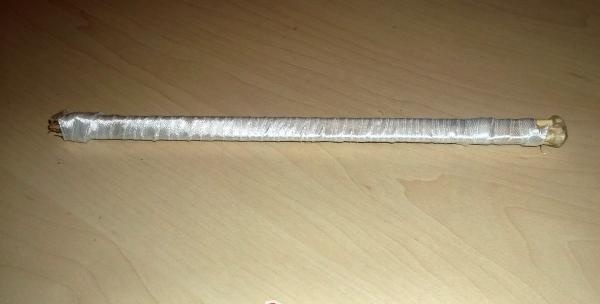
It's very easy to do. You can use any straight stick or 5 simple skewers glued together. To make them look presentable, you need to wrap them with white tape of any thickness. In this case, a tape 0.5 cm wide was used.
When the silicone glue dries, all gaps should be closed with triangles.
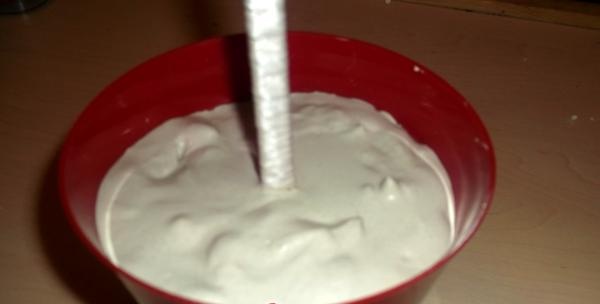
Now all that remains is to “plant” him. For this, you can use any pot or other suitable container. You definitely need to crumble foam into it.

This is done to prevent the plaster from bursting the pot. Now you can pour plaster diluted with water and fix the topiary in it.
You can decorate the pot with whatever you have. It is best to use green sisal and decorate the top with white beads, which must be secured with silicone glue.
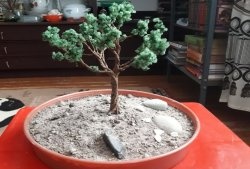
That's all, the original and bright topiary is ready.