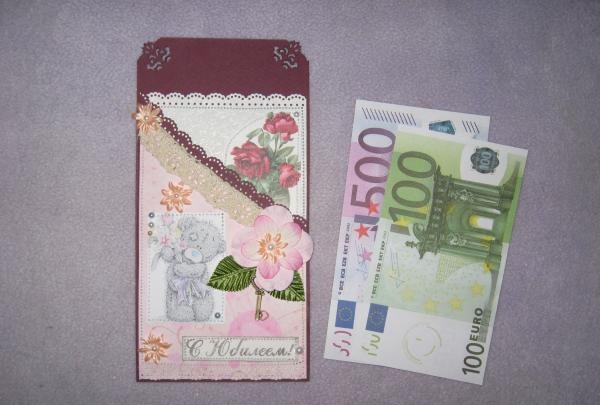
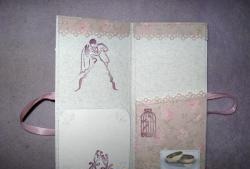
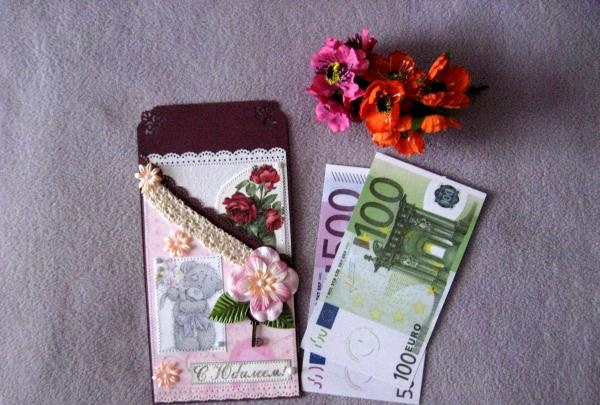
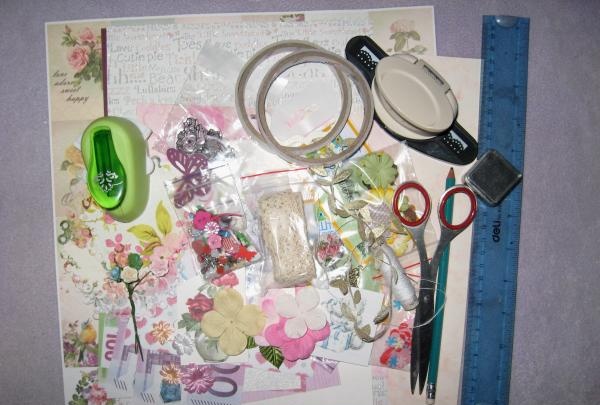
For the anniversary envelope we need to take the following:
Burgundy album sheet of pastel paper;
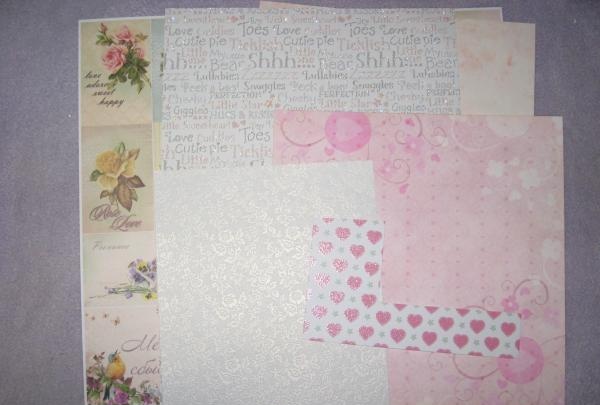
Scrap paper size 20x20 cm in pink colors;
Pearlescent white sheet with embossing;
Picture with a bear and a bouquet of flowers;
Beige lace;
Corner and border lace punches;
Large light pink hydrangea flower;
Medium white-pink flower;
Small peach fabric flowers;
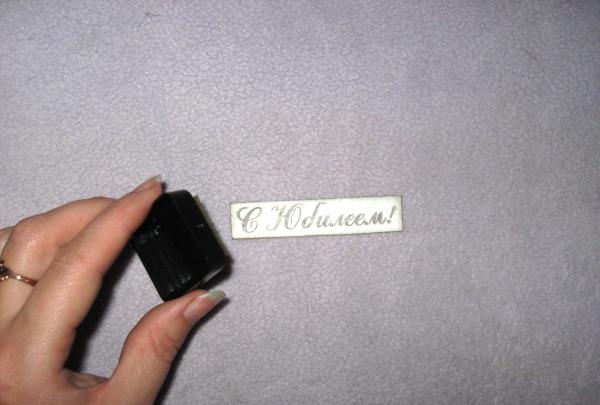
Happy Anniversary stamp, gold and black ink pads;
Green swamp petals;
Large metal key of bronze color;
White half beads;
Scotch tape, ruler, pencil, glue gun, sewing machine, PVA glue, scissors.
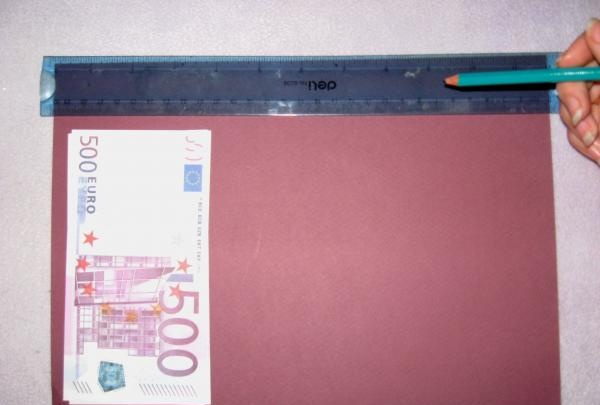
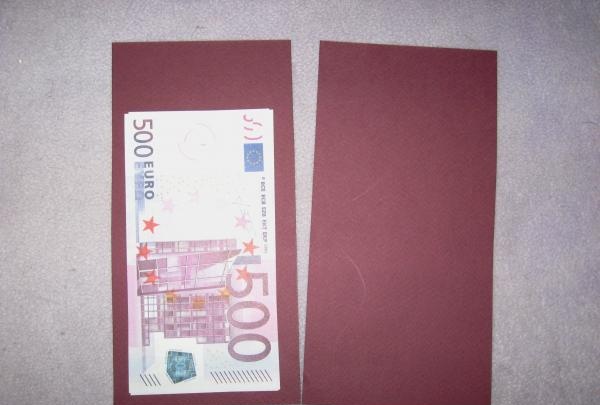
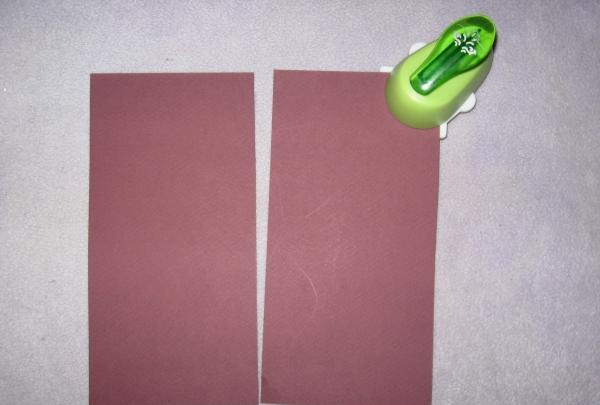
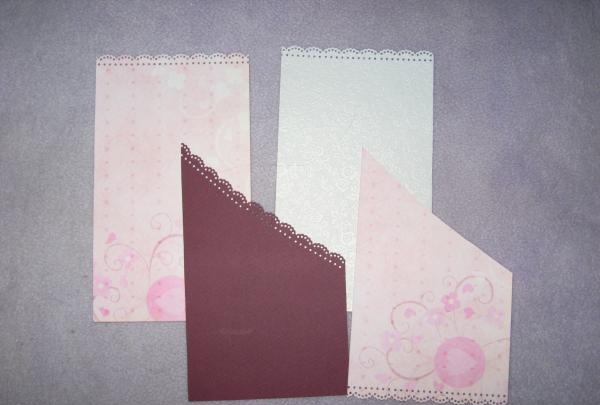
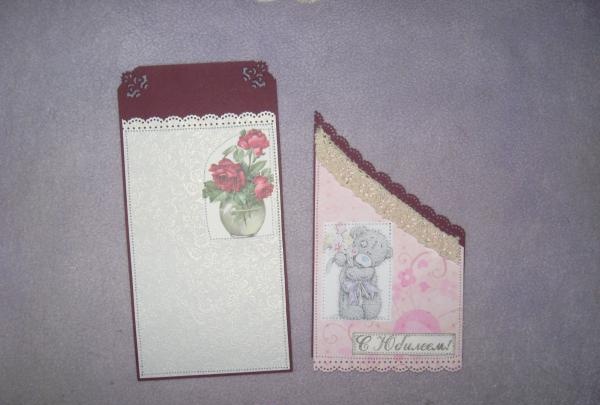
Prepare the base of the envelope from pastel paper, lay the sheet horizontally. We measured and cut out two 10.5x18 cm rectangles. To make the size clear, we attach a banknote.
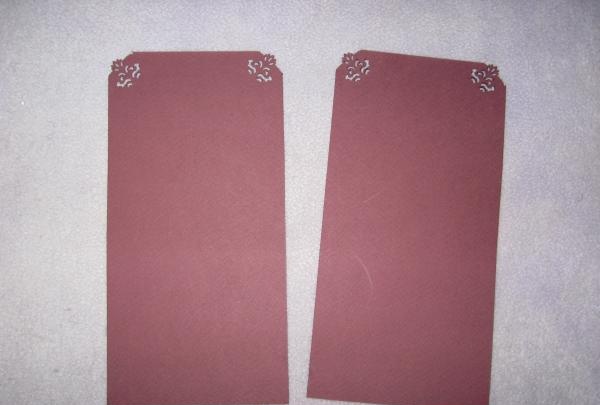
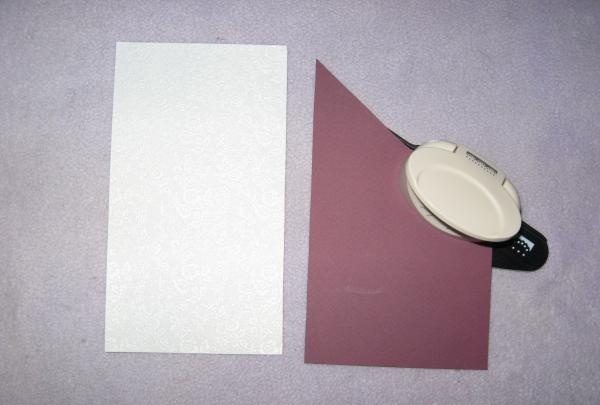
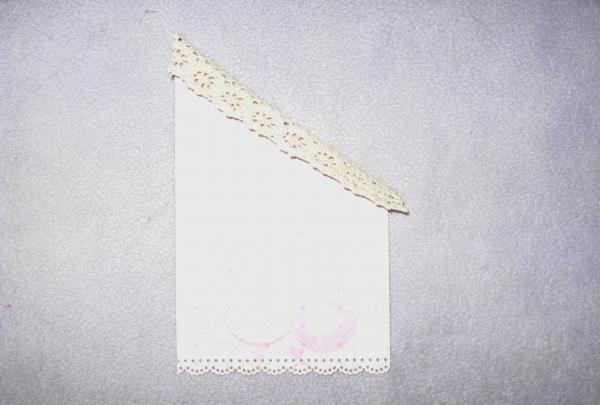
We make one rectangle at the top with openwork edges, use a corner hole punch. We cut the second one from the left corner obliquely. We cut out two 10x16cm rectangles from scrap paper, then cut one of them obliquely, as we did from the base, and another rectangle of white mother-of-pearl 10*16cm.

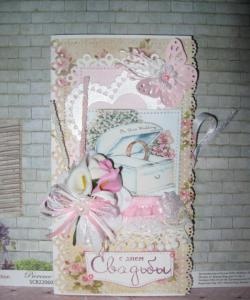
We use a border hole punch to make openwork parts of the blanks, as in the photo below.
Cut a strip of lace equal to the cut side of the scrap paper, apply it and sew it on. Now we glue the pictures.
Separately, we stamp “Happy Anniversary” on the sheet and then ink the cut out inscription along the edge. So to speak, we create the effect of antiquity.
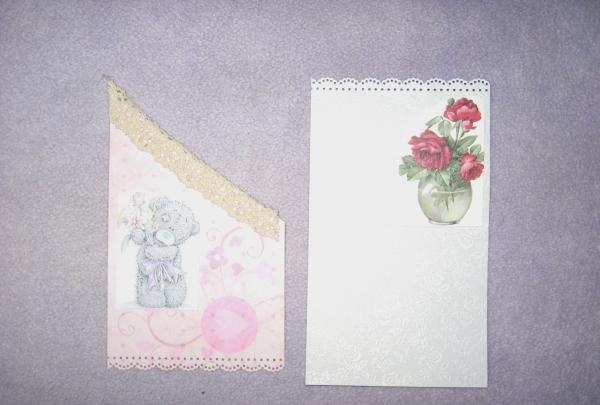
We sew on the pictures, glue the blanks onto the base and now sew each element separately, glue one rectangle and sew it together with the outer top one.

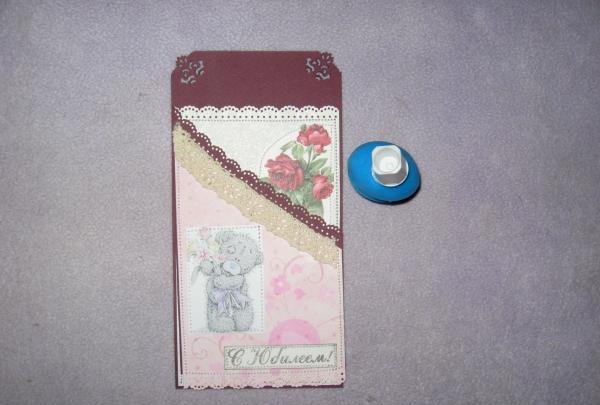
Both parts of the envelope are ready, you can now spread PVA glue on the sides and bottom of the lower part and glue them together. We level it well and press it.
Finally, use a glue gun to glue the entire decor, look at the photo.
Thank you and wish you a pleasant creation!