![vase for cosmetics](https://i.washerhouse.com/images/7/1721-vazochka-dlya-kosmetiki.jpg)
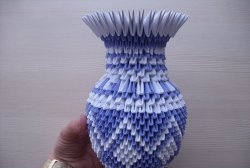
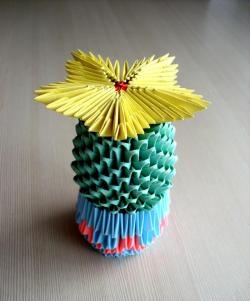
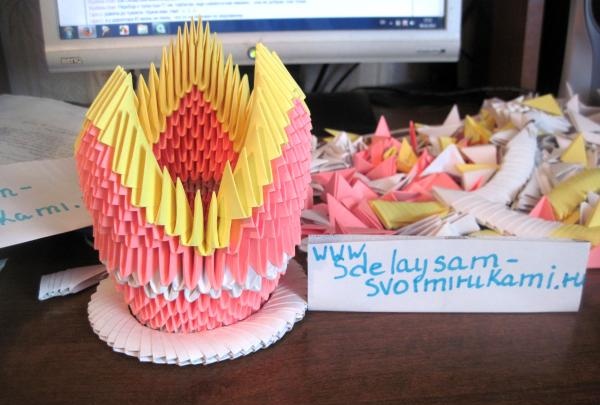
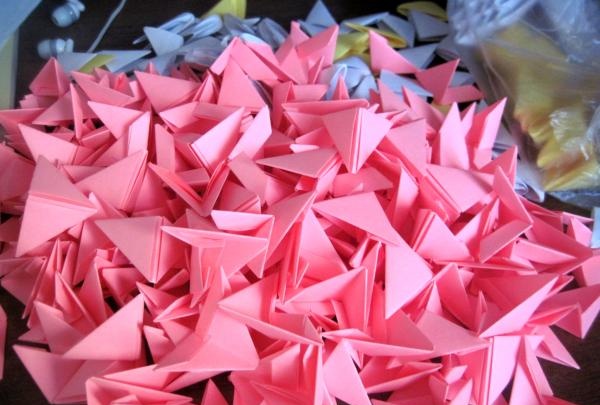
For work we will need: paper modules (white, yellow and pink)
![vase for cosmetics](https://i.washerhouse.com/images/7/1712-vazochka-dlya-kosmetiki.jpg)
Progress
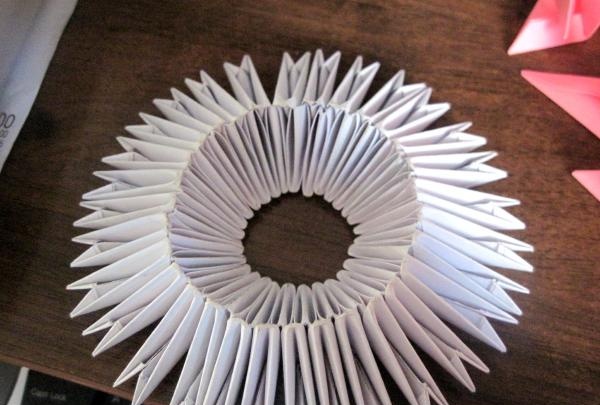
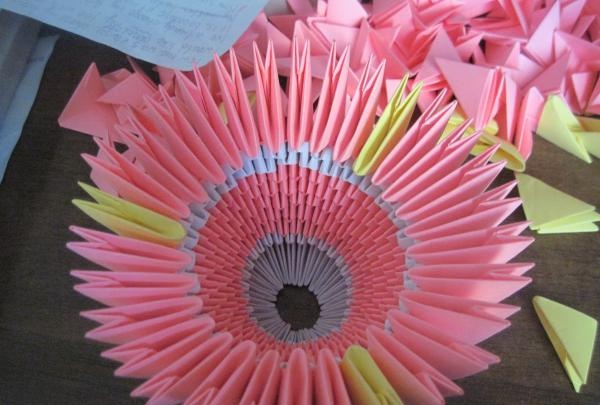
1) We assemble the base from 30 white modules.
![vase for cosmetics](https://i.washerhouse.com/images/7/1713-vazochka-dlya-kosmetiki.jpg)
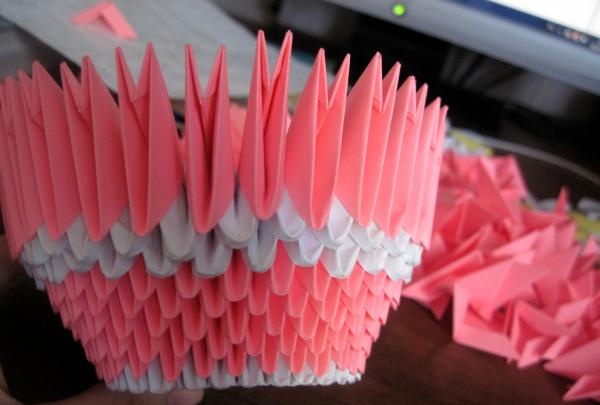
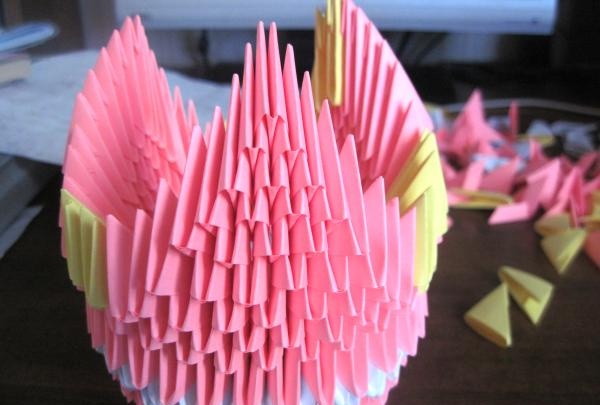
2) We assemble three rows of pink modules
![vase for cosmetics](https://i.washerhouse.com/images/7/1714-vazochka-dlya-kosmetiki.jpg)
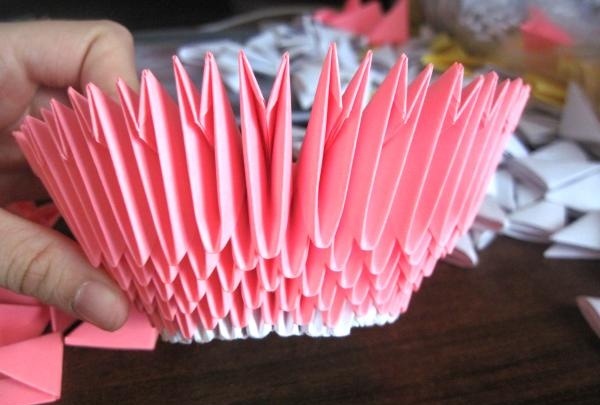
3) This is followed by one row of white modules and one of pink ones.
![vase for cosmetics](https://i.washerhouse.com/images/7/1715-vazochka-dlya-kosmetiki.jpg)
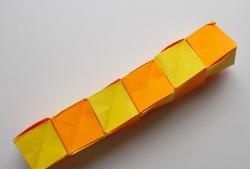
4) We assemble a series according to the following description: yellow module, 8 pink modules, yellow module, 8 modules, yellow module, 8 pink modules (assembled with the reverse side)
![vase for cosmetics](https://i.washerhouse.com/images/7/1716-vazochka-dlya-kosmetiki.jpg)
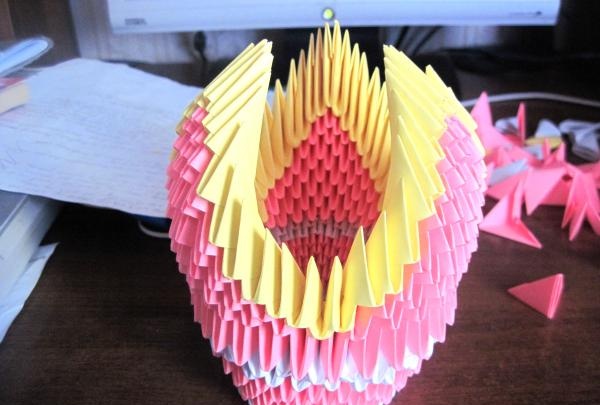
5) Now we decrease by one module on each row to make a wing.
![vase for cosmetics](https://i.washerhouse.com/images/7/1717-vazochka-dlya-kosmetiki.jpg)
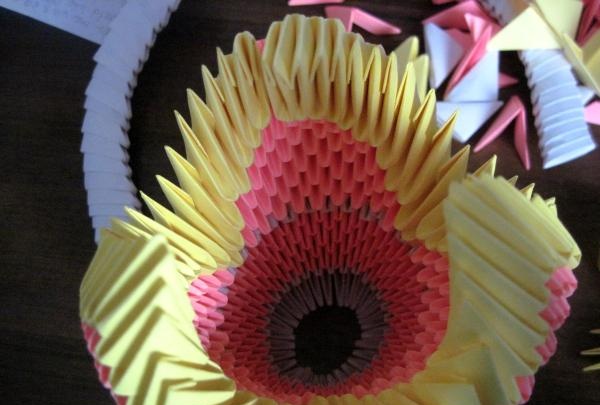
6) We make a border for our vase from yellow modules
![vase for cosmetics](https://i.washerhouse.com/images/7/1718-vazochka-dlya-kosmetiki.jpg)
![vase for cosmetics](https://i.washerhouse.com/images/7/1719-vazochka-dlya-kosmetiki.jpg)
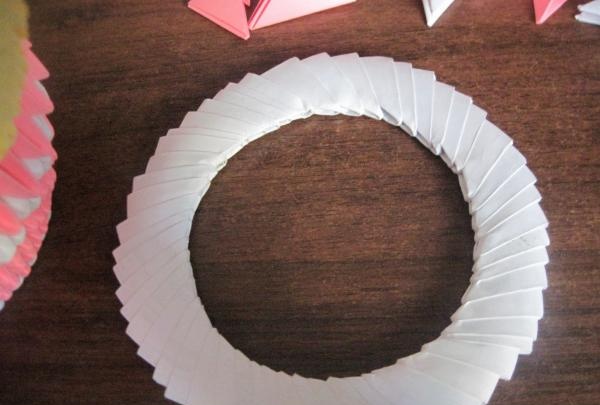
7) Next we make a stand for our vase. We assemble a circle of white modules.
![vase for cosmetics](https://i.washerhouse.com/images/7/1720-vazochka-dlya-kosmetiki.jpg)
8) Glue the stand to the base of the vase, voila and you're done!!!
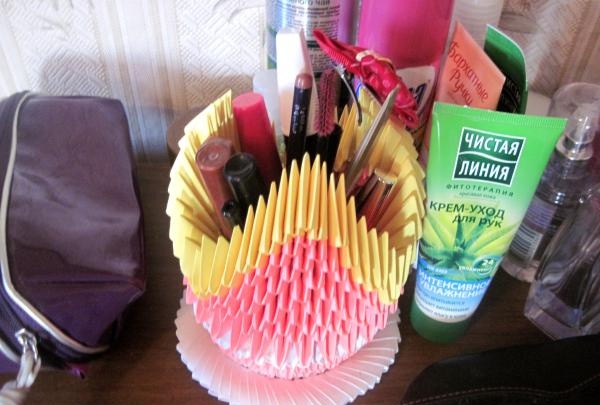
This homemade product will decorate and keep your dressing table tidy.
![vase for cosmetics](https://i.washerhouse.com/images/7/1722-vazochka-dlya-kosmetiki.jpg)