To work on the gift envelope for the disc you will need:
- thick white paper,
- iron,
- web for fixing the fabric,
- pencil,
- ruler,
- not very dense fabric,
- glue stick,
- hemp,
- sewing machine or (hand sewing machine),
- decorative elements (all kinds of flowers, ribbons, etc.),
- glue “Moment”,
- plain A4 paper,
- coffee,
- cinnamon,
- double sided tape,
- watercolor,
- thin brush,
- corduroy.
Creative work process:
1. Before you start working on the envelope, brew coffee, add a pinch of cinnamon to it and pour this mixture over a regular A4 sheet. Use a pallet. The paper should be dry by the time it is time to start decorating the cover.
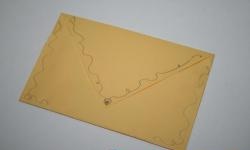
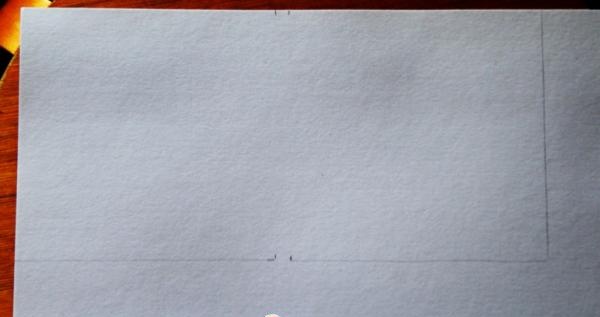
2. We begin to create an envelope. On white paper, with a pencil, draw the boundaries of a rectangle with sides of 12.6 cm and 26.2 cm.In the middle of the rectangle (top and bottom), make two marks, measuring 12.6 cm and 13.4 cm.
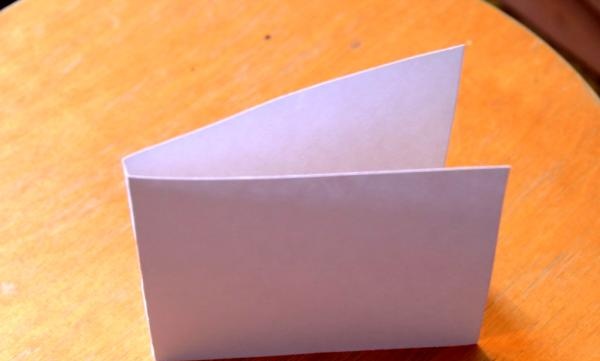
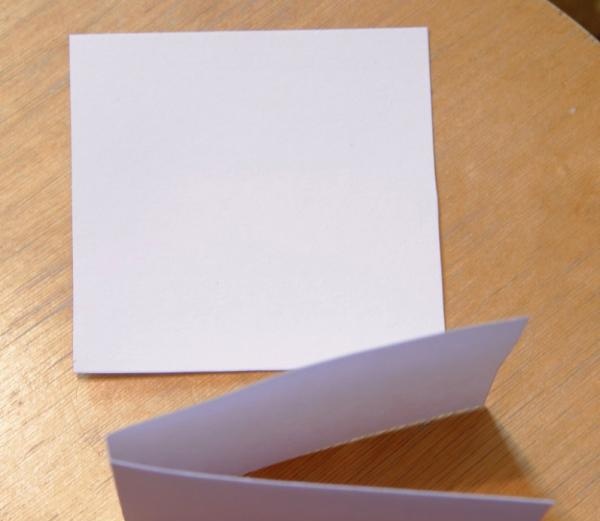
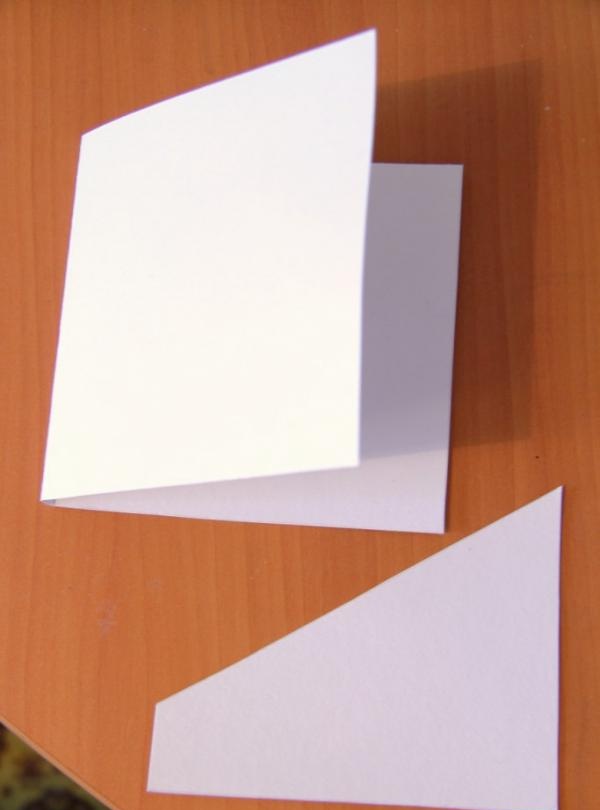
3. Cut out a rectangle. Place a ruler on the first fold line and fold the paper. Do the same with the second fold line.
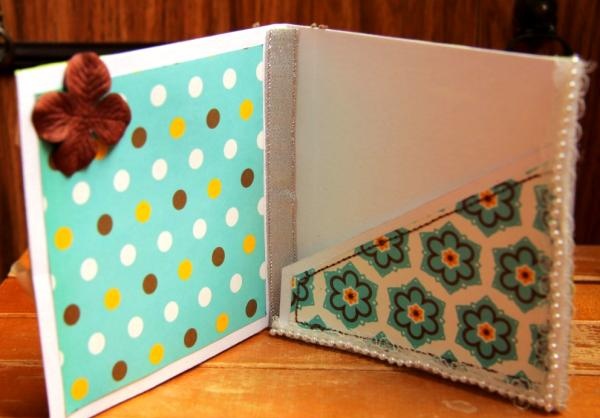
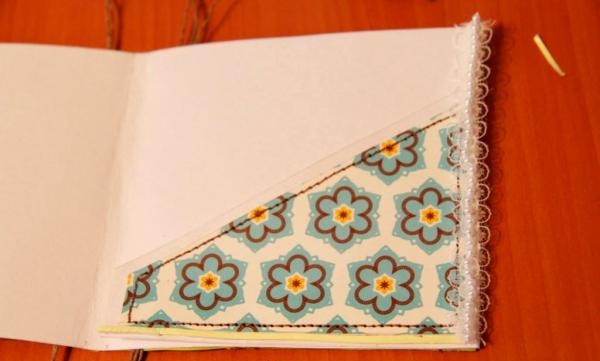
4. Cut out a square with sides 12.5 cm and 12.6 cm (this is how I did it). Cut the square on the bias (or however you like).
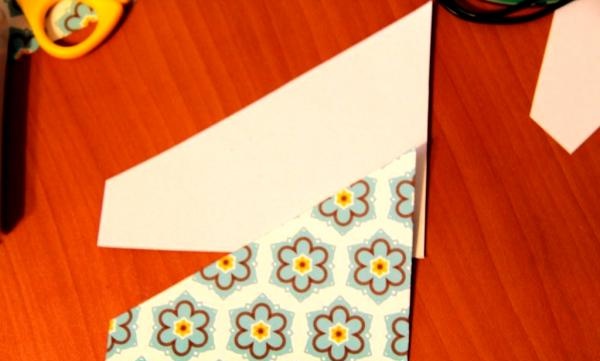
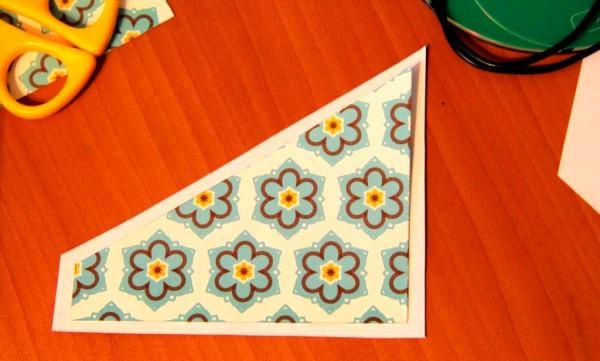
5. Then you need to cut out the same element from colored paper, but in a smaller size. Place one piece on top of the other and glue them together.
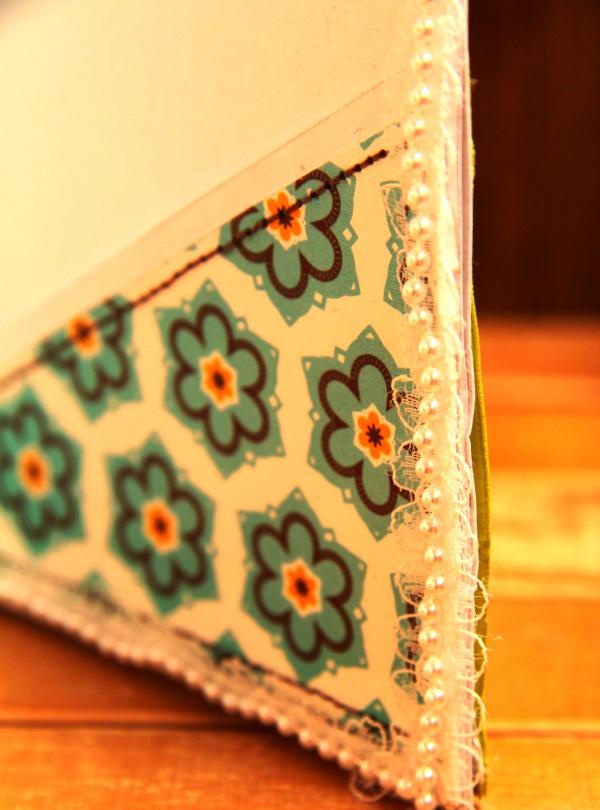
6. Now sew the pocket to the inside of the card. Decorate the edges with a ribbon using double-sided tape. This is best done later, because... Next comes painstaking work with the cover. You will need to turn the envelope over to the back side and glue the fabric to the outside. It may damage the internal decor from ribbons.
7. From not very dense fabric you need to cut out three elements: a rectangle and two squares. A rectangle measuring 4.7 cm by 13.5 cm, two (almost) squares with sides of 12.6 cm and 14 cm. In other words, allocate a few millimeters for allowance for each element (we will bend the edges).
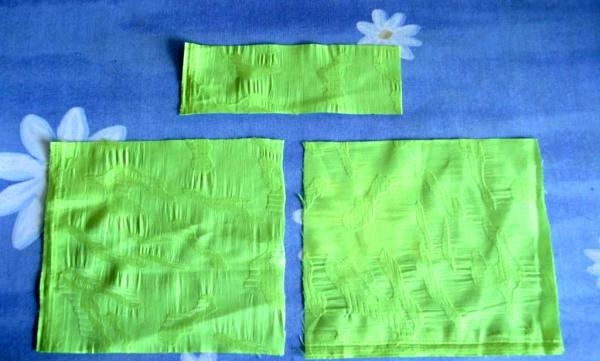
8. The fabric needs to be ironed. Then use a pencil to mark fold lines (along the perimeter) on each of the fragments. First you will need to smooth the fold lines, only then secure the fabric with tape.

9. The rectangular piece will be located in the middle of the CD sleeve, with squares on each of its sides. In the photo you can see the approximate location of the fabric fragments.
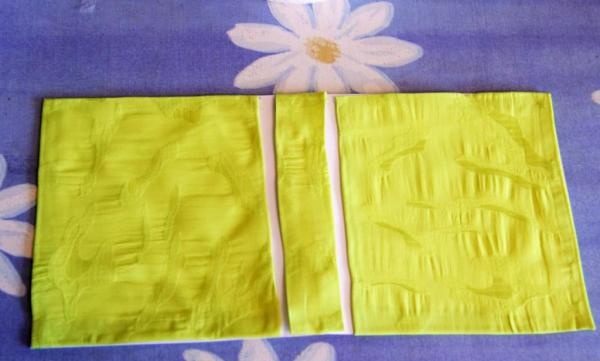
10. Let's start fixing them on paper. To begin, generously coat the paper with glue stick, then apply the fabric.To be sure, the edges themselves along the perimeter can be secured using Moment glue. This will be more reliable and the product will last longer.
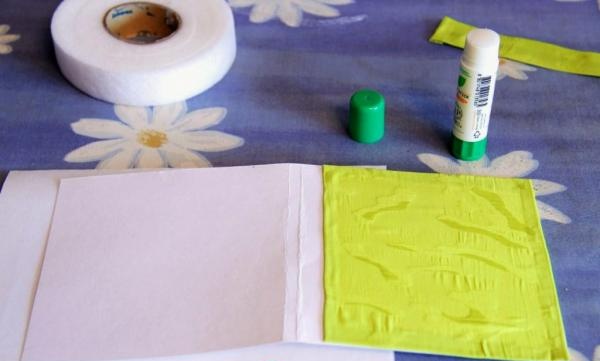
11. Do the same with each piece of fabric.
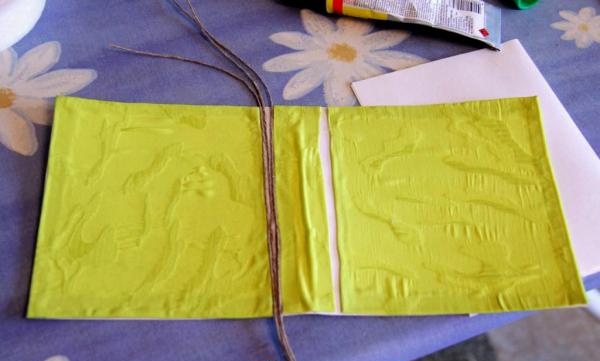
12. Now let's start decorating the white areas. The hemp needs to be cut into 5 equal parts. I got threads equal to the length of the spine.
13. Coat the white areas generously with Moment glue and lay out one thread at a time. We do not try to achieve a perfectly even arrangement of threads on the white area; create some “grooves”. In the same way we decorate the second white area on the envelope.

14. We continue to decorate the inside of the envelope with ribbons.
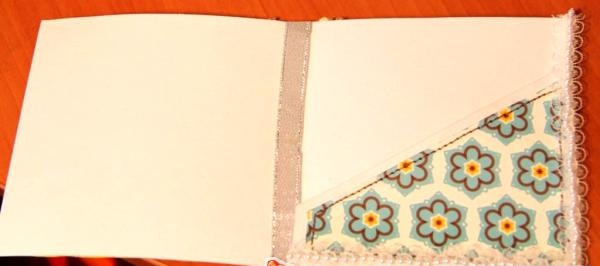
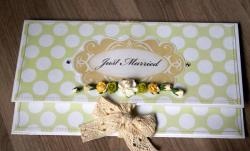
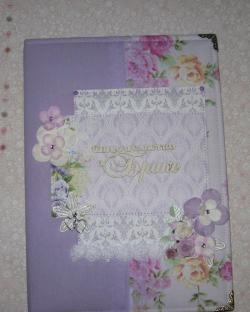
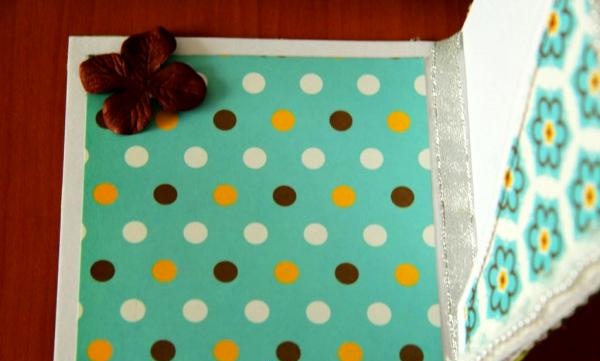
15. To decorate the left side of the envelope, cut out a smaller square of colored paper. Add some zest in the form of a paper flower.
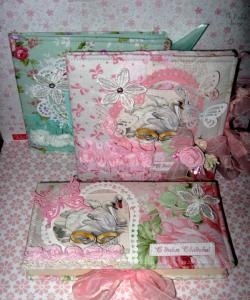
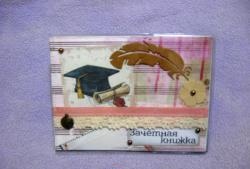
16. Let's start designing the cover. It needs to be given a finished look. To do this, take two flowers you like and glue them onto double-sided tape.
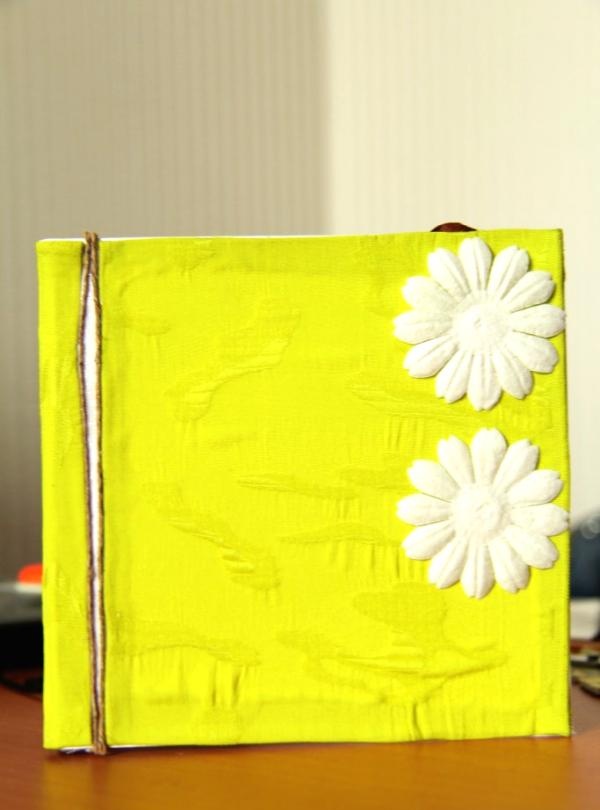
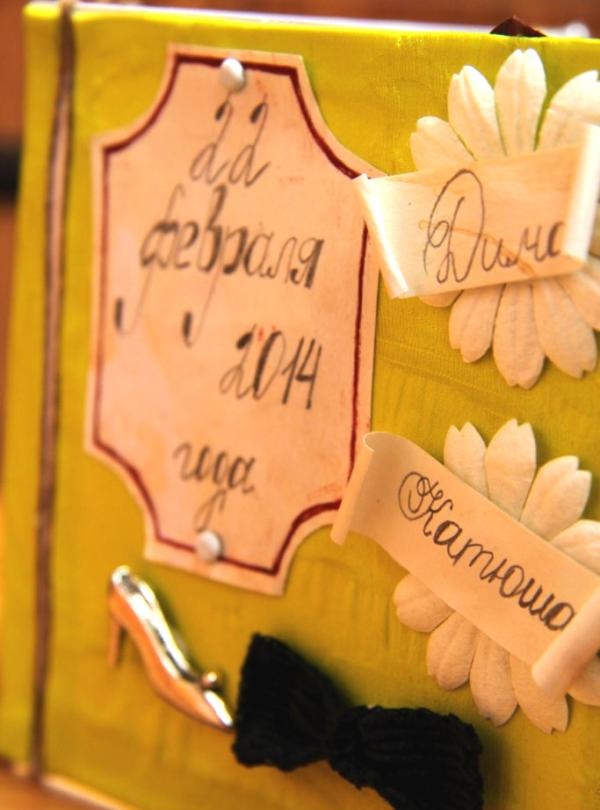
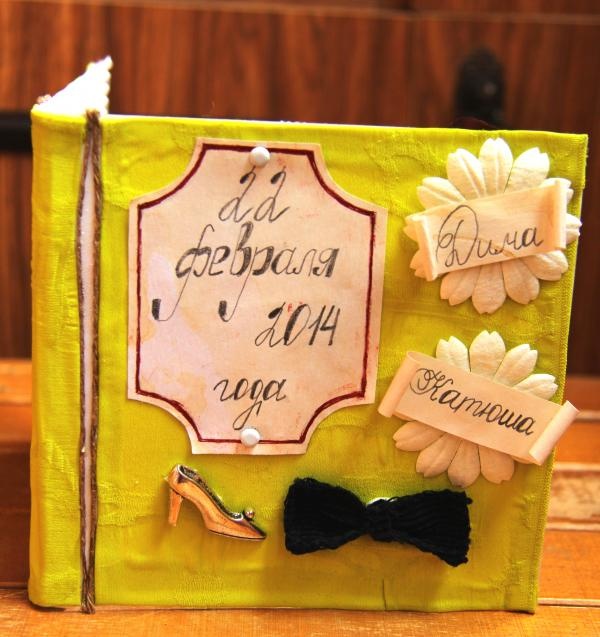
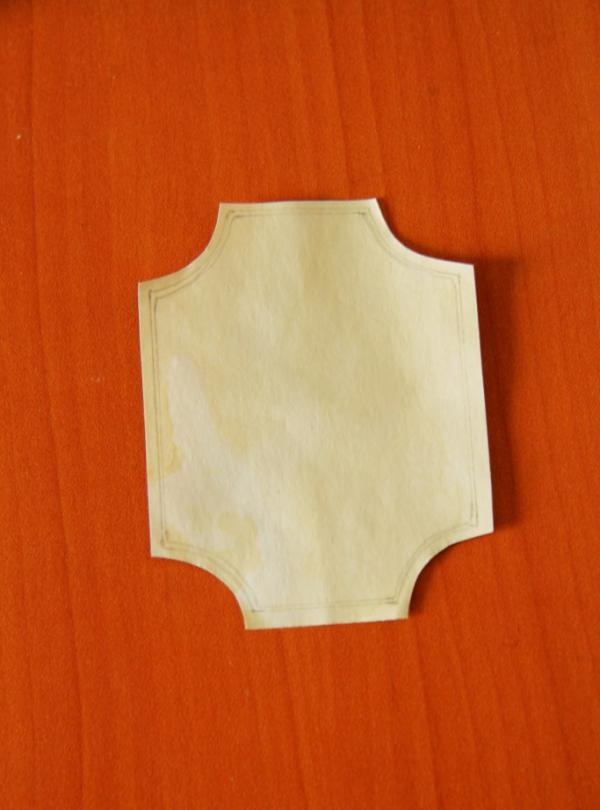
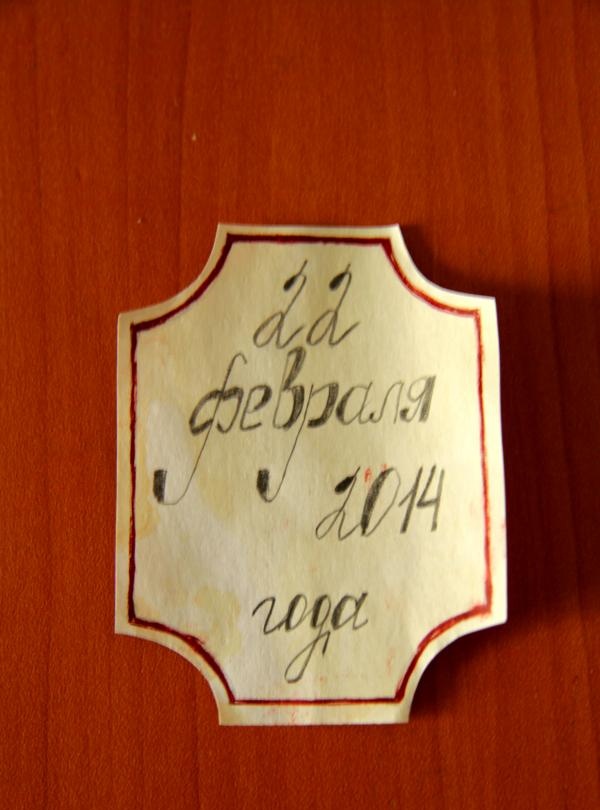
17. From paper soaked in coffee, you need to cut out a shaped fragment. Draw a frame with a pencil and paint it with watercolors using a thin brush. Daisies can be personalized using the same “coffee” paper.


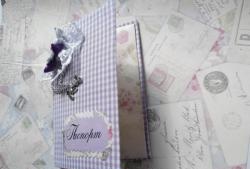
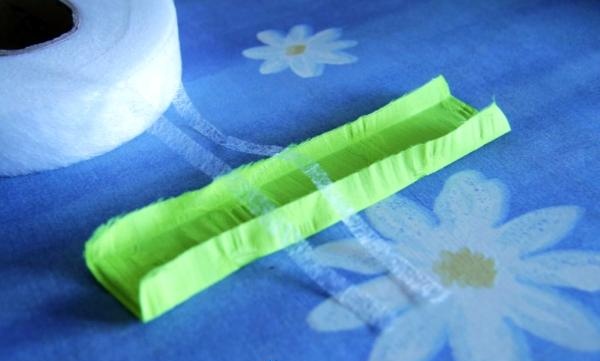
18. Now let's make a butterfly. To do this, cut out two pieces from dark fabric. One of them is 5cm in size. by 2 cm, the second part is a narrow strip for fixing the middle of the butterfly.
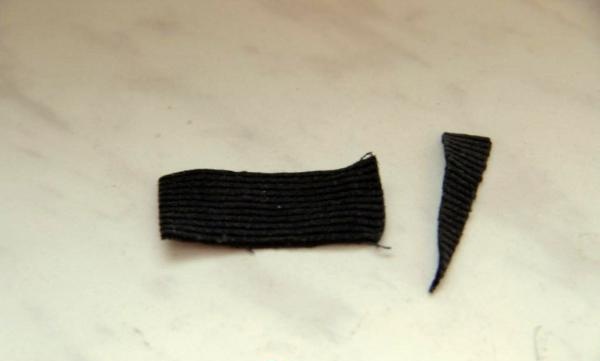
19. The edges of the corduroy need to be hemmed, otherwise they will fray. Pull the rectangular piece in the middle, sew a narrow element in the center, it will “hold” the shape of the butterfly.
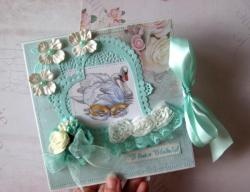
20. Glue the butterfly and other decorative elements.
21. Place the finished envelope under a press for several hours (a metal tea box will be enough).
Creative success!