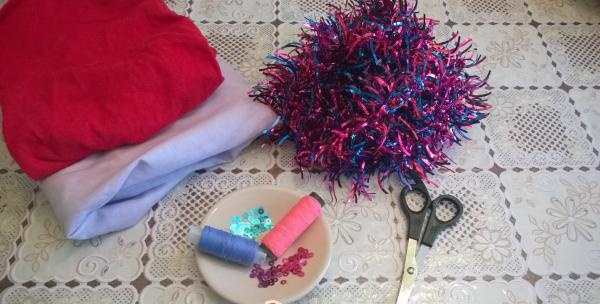
In order to sew such a pillow, you will need:
1. Thick fabric for the base
2. Red cotton fabric
3. Threads, 2 colors: pink, blue.
4. Filling (sintepon or down)
5. Scissors
6. Sequins, 2 colors: pink, blue
7. Colored tinsel
8. Needle
9. Simple pencil
In the version presented to you, down was used as a filler, but if you suffer from allergies, you can replace it with padding polyester. The edge of the pillow is edged with tinsel, but you can do without it or replace it with another material.
The execution process is ridiculously simple:
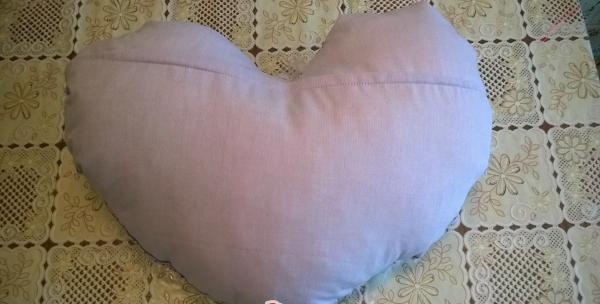
Step 1. Draw a heart on paper, cut it out and place it on thick fabric folded in half - this will be a bedside table. Then you sew together most of it, leaving a small area open, through which you fill it with down or padding polyester. The base is ready.
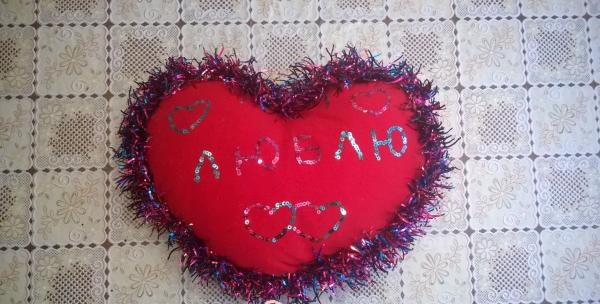
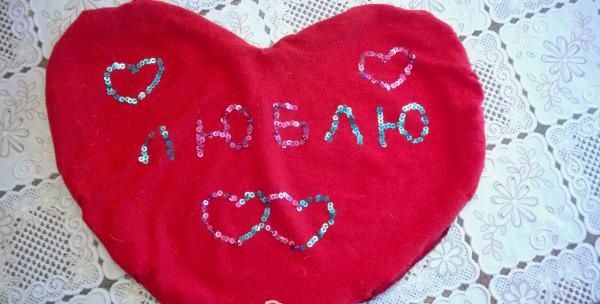
Step 2.Using the same paper template, cut out a heart from red material, it is advisable that the color be as bright as possible, since the color of the sparkles will look better.
Step 3. Using a simple pencil, write on the case and draw hearts. Here you can fantasize as you like, the inscription “I love” can be replaced with the name of the recipient of your gift, instead of hearts you can embroider butterflies - in general, the appearance of the pillow is at your discretion.

The photo shows how the embroidery process goes: pink sequins with pink threads, blue sequins with blue threads. Each sequin is sewn separately, then a loop is made in the place where the next one will be sewn.
It is not recommended to use fishing line instead of thread, as strong ties will wrinkle the cotton. If desired, glitter can be replaced with glass beads or medium-sized beads. But beads are not suitable for such work, since you are sewing only the outline and the pattern will not be even.
Below is the finished case
Step 4. Place the finished cover on the base pillow and sew up the edges. Since you will be sewing on the front side, because it is more convenient, you should cover the seams with edging. In my case, it's tinsel that perfectly harmonizes with the rest of the elements.
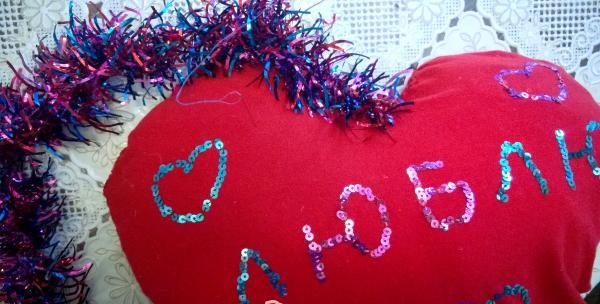
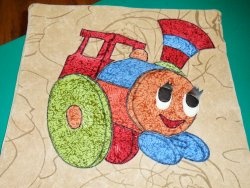
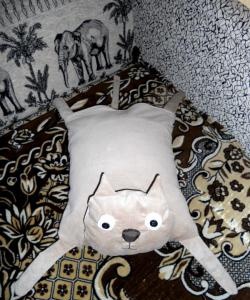
Tinsel can be replaced with angora yarn - just stitch it along the edges of the finished pillow using a gypsy needle. Such a pillow can be sewn not only for a loved one, but also for one of your relatives or friends, the main thing is to choose a thematic inscription. By following these step-by-step instructions, you can easily complete this job. Your masterpiece is ready! You can also sew a loop in the middle of the top of the pillow so it can be hung on the wall.