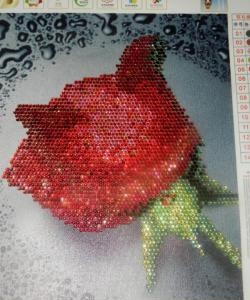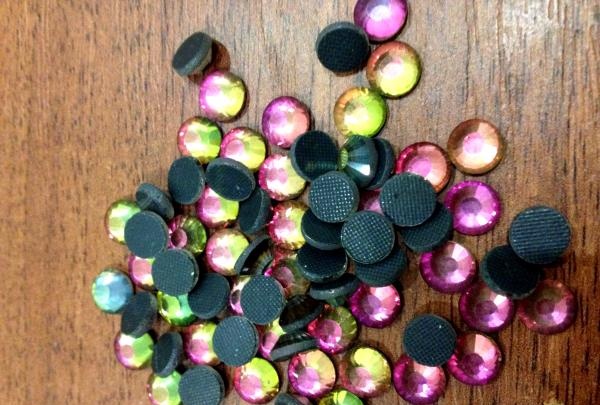
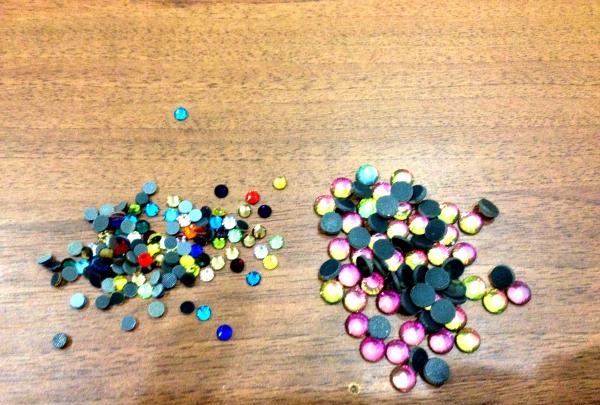
Since rhinestones come in different sizes, do not chase tiny ones from the very beginning - a design made with small stones, of course, looks richer and more refined, but you need to understand the principles and evaluate your perseverance with larger-sized materials. For our work we will need two types of rhinestones.
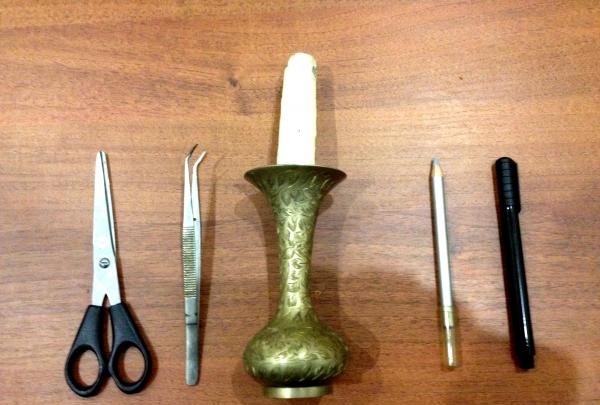
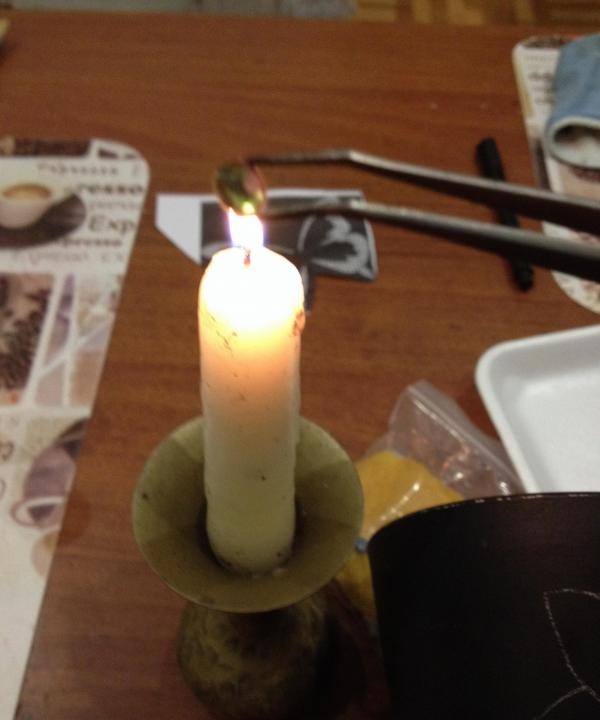
Next, we collect all the necessary equipment. A pencil or felt-tip pen that can be washed off later; scissors, tweezers and a heat source. Many craftswomen use a regular lighter, but I think using a candle is simpler and more reliable - it can be firmly fixed in a candlestick and both hands will be free.With tweezers, you also need to choose one that fits comfortably in your hand. I was lucky to find something like this in my grandfather’s tools - with curved ends, but this is not important.
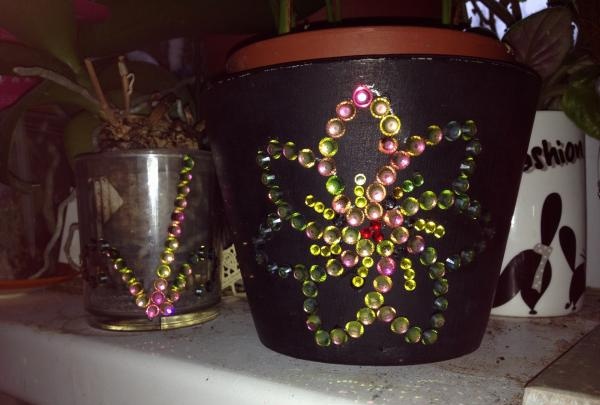
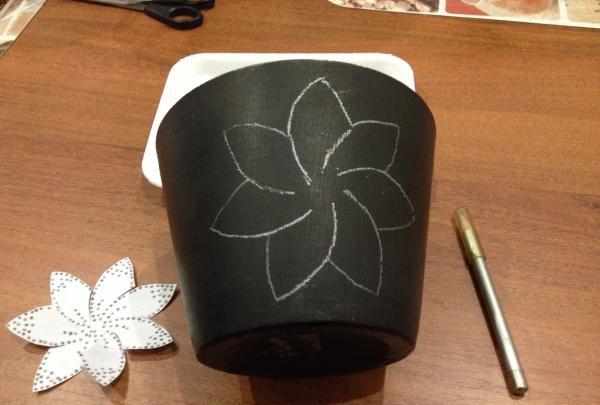
Now the most important thing is the choice of surface for decoration and design. If your artistic abilities are not enough, find any picture on the Internet, print it out - and here is the diagram. That's exactly what I did. The black flower pot needed to be brightened up somehow a long time ago, so it became a test subject.
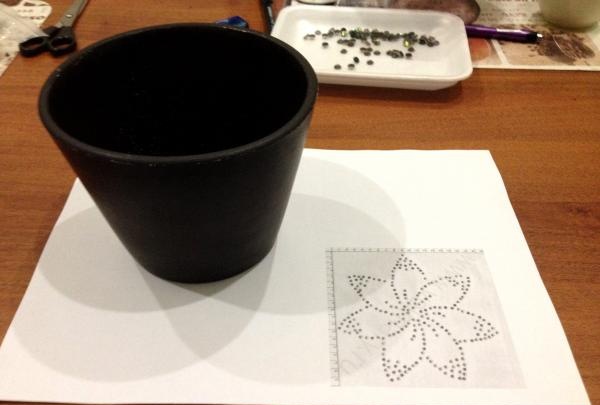
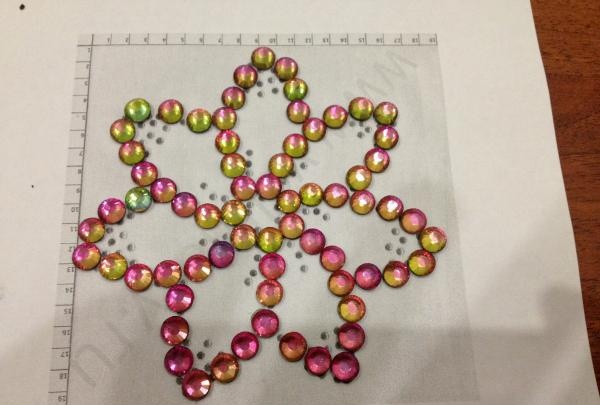
After washing the pots to degrease the surface, I laid out more rhinestones on the paper according to the design. You should not be too lazy to do this - this way you will evaluate the future result, understand how many rhinestones you may need, and decide on the direction of work.
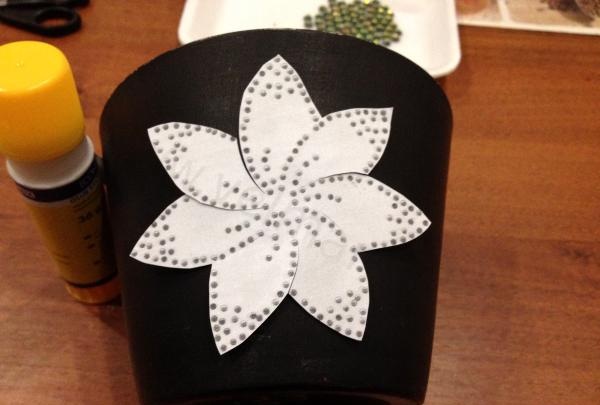
We cut out the pattern and fix it on the surface of the flowerpot with glue. If the drawing is complex, you will have to translate the picture using tracing paper.
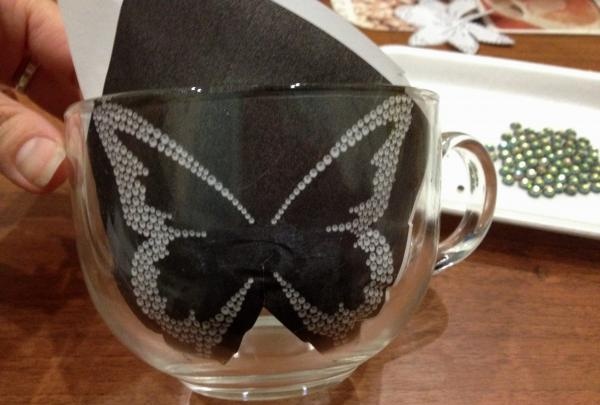
If the surface you are going to decorate is transparent, then you can do without translating the design. To do this, glue the diagram onto the inside of your vase or glass. And the drawing is visible, and you won’t have to wash anything off later. Like this.
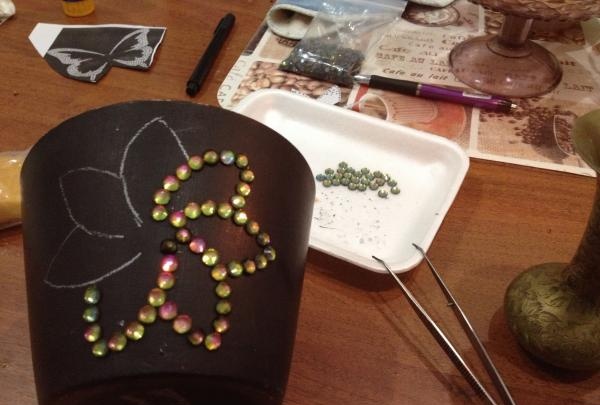
So, with a soft pencil we outline the picture. I used a white cosmetic pencil because... on the black surface the others were not visible.
Now the most labor-intensive part of the work begins: picking up the rhinestone with tweezers, we heat it over a candle. For large rhinestones it takes 5 seconds, for small ones – 2-3.
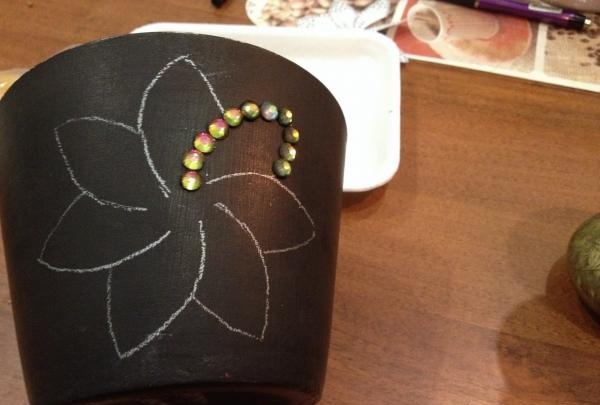
We install the heated rhinestone in the right place, according to the diagram. Everything needs to be done quickly and carefully, because... the glue sets instantly.
If soot appears on the rhinestones during heating, do not be upset - everything can be easily wiped off with a damp cloth.
When all the large rhinestones are glued, you get a flower like this.
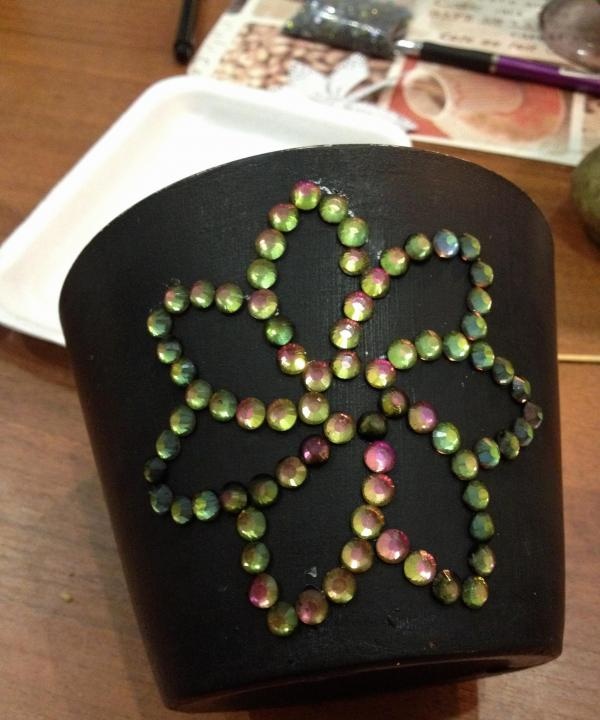
Now we use rhinestones of a smaller diameter to make the centers in each petal.
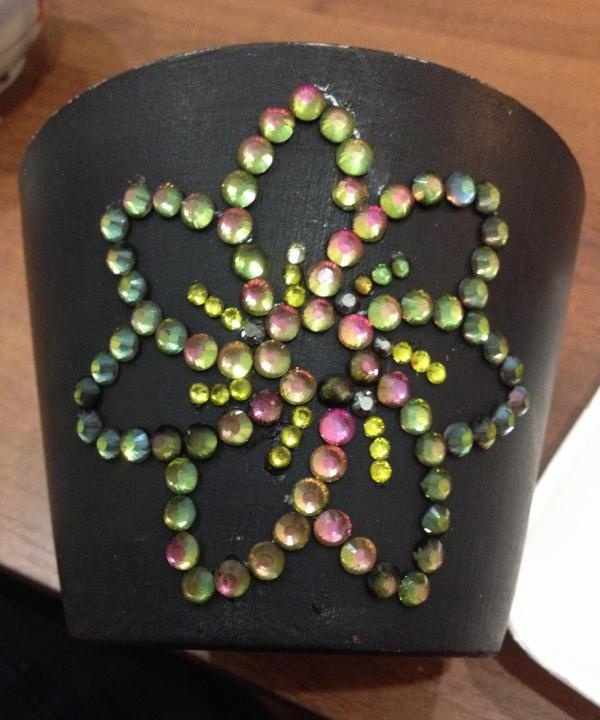
After removing the soot, we put the plant in the pot and enjoy our work.