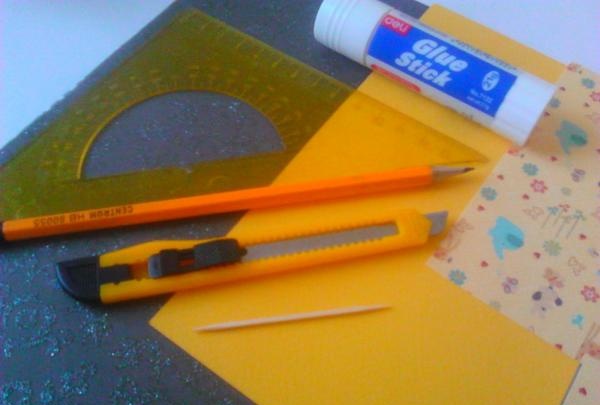
For the creative process we need the following:
1. Paper (thick) or soft cardboard (color to your taste);
2. Glue stick;
3. Scissors and utility knife:
4. Ruler;
5. A simple pencil and eraser;
6. Toothpick or thin stick (for the stroller handle);
7. Braid, ribbons, rhinestones - everything you might need for decoration;
8. A little patience, a reserve of good mood and 60 minutes of free time for creativity.
We have stocked up on the necessary materials, now I propose to completely immerse ourselves in the magical process of creativity and handicraft:
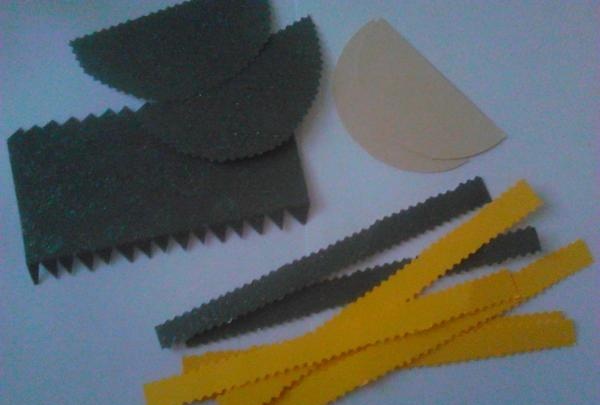
To begin with, to make further work easier, I advise you to make all the necessary templates for the future stroller.
In our case, the following dimensions will be used:
Semicircle Ø 10 cm – 2 pieces;
Semicircle Ø 12 cm – 2 pieces;
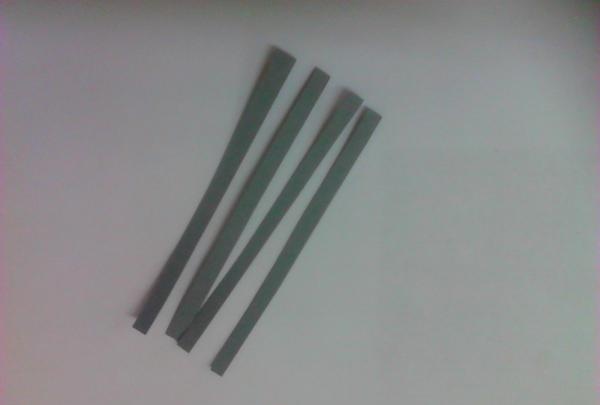
Strips 2*18 cm – 9 pieces;
Strips 0.5*10 cm – 12 pieces;
Rectangle 9*15 cm – 1 piece;
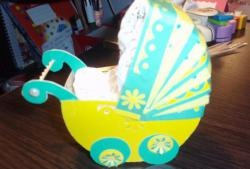
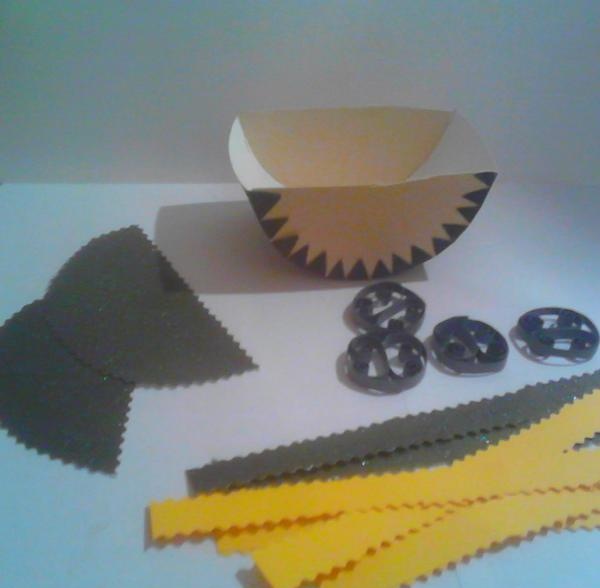
We cut everything out slowly, carefully and carefully. If all the elements are ready, then we begin to assemble our stroller. We bend the edges of the rectangle on both sides by 1 cm and make identical cuts, as in the photo. We do this for convenience, so that it is easy to give the rectangle a semicircular shape for the stroller.
If you noticed, we decorated the edges of the larger semicircles and two stripes with waves. You don't have to do this. We trust our taste.
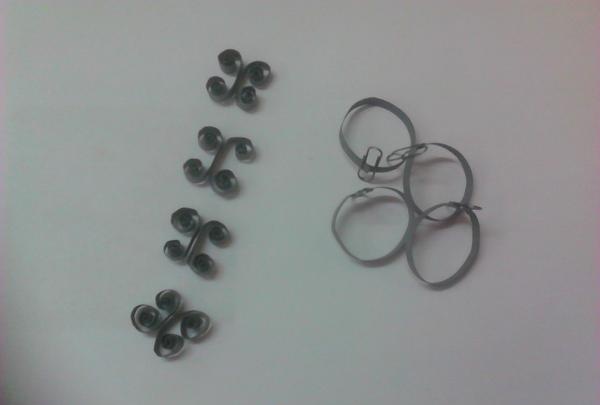
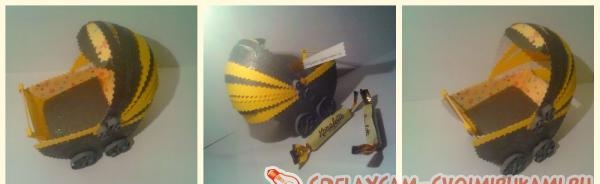
The next step is to assemble all the parts, attach the roof and wheels.
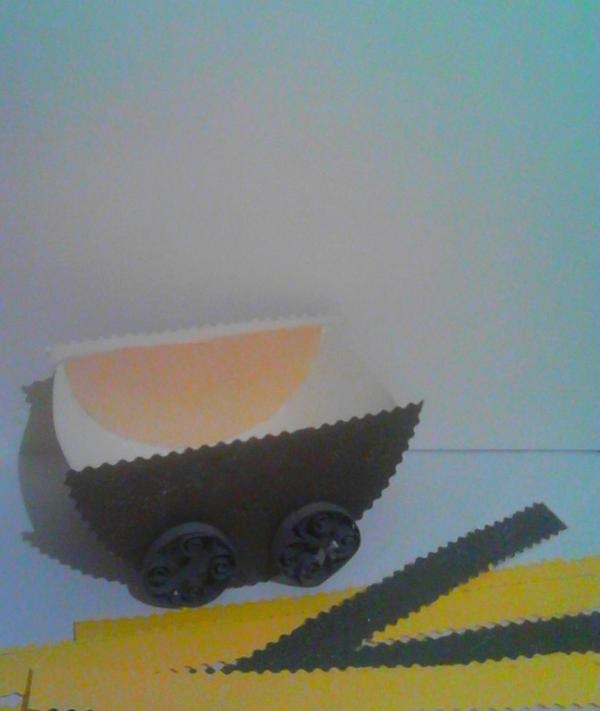
We make a cradle inside the stroller and cover the bottom with colorful colored paper.
We attach cardboard handles to the stroller, between which we attach a toothpick or a stick of suitable size.
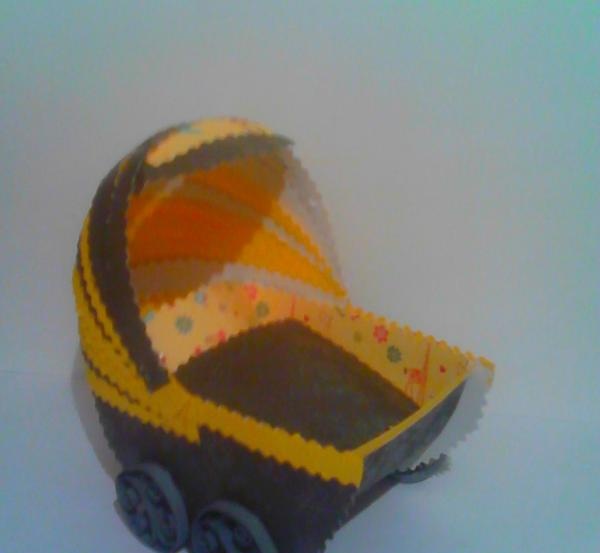
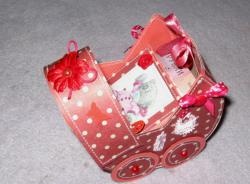
We decorate the sides of the stroller, where the roof is attached, with braid bows or paper flowers.
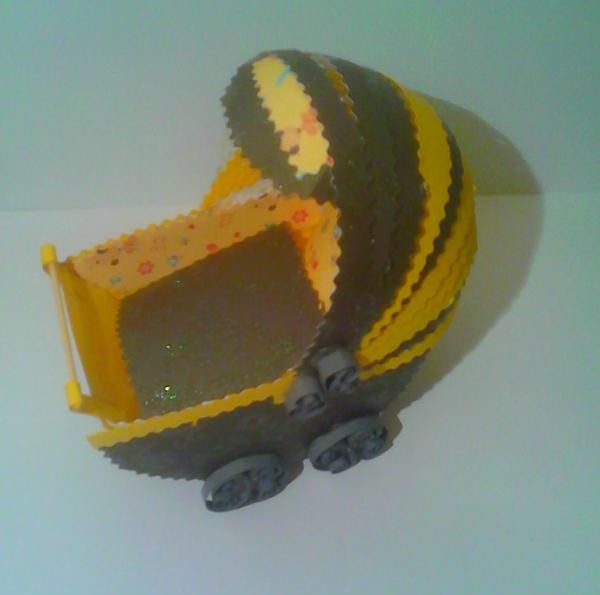
Our “Stroller for testing” is ready. Place a monetary gift or souvenir in the cradle. It would be great to see a kinder surprise in such a homemade stroller, it’s very relevant and symbolic.
I want to say the main thing: don’t be afraid to experiment, create and enjoy the process! Good luck!