![Master class on gift wrapping](https://i.washerhouse.com/images/13/2747-masterklass-po-upakovke-podarka.jpg)
Materials for the master class:
1. Colored paper, corrugated - if possible;
2. Ruler;
3. Scissors;
4. Compass;
5. Glue;
6. Beads;
7. Satin ribbon;
8. Gel pen with a silver core.
Progress:
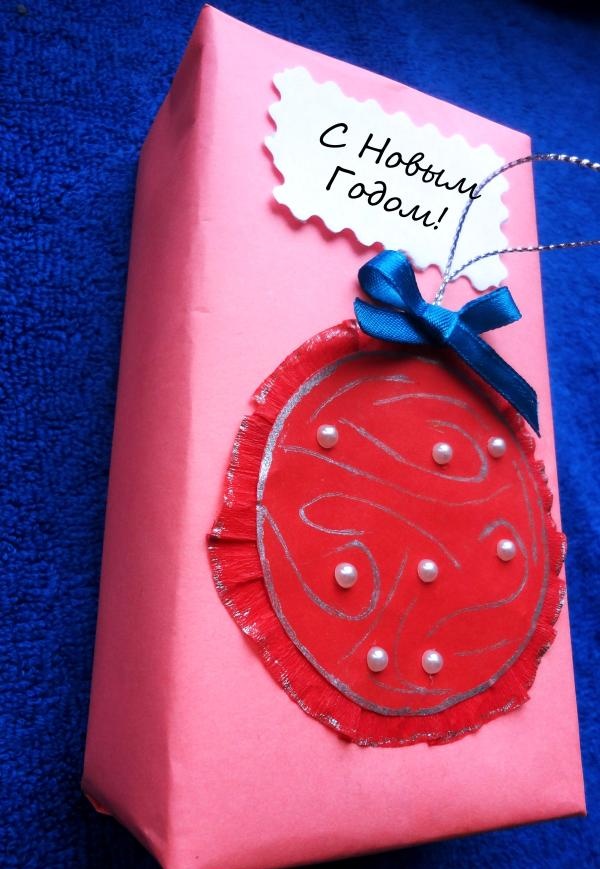
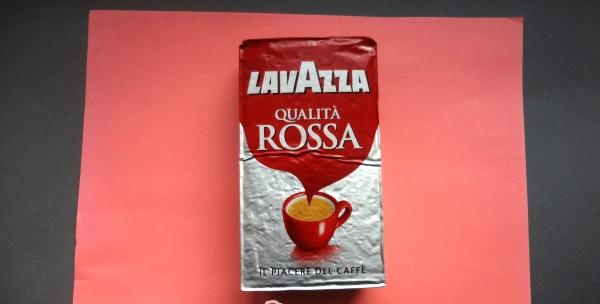
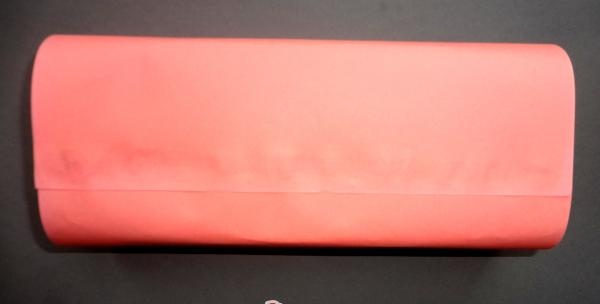
1. In the example, we will pack a pack of coffee; A4 paper is sufficient for this.
![Master class on gift wrapping](https://i.washerhouse.com/images/13/2748-masterklass-po-upakovke-podarka.jpg)
2. Apply PVA glue to the wide part of the package.
![Master class on gift wrapping](https://i.washerhouse.com/images/13/2749-masterklass-po-upakovke-podarka.jpg)
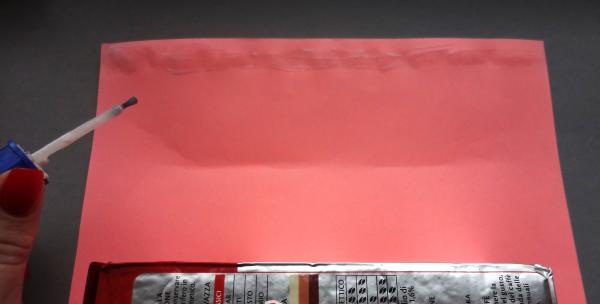
3. Connect and glue.
![Master class on gift wrapping](https://i.washerhouse.com/images/13/2750-masterklass-po-upakovke-podarka.jpg)
4. Bend the corners at 45 degrees at the side parts of the package.
![Master class on gift wrapping](https://i.washerhouse.com/images/13/2751-masterklass-po-upakovke-podarka.jpg)
5. Let's bend them, overlapping each other.
![Master class on gift wrapping](https://i.washerhouse.com/images/13/2752-masterklass-po-upakovke-podarka.jpg)
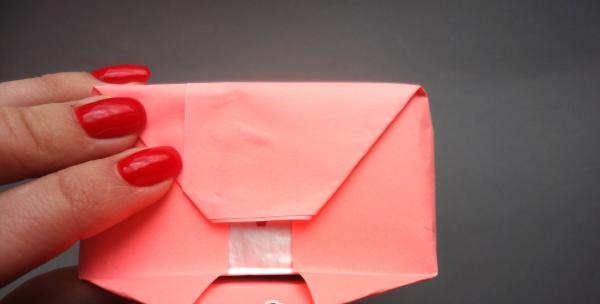
6.Glue the packaging on both sides.
![Master class on gift wrapping](https://i.washerhouse.com/images/13/2753-masterklass-po-upakovke-podarka.jpg)
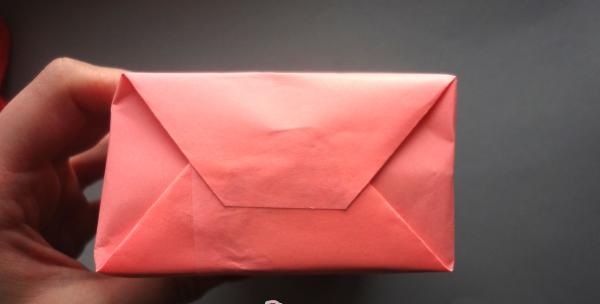
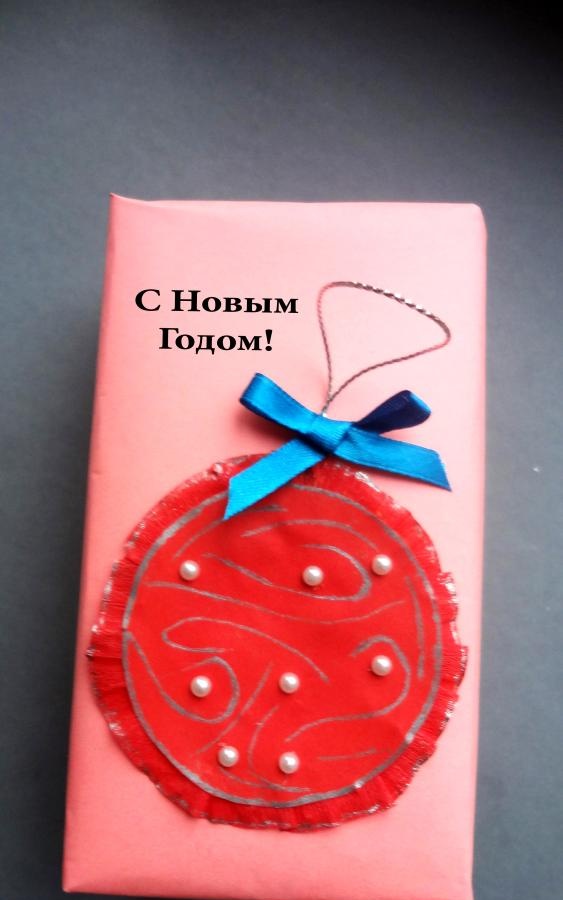
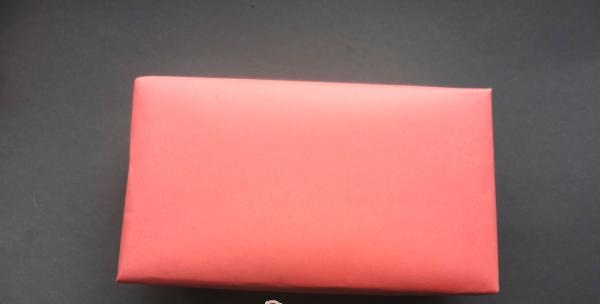
7. Now our packaging is ready, we will work with the front side.
![Master class on gift wrapping](https://i.washerhouse.com/images/13/2754-masterklass-po-upakovke-podarka.jpg)
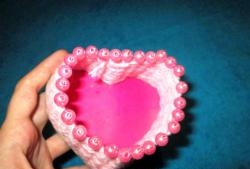
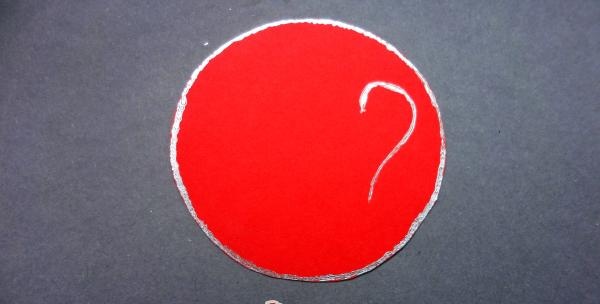
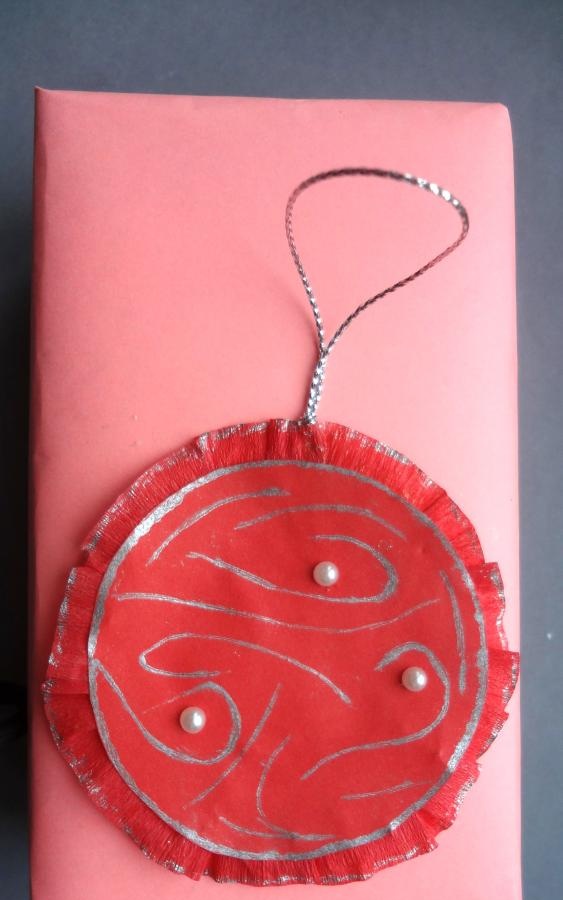
8.Cut out a circle from red paper, the size of which should be a couple of centimeters smaller than the front of the package.
![Master class on gift wrapping](https://i.washerhouse.com/images/13/2755-masterklass-po-upakovke-podarka.jpg)
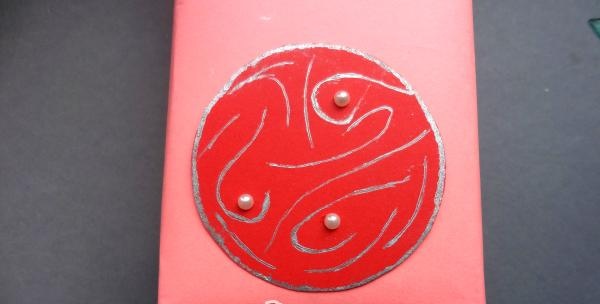
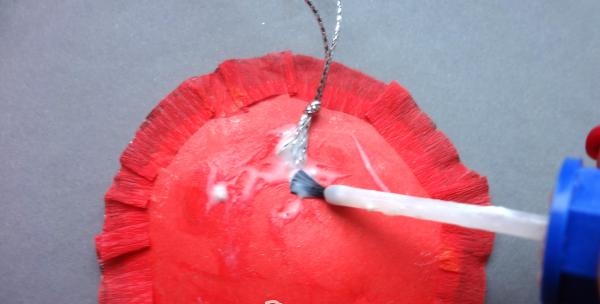
9.Using a pen with silver paste, we begin to paint our ball.
![Master class on gift wrapping](https://i.washerhouse.com/images/13/2756-masterklass-po-upakovke-podarka.jpg)
10.For decoration you can use decorative beads.
![Master class on gift wrapping](https://i.washerhouse.com/images/13/2757-masterklass-po-upakovke-podarka.jpg)
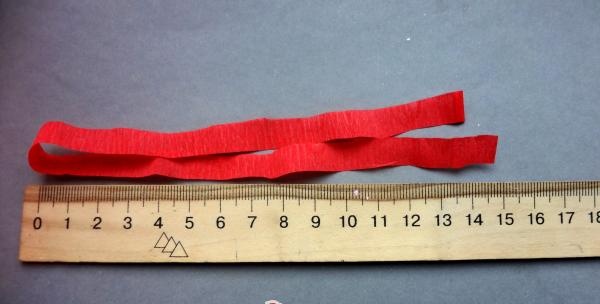
11.Next we will work with corrugated paper, and if it is not available, we will replace it with red paper.
![Master class on gift wrapping](https://i.washerhouse.com/images/13/2758-masterklass-po-upakovke-podarka.jpg)
12. Stretch one edge of the corrugated paper in different directions to create a wavy edge.
![Master class on gift wrapping](https://i.washerhouse.com/images/13/2759-masterklass-po-upakovke-podarka.jpg)
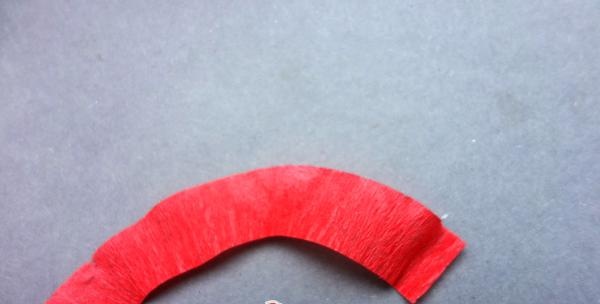
13.Laying the folds, glue a strip around the ball.
![Master class on gift wrapping](https://i.washerhouse.com/images/13/2760-masterklass-po-upakovke-podarka.jpg)
14.Make a decorative loop from a silver thread and glue it to the back of the ball.
![Master class on gift wrapping](https://i.washerhouse.com/images/13/2761-masterklass-po-upakovke-podarka.jpg)
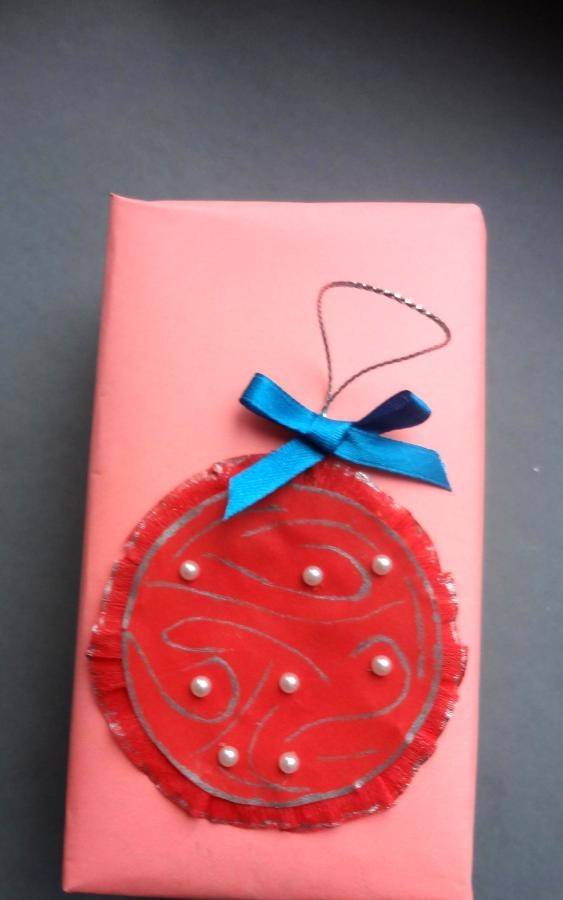
15.Glue the ball to the package.
![Master class on gift wrapping](https://i.washerhouse.com/images/13/2762-masterklass-po-upakovke-podarka.jpg)
16.Tie a bow from a satin ribbon 0.5 cm wide and glue it to the junction of the ball and the silver thread.
![Master class on gift wrapping](https://i.washerhouse.com/images/13/2763-masterklass-po-upakovke-podarka.jpg)
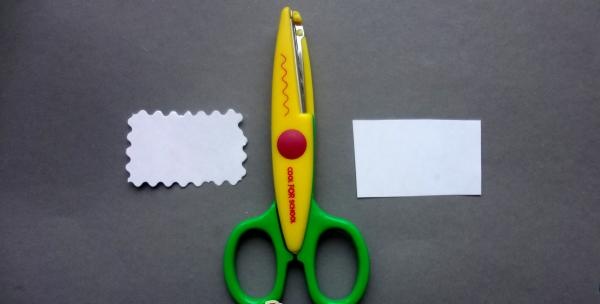
17.Using scissors, cut out a small rectangle from white corrugated paper; we will use it as a postcard for writing wishes and kind words.
![Master class on gift wrapping](https://i.washerhouse.com/images/13/2764-masterklass-po-upakovke-podarka.jpg)
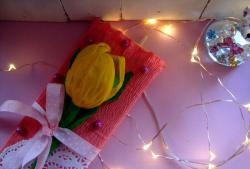
18. Our New Year's packaging is ready, now you can delight your family and friends, create a festive mood for them and give them positive emotions.
![Master class on gift wrapping](https://i.washerhouse.com/images/13/2765-masterklass-po-upakovke-podarka.jpg)
![Master class on gift wrapping](https://i.washerhouse.com/images/13/2766-masterklass-po-upakovke-podarka.jpg)