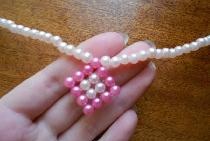
A smart girl should look well-groomed at any time of the day and always have a smile. To do this you need to know a few little feminine tricks. For example, in order to look elegant and tasteful during a theme party or other cultural event, it is not necessary to borrow a necklace from a friend or an old mother’s necklace every time. All you need for this decoration is the desire to make it and a little time.
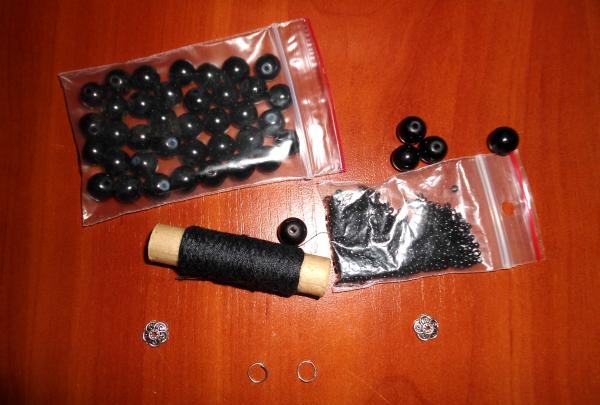
To make an openwork and beautiful necklace you will need the following tools and materials: at least 26 glass beads with a diameter of 0.5 centimeters (the number of beads depends on the size of your neck), small Czech beads - 1 pack, threads with a bead needle, two links, scissors , a carabiner clasp, round fasteners for beads, and glue.
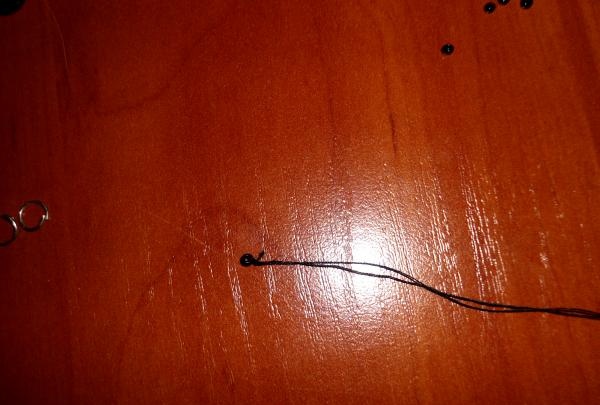
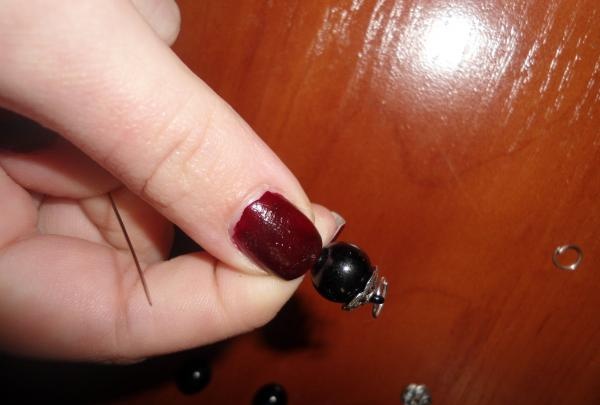
First of all, we take out one small bead from a pack of beads and use thread and a needle to tie a knot around this bead.
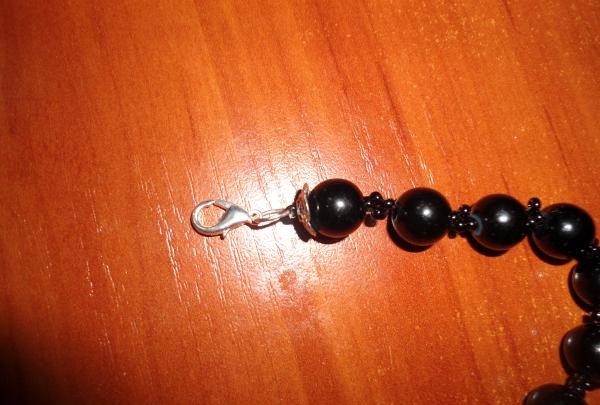
We attach one link to this bead - on one side, and on the other - a large bead (to be sure that your actions are correct, check the result obtained with the photographs below).
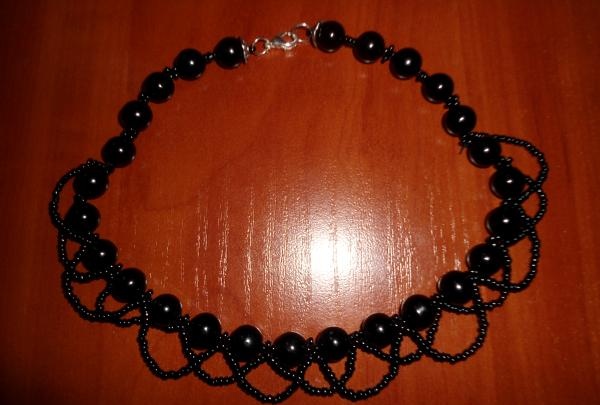
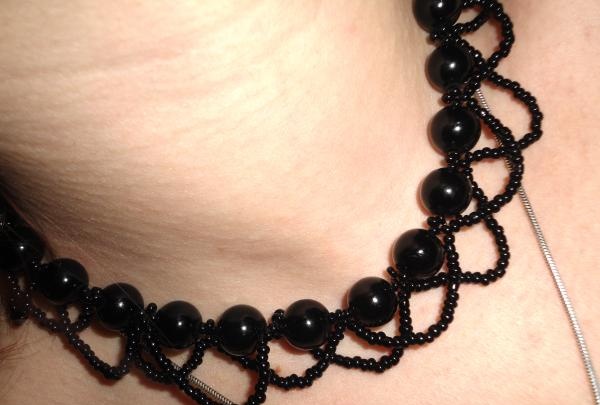
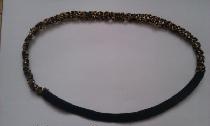
Now let's start making the main pattern of your openwork necklace. You can choose the color scheme yourself, based mainly on your outfits in your closet. I chose black because this color is considered neutral and can go with any stylish outfit, both a dress and a work blouse.
We collect 4 beads on a needle.
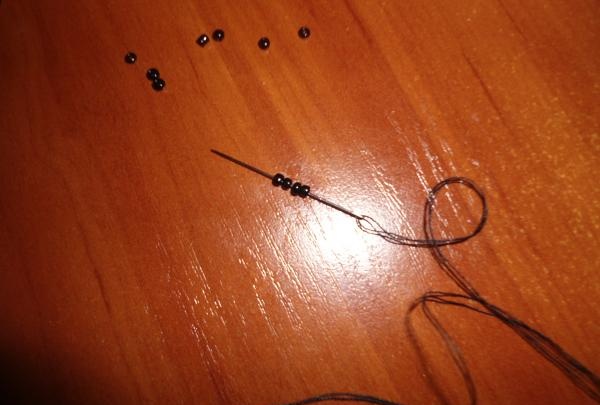
From these beads we make a rhombus, as shown in the figure. First we make one circle all the way to the original bead, and then pass the needle and thread up to the third bead.
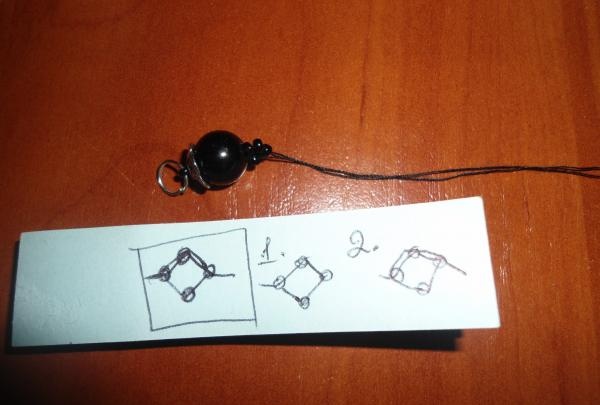
Next, we again take a large glass bead and put it on a thread and a needle, attaching it to our already made diamond.
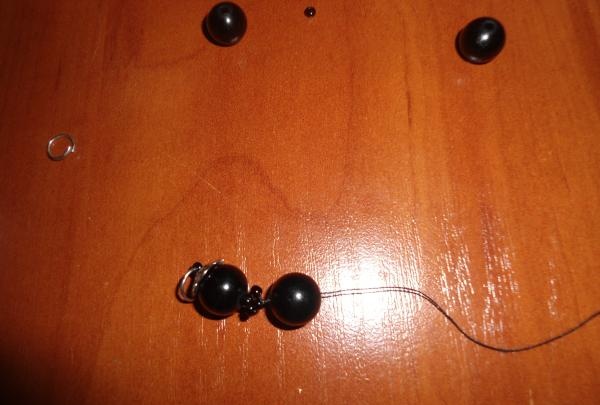
In this spirit, we continue to weave the base for the necklace.
When you put on the last glass bead, do not forget to secure it with a thread, as well as a fastener and a bead. You put one link back on the bead, and you also put a carabiner lock on the link.
Now it's a matter of small things. You need to make a fringe for an almost finished necklace. You count out five beads, and put twenty beads on the bottom tooth of the diamond and thread a thread through two beads into the next tooth of the diamond.
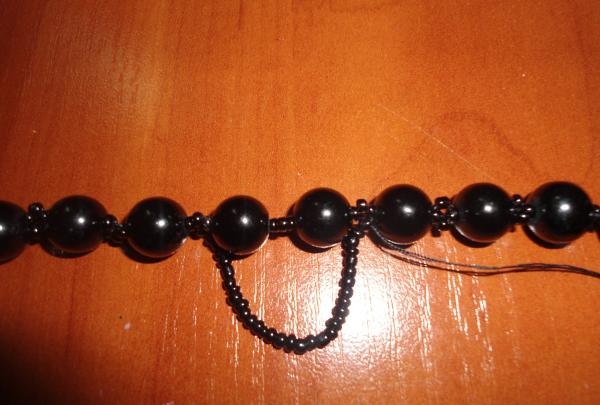
Continue this procedure until five beads remain from the end of the necklace, as at the beginning.
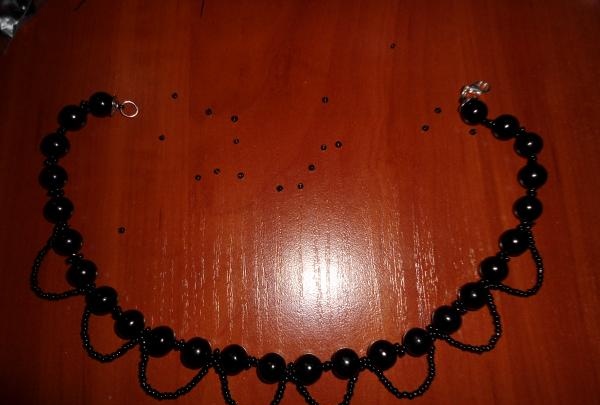
Our last procedure will be another row of fringe.Only we start this row with the bottom tooth of the diamond, which comes next after the diamond that already has fringe.
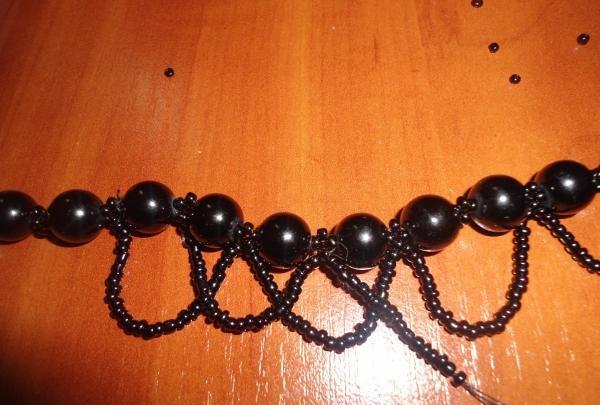
If this amount of fringe is not enough for you, then you can add a third row, just string more beads.