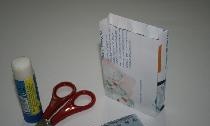
What you should have:
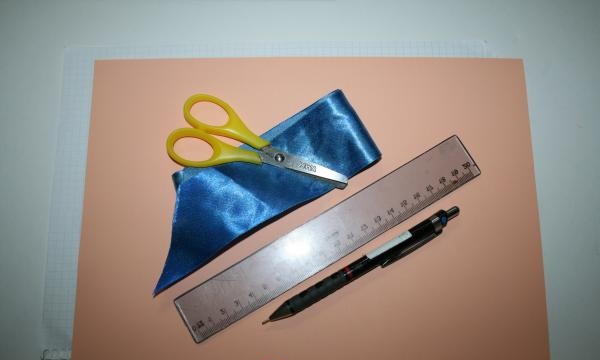
• A sheet of thick paper. Depending on the gift you are going to put inside, choose a sheet of A4, A3, and so on.
• Ruler.
• Pencil.
• Scissors.
• A ribbon or a beautiful brooch to secure the box.
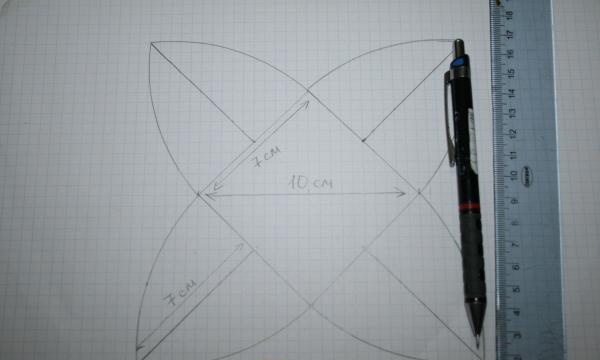
First of all, we need to make a pattern. This is very simple and allows you to make boxes faster in the future. We measure a strip of 10 cm or more if you need a larger box. We find the middle of the strip - 5 cm and go up 5 cm, put a dot there. We also find the bottom point and draw a rhombus. Now we find the middle of the side of the rhombus and from it we rise 7 cm along the cells. We put dots on all sides. Next, using a round line or a plate, I used a plate to draw semicircular petals. The pattern is ready.
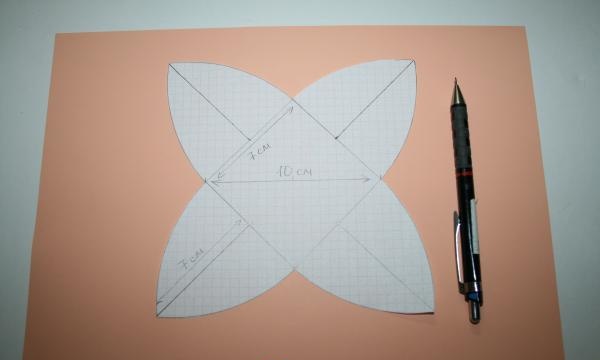
We put it on the sheet, trace it and cut out the blank for the box.
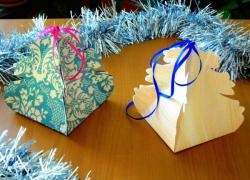
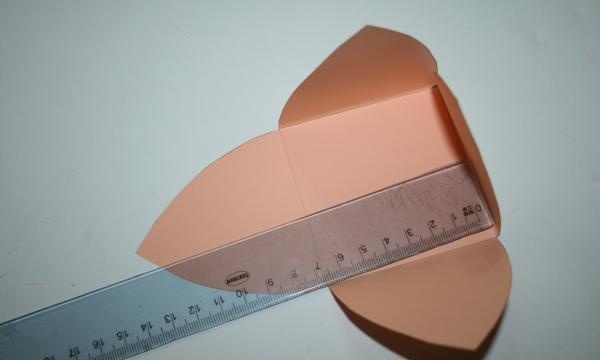
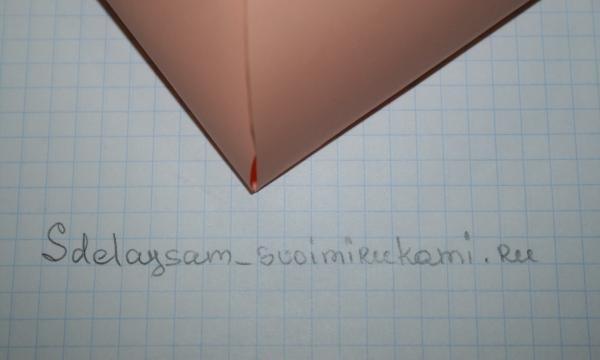
We begin to fold the side petals. This is easier to do with a ruler, then all the folds will be even.
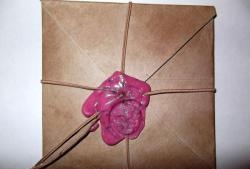
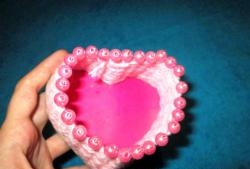
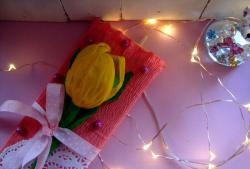
All that remains is to tie a bow from a ribbon or put on a beautiful brooch so that it holds the petals of the box and you’re done.
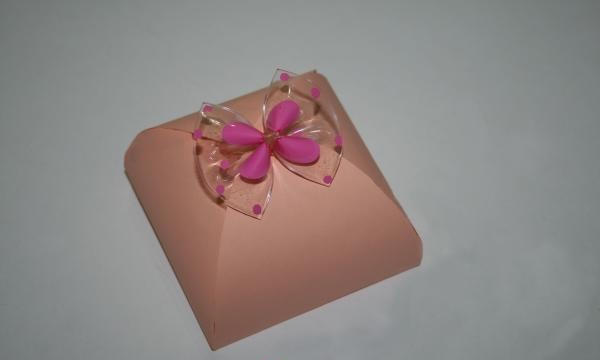
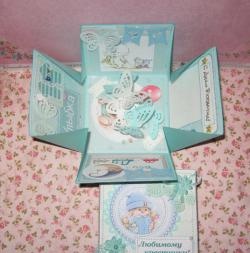
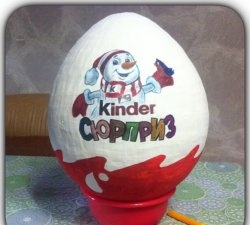
You can wrap a gift and in such a package it will be more pleasant to give it. And the recipient of the gift will be glad to know that you made the packaging yourself, and it turned out so beautiful and original.
Experiment with color, paper size and thickness and surprise your friends with unusual gifts!