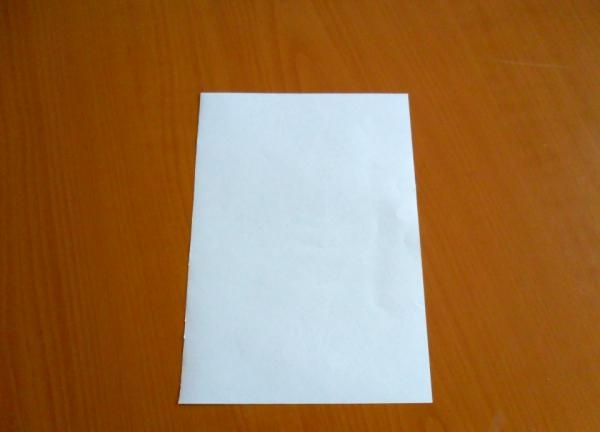
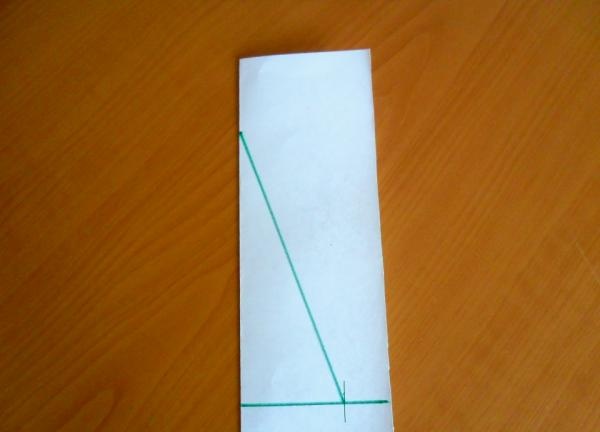
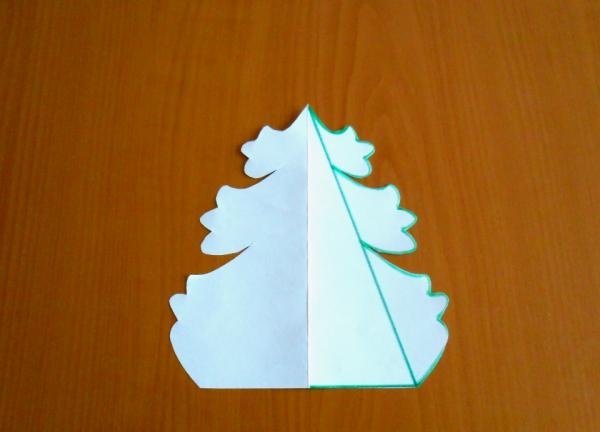
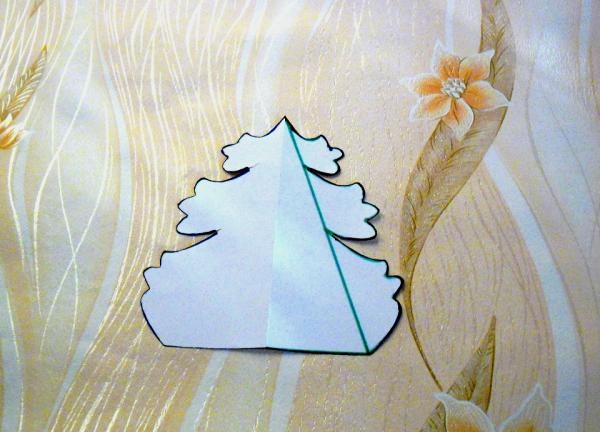
On New Year's Eve everyone gives each other small present. But souvenirs are not always sold in packages. Therefore, you can make a beautiful and unusual box yourself by choosing the desired size. For crafts Remnants of wallpaper will do: such a box will turn out very elegant. You will also need scissors, a pencil, glue, thick paper for making a stencil, 1 meter of beautiful braid. First, decide on the size of the craft and make a stencil. To do this, take a piece of thick paper and fold it in half lengthwise. Draw a horizontal line at the bottom of the sheet half the width of the intended box (the base of the craft), measure the height of the craft and draw an inclined straight line from the top point to the mark on the horizontal line.
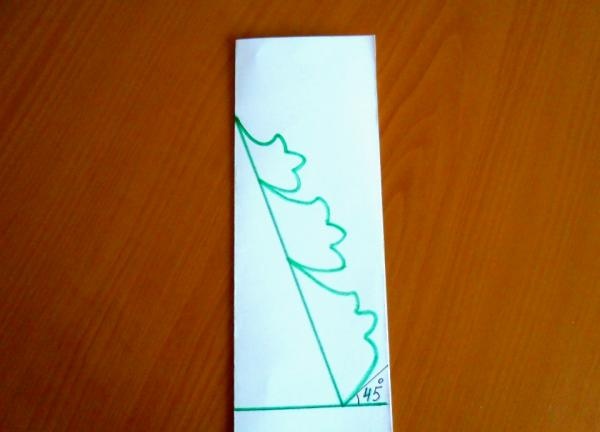
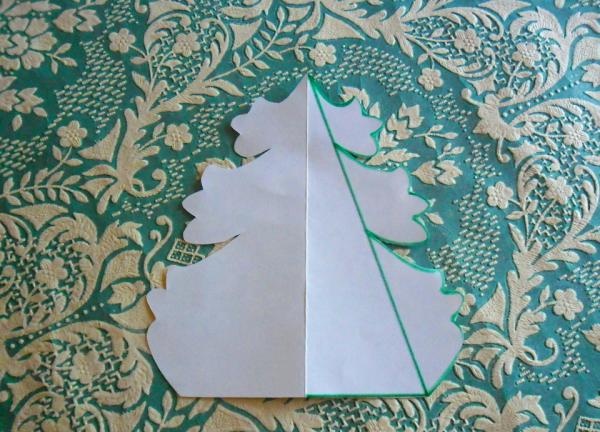
Draw a wavy line in the form of spruce branches from the outside of the slanted line from top to bottom (or come up with your own simple pattern). Pay attention to the lower part of the workpiece: so that when assembled the edges of the craft do not wrinkle, there should be an angle of 45° between the pattern and the horizontal line.
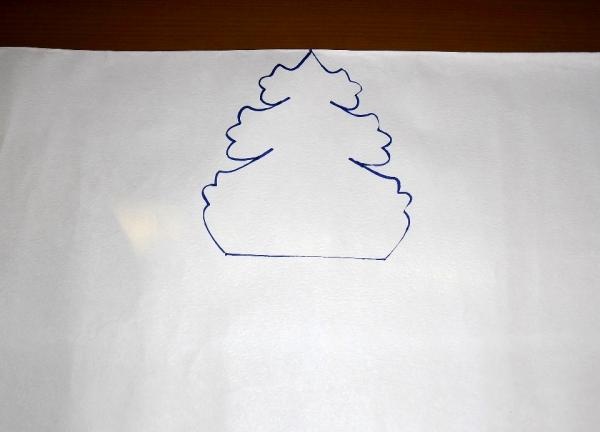
Cut out the stencil and unfold it.
Choose craft paper.The length and width of the sheet should be greater than twice the height of the craft, to which you need to add centimeters equal to the width of the base of the box. For example, if the stencil is 14 cm high and its base is 10 cm, then you need to take a sheet of paper with sides larger than 38 cm (14+14+10).
Turn the paper over to the wrong side. Place the stencil and trace with a pencil. The less pencil marks are visible, the more accurate the craft will be.
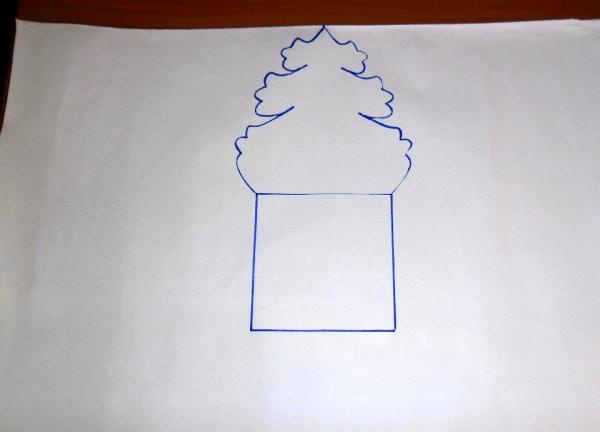
At the bottom of the circled figure, draw a square with sides equal to its base.
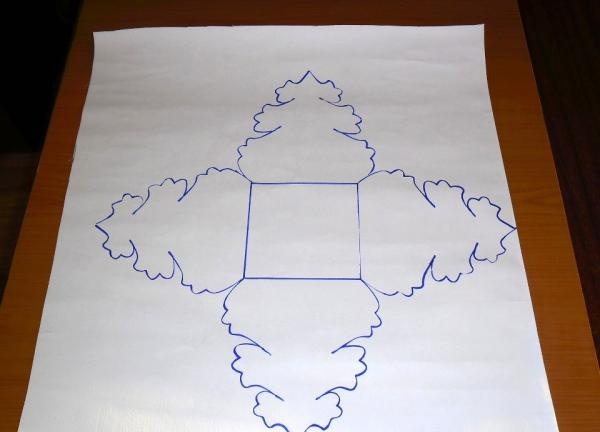
Apply a stencil to the other three sides of the square in turn and circle it.
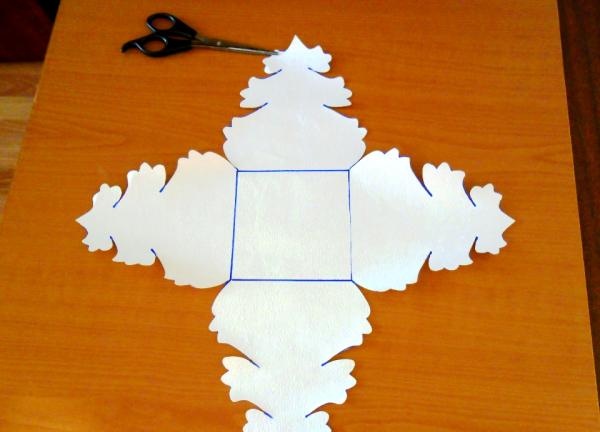
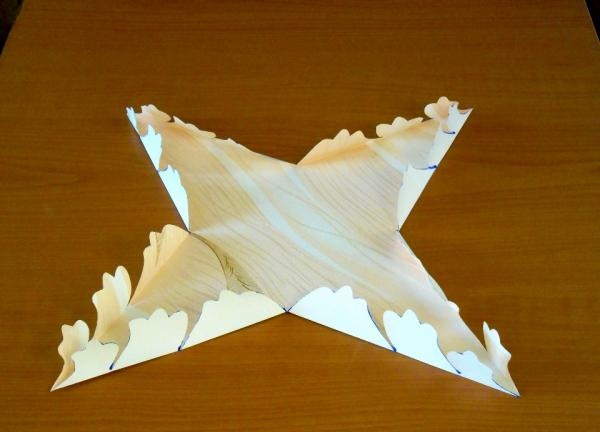
Cut out carefully.
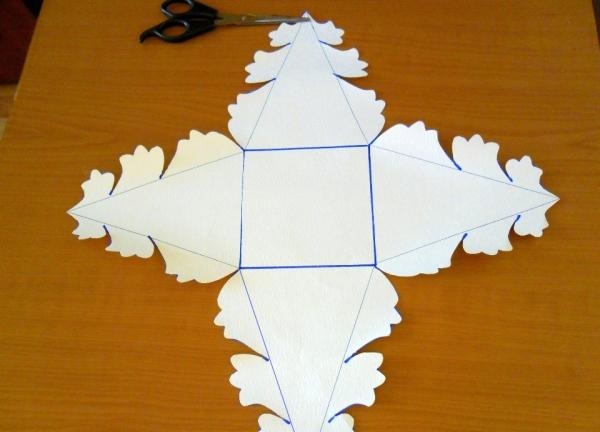
Draw auxiliary lines from the tops of the Christmas trees to the corners of the square.
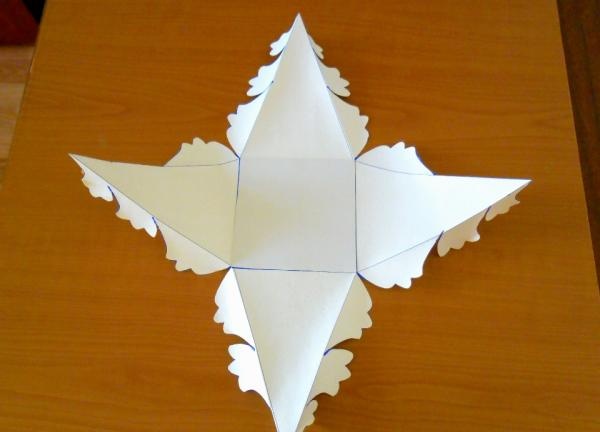
Turn the workpiece over to the front side and fold the curly edges upward along the marked lines.
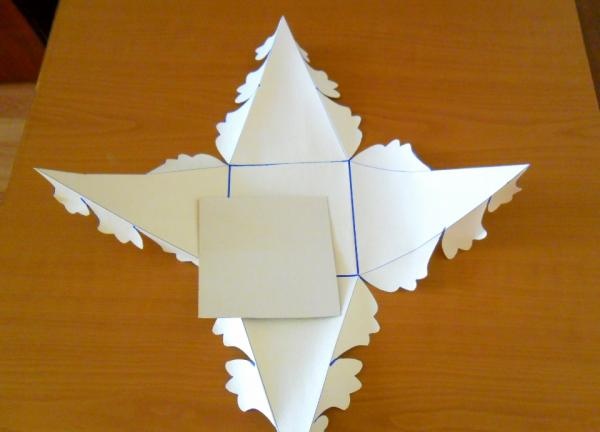
Turn the workpiece over again and glue a square cut out of cardboard in the center, thereby strengthening the bottom.
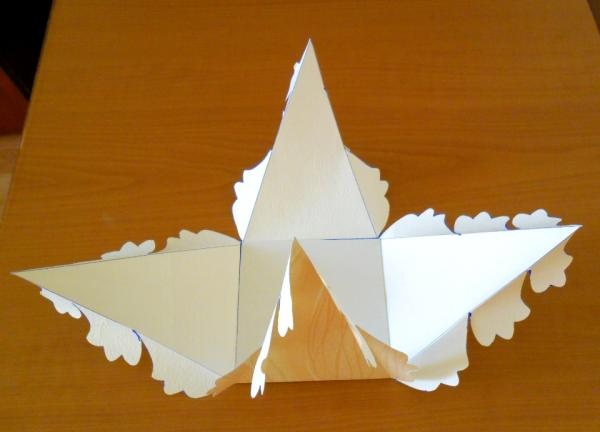
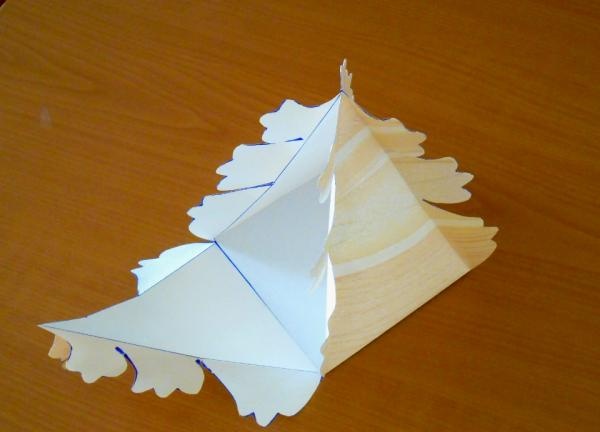
Bring all four sides of the craft up, making folds along the edge of the square.

Glue the three sides of the craft, spreading glue on their curly edges up to the folds. One side of the craft should remain unglued so that it can serve as a door for the box.
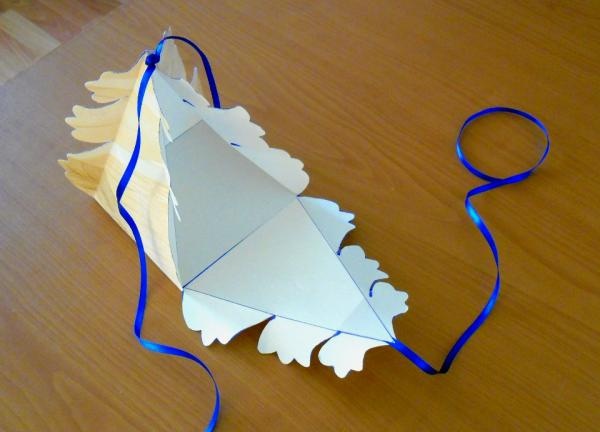
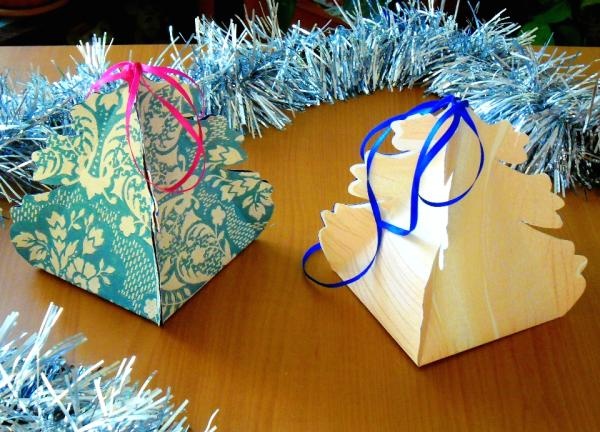
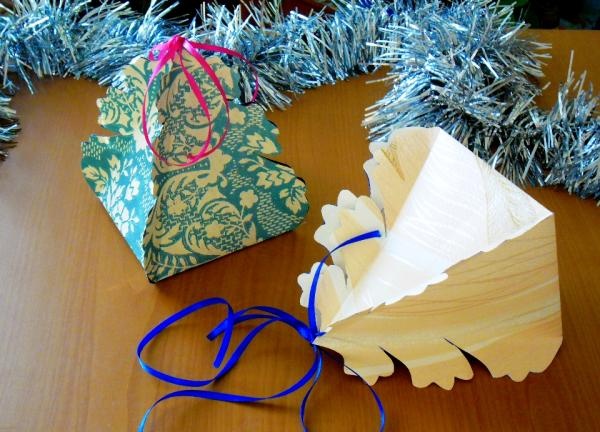
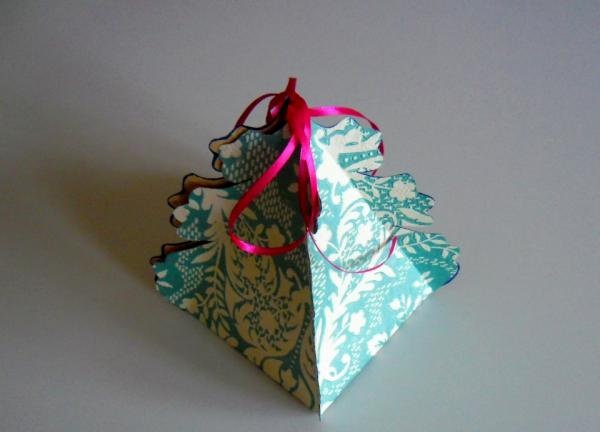
Cut the braid into two parts. Make two small holes at the top of the pyramid, thread the edge of one ribbon and tie it in a knot, leaving a small tail. Glue the second tape to the top of the hinged door and hide its end under a piece of cardboard cut into a triangle and glued to the tape. Let the glue dry well.
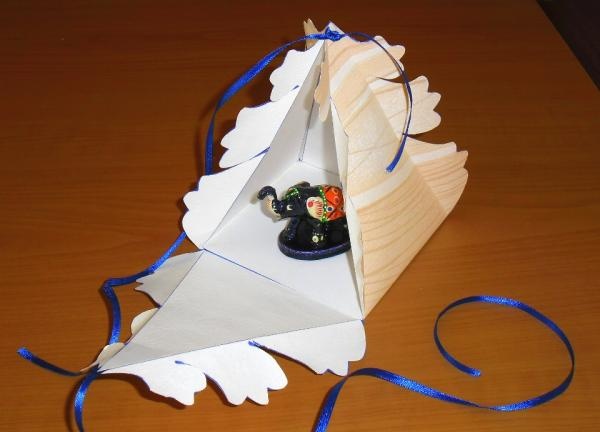
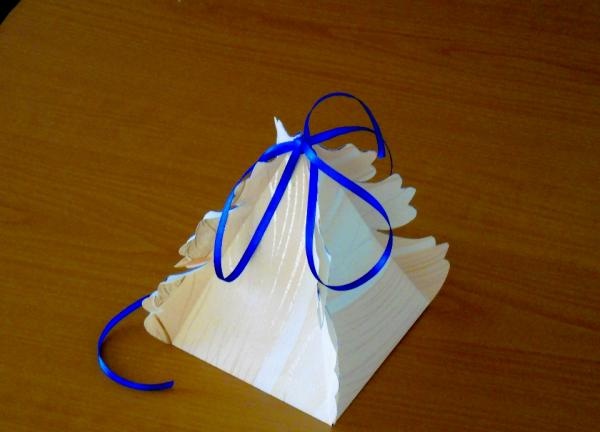
Place any souvenir inside, lift the door and tie the ribbons, making a big bow.
If you have wallpaper of a different color, you can make a box of a different color.
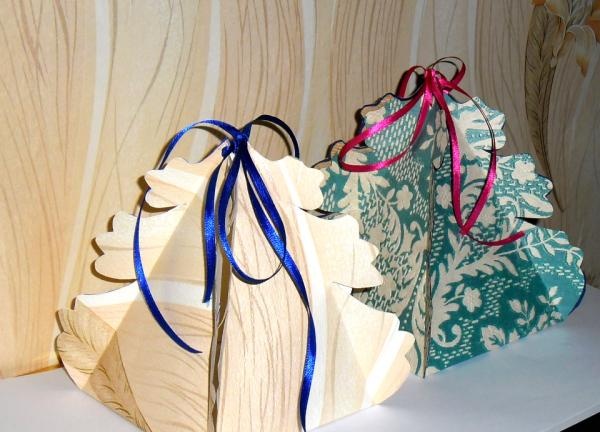
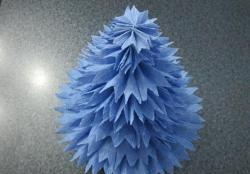
You can make such beautiful and simple packaging for souvenirs with your own hands.